If you want to clean or fix your Selkie foam cannon, knowing how to take it apart is key. But you might feel unsure about where to start or worry about breaking something.
Don’t worry—this guide will walk you through each simple step. By the end, you’ll have the confidence to disassemble your foam cannon safely and easily. Keep reading, and you’ll save time and avoid costly mistakes while keeping your equipment in top shape.
Tools Needed
Taking apart a Selkie Foam Cannon requires the right tools. Using proper tools makes the process easier and safer. Gather all necessary items before starting. This helps avoid interruptions and saves time.
Basic Tools Checklist
- Adjustable wrench for loosening nuts and bolts
- Screwdrivers (both flathead and Phillips) for screws
- Needle-nose pliers for small parts and clips
- Clean cloth to wipe off dirt or foam residue
- Container or tray to hold small parts safely
Optional Tools For Ease
- Lubricant spray to loosen stuck parts
- Plastic pry tool to avoid scratching surfaces
- Magnetic parts tray to keep screws and nuts in place
- Work gloves for better grip and hand protection
- Small brush to clean hard-to-reach areas
Credit: bona-store.com
Safety Precautions
Taking apart a Selkie foam cannon requires care and attention. Safety comes first. Protect yourself and your surroundings before starting. Follow these simple steps to stay safe and avoid accidents.
Protective Gear
Wear gloves to protect your hands from sharp parts. Safety glasses shield your eyes from debris. Use a mask if there is dust or spray. Closed shoes protect your feet from falling tools. Dress in clothes that cover your skin well.
Work Area Setup
Choose a clean, flat surface with good light. Keep tools organized and within reach. Remove any objects that can cause trips or falls. Work in a ventilated space to avoid fumes. Have a container ready for small screws and parts.
Preparing The Foam Cannon
Preparing the foam cannon is the first step before taking it apart. This step ensures safety and keeps the parts clean. You need to do a few simple tasks before disassembling your Selkie foam cannon. These tasks help avoid damage and make the process smooth.
Cleaning Before Disassembly
Rinse the foam cannon with clean water. This removes leftover soap and dirt. Use warm water to loosen any stuck foam. Shake the cannon gently to clear out residue inside. Avoid using harsh chemicals that can harm the parts. Dry the foam cannon with a soft cloth. Clean parts are easier to handle during disassembly.
Removing From Pressure Washer
Turn off the pressure washer first. This stops water flow and pressure. Disconnect the foam cannon carefully from the spray gun. Hold the cannon firmly while twisting it off. Avoid pulling or forcing the connection. Check the pressure washer’s manual if unsure. Proper removal prevents damage to both devices.

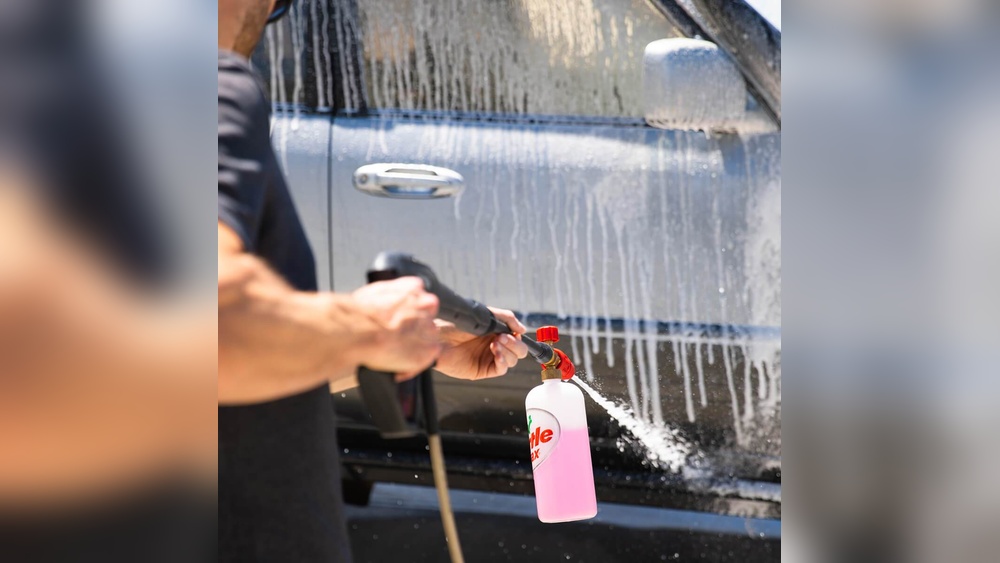
Credit: www.ebay.com
Disassembling The Nozzle
Disassembling the nozzle of a Selkie Foam Cannon is an essential step for proper cleaning and maintenance. The nozzle controls the foam spray, so keeping it clean ensures better performance. This process is simple and only takes a few minutes.
Start by carefully removing the tip. Then, clean each part thoroughly to remove dirt and soap build-up. Proper care extends the life of your foam cannon and improves foam quality.
Unscrewing The Tip
Hold the nozzle firmly with one hand. Use your other hand to twist the tip counterclockwise. It should come off without much force.
If the tip is tight, try using a cloth for better grip. Avoid using tools that can damage the plastic parts.
Cleaning The Nozzle Components
Rinse all parts with warm water to remove soap and dirt. Use a soft brush to clean inside the nozzle gently.
Check for any clogs or debris stuck in small holes. Let the parts dry completely before reassembling to prevent mold.
Opening The Reservoir
Opening the reservoir of your Selkie Foam Cannon is the first step in taking it apart. This process lets you access the inside for cleaning or maintenance. Properly opening the reservoir ensures your foam cannon works well every time.
Detaching The Bottle
Start by holding the foam cannon firmly. Twist the bottle counterclockwise to unscrew it from the main body. Pull the bottle away gently once it is loose. Avoid forcing it to prevent damage to the threads.
Keep the bottle upright to stop any liquid from spilling. Set it on a flat surface near you. This simple step makes the next part easier and cleaner.
Emptying And Rinsing
Pour out any leftover soap or foam solution from the bottle. Use warm water to rinse the inside thoroughly. Swirl the water around to reach all corners. Empty the water and repeat if needed.
Clean the bottle cap and the threads too. This removes any residue that could cause leaks. Let the bottle air dry before reassembling the foam cannon. A clean reservoir prevents clogs and keeps the foam thick.
Taking Apart The Internal Components
Taking apart the internal components of a Selkie Foam Cannon helps with cleaning and maintenance. It ensures the foam cannon works well and lasts longer. This process is simple with the right steps. Careful handling avoids damage to small parts inside.
Removing The Filter
First, locate the filter inside the foam cannon. It traps dirt and debris from the water. To remove it, unscrew the top cap carefully. Pull out the filter gently to avoid breaking it. Clean the filter with water and a soft brush. Dry it fully before putting it back.
Accessing The Foam Tube
The foam tube creates the thick foam you see. To access it, remove the main body of the foam cannon. Twist off the housing around the tube slowly. Pull the foam tube straight out without forcing it. Check the tube for clogs or damage. Clean it with warm water and let it dry before reassembling.
Cleaning And Maintenance Tips
Cleaning and maintaining your Selkie foam cannon keeps it working well for a long time. Dirt, soap, and water deposits can block the nozzle and reduce foam quality. Regular care helps avoid costly repairs and keeps the foam thick and even. Follow these easy steps for best results.
Removing Build-up And Residue
Start by rinsing the foam cannon with warm water. Use a soft brush to clean the nozzle and small parts. Soak the parts in a mix of warm water and mild soap for ten minutes. This loosens any dried soap or dirt. Rinse everything well to remove soap residue. Check the nozzle for clogs and clear them gently. Avoid harsh chemicals that can damage the foam cannon.
Reassembling After Cleaning
Dry all parts completely before putting them back together. Align the nozzle and other parts carefully. Tighten screws and fittings without forcing them. Test the foam cannon by spraying water first. Make sure there are no leaks or loose parts. Proper reassembly ensures the foam cannon works smoothly every time.

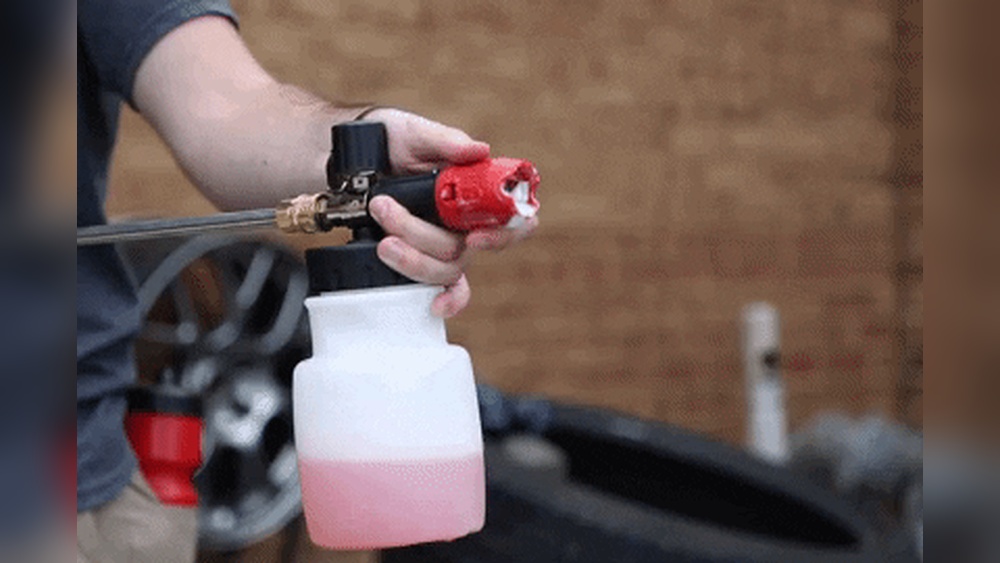
Credit: www.amazon.com
Troubleshooting Common Issues
Troubleshooting common issues with your Selkie Foam Cannon can save time and effort. This section covers the most frequent problems. It helps you fix leaks, blockages, and foam quality problems. Clear guidance lets you get your foam cannon working again quickly.
Leaks And Blockages
Leaks often come from loose connections or damaged seals. Check all fittings and tighten them gently. Inspect the O-rings for cracks or wear. Replace any damaged seals to stop leaks.
Blockages usually happen in the nozzle or hose. Remove the nozzle and rinse it with warm water. Use a soft brush to clear any debris inside. Flush the hose with water to remove buildup. Regular cleaning prevents future blockages.
Foam Quality Problems
Poor foam quality results from incorrect soap mix or pressure issues. Use the soap recommended by Selkie for the best foam. Mix soap and water in the right ratio, usually 1:10 or 1:15.
Check the pressure washer settings. Too low pressure makes weak foam. Too high pressure can break the foam bubbles. Adjust pressure to the recommended level for your foam cannon model.
Clean the foam cannon regularly. Dirt and soap residue reduce foam quality. Rinse all parts with clean water after use. Dry the parts before storing to keep foam quality consistent.
Frequently Asked Questions
How Do I Safely Disassemble A Selkie Foam Cannon?
To safely disassemble, first disconnect it from the pressure washer. Then, unscrew the foam bottle and detach the nozzle gently. Avoid using excessive force to prevent damage to parts.
What Tools Are Needed To Take Apart A Selkie Foam Cannon?
You typically need no special tools. Hands are enough to unscrew the bottle and nozzle. For stubborn parts, a soft cloth or pliers with care may help.
How Can I Clean The Parts After Disassembly?
Rinse all parts with warm water immediately after use. Use mild soap for stubborn residue. Ensure thorough drying before reassembling to prevent mold and damage.
Is It Difficult To Reassemble A Selkie Foam Cannon?
No, reassembly is straightforward. Align the nozzle and foam bottle correctly, then screw them back on securely. Check all connections before use to avoid leaks.
Conclusion
Taking apart a Selkie Foam Cannon is easier than it seems. Follow the steps carefully and take your time. Keep track of all parts to avoid losing anything. Clean each piece gently to keep your foam cannon working well. Regular maintenance helps your equipment last longer.
Now, you can confidently disassemble and maintain your foam cannon. Enjoy better cleaning results with a well-kept tool. Remember, patience and care make the job simple and safe.