Are you thinking about giving your car a fresh new look without spending a fortune? Learning how to do vinyl wrap yourself can be easier than you think.
Imagine transforming your vehicle with a sleek, custom design that turns heads wherever you go—all done by your own hands. In this guide, you’ll discover simple steps, insider tips, and common mistakes to avoid. By the end, you’ll have the confidence to tackle your vinyl wrap project and make your car truly stand out.
Ready to get started? Let’s dive in!
Choosing The Right Vinyl Wrap
Choosing the right vinyl wrap is key for a successful DIY project. The right wrap improves your vehicle’s look and lasts longer. This section helps you pick the best vinyl for your needs. It covers types, colors, finishes, and measuring your surface.
Types Of Vinyl Wraps
Vinyl wraps come in several types. Cast vinyl is flexible and durable. It molds well to curves and lasts years. Calendered vinyl is thicker and less flexible. Best for flat or simple surfaces. There are also specialty wraps, like carbon fiber or brushed metal. Choose based on your vehicle’s shape and your budget.
Selecting Colors And Finishes
Color choice affects your vehicle’s style. Matte finishes give a smooth, non-shiny look. Glossy finishes offer a shiny, bright appearance. Satin finishes are between matte and glossy. Pick a color that matches your taste and vehicle type. Light colors hide dirt better. Dark colors show scratches more easily.
Measuring Your Surface
Accurate measurement saves time and money. Measure length, width, and curves carefully. Add extra material for mistakes and trimming. Use a tape measure and write down numbers. Check twice before buying vinyl. Proper measurement ensures enough wrap to cover your surface fully.
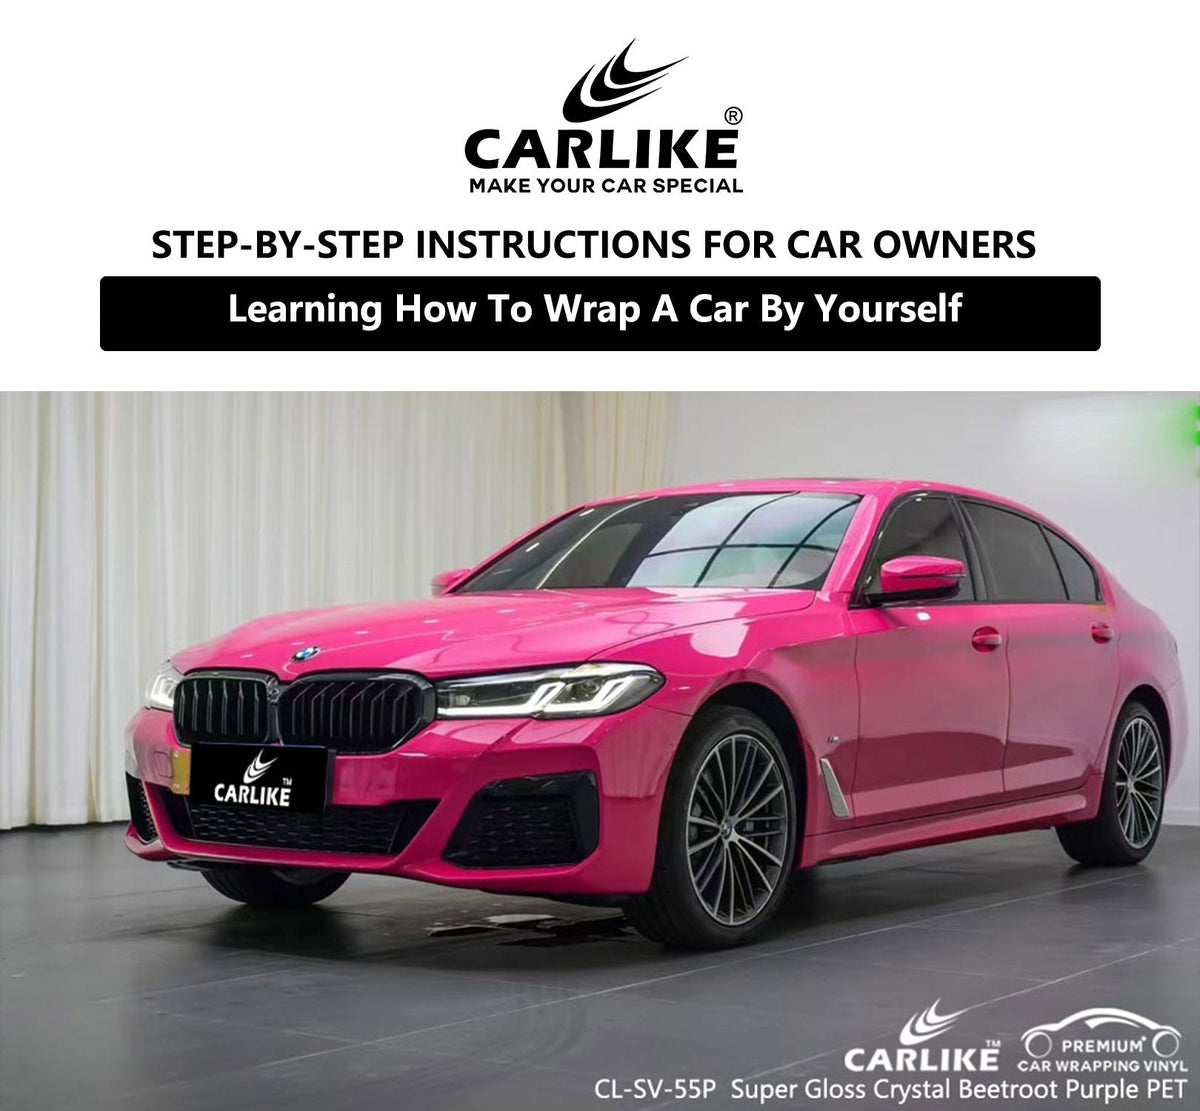
Credit: carlikewrap.com
Preparing The Surface
Preparing the surface is the first and most important step in doing a vinyl wrap yourself. A clean, smooth surface helps the vinyl stick better and last longer. Taking time to prepare the surface prevents bubbles, wrinkles, and peeling later. Follow each step carefully for the best results.
Cleaning And Degreasing
Start by washing the surface with soap and water. Remove all dirt, dust, and grime. Use a clean cloth or sponge. Next, use a degreaser or rubbing alcohol. This removes oils and residues that soap might miss. Wipe the area well and let it dry completely before wrapping.
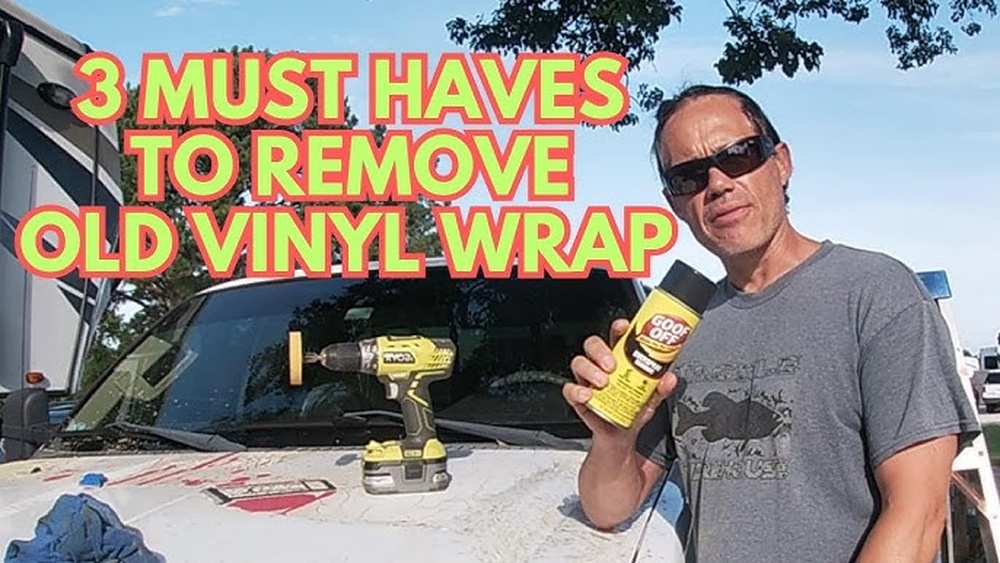
Removing Old Wraps Or Decals
Peel off any old vinyl wraps or decals carefully. Use a heat gun or hair dryer to warm the vinyl. This softens the adhesive and makes removal easier. Avoid scratching the surface. Remove all sticky residue with adhesive remover. A clean surface ensures the new wrap sticks properly.
Smoothing Out Imperfections
Check the surface for dents, scratches, or rust spots. Fill dents with body filler and sand smooth. Use fine-grit sandpaper to smooth rough areas. Clean the surface again after sanding. A flat surface helps the vinyl wrap stay smooth and look professional.
Gathering Tools And Materials
Before starting a vinyl wrap project, gathering the right tools and materials is key. The right items make the job smoother and the results better.
Having everything ready prevents interruptions and frustration. It also helps maintain focus and work speed.
Below is a detailed list to prepare you for your vinyl wrap task.
Essential Tools List
- Vinyl wrap film – the main material for wrapping.
- Squeegee – to smooth out air bubbles and wrinkles.
- Utility knife – for precise cutting of vinyl edges.
- Heat gun – to stretch and mold vinyl around curves.
- Measuring tape – to measure surfaces accurately.
- Cleaning solution – to clean the surface before wrapping.
- Lint-free cloth – to wipe and dry the surface.
Optional Accessories For Ease
- Magnets – to hold vinyl in place while working.
- Gloves – to prevent fingerprints on the vinyl.
- Plastic razor blade – to avoid scratching the surface.
- Masking tape – to mark areas and hold vinyl temporarily.
- Roller – to press vinyl firmly without damage.
Safety Equipment
- Protective gloves – to protect hands from cuts and heat.
- Safety glasses – to shield eyes from flying debris.
- Mask – to avoid inhaling fumes from adhesives or heat.
- Work apron – to keep clothes clean and safe.
Credit: raxtify.com
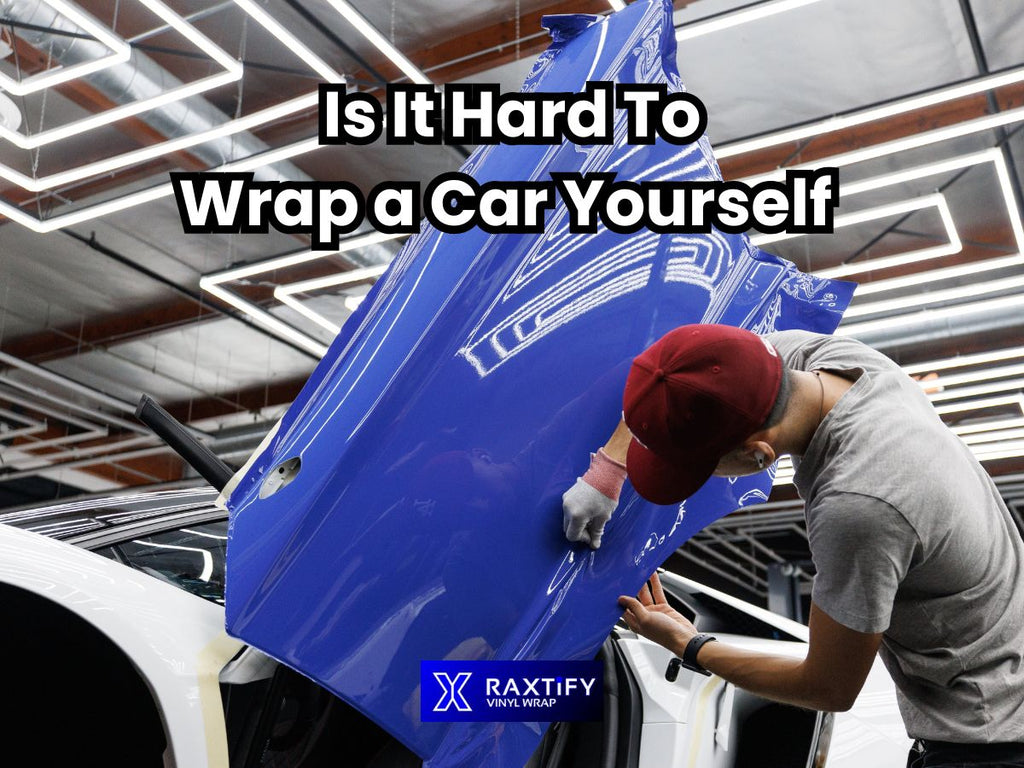
Applying The Vinyl Wrap
Applying the vinyl wrap is the most important step in this process. It requires patience and care to avoid mistakes. The wrap must fit perfectly on the surface for the best look. Taking your time here will make the final result clean and smooth.
Start by aligning the vinyl correctly. Then use heat to make it flexible. Finally, smooth out air bubbles to create a flawless finish.
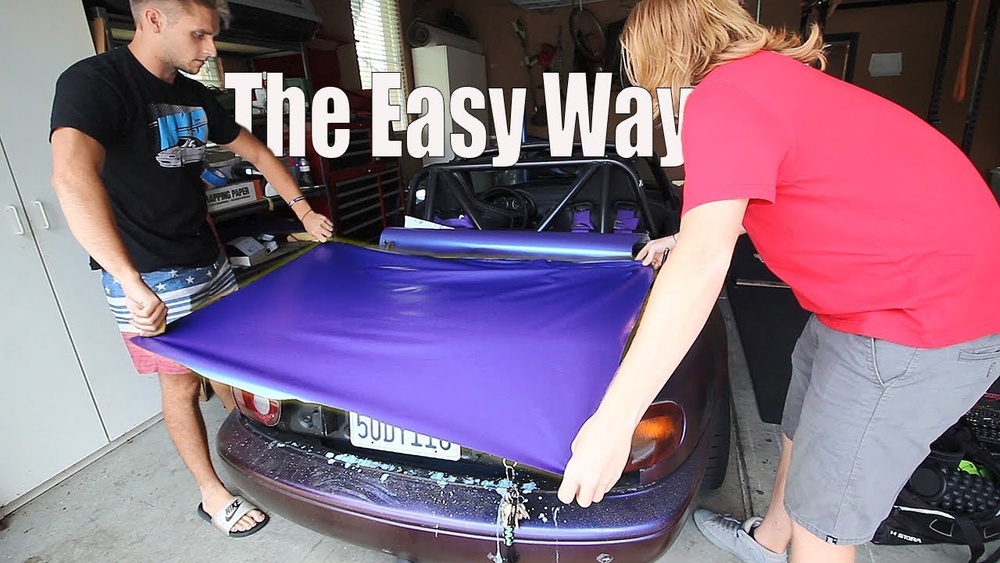
Positioning The Vinyl
Carefully place the vinyl on the surface without removing the backing paper. Check the fit and alignment from different angles. Make sure edges line up well. Use magnets or tape to hold the wrap in place temporarily. Adjust as needed before you stick it down.
Using Heat For Flexibility
Use a heat gun or hair dryer on low heat. Warm the vinyl gently to make it soft and flexible. This helps the wrap bend around curves and edges easily. Avoid overheating to prevent damage. Keep the heat moving evenly across the surface.
Smoothing And Removing Air Bubbles
Start from the center and push air bubbles outward. Use a squeegee or a soft cloth for this step. Work slowly and carefully to avoid wrinkles. If bubbles remain, prick them lightly with a pin and press flat. Smooth vinyl ensures a professional look and long-lasting wrap.
Trimming And Finishing
Trimming and finishing are key steps in vinyl wrapping your vehicle. They give your wrap a clean, professional look. This part takes patience and care. Small mistakes here can show up later. Follow these steps to get neat, sharp edges and a smooth finish.
Cutting Excess Vinyl
Start by removing extra vinyl around the edges. Use a sharp utility knife for clean cuts. Cut slowly to avoid damaging the surface underneath. Leave a little extra vinyl near corners for tucking. Dispose of scraps carefully to keep your workspace tidy.
Tucking Edges Neatly
Use a squeegee or your fingers to press vinyl edges into creases. Tucking hides raw edges and prevents peeling. Work gently to avoid stretching or tearing the vinyl. Smooth out bubbles or wrinkles as you go. This step improves durability and appearance.
Final Heat Application
Apply heat with a heat gun to finish the wrap. Heat softens the vinyl, helping it conform to curves. Keep the gun moving to avoid burns or bubbles. Press edges firmly after heating for a strong bond. Let the vinyl cool completely before touching.
Credit: raxtify.com
Maintenance Tips For Longevity
Taking care of your vinyl wrap is key to keeping it fresh and new. Proper maintenance helps the wrap last longer and stay attractive. Small efforts every day can protect your investment and avoid costly repairs.
Cleaning Wrapped Surfaces
Use a soft cloth or sponge to clean the vinyl wrap. Wash gently with mild soap and water. Avoid scrubbing too hard to prevent scratches. Rinse well with clean water to remove soap residue. Dry the surface with a soft towel to stop water spots.
Avoiding Harsh Chemicals
Stay away from strong cleaners like bleach or ammonia. These chemicals can damage the vinyl and cause fading. Use only products made for vinyl or car wraps. Test any new cleaner on a small hidden area first. Protect the wrap from fuel, oil, and solvents.
Repairing Minor Damages
Fix small cuts or tears quickly to stop damage from spreading. Use vinyl wrap repair kits or special adhesive tape. Clean the area before applying repair materials. For wrinkles, gently heat the vinyl with a heat gun and smooth it out. Check your wrap often to catch issues early.
Frequently Asked Questions
What Tools Are Needed For Diy Vinyl Wrapping?
You need a squeegee, heat gun, utility knife, microfiber cloth, and cleaning solution. These tools help smooth and cut the vinyl properly.
How Long Does A Vinyl Wrap Installation Take?
A basic vinyl wrap typically takes 4 to 6 hours for beginners. Complex designs or larger vehicles may require more time.
Can I Remove Vinyl Wrap Without Damaging The Paint?
Yes, vinyl wraps can be removed safely using heat. Gently peel the wrap and clean residue with adhesive remover to protect the paint.
How To Prepare The Surface Before Applying Vinyl Wrap?
Clean the surface thoroughly to remove dirt, grease, and wax. Use isopropyl alcohol for best adhesion and a smooth finish.
Conclusion
Vinyl wrapping your vehicle can save you money and add style. Take your time and follow each step carefully. Clean surfaces and use the right tools for best results. Small bubbles or wrinkles? Smooth them out gently. Practice helps you get better with every wrap.
Enjoy the process and the fresh new look you create. DIY vinyl wrap lets you customize without a big cost. Your car will stand out with a personal touch. Keep learning and trying for even better wraps next time.