
Are you struggling to get smooth, professional-looking corners with your vinyl wrap projects? You’re not alone.
Corners can be tricky, but mastering them will take your wrapping skills to the next level. Imagine your car, furniture, or gadgets wrapped flawlessly, with no bubbles or wrinkles—just clean, sharp edges that impress everyone. In this guide, you’ll discover simple, step-by-step techniques that make wrapping corners easier than you think.
Stick with me, and by the end, you’ll have the confidence to tackle any corner with precision and ease. Let’s get started!
Preparing The Surface
Preparing the surface is the first step before applying vinyl wrap on corners. A clean and smooth surface helps the wrap stick better. It also prevents bubbles and wrinkles. Take your time with this step to ensure a neat finish.
Cleaning And Drying
Start by cleaning the area with soap and water. Remove all dirt, grease, and dust. Use a soft cloth to avoid scratching. After cleaning, dry the surface completely. Water or moisture can stop the vinyl from sticking well.
Removing Old Wraps
Peel off any old vinyl wrap pieces. Use a heat gun to soften the adhesive. Pull gently to avoid damaging the surface underneath. Clean leftover glue with rubbing alcohol. Removing old wraps ensures smooth adhesion for the new vinyl.
Smoothing Imperfections
Check the surface for bumps or dents. Sand rough spots lightly with fine sandpaper. Fill dents with body filler and let dry. Smooth the area again with sandpaper. A flat surface helps the vinyl wrap lay flat on corners.
Choosing The Right Vinyl
Choosing the right vinyl is key to a smooth and lasting wrap job. The vinyl must bend and stretch well around corners. It should also stick firmly without peeling. Picking the right type, thickness, and finish helps you get the best results.
Types Of Vinyl Wrap
Cast vinyl is flexible and perfect for curves and corners. It molds easily without lifting. Calendered vinyl is thicker and less flexible. It works well on flat surfaces but can peel on corners. For corners, cast vinyl is the best choice. It lasts longer and looks cleaner.
Selecting Thickness And Finish
Thin vinyl wraps around corners better than thick ones. Choose a thickness between 2 to 3 mil for easier handling. A matte finish hides imperfections well. Glossy finishes show scratches but give a shiny look. Satin finish offers a balance. Pick a finish that fits your style and use.
Tools And Accessories Needed
Use a good quality squeegee to press vinyl smoothly. A heat gun softens the vinyl for tight corners. Sharp blades help cut excess material without tearing. Surface cleaner removes dirt and oils before wrapping. These tools make wrapping corners easier and cleaner.
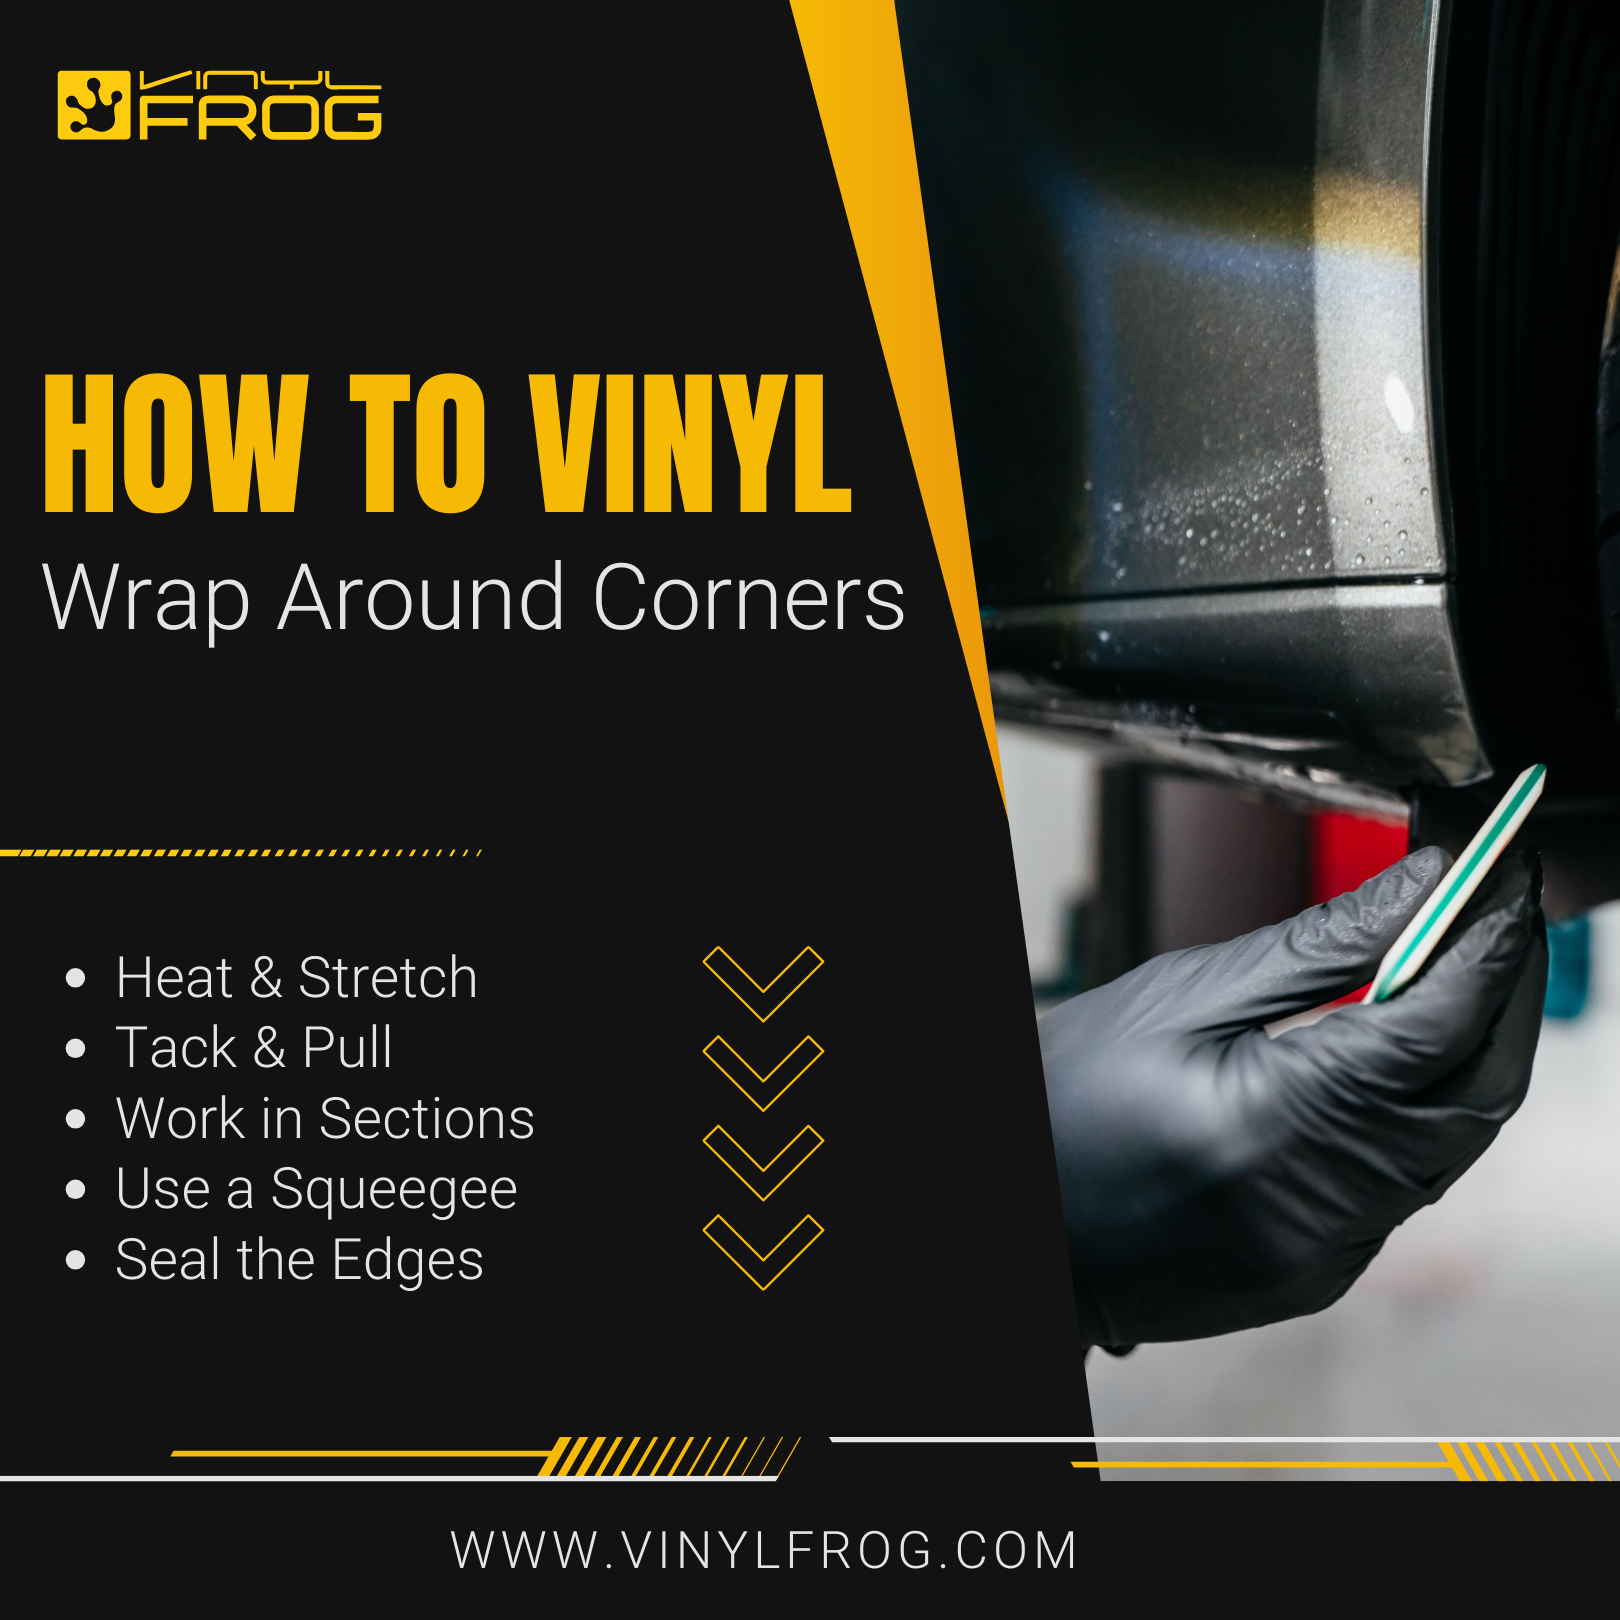
Techniques For Wrapping Corners
Wrapping vinyl around corners can be tricky. It needs careful techniques to avoid wrinkles and bubbles. Proper handling ensures a smooth, clean finish that lasts. Follow these key methods for best results.
Heat Application Tips
Heat softens the vinyl, making it easier to shape. Use a heat gun on low to medium setting. Keep the heat moving to avoid burns or melting. Warm the vinyl evenly around the corner. Do not overheat; this can cause damage or stretching.
Stretching And Aligning
Stretch the vinyl gently to fit the corner shape. Pull it slowly and evenly for a smooth wrap. Align the edges carefully before pressing down. Avoid overstretching to prevent tears or distortion. Use a squeegee to smooth out air bubbles as you go.
Handling Sharp Vs. Rounded Corners
Sharp corners need precise cuts and careful folding. Cut small slits to help the vinyl bend without wrinkling. Rounded corners allow more stretching and easier shaping. Heat helps vinyl mold around curves without creases. Adjust your technique based on the corner type.
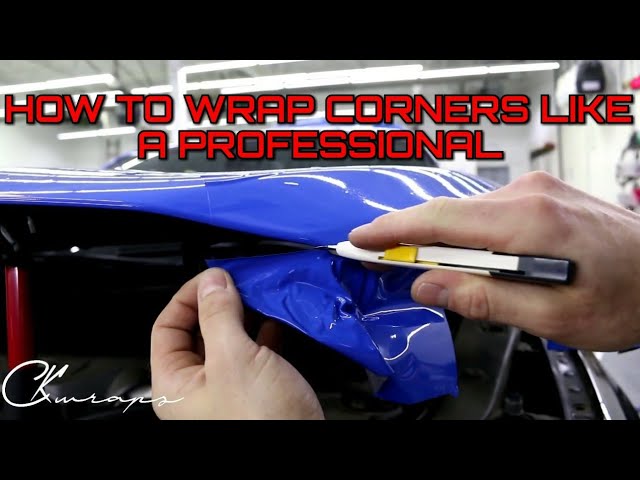
Credit: www.youtube.com
Cutting And Trimming Edges
Cutting and trimming edges is a key step in wrapping corners with vinyl. Proper cutting ensures a clean, sharp look without wrinkles or bubbles. It requires care, the right tools, and a steady hand. Careful edge work gives your wrap a professional finish that lasts longer.
Using Precision Knives
Choose a sharp precision knife for smooth cuts. A dull blade can tear the vinyl or create jagged edges. Cut slowly and steadily along the corner lines. Replace blades often to maintain sharpness. Use a cutting mat or hard surface to protect your work area.
Creating Seamless Overlaps
Allow a small overlap when cutting vinyl at corners. This overlap helps the vinyl stretch and stick properly. Trim excess material carefully after the vinyl is applied. Overlaps hide seams and make corners look smooth. Use a heat gun to soften vinyl for better stretching over curves.
Avoiding Common Cutting Mistakes
Avoid cutting too deep into the material below the vinyl. Do not rush; hurried cuts cause mistakes and waste. Measure twice and cut once to prevent errors. Avoid pulling the vinyl too hard during cutting to reduce tears. Keep your hands steady to maintain clean, straight lines.
Securing And Finishing
Securing and finishing the vinyl wrap corners is crucial for a clean, lasting look. This step ensures the wrap stays tight and smooth over time. Proper techniques help avoid peeling and bubbles. Follow these simple actions for the best results.
Applying Pressure For Adhesion
Use a soft squeegee or cloth to press the vinyl firmly. Apply steady, even pressure along the edges and corners. Work slowly to avoid wrinkles. Warm the vinyl slightly with a heat gun to make it more flexible. Pressure helps the adhesive stick well to the surface.
Edge Sealing Methods
Seal the edges to stop lifting and water damage. Use a heat gun to gently warm the edges, then press them down tightly. You can also use edge sealant products for extra protection. Make sure the edges are smooth and fully stuck to the surface. This step extends the life of your wrap.
Post-wrap Inspection
Check all corners and edges carefully after wrapping. Look for bubbles, wrinkles, or loose spots. Use a pin to pop small bubbles and press them flat. Make sure the wrap feels secure and smooth everywhere. Fix any flaws right away to keep your wrap perfect.

Credit: www.reddit.com
Troubleshooting Common Issues
Working with vinyl wrap on corners can be tricky. Issues like bubbles, peeling, and fading often appear. These problems can spoil the look of your wrap. Knowing how to fix them saves time and money. Below are common problems and easy solutions to keep your wrap smooth and fresh.
Bubbles And Wrinkles
Bubbles form when air gets trapped under the vinyl. Wrinkles happen if the wrap is stretched too much. Use a heat gun to warm the vinyl slightly. This makes it more flexible. Smooth out bubbles with a squeegee from the center outward. Small bubbles can be pierced gently with a pin. Then press the air out carefully.
Peeling Edges
Edges peel when the wrap does not stick well. Dirt or moisture on the surface can cause this. Clean the area thoroughly before applying the wrap. Use a hair dryer or heat gun on edges after installation. This helps the adhesive bond better. Press edges firmly with a squeegee or your fingers. Avoid stretching the vinyl too much at corners.
Color Fading And Damage
Sunlight and weather can fade vinyl color over time. Harsh chemicals may also damage the surface. Park your vehicle in shade to protect the wrap. Clean the wrap gently using mild soap and water. Avoid abrasive scrubbing or strong cleaners. Regular care extends the life and look of your vinyl wrap.
Credit: www.vinylfrog.com
Frequently Asked Questions
How Do You Wrap Vinyl Around Sharp Corners?
Use heat to soften the vinyl before wrapping. Stretch the vinyl gently over the corner. Avoid overstretching to prevent tearing. Use a squeegee to smooth out bubbles and creases for a clean finish.
What Tools Are Needed For Vinyl Corner Wrapping?
You need a heat gun, squeegee, sharp blade, and microfiber cloth. These tools help in stretching, cutting, and smoothing the vinyl. Proper tools ensure a professional, bubble-free wrap on corners.
Can Vinyl Wrap Be Reused After Removing From Corners?
Vinyl wrap is generally not reusable after removal. Removing it can stretch or damage the material. For best results, use new vinyl for each application to maintain adhesion and appearance.
How To Prevent Bubbles When Wrapping Vinyl On Corners?
Heat the vinyl and corner surface before application. Use a squeegee to press out air bubbles gently. Work slowly and carefully to avoid trapping air underneath the wrap.
Conclusion
Wrapping corners with vinyl takes patience and care. Start slow and keep the surface clean. Use heat gently to make the vinyl flexible. Stretch the vinyl evenly to avoid bubbles or wrinkles. Trim edges carefully to get a neat finish.
Practice helps improve your skill and confidence. Small mistakes are normal and fixable. Follow these steps, and your vinyl wrap will look smooth and professional. Enjoy the process and the great results you achieve.


