
Wrapping vinyl around curves can feel tricky, but it doesn’t have to be. If you want your project to look smooth and professional, you need the right techniques.
Imagine your vinyl hugging every curve perfectly, without wrinkles or bubbles. That’s exactly what you’ll learn here. Keep reading, and you’ll discover simple steps to master this skill, making your vinyl wraps look flawless every time. Ready to transform your work and impress with clean, curved finishes?
Let’s dive in.
Credit: www.vinylfrog.com
Choosing The Right Vinyl
Choosing the right vinyl is key to wrapping curves smoothly. The right type makes the process easier and the finish clean. Vinyl must bend without wrinkling or peeling. Picking a vinyl that fits your project needs saves time and effort.
Types Suitable For Curves
Cast vinyl works best for curves. It stretches and flexes well on uneven surfaces. Calendared vinyl is stiffer and suits flat areas. For tight curves, cast vinyl offers better results. Always check the vinyl label for flexibility.
Thickness And Flexibility
Thin vinyl wraps around curves more easily. Thick vinyl may cause bubbles or wrinkles. Look for vinyl with high elasticity. Flexible vinyl adapts to complex shapes without damage. Avoid very thick vinyl on tight curves.
Adhesive Strength
Strong adhesive keeps vinyl in place on curves. It prevents peeling at edges and corners. Some vinyl has repositionable adhesive for easy adjustments. Permanent adhesive works well for long-term projects. Choose adhesive type based on surface and use.
Preparing The Surface
Preparing the surface is a crucial step before wrapping vinyl around curves. A clean, smooth, and properly conditioned surface helps the vinyl stick better. It also prevents bubbles and wrinkles. Taking time to prepare ensures a neat, long-lasting finish.
Cleaning And Drying
Start by removing dirt, dust, and grease from the surface. Use a mild soap and water solution or a special cleaner made for vinyl application. Wipe the area with a clean cloth. Let the surface dry completely before moving on. A dry surface helps the vinyl stick firmly.
Smoothing Out Imperfections
Check for bumps, scratches, or dents on the surface. Sand or fill any rough spots to create a flat area. Uneven surfaces cause bubbles under the vinyl. Use a soft cloth to remove dust after smoothing. A smooth base makes wrapping easier and cleaner.
Temperature Considerations
Work in a space with moderate temperature. Vinyl sticks best between 60°F and 80°F (15°C – 27°C). Too cold or too hot can affect the adhesive. Avoid direct sunlight or cold drafts. Proper temperature keeps the vinyl flexible and sticky.
Tools For Vinyl Wrapping
Wrapping vinyl around curves requires specific tools to get smooth and clean results. The right tools help stretch and shape the vinyl without damaging it. They make the process easier and faster.
Using proper tools reduces bubbles and wrinkles. It also helps the vinyl stick well to curved surfaces. Below are key tools you need for vinyl wrapping.
Essential Tools List
Start with a sharp utility knife for trimming excess vinyl. A heat gun is vital for softening vinyl to fit curves. Use squeegees to press vinyl down evenly. Gloves protect your hands and keep vinyl clean. Measuring tape and a ruler help cut precise shapes. A surface cleaner removes dust and oils before wrapping.
Using Heat Guns Safely
Heat guns soften vinyl for bending around curves. Hold the gun about 6 inches from the surface. Move it slowly in a sweeping motion. Avoid holding heat in one spot to prevent damage. Wear gloves to protect your hands from heat. Let the vinyl cool before pressing it down firmly.
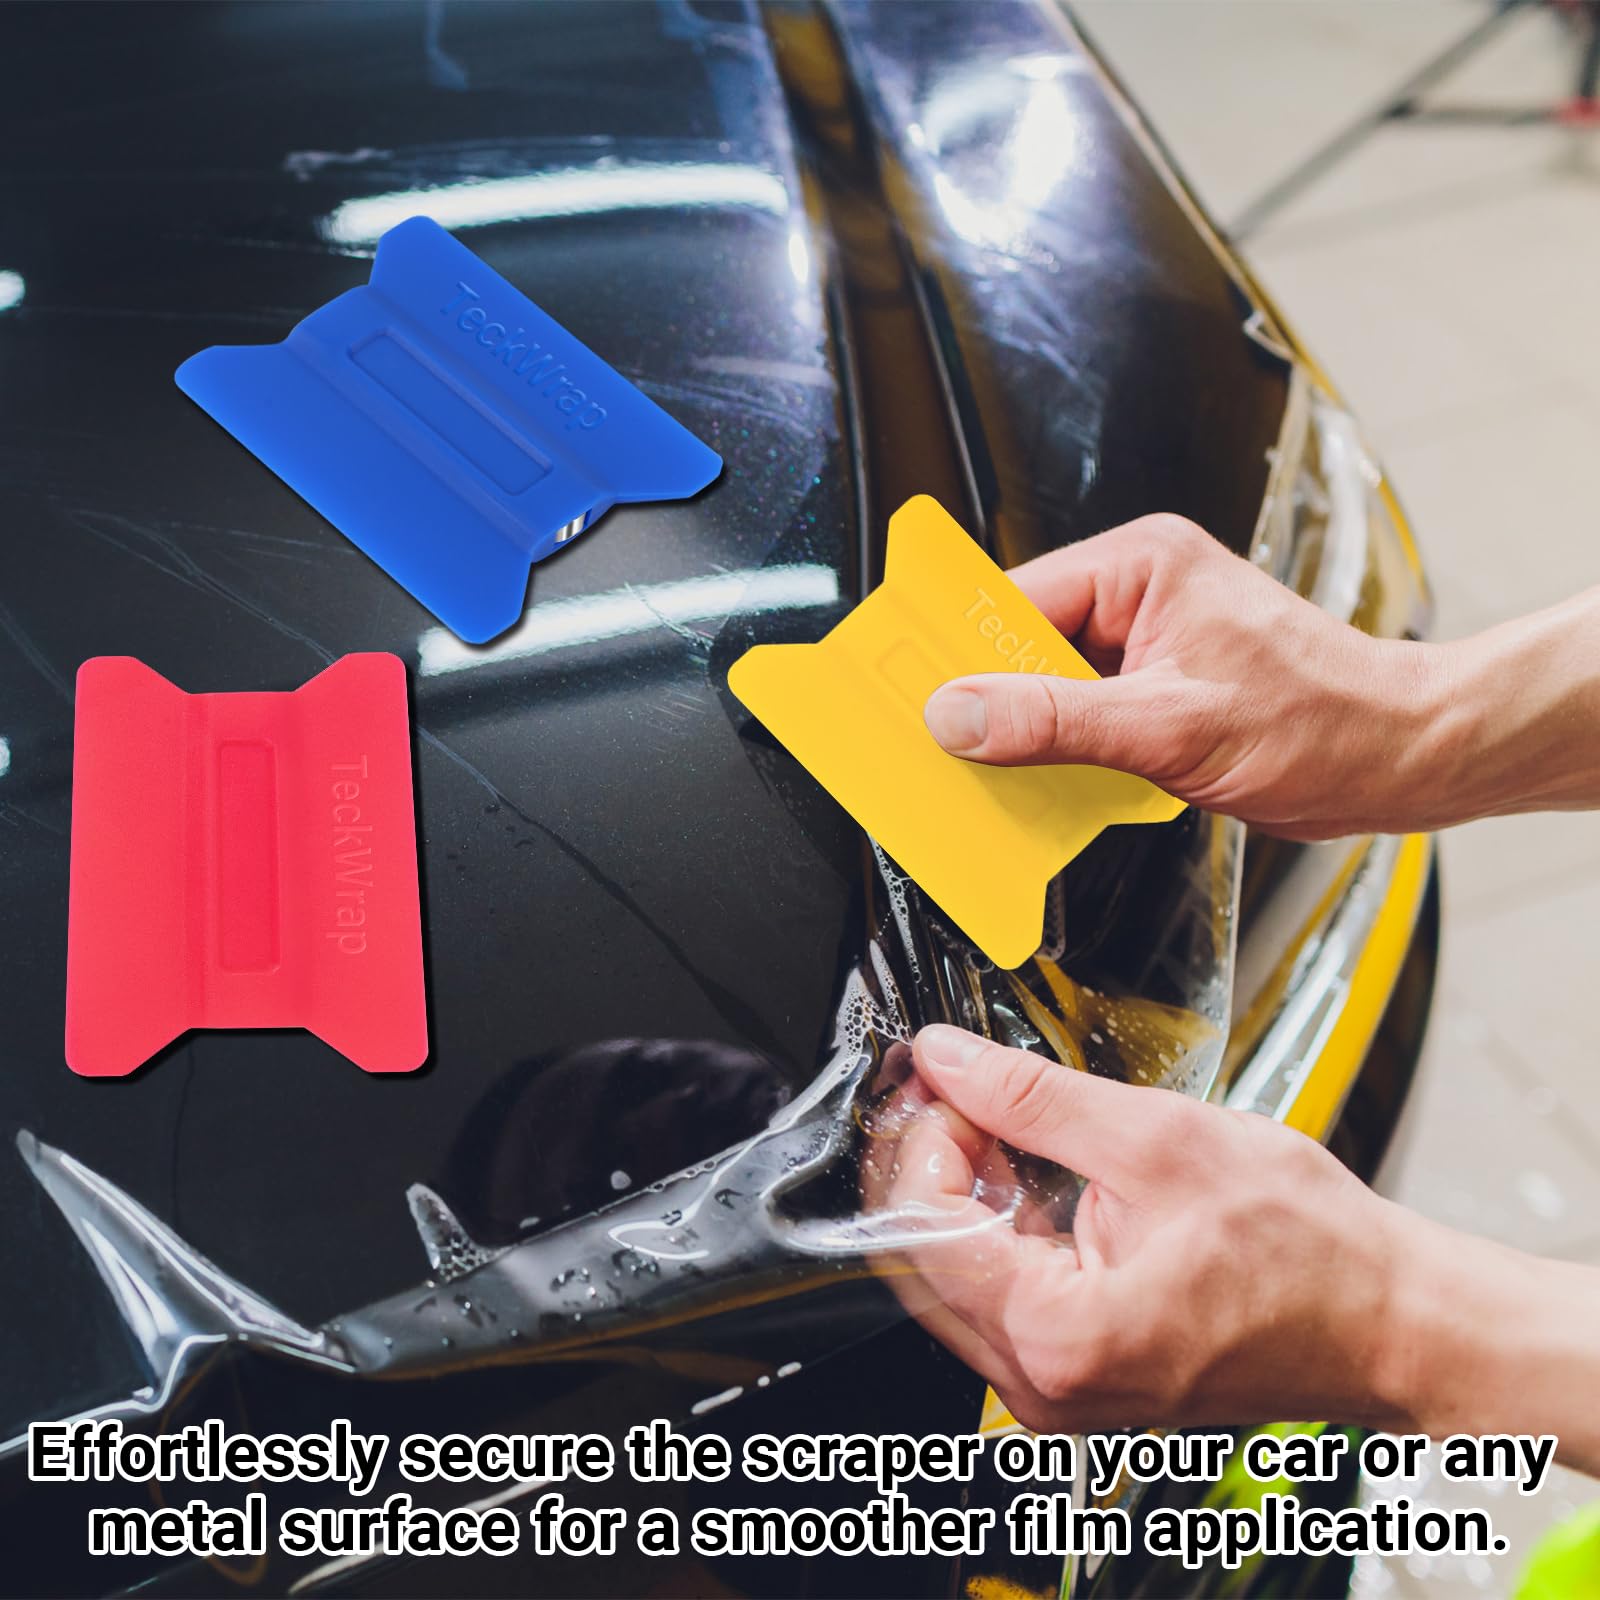
Squeegees And Application Aids
Squeegees remove air bubbles and smooth out vinyl. Use one with a soft edge to avoid scratches. Apply firm, even pressure while pushing from the center outward. Application gloves help hold vinyl without leaving marks. A felt edge squeegee works best on delicate surfaces. Use a pin to pop stubborn bubbles gently.

Credit: www.youtube.com
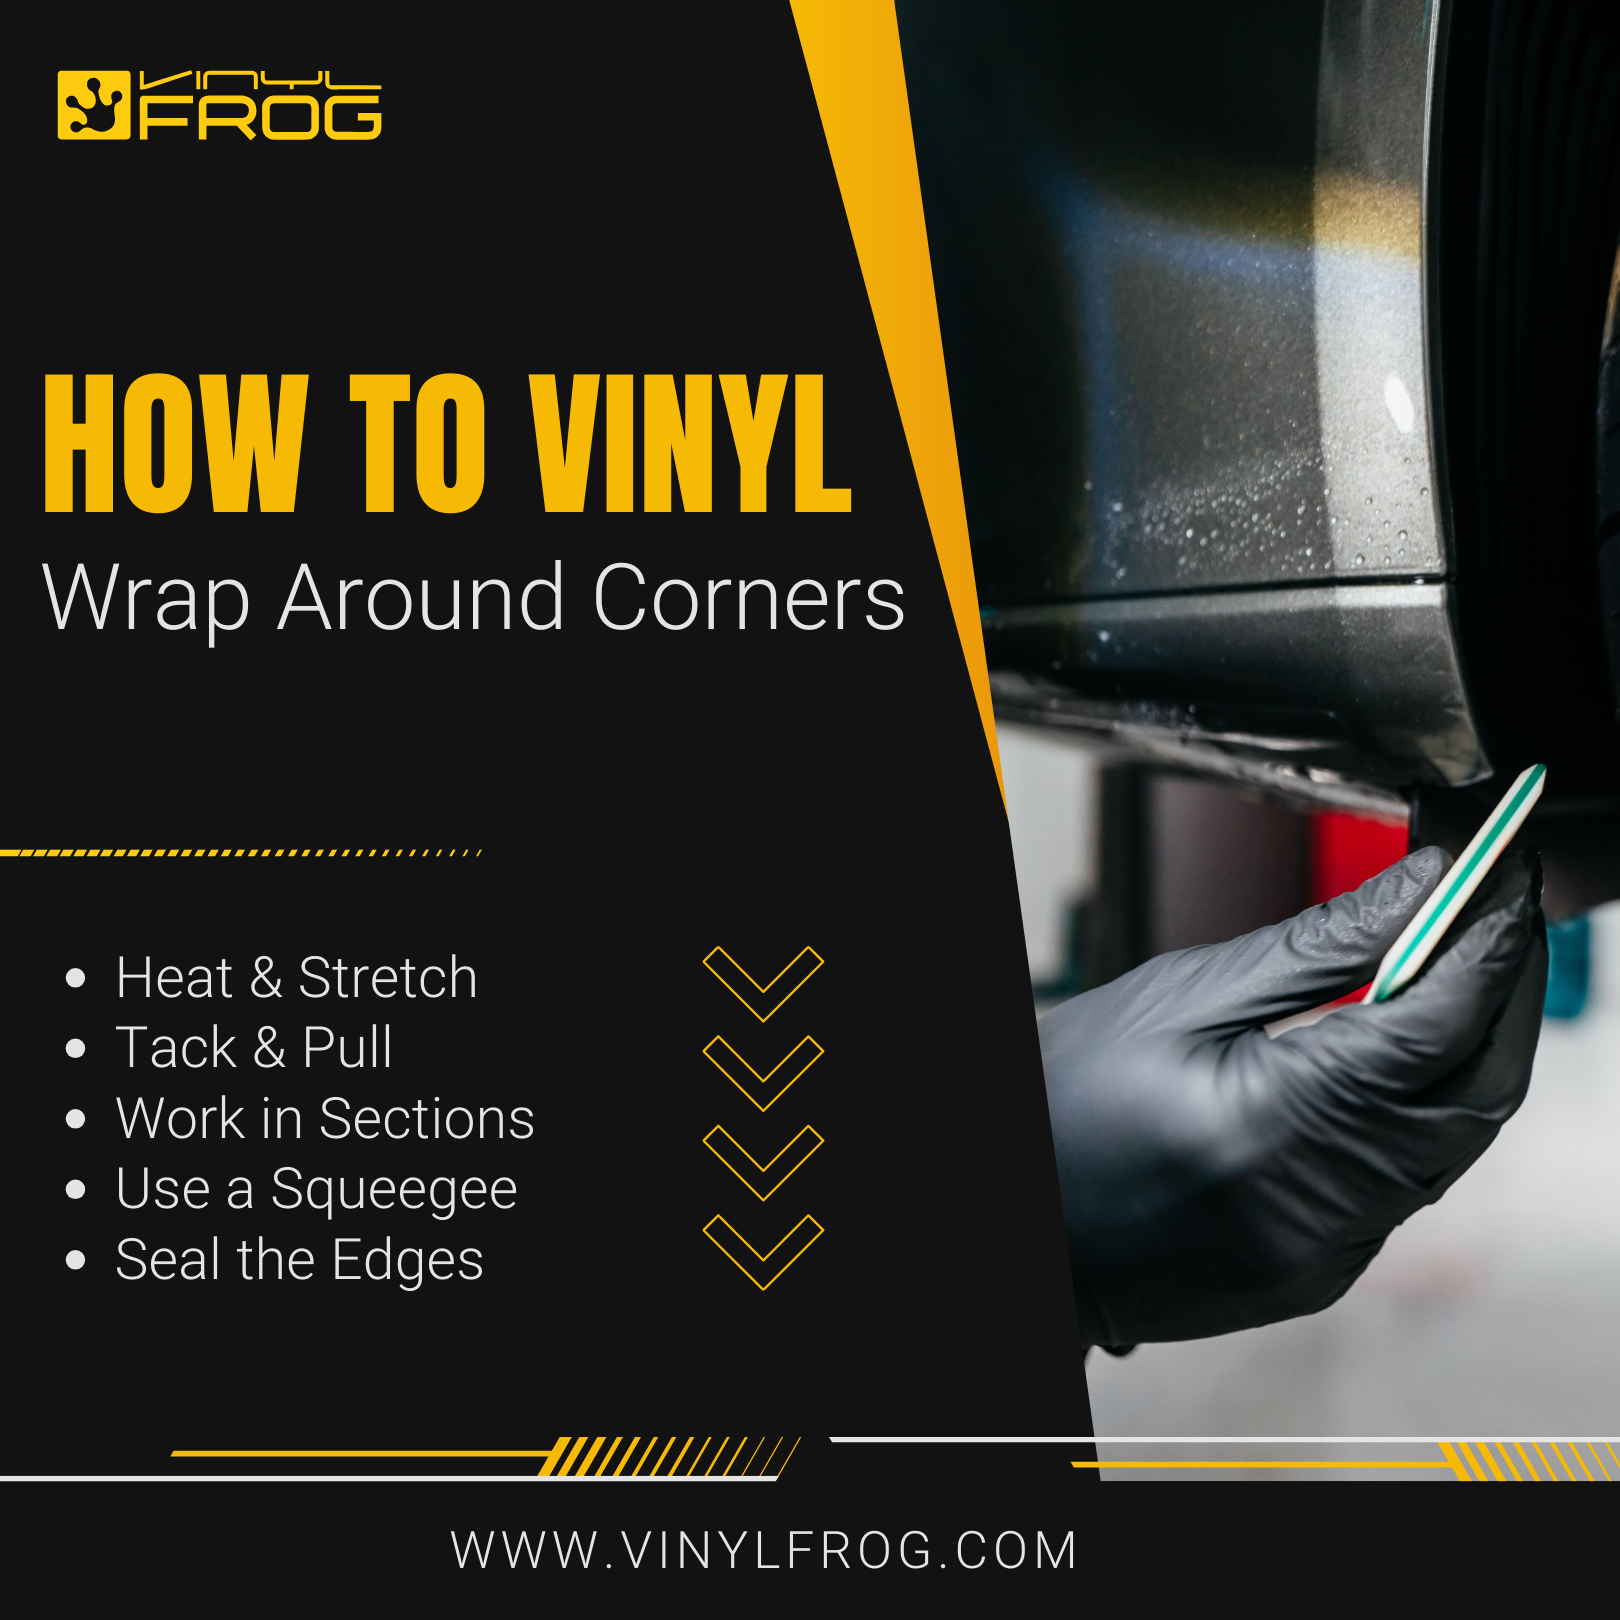
Techniques For Wrapping Curves
Wrapping vinyl around curves needs skill and patience. The material can stretch and bend, but it also risks wrinkles and bubbles. Using the right techniques helps the vinyl fit smoothly on curved surfaces. This section explains key methods to wrap curves with ease.
Stretching And Heating
Vinyl becomes flexible when heated. Use a heat gun or hairdryer to warm the vinyl gently. Stretch the vinyl slightly while heating to fit tight curves. Avoid overheating, as it can damage the vinyl or cause it to stretch too much. Stretch slowly for better control and a smooth finish.
Working In Sections
Divide the surface into small areas. Apply vinyl to one section at a time. Press the vinyl down firmly before moving on. This method helps manage curves and prevents the vinyl from folding or wrinkling. Take your time to align each section properly.
Avoiding Air Bubbles And Wrinkles
Use a squeegee to press out air bubbles. Start from the center and push towards the edges. Work gently to avoid stretching the vinyl too much. If bubbles appear, lift the vinyl slightly and smooth it again. Patience and careful pressure keep the vinyl smooth and wrinkle-free.
Handling Complex Shapes
Wrapping vinyl around curves can be tricky. Complex shapes need special care. Each type of curve needs a different approach. Understanding how to handle these shapes makes your work neat and smooth. Focus on the shape’s curve type before you start.
Tackling Concave Curves
Concave curves bend inward like a bowl. Stretch the vinyl gently to avoid wrinkles. Use a heat gun to soften the vinyl before applying. Work from the center outwards to keep it tight. Take small steps and smooth the vinyl with a squeegee. Avoid pulling too hard to prevent tears.
Managing Convex Surfaces
Convex surfaces bulge outward like a dome. Cut small slits in the vinyl to help it bend. Warm the vinyl slightly to increase flexibility. Press the vinyl gently over the curve, smoothing as you go. The slits let the vinyl lay flat without creases. Be patient and adjust the vinyl little by little.
Dealing With Edges And Corners
Edges and corners need careful attention. Wrap the vinyl slowly around the edge. Use a heat gun to make the vinyl pliable. Fold the vinyl neatly at corners to avoid bubbles. Trim any excess vinyl with a sharp blade. Press down firmly to secure the vinyl and keep it smooth.
Credit: wmtuckerexcavating.com
Trimming And Finishing Touches
Trimming and finishing touches are key steps in wrapping vinyl around curves. These steps ensure the wrap looks clean and lasts long. Proper finishing prevents lifting and peeling over time. Taking time to trim and seal edges helps achieve a professional result.
Cutting Vinyl Neatly
Use a sharp blade for clean cuts. Cut slowly and follow the curve closely. Avoid jagged or uneven edges. Trim excess vinyl carefully to prevent gaps or overlaps. A steady hand makes the job easier. Replace blades often to keep cuts sharp.
Sealing Edges
Seal edges to stop the vinyl from lifting. Use edge sealer or clear tape for protection. Press edges firmly to stick well. Pay special attention to corners and tight curves. Proper sealing keeps dirt and moisture out. This step extends the wrap’s life.
Post-application Heating
Heat the vinyl gently after application. Use a heat gun or hairdryer on low heat. Heating helps the vinyl conform to curves perfectly. It activates the adhesive for a stronger bond. Move the heat source evenly over the surface. Avoid overheating to prevent damage.
Common Mistakes To Avoid
Wrapping vinyl around curves can be tricky for many. Mistakes are common and can ruin the finish. Avoiding these errors helps you get smooth, clean results. Here are some common mistakes to watch out for.
Overstretching Vinyl
Stretching vinyl too much causes it to lose shape. It can tear or bubble easily. Always stretch vinyl gently and evenly. Let it relax before applying to tight curves. Overstretching leads to wrinkles and poor adhesion.
Skipping Surface Prep
Not cleaning the surface properly is a big error. Dirt and dust stop vinyl from sticking well. Clean the area with a mild cleaner and dry it fully. A smooth surface ensures vinyl lays flat and lasts longer.
Ignoring Temperature Guidelines
Applying vinyl in wrong temperatures causes problems. Too cold or too hot affects vinyl’s flexibility. Work in moderate temperatures for best results. Follow manufacturer’s temperature advice to avoid bubbles and cracks.
Maintaining Wrapped Surfaces
Maintaining wrapped surfaces helps keep vinyl looking fresh and new. Proper care prevents damage and extends the life of your wrap. Regular attention makes a big difference in appearance and durability.
Cleaning Tips
Use a soft cloth or sponge to clean wrapped surfaces. Avoid abrasive materials that can scratch the vinyl. Wash with mild soap and water only. Rinse well to remove all soap residue. Dry the surface gently with a clean towel. Avoid high-pressure water sprays that may lift edges.
Repairing Minor Damage
Small tears or bubbles can appear over time. Use a heat gun to soften the vinyl around the damage. Press down bubbles carefully with a squeegee or soft cloth. For tiny cuts, vinyl repair kits can fill gaps. Act quickly to prevent damage from getting worse. Avoid harsh chemicals that can harm the vinyl.
Longevity Best Practices
Park in shaded areas to reduce sun damage. Avoid sharp objects near the wrapped surface. Wash your wrap regularly to remove dirt and grime. Use protective wax designed for vinyl wraps. Do not wax too often; once every few months is enough. Check edges often and press down any lifting parts.
Frequently Asked Questions
How Do You Prepare Vinyl For Wrapping Curves?
Clean the surface thoroughly to remove dirt and oils. Use a heat gun to warm the vinyl. This makes it flexible and easier to mold around curves without bubbles or wrinkles.
What Tools Help Wrap Vinyl Around Curves Effectively?
Use a squeegee, heat gun, and a sharp utility knife. The squeegee smooths air bubbles. The heat gun softens the vinyl for better shaping. The utility knife trims excess vinyl neatly.
Can All Vinyl Types Wrap Around Curves?
No, cast vinyl is best for curves. It is thin, flexible, and heat-activated. Calendared vinyl is thicker and less flexible, making it harder to wrap smoothly around curves.
How Do You Avoid Bubbles When Wrapping Vinyl On Curves?
Apply heat evenly and stretch the vinyl gently. Use a squeegee to push out air pockets from the center outward. Work slowly to prevent trapping air under the vinyl.
Conclusion
Wrapping vinyl around curves takes patience and the right tools. Stretch the vinyl carefully to avoid wrinkles or bubbles. Use heat and a squeegee to shape the material smoothly. Practice on small projects before tackling big ones. Remember, slow and steady work gives the best results.
With these tips, your curved surfaces will look neat and clean. Enjoy the process and keep improving your skills.


