Are you looking to add a unique touch to your car’s interior? A baseball stitch steering wheel cover not only boosts your grip but also gives your ride a sporty, stylish look.
But how do you create one yourself? If you’ve ever felt overwhelmed by complicated guides, this step-by-step approach will make the process simple and enjoyable. By the end of this article, you’ll have the confidence to transform your steering wheel with a professional-looking baseball stitch cover that fits perfectly.
Ready to get started? Let’s dive in!

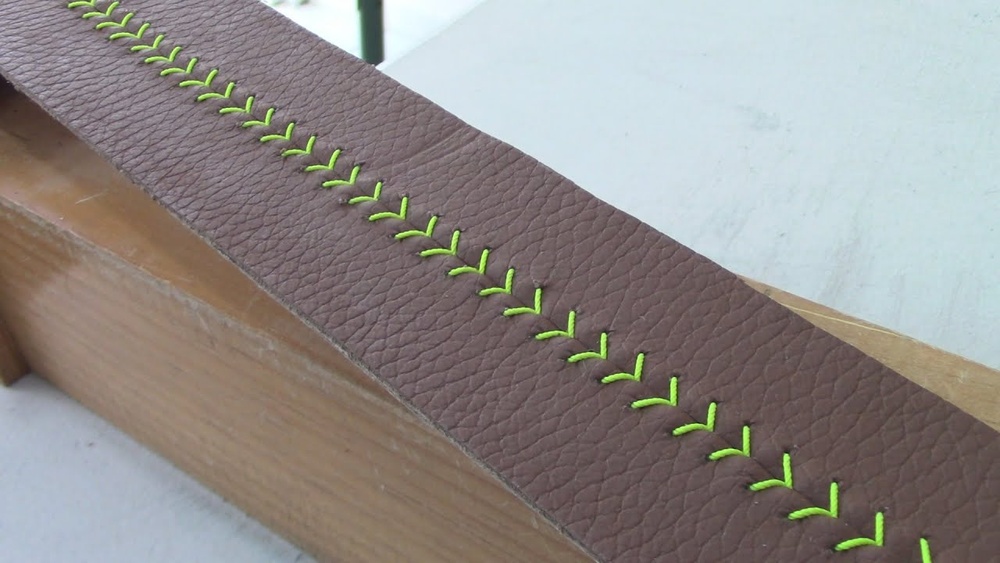
Credit: www.pirouette-editions.fr
Materials Needed
Before stitching your baseball-style steering wheel cover, gather all necessary materials. Having the right tools makes the process smoother and the results better. This section explains what you need to prepare.
Choosing The Right Cover
Select a steering wheel cover that fits your wheel size perfectly. Leather or synthetic leather covers work best for stitching. These materials are durable and easy to sew through. Avoid thin or slippery covers; they can make stitching difficult. Pick a cover with pre-punched holes or mark your own for neat stitching.
Selecting The Thread And Needle
Use thick, strong thread designed for leather work. Waxed polyester thread is ideal for durability and grip. Choose a color that matches or contrasts the cover to enhance the look. Select a curved needle made for leather or thick materials. A curved needle helps you sew through tough spots with ease. Make sure your thread is long enough to complete the entire stitching process without breaks.
Preparing The Steering Wheel
Preparing the steering wheel is the first step to a great baseball stitch cover. A clean and smooth surface helps the cover fit well and last longer. Taking time now prevents problems later. Follow these steps carefully before starting the stitching process.
Cleaning The Surface
Start by wiping the steering wheel with a damp cloth. Remove dust, dirt, and oils that can stop the cover from sticking properly. Use a mild soap if needed. Avoid harsh chemicals that can damage the wheel’s material. Let the wheel dry completely before moving on.
Removing Old Covers
Remove any old covers carefully. Pull slowly to avoid tearing or leaving glue behind. Use a plastic scraper to lift stuck edges if necessary. Clean off leftover adhesive with rubbing alcohol. A smooth surface ensures the new cover fits tight and looks neat.
Measuring And Cutting
Measuring and cutting are the first steps in making a baseball stitch steering wheel cover. These steps help ensure the cover fits your steering wheel perfectly. Careful measuring and precise cutting prevent mistakes and save time later.
Taking Accurate Measurements
Start by measuring the diameter of your steering wheel. Use a flexible tape measure for best results. Measure the outer edge all around. Note the total length and width of the wheel. Double-check your numbers before moving on. Accurate measurements help create a snug cover.
Cutting The Cover Material
Choose a durable material for the cover. Lay the material flat on a clean surface. Use your measurements to mark the cutting lines. Cut slowly and carefully along the lines. Avoid jagged edges for a smooth finish. Proper cutting makes stitching easier and the cover fit better.
Starting The Stitch
Starting the stitch is the first step in making a baseball stitch steering wheel cover. This stage sets the base for a neat and strong finish. Taking time to prepare will help the stitching go smoothly and look great.
Careful preparation prevents mistakes and ensures the cover fits well. This section explains how to mark stitch points and thread the needle for the best start.
Marking Stitch Points
Marking stitch points creates a guide for even and straight stitches. Use a fabric pencil or chalk to mark small dots along the edge of the cover. Space the dots evenly, about half an inch apart.
Start at the bottom center of the steering wheel cover. Work your way around, marking each stitch point clearly. These marks help keep your stitches consistent and prevent gaps or bunches in the leather.
Threading The Needle
Choose a strong, thick thread made for leather or heavy fabric. Cut a long piece, about two feet, to avoid running out mid-stitch. Thread the needle carefully, pulling the thread through the eye.
Tie a secure knot at the end of the thread. The knot stops the thread from slipping through the leather. Check that the thread is smooth and without knots before starting the stitching.
Stitching Techniques
Stitching techniques are key to making a baseball stitch steering wheel cover look neat and last long. The right method helps the cover fit tightly around the wheel. It also makes the stitching strong and even. Understanding these techniques makes the project easier and the result better.
Basic Baseball Stitch
The basic baseball stitch is simple and effective. Start by threading a strong needle with leather or heavy-duty thread. Insert the needle through the hole on one side of the cover. Pull the thread across and insert it through the hole on the opposite side.
Repeat this process, crossing the thread like an “X” pattern. Keep the stitches close but not too tight. This creates the classic look seen on baseballs. The stitch also holds the cover firmly on the steering wheel.
Maintaining Even Tension
Even tension is important for a smooth finish. Pull the thread gently after each stitch. Avoid pulling too hard, which can cause the leather to bunch up. Too loose stitches will make the cover sag and look messy.
Check your work regularly to keep the tension consistent. Adjust the thread tightness as needed. This keeps the cover comfortable to hold and visually appealing.
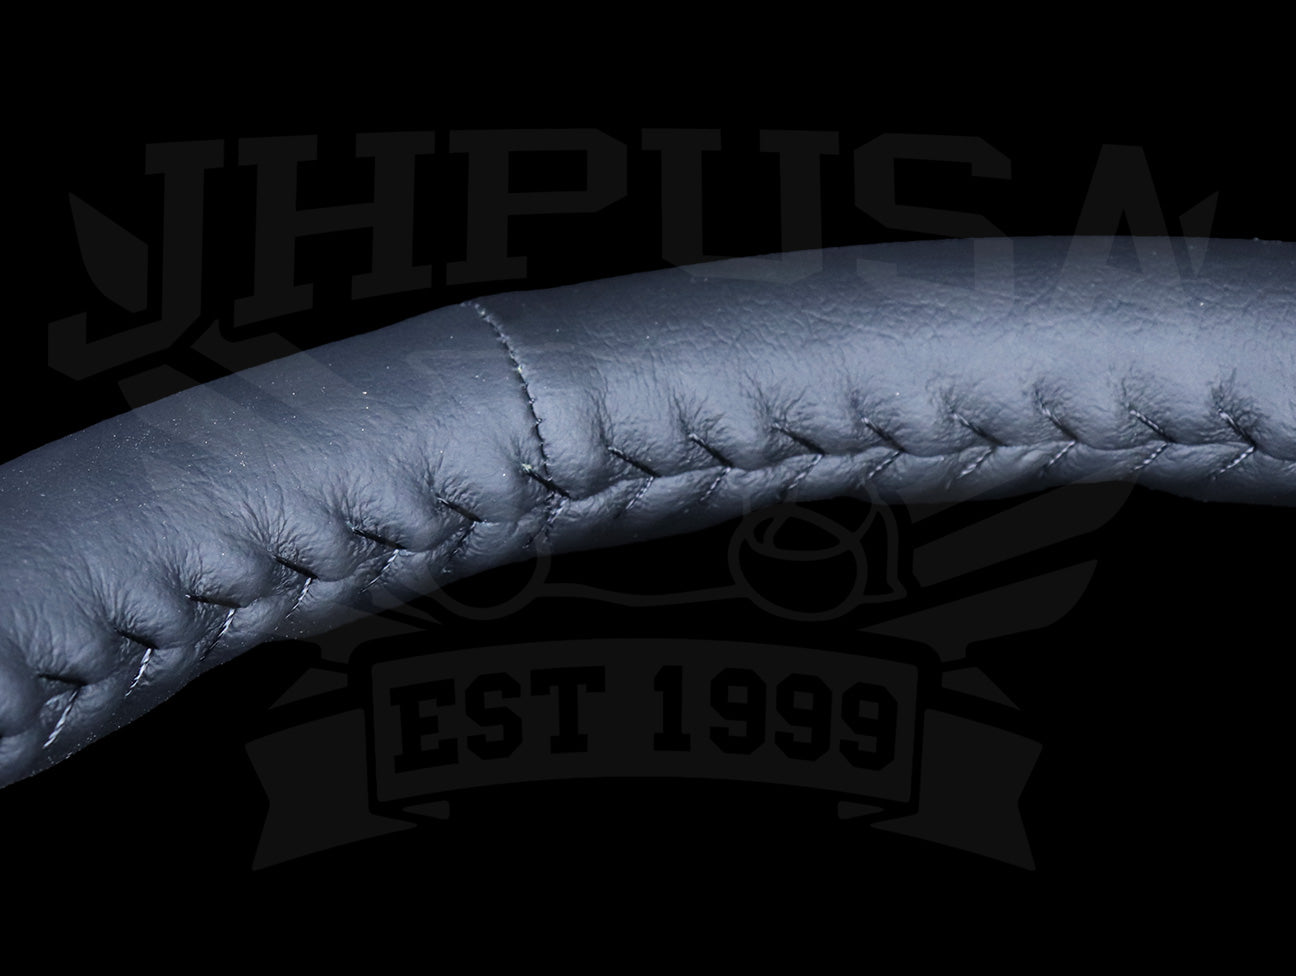
Credit: jhpusa.com
Finishing The Cover
Finishing the cover is a key step in your baseball stitch steering wheel cover project. It ensures the cover stays secure and looks neat. Proper finishing gives a professional touch to your work. Pay close attention to the final steps to avoid any loose threads or messy edges.
Tying Off The Thread
After stitching the cover tightly, it is time to tie off the thread. Make a strong knot close to the last stitch. Pull the thread gently to secure the knot without loosening the stitches. Repeat the knot twice for extra strength. Cut the thread, leaving a small tail inside the cover to hide it. This step stops the thread from unraveling over time.
Trimming Excess Material
Check the edges of your steering wheel cover for any extra leather or fabric. Use sharp scissors to trim away the excess material carefully. Cut close to the stitching, but do not damage the thread. Smooth edges create a clean and tight fit on the wheel. Removing extra material also prevents bulkiness and improves comfort while driving.
Tips For Durability
Making a baseball stitch steering wheel cover last long needs care and the right choices. This section shares tips to keep your cover strong and good-looking. Follow these simple steps for the best results.
Choosing Strong Materials
Pick leather or synthetic leather for the cover. These materials resist wear and tear well. Look for thick thread meant for heavy use. Polyester or nylon threads hold stitches tight and prevent snapping. Avoid thin or weak threads that break easily. A strong base material and thread help the cover stay intact.
Regular Maintenance
Clean the cover often with a soft cloth. Use mild soap and water to remove dirt. Avoid harsh chemicals that can damage materials. Check stitches regularly for any loosening or fraying. Repair small problems early to stop bigger damage. Keep the cover dry to prevent mold or bad smells. Regular care keeps the cover fresh and durable.
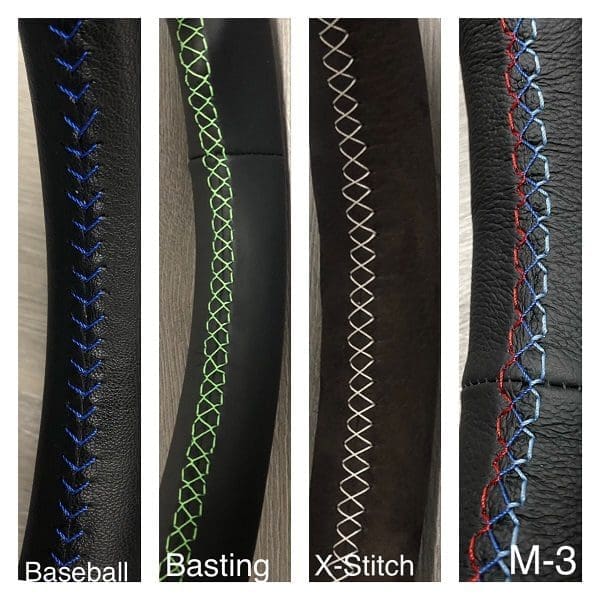
Credit: craftcustoms.com
Frequently Asked Questions
What Tools Are Needed For Baseball Stitch Steering Wheel Cover?
You need a steering wheel cover, strong thread, a needle, scissors, and a thimble for safe stitching. These tools help create a neat and durable baseball stitch on your steering wheel cover.
How Long Does It Take To Stitch A Steering Wheel Cover?
Stitching a steering wheel cover with baseball stitch usually takes 1 to 2 hours. The time varies based on your stitching speed and experience level.
Can Beginners Easily Do Baseball Stitch On Steering Covers?
Yes, beginners can do baseball stitching with patience and practice. Following step-by-step instructions ensures a neat finish and improves stitching skills.
What Thread Type Is Best For Steering Wheel Baseball Stitch?
Use strong, durable polyester or nylon thread. These threads resist wear and tear, ensuring your baseball stitch steering wheel cover lasts longer.
Conclusion
Baseball stitching adds a strong grip and a unique look to your steering wheel. Follow each step carefully to sew the cover tightly and neatly. Take your time and keep the stitches even for the best result. This simple project improves comfort and style while driving.
Enjoy the process and the feeling of a custom-made cover. Practice makes perfect, so don’t rush or get frustrated. Your steering wheel will feel better and look great with your handiwork. Keep your car interior fresh with this easy DIY touch.


