
If you own a Ryobi BP42, you know how important it is to keep it running smoothly. One key part that needs regular attention is the fuel filter.
But how do you remove the fuel filter without causing damage or frustration? You’ll discover simple, clear steps to safely take out the fuel filter from your Ryobi BP42. By the end, you’ll feel confident maintaining your equipment and avoiding costly repairs.
Let’s get started and make your Ryobi work like new again!
Credit: bona-store.com
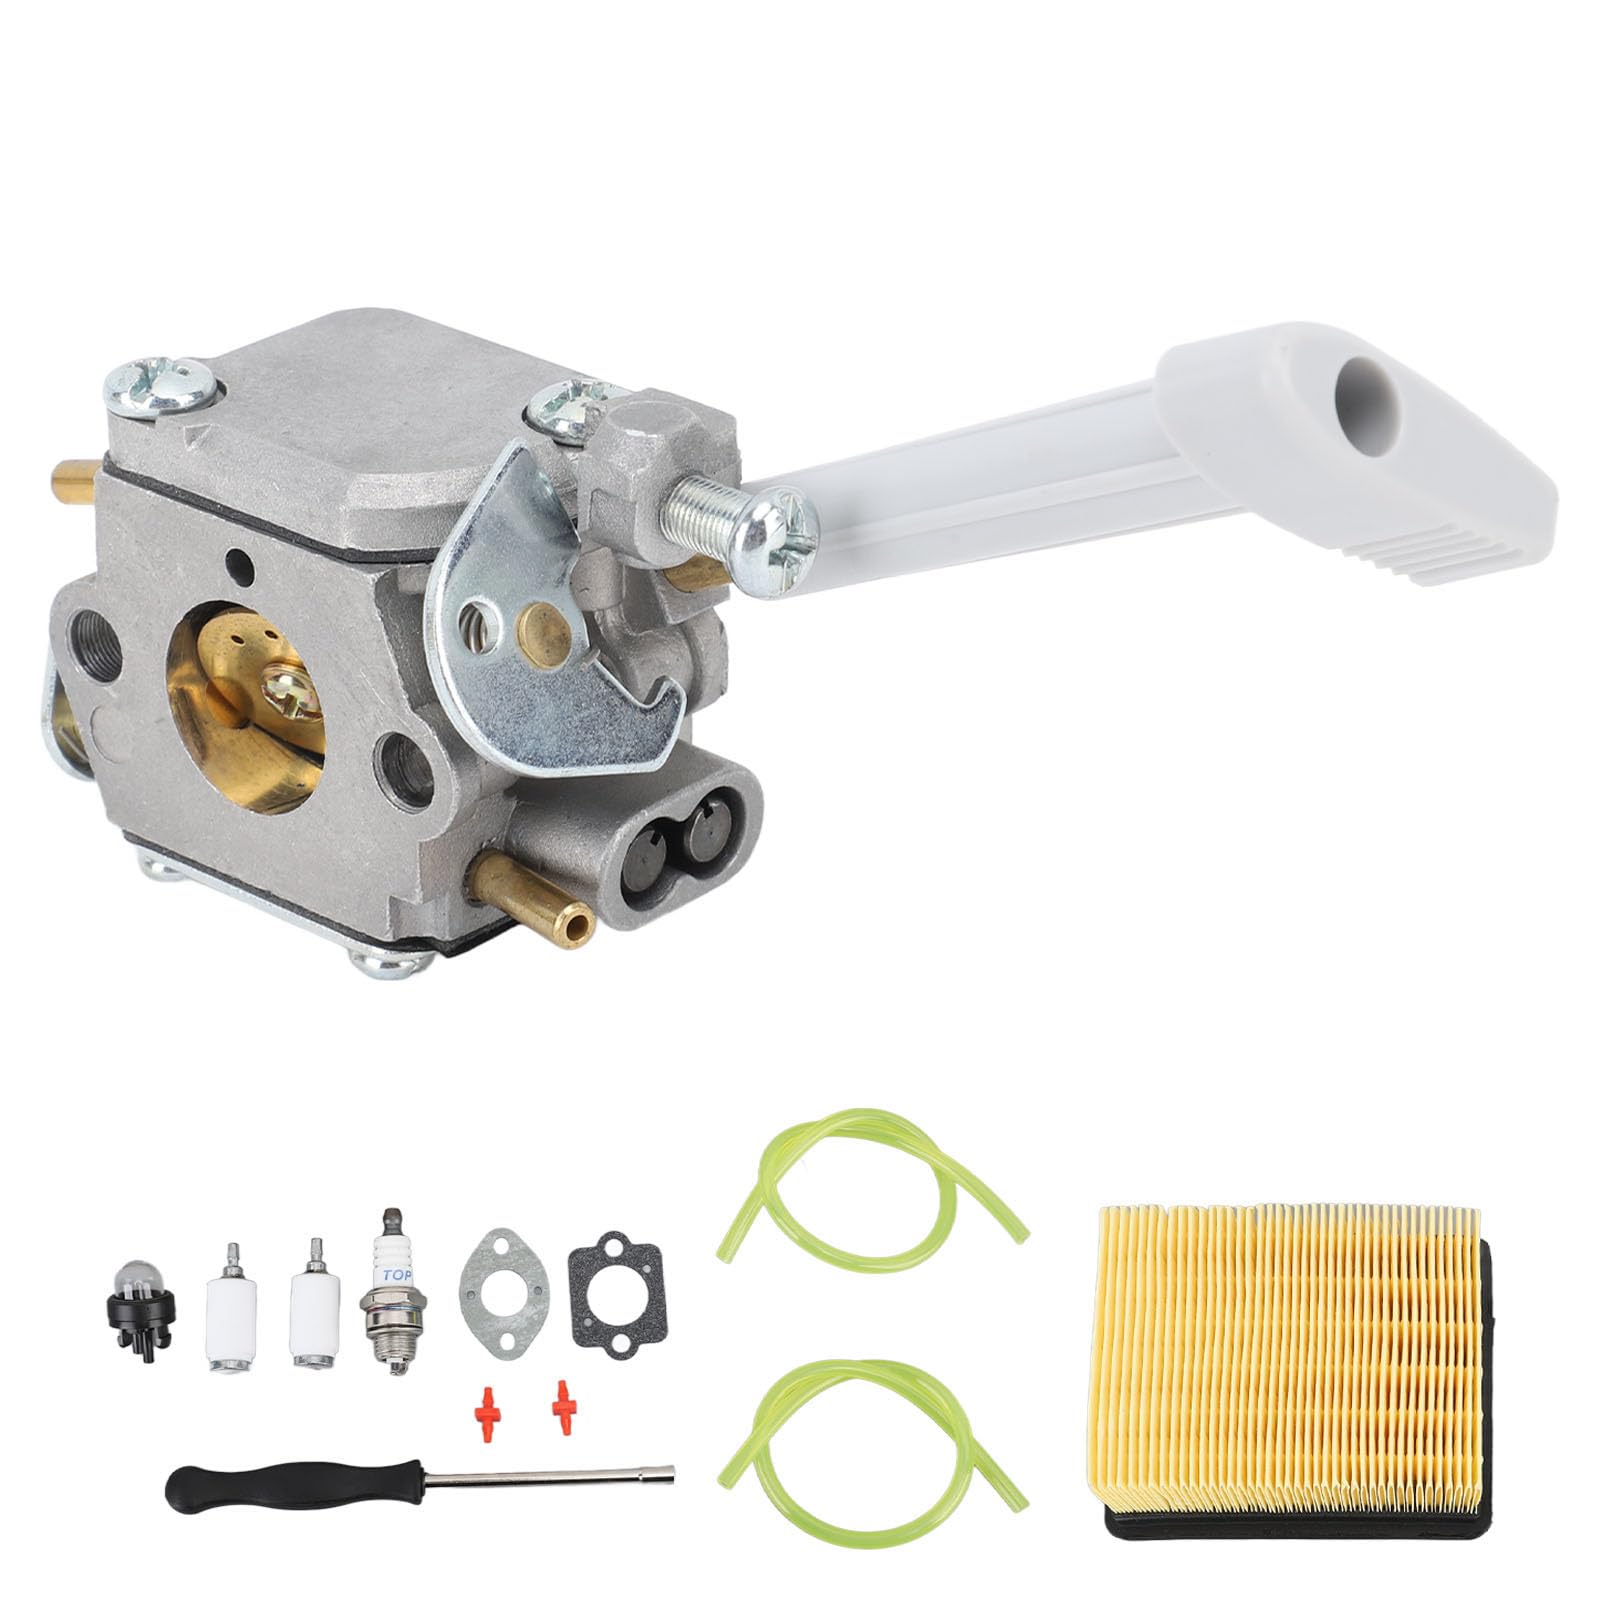
Tools Needed
Removing the fuel filter from a Ryobi BP42 requires a few simple tools. Having the right tools makes the job easier and safer. Prepare all tools before starting to avoid interruptions. This section lists the main tools needed for this task.
Socket Wrench Set
A socket wrench set helps remove bolts holding the filter. Choose the correct socket size for a snug fit. It prevents slipping and damage to bolts.
Screwdriver
A flathead or Phillips screwdriver is useful for clamps or covers. It helps loosen parts without harming the filter or fuel line.
Pliers
Pliers grip and pull off fuel lines gently. Needle-nose pliers work well for tight spaces. They provide good control without breaking hoses.
Container For Fuel
Have a small container ready to catch any leaking fuel. It keeps your work area clean and safe. Use a container that seals tightly.
Gloves
Wear gloves to protect your hands from fuel and dirt. They provide a better grip on tools and parts. Choose gloves resistant to chemicals.
Safety Precautions
Safety is the first step before removing the fuel filter from your Ryobi BP42. Fuel is flammable and can cause harm. Taking the right precautions protects you and your equipment.
Work in a well-ventilated area. This helps to avoid breathing harmful fumes. Keep away from open flames or sparks to prevent fire risks.
Wear Protective Gear
Always wear gloves to protect your skin from fuel. Safety glasses shield your eyes from splashes. Long sleeves help avoid contact with fuel or dirt.
Turn Off The Engine
Make sure the Ryobi BP42 engine is off before starting. Let it cool down to prevent burns. Remove the spark plug wire to avoid accidental starts.
Handle Fuel Carefully
Place a container under the fuel filter to catch spills. Avoid spilling fuel on the ground or clothes. Clean any spills quickly using a cloth.
Use Proper Tools
Use the right tools to avoid damage to the fuel filter. Avoid using excessive force to prevent breaking parts. Keep tools clean and ready for use.
Locate The Fuel Filter
Finding the fuel filter on your Ryobi BP42 is the first step to removing it safely. This part is important because it keeps dirt from reaching the engine. Knowing its exact spot helps avoid damage to other parts.
The fuel filter usually sits along the fuel line. This line connects the fuel tank to the engine. The filter looks like a small clear or white plastic piece.
Check Near The Fuel Tank
Start by looking close to the fuel tank. The fuel filter often clips directly to the tank’s outlet. It might be inside a small plastic housing or attached outside.
Follow The Fuel Line
Trace the fuel line from the tank toward the engine. The filter is usually on this path. It is easy to spot because of its shape and material.
Look For A Transparent Casing
The filter often has a see-through casing. This lets you see the fuel inside. Dirt or debris inside the filter will be visible through this casing.
Use Proper Lighting
Good lighting helps you identify the filter clearly. Use a flashlight if needed. Shadows or dirt may hide the filter’s exact spot.

Credit: neurocin.com.br
Drain The Fuel Tank
Start by draining the fuel tank to prevent spills when removing the fuel filter. This step keeps your work area clean and safe. Carefully empty the fuel before detaching the filter from the Ryobi BP42.
Prepare The Work Area
Start by choosing a clean, flat surface to work on. Place a container or tray nearby to catch the drained fuel. Wear gloves to protect your hands from fuel contact. Keep away from open flames or sparks for safety.
Locate The Fuel Tank Drain Valve
Find the drain valve on the Ryobi BP42 fuel tank. It is usually at the bottom or side of the tank. Check your user manual if unsure. This valve allows fuel to flow out easily.
Open the drain valve slowly to avoid spills. Let all the fuel drain into the container. Tilt the equipment gently if needed to remove all fuel. Close the valve tightly after draining to prevent leaks.
Dispose Of Fuel Properly
Pour the drained fuel into a sealed container. Take it to a local recycling center or hazardous waste site. Never pour fuel on the ground or in drains. Handle fuel with care to protect the environment.
Remove The Fuel Lines
Removing the fuel lines is a key step in taking out the fuel filter from your Ryobi BP42. These lines carry fuel from the tank to the engine. Detaching them safely prevents spills and keeps the work area clean.
Handle the fuel lines gently to avoid damage. Use the right tools to loosen any clamps or connectors. This step ensures the fuel filter can be removed without issues.
Locate The Fuel Lines
Find the fuel lines attached to the fuel filter. They are usually rubber tubes connected at both ends of the filter. Check for clamps holding the lines in place.
Release The Clamps
Use pliers or a screwdriver to loosen the clamps. Slide the clamps away from the filter to free the fuel lines. Keep the clamps safe for reassembly.
Disconnect The Fuel Lines
Pull the fuel lines gently off the fuel filter. Twist slightly if they stick, but do not force them. Fuel may spill, so have a cloth ready to catch drops.

Credit: www.ebay.com
Detach The Fuel Filter
Start by turning off the Ryobi BP42 and letting it cool. Locate the fuel filter, then gently pull it out from the fuel line. Be careful not to spill any fuel during removal.
Prepare The Area For Fuel Filter Removal
Start by placing the Ryobi BP42 on a flat surface. Make sure the engine is off and cool. Wear gloves to protect your hands from fuel. Have a container ready to catch any spilled fuel. This step keeps the workspace clean and safe.
Loosen The Fuel Line Clamps
Locate the clamps holding the fuel lines on the filter. Use pliers to squeeze and slide the clamps away. Do this gently to avoid damaging the hoses. Moving the clamps will free the fuel lines from the filter.
Remove The Fuel Lines From The Filter
Pull the fuel lines straight off the filter connections. Wiggle them carefully if they are tight. Avoid bending or twisting the hoses too much. This prevents cracks or leaks in the fuel line.
Detach The Fuel Filter From The Housing
Grip the fuel filter firmly and pull it out from its holder. Some models may have a clip or screw securing it. Remove any clips or screws before pulling the filter out. Keep the filter upright to avoid spilling fuel.
Inspect And Clean Components
Inspecting and cleaning the fuel filter components of the Ryobi BP42 is a key step. This keeps the engine running smoothly and prevents damage. Dirt and debris can block fuel flow and reduce performance.
Take your time to check each part closely. Clean parts help the fuel filter work well. This section explains how to inspect and clean the components carefully.
Remove The Fuel Filter From The Fuel Line
Start by detaching the fuel filter from the fuel line. Use pliers to gently squeeze the clamps. Pull the fuel line off the filter carefully. Avoid pulling hard to prevent damage.
Examine The Fuel Filter For Dirt And Damage
Look at the fuel filter’s surface and inside. Check for cracks, dirt, or clogging. A dirty or cracked filter must be replaced. Clean filters can be reused after proper cleaning.
Clean The Fuel Filter With A Suitable Cleaner
Use clean diesel or gasoline to flush the filter. Pour the cleaner slowly through the filter. Tap gently to remove stubborn dirt. Let the filter dry completely before reinstalling.
Inspect The Fuel Line And Clamps
Check the fuel line for cracks or wear. Replace any damaged lines to avoid leaks. Make sure clamps are tight and not rusty. Loose clamps can cause fuel leaks and damage.
Install New Fuel Filter
Installing a new fuel filter in the Ryobi BP42 is key for smooth engine performance. The filter keeps dirt and debris out of the fuel system. A clean filter helps the blower run well and last longer.
Follow clear steps to fit the new fuel filter correctly. This guide makes the process simple and safe.
Prepare The New Fuel Filter
Start by checking the new fuel filter. Make sure it matches the old one in size and shape. Avoid dirt by keeping it in its package until ready to install.
Attach The New Fuel Filter To The Fuel Line
Connect the new filter to the fuel line carefully. Push the filter into the line until it fits snugly. The filter must face the right direction for fuel flow. Look for an arrow on the filter showing the flow direction.
Secure The Fuel Filter In Place
Hold the filter firmly to avoid leaks. Use hose clamps if available. Tighten the clamps gently to avoid damage but keep the filter stable.
Check For Leaks
After installation, start the blower briefly. Watch the filter area for any fuel leaks. Tighten connections if fuel drips appear. No leaks mean the filter is installed correctly.
Reattach Fuel Lines
Reattaching the fuel lines is a key step after removing the fuel filter from your Ryobi BP42. Properly connecting these lines ensures your blower runs smoothly and safely. Take your time to avoid leaks or fuel flow problems.
Start by identifying the correct fuel line for each connector. The lines have specific ends and must match the filter’s input and output ports. Incorrect attachment can cause fuel flow issues or engine trouble.
Check Fuel Lines For Damage
Before reconnecting, inspect the fuel lines closely. Look for cracks, holes, or stiffness. Damaged lines can cause fuel leaks and reduce performance. Replace any bad lines for safety and efficiency.
Attach Fuel Lines Securely
Slide each fuel line onto its proper port firmly. Push the line until it fully covers the connector. Loose lines may slip off and cause fuel spills or engine failure.
Use Clamps If Needed
Some Ryobi models use clamps to hold fuel lines tight. Check if your model has these clamps. Tighten them gently but firmly to prevent leaks without damaging the lines.
Double-check Connections
After attaching, give each line a gentle tug. Make sure they do not come off easily. Confirm the lines follow the original routing to avoid kinks or sharp bends.
Test The Equipment
Testing the equipment before removing the fuel filter from your Ryobi BP42 is vital. It ensures safety and proper function. You avoid damage and know exactly what to expect.
Check the fuel level first. A full tank can spill fuel during removal. Drain or use fuel carefully to prevent mess and fire risk.
Inspect The Ryobi Bp42
Look over the blower for any visible damage. Cracks or leaks can cause problems during filter removal. Fix these issues before starting.
Check The Fuel Lines
Examine fuel lines for cracks or wear. Old or brittle lines might break when you remove the filter. Replace if necessary.
Prepare Safety Gear
Wear gloves and eye protection. Fuel can irritate skin and eyes. Use a clean cloth to catch any spills.
Turn Off And Cool Down
Make sure the blower is off and cool. Hot parts or fuel can cause burns. Wait at least 30 minutes after use.
Test The Fuel Flow
Before removal, check if fuel flows smoothly. This helps confirm the fuel filter is the issue. Run the blower for a few seconds.
Frequently Asked Questions
How To Safely Remove Fuel Filter From Ryobi Bp42?
To safely remove the fuel filter, first turn off the trimmer and disconnect the spark plug. Locate the fuel filter inside the fuel tank. Gently pull the filter out using pliers or fingers. Avoid damaging the fuel lines during removal.
When Should I Replace The Fuel Filter On Ryobi Bp42?
Replace the fuel filter every 3 to 6 months or when you notice poor engine performance. A clogged filter reduces fuel flow, causing stalling or difficulty starting the trimmer. Regular replacement keeps your Ryobi BP42 running smoothly.
What Tools Are Needed To Remove Ryobi Bp42 Fuel Filter?
You only need basic tools like needle-nose pliers or tweezers to remove the fuel filter. Additionally, have a clean container ready to catch any spilled fuel. No complex tools are required, making the process simple and quick.
Can I Clean And Reuse The Ryobi Bp42 Fuel Filter?
It’s best to replace the fuel filter instead of cleaning it. Cleaning might not remove all debris, risking engine damage. A new filter ensures optimal fuel flow and protects your trimmer’s engine.
Conclusion
Removing the fuel filter from your Ryobi BP42 helps keep it running well. Clean or replace the filter to avoid engine problems. Take your time and follow the steps carefully. Use the right tools to make the job easier. Regular maintenance saves money and extends the blower’s life.
Now you know how to handle this simple task safely. Keep your Ryobi BP42 working strong for many seasons ahead.


