
Changing brake pads and rotors might sound tricky, but it’s something you can handle with the right guidance. If you’ve ever wondered how hard it really is, you’re in the right place.
Knowing how to do this yourself can save you time, money, and the hassle of unexpected repairs. You’ll discover step-by-step what’s involved, what tools you need, and how to avoid common mistakes. By the end, you’ll feel confident enough to decide if this is a job you want to tackle on your own.
Ready to take control of your car’s safety? Let’s dive in.
.jpg)
Credit: www.cbac.com
Tools Needed
Changing brake pads and rotors requires several tools. Having the right tools makes the job easier and safer. These tools fall into three main groups. Basic hand tools, safety gear, and specialty equipment. Each plays an important role in the process.
Basic Hand Tools
Basic hand tools include wrenches, sockets, and screwdrivers. You will need a lug wrench to remove the wheel. A socket set helps remove bolts holding the caliper and rotor. Screwdrivers can pry off clips or dust covers. These tools are common in most home toolkits.
Safety Gear
Safety gear protects you during the brake job. Gloves keep your hands clean and safe from sharp edges. Safety glasses shield your eyes from dust and debris. Wearing a mask helps avoid breathing brake dust. Proper safety gear reduces the risk of injury.
Specialty Equipment
Specialty equipment includes a brake caliper tool or C-clamp. These tools push the caliper piston back into place. A jack and jack stands lift and secure the car safely. A torque wrench ensures bolts tighten to the right level. These tools make the job more precise and secure.
Signs To Replace Pads And Rotors
Knowing the signs to replace brake pads and rotors helps keep your car safe. Worn parts reduce braking power and can cause damage. Early detection saves money and prevents accidents. Watch for clear signals that your brakes need attention.
Squeaking And Grinding Noises
Squeaking sounds often mean brake pads are thin. The noise comes from a small metal piece called a wear indicator. Grinding noises are worse. They mean the pads are gone and metal touches metal. This can damage rotors and requires quick action.
Vibrations While Braking
Feeling vibrations in the brake pedal or steering wheel is a warning. It usually means the rotors are warped or uneven. Warped rotors reduce brake efficiency and make stopping unsafe. Check brake parts if you notice shaking during braking.
Visual Wear Indicators
Brake pads have a visible wear line or slot. If this line is very thin or gone, replacement is needed. Rotors may show deep grooves, cracks, or rust spots. Regular visual checks help spot wear before it becomes a big problem.
Preparing Your Vehicle
Preparing your vehicle is the first step in changing brake pads and rotors. This stage ensures safety and makes the job easier. Taking time to prepare helps avoid mistakes and accidents. Follow these steps carefully before starting the replacement process.
Securing The Car
Park your car on a flat surface. Use the parking brake to keep it still. Place wheel chocks behind the wheels that stay on the ground. This stops the car from rolling. Never skip this step. Safety is the top priority.
Removing The Wheel
Loosen the lug nuts while the car is still on the ground. Use a lug wrench and turn counterclockwise. Do not remove them yet. Next, lift the car using a jack. Place jack stands under the car for extra support. Now, fully remove the lug nuts and take off the wheel. This gives access to the brake parts.
Cleaning The Area
Use a brush to remove dirt and dust from the brake area. Clean parts carefully to avoid damage. Removing grime helps see the brake pads and rotors clearly. This step also improves brake performance after installation. Always wear a mask to avoid breathing brake dust.

Credit: vatire.com
Removing Old Brake Pads
Removing old brake pads is a key step in changing brakes. It helps keep your car safe and stops wear on other parts. This part of the job is not too hard. You just need some tools and a bit of care. Let’s break down how to do it step-by-step.
Locating The Caliper
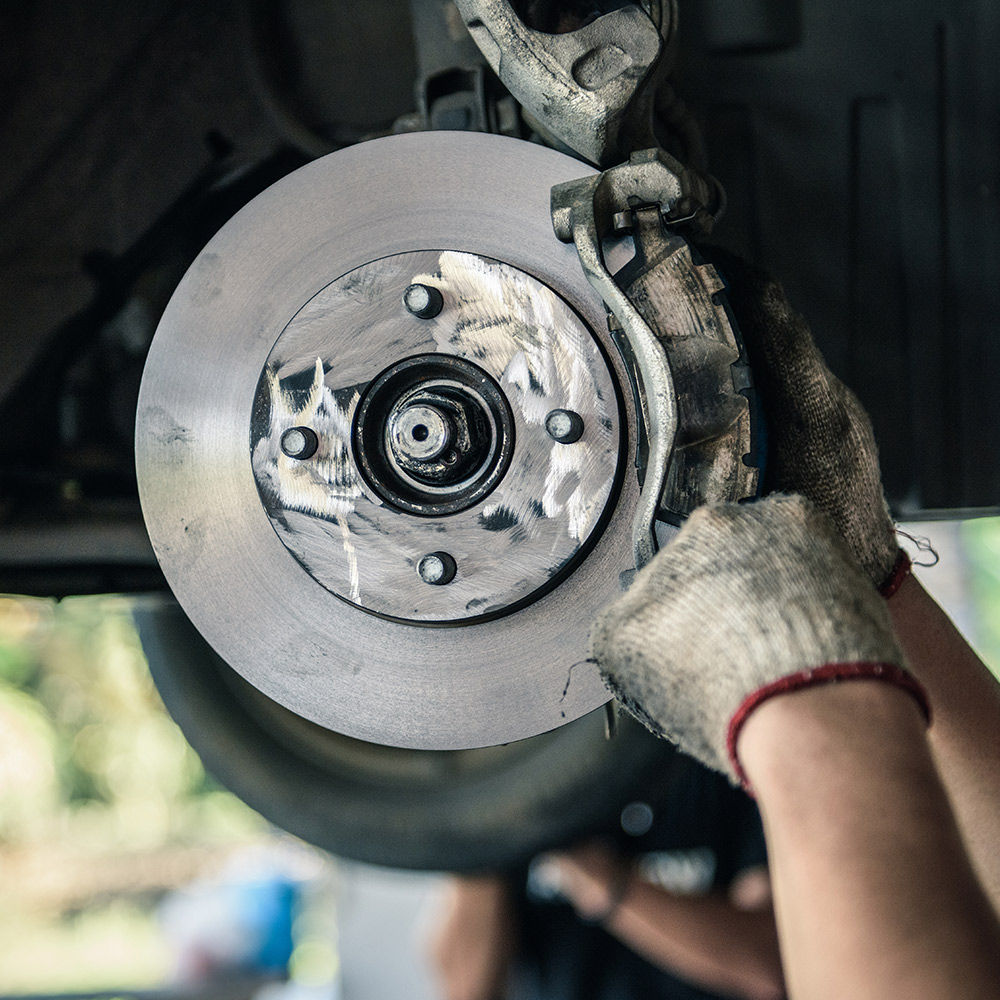
The brake caliper is a metal clamp around the rotor. It holds the brake pads in place. To find it, look behind the wheel. The caliper sits over the round rotor disc. This part presses the pads against the rotor to stop the car.
Unbolting The Caliper
Use a wrench or socket to remove the caliper bolts. These bolts keep the caliper fixed on the rotor. Take care not to drop or lose them. Once loose, carefully lift the caliper off the rotor. Support the caliper so it does not hang by the brake hose.
Extracting The Pads
With the caliper off, the brake pads are easy to see. Slide the old pads out from their slots. They may be tight or stuck from wear. Use a small tool to gently pry them if needed. Check pads for wear and compare new pads before installing.
Changing Brake Rotors
Changing brake rotors is an important part of car maintenance. Rotors wear out over time and can cause poor braking. Replacing them helps keep your car safe and smooth on the road. The process requires some tools and patience but is doable.
Careful steps must be followed. Each part must be removed and checked. This section explains how to remove the caliper bracket, take off the rotor, and inspect the hub.
Removing Caliper Bracket
Start by lifting the car and removing the wheel. Locate the brake caliper and find the bolts holding the caliper bracket. Use a wrench to loosen and remove these bolts. Carefully slide the caliper and bracket off the rotor. Support the caliper so it does not hang by the brake hose. This avoids damage.
Taking Off The Rotor
The rotor may be stuck due to rust or dirt. Tap the rotor gently with a rubber mallet to loosen it. If your car has screws holding the rotor, remove them first. Slide the rotor off the hub. Some rotors may need extra force, but avoid bending or damaging it.
Inspecting The Hub
Check the hub for rust, dirt, or damage. Clean the hub surface with a wire brush. Ensure the hub is smooth and flat. A dirty or uneven hub can cause rotor problems later. Proper cleaning helps the new rotor sit correctly and work well.
Installing New Parts
Installing new brake pads and rotors is a key step in brake repair. It requires care and attention to detail. Proper installation ensures safety and good braking performance.
Placing New Rotors
Start by cleaning the new rotors with brake cleaner. This removes any oils or coatings. Place the rotor on the wheel hub. Make sure it fits flat and tight against the hub. Secure it temporarily with lug nuts to keep it steady.
Fitting New Brake Pads
Check the brake caliper for wear or damage. Compress the caliper piston using a brake tool or C-clamp. This creates space for the new pads. Insert the new brake pads into the caliper bracket. Ensure they sit firmly and align with the rotor.
Reassembling The Caliper
Carefully position the caliper over the new brake pads and rotor. Align the caliper bolts with their holes. Tighten the bolts securely but do not overtighten. Double-check all parts are in place and move smoothly.
Post-installation Checks
After changing brake pads and rotors, some checks must be done. These checks ensure safety and proper function. Skipping these steps can cause brake failure or damage. Follow these simple steps to confirm everything is right.
Tightening Bolts
Check all bolts holding the rotor and caliper. Use a torque wrench for correct tightness. Loose bolts can make brakes unsafe. Tighten bolts to the car maker’s specifications. Double-check each bolt before moving on.
Checking Brake Fluid
Open the brake fluid reservoir. Check the fluid level and color. Low fluid means a leak or worn pads. Add brake fluid if needed. Avoid spilling fluid on car paint. Clean any spills immediately.
Test Driving Safely
Start driving slowly in a safe area. Press the brake pedal gently at first. Listen for strange noises or vibrations. Feel if the brakes respond well. Stop and check again if anything feels wrong. Repeat the test to be sure brakes work well.
Common Challenges
Changing brake pads and rotors can be tricky for many car owners. Some problems happen often during the process. These issues can slow down the work or cause extra repairs. Knowing these common challenges helps prepare and fix them faster.
Stuck Bolts
Bolts hold the brake parts tightly. Over time, they can rust or get stuck. Removing stuck bolts needs extra force or special tools. Using oil spray or heat can help loosen them. Care is important to avoid breaking bolts.
Misaligned Components
Parts must fit perfectly after replacement. Misaligned brake pads or rotors cause poor braking and noise. Checking the position carefully during installation prevents this. Small adjustments can fix alignment problems quickly.
Brake Noise After Replacement
New brakes should be quiet. Noise like squeaking or grinding means a problem. It can come from dirt, wrong parts, or poor fitting. Cleaning parts and checking installation usually stops the noise. Testing brakes gently after work helps find issues early.
Tips For A Smooth Process
Changing brake pads and rotors can feel tricky without some helpful tips. A smooth process saves time and avoids mistakes. Simple steps make the job easier and safer.
Focus on clear organization, proper use of tools, and following key instructions. These tips help you handle the parts and tools with confidence.
Organizing Parts
Keep all parts in one clean spot before starting. Lay out new pads, rotors, and tools on a tray or cloth. This prevents losing small pieces and speeds up the work.
Use containers or labeled bags for bolts and clips. Group similar items together. It helps avoid confusion and ensures you put everything back correctly.
Using Anti-seize
Apply a small amount of anti-seize on bolts and contact points. This stops parts from sticking or rusting over time. It also makes future removal easier.
Do not use too much. A thin layer is enough. Clean old residue before applying new anti-seize for better effect.
Following Torque Specs
Check the vehicle manual for the right torque settings. Tighten bolts with a torque wrench to the correct level. Too loose or too tight can cause damage or unsafe brakes.
Work in a pattern, tightening bolts gradually. This keeps the rotor in place and avoids warping. Accurate torque ensures the brake system works well and lasts longer.
Credit: www.homedepot.com
Frequently Asked Questions
How Difficult Is It To Change Brake Pads And Rotors?
Changing brake pads and rotors is moderately challenging. It requires basic tools and mechanical knowledge. Beginners can do it with patience and proper guidance. Safety precautions are essential to avoid accidents. It usually takes about 1 to 2 hours for a complete replacement.
What Tools Do I Need To Replace Brake Pads And Rotors?
You need a jack, lug wrench, socket set, C-clamp, and screwdriver. Brake cleaner and grease also help. Having a torque wrench ensures proper bolt tightening. These tools make the process smoother and safer. Proper preparation saves time and effort.
How Long Does It Take To Change Brake Pads And Rotors?
Typically, it takes 1 to 2 hours for both sides. Time varies with experience and vehicle type. Rushing can cause mistakes, so work carefully. Allow extra time if it’s your first brake job. Proper timing ensures safety and quality.
Can I Replace Brake Pads And Rotors Myself Safely?
Yes, with the right tools and instructions, it’s safe. Follow a reliable guide or video tutorial carefully. Wear protective gear and work on a flat surface. Double-check all components before driving. If unsure, consult a professional mechanic.
Conclusion
Changing brake pads and rotors can be manageable with patience and care. Basic tools and clear steps help simplify the process. Taking your time reduces mistakes and keeps you safe. Always double-check your work before driving. Learning this skill saves money and builds confidence.
Start small, stay focused, and you can do it yourself.


