
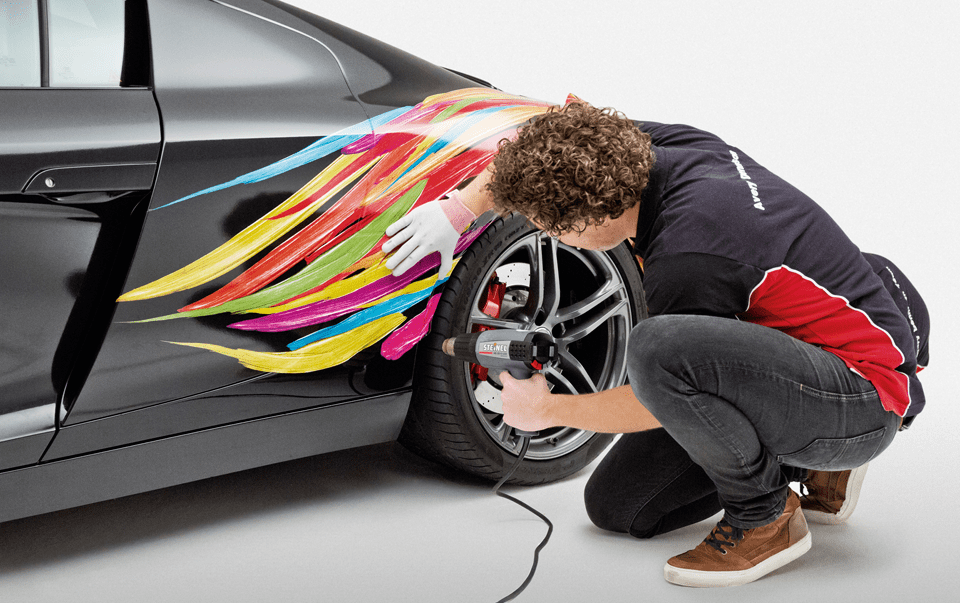
Are you ready to give your car a fresh, new look without spending a fortune on paint? Applying an automotive vinyl wrap is a smart way to transform your vehicle’s appearance quickly and affordably.
But how do you get a smooth, professional finish that turns heads wherever you go? In this guide, you’ll discover simple, step-by-step tips to help you wrap your car like a pro—even if it’s your first time. Keep reading, and by the end, you’ll have the confidence to tackle your own vinyl wrap project with ease.
Your car’s makeover starts here.
Choosing The Right Vinyl Wrap
Choosing the right vinyl wrap is an important step in the wrapping process. The type, color, and quality of the vinyl affect the final look and durability. Picking the best option helps the wrap last longer and look great.
Types Of Vinyl Wraps
There are several types of vinyl wraps available. Cast vinyl is thin, flexible, and lasts longer. It is best for cars that need curves covered. Calendered vinyl is thicker and cheaper. It works well for flat surfaces but fades faster. Air-release vinyl helps avoid bubbles during installation. It is easier to apply for beginners.
Color And Finish Options
Vinyl wraps come in many colors and finishes. Glossy wraps shine like new paint. Matte wraps have a flat, non-shiny look. Satin finishes are between glossy and matte. Metallic and chrome finishes add extra style. Patterns like carbon fiber or brushed metal create unique effects. Choose a finish that matches your style and car type.
Quality Considerations
High-quality vinyl lasts longer and resists damage. Look for brands with good reviews and warranties. Cheap vinyl may peel or fade quickly. Check the thickness and flexibility of the wrap. Good vinyl sticks well but can be removed without damage. Invest in quality for the best results and protection.
Preparing Your Vehicle
Preparing your vehicle is a crucial step before applying an automotive vinyl wrap. This stage ensures the wrap sticks well and looks smooth. Skipping preparation can cause bubbles, peeling, or uneven surfaces. Take time to ready your car for the best results.
Cleaning And Degreasing
Start by washing your vehicle thoroughly. Remove dirt, dust, and grime from every surface. Use soap and water for a basic clean. After washing, apply a degreaser to remove oils and wax. Oils stop the vinyl from sticking properly. Wipe the surface with a clean cloth until it feels dry and smooth.
Removing Obstacles
Take off any parts that block the wrap. This includes mirrors, badges, handles, and trim pieces. Removing these parts helps wrap edges stay tight. It also prevents wrinkles around obstacles. Use the right tools to avoid damage. Keep all removed parts safe for reinstallation later.
Surface Inspection
Look closely at your car’s surface for damage. Check for dents, scratches, or rust spots. Vinyl wrap will not hide deep damage well. Fix any issues before wrapping. Smooth surfaces give the best finish. Use sandpaper or filler if needed. Clean the area again after repairs to remove dust.
Gathering Essential Tools
Gathering the right tools is the first step to apply automotive vinyl wrap. Having the correct equipment makes the process smoother and the results better. Each tool has a special role in ensuring the wrap fits perfectly and stays in place.
Squeegees And Heat Guns
Squeegees help remove air bubbles under the vinyl. They push the wrap flat against the vehicle’s surface. Choose squeegees with soft edges to avoid scratches.
Heat guns make the vinyl more flexible. Warm vinyl bends easily around curves and corners. Use the heat gun carefully to avoid melting the wrap.
Cutting Tools
Sharp cutting tools are needed to trim excess vinyl. A utility knife or a precision blade works well. Replace blades often to keep cuts clean and smooth.
Cut slowly and steadily. This helps avoid mistakes and uneven edges.
Gloves And Tape
Gloves protect your hands and keep the vinyl clean. Vinyl shows fingerprints and dirt easily. Use gloves made from soft materials like cotton or nitrile.
Tape helps hold the vinyl in place before final application. Masking tape or painter’s tape works best. It also marks cutting lines without damaging the surface.
Measuring And Cutting The Vinyl
Measuring and cutting the vinyl is a crucial step in applying automotive vinyl wrap. It ensures the wrap fits perfectly on the vehicle’s surface. Careful measurement and precise cutting help avoid waste and mistakes. Follow simple steps to get the right size and shape for the vinyl.
Accurate Measurements
Measure the vehicle’s surface carefully with a tape measure. Note the length and width of each section to wrap. Double-check the numbers to avoid errors. Write down all measurements clearly before cutting the vinyl. Accurate measurements save time and material.
Adding Allowances
Add extra inches to each measurement for a better fit. This allowance helps cover curves and edges smoothly. Usually, add 2 to 4 inches depending on the area. The extra vinyl lets you stretch and adjust during application. Cutting too close can cause problems later.
Pre-cutting Techniques
Lay the vinyl flat on a clean surface before cutting. Use a sharp blade or scissors to cut along the marked lines. Cut slowly and steadily for straight edges. Avoid cutting too fast to prevent jagged lines. Pre-cutting makes the wrapping process easier and faster.
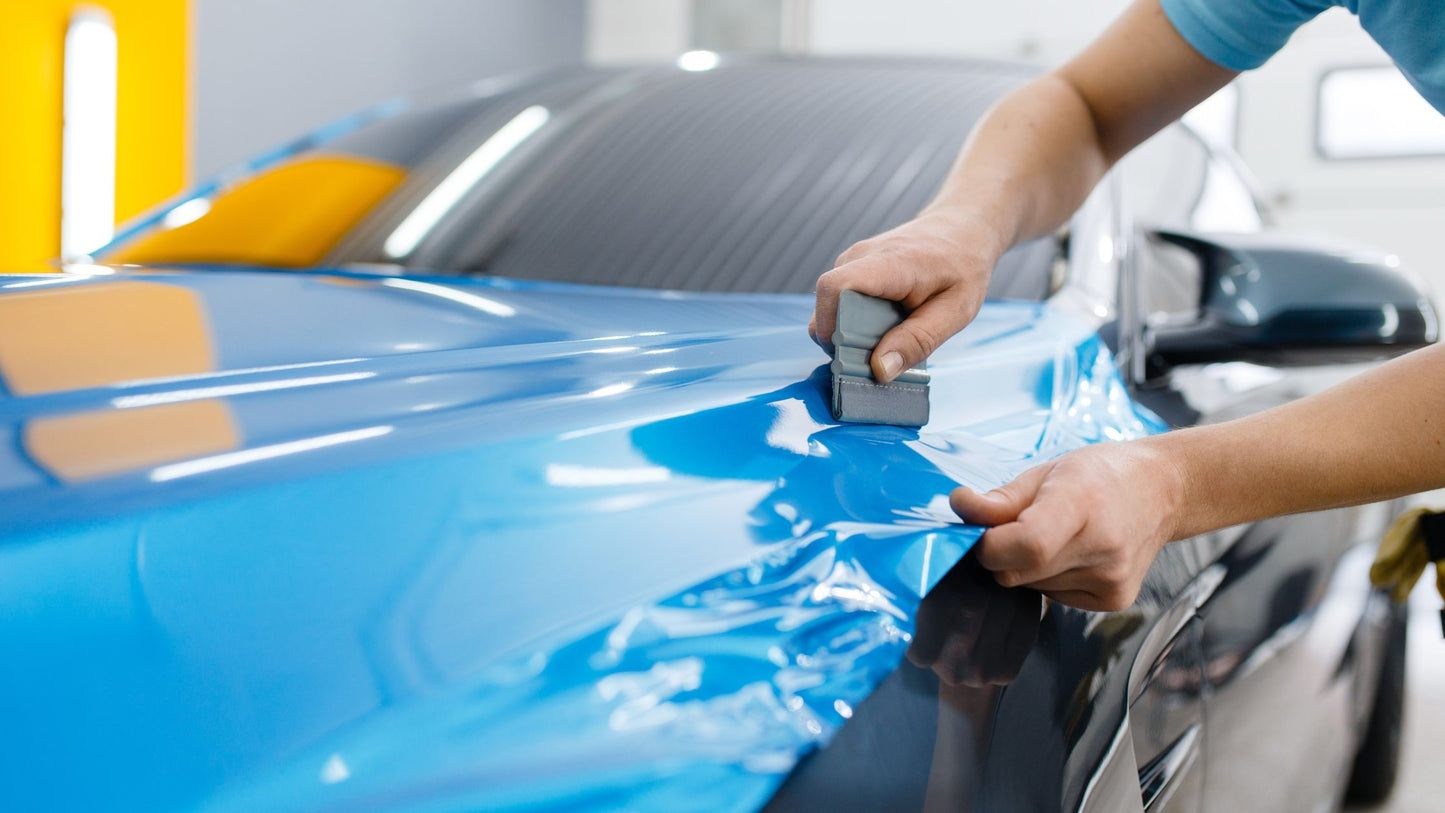
Applying The Vinyl Wrap
Applying the vinyl wrap is a key step in changing your vehicle’s look. It requires care and patience. This part shapes how smooth and lasting the wrap will be.
Start by handling the vinyl carefully. Avoid wrinkles or dust under the wrap. Every small detail counts to get a clean finish.
Positioning The Vinyl
Lay the vinyl over the car surface gently. Adjust it so the design or color fits well. Check edges and corners to cover all parts properly.
Make small moves to center the wrap. Use magnets or light tape to hold it in place. This helps keep the vinyl steady for the next steps.
Peeling Backing Paper
Slowly peel the backing paper from one side. Pull a small section to avoid the vinyl from sticking wrong. Peel a bit at a time to control the process.
Keep the sticky side clean. Avoid touching it with your hands too much. Dirt or oils reduce the vinyl’s grip on the car.
Initial Adhesion Tips
Press the vinyl lightly with a soft squeegee or cloth. Work from the center out to push out air bubbles. Small, even pressure helps prevent wrinkles.
Do not stretch the vinyl too much at first. Let it settle on the surface naturally. Adjust and smooth the wrap carefully before full adhesion.
Credit: graphics.averydennison.com
Smoothing And Stretching
Smoothing and stretching are key steps in applying automotive vinyl wrap. These actions help the vinyl fit snugly on the vehicle’s surface. Proper smoothing removes air bubbles and wrinkles. Stretching helps the vinyl wrap around curves and edges without tearing.
Using A Squeegee Effectively
Start smoothing by using a soft squeegee. Move it from the center outwards. This pushes air and moisture out from under the vinyl. Use gentle pressure to avoid damaging the wrap. Change direction often to catch all bubbles. A clean squeegee prevents scratches on the vinyl surface.
Handling Curves And Edges
Wrap vinyl around curves carefully. Pull the wrap gently to stretch it. Avoid pulling too hard to prevent tears. Use your fingers to press vinyl into edges. Smooth with the squeegee to secure the vinyl. Take your time on complex shapes for best results.
Applying Heat For Flexibility
Heat makes vinyl more flexible and easier to stretch. Use a heat gun or hair dryer on low heat. Warm the vinyl evenly but do not overheat it. Heat helps vinyl conform to curves and edges. After heating, quickly smooth the vinyl with a squeegee. This locks the shape and prevents shrinking.
Trimming Excess Vinyl
Trimming excess vinyl is a key step in applying an automotive vinyl wrap. It helps create a clean, sharp look. Proper trimming prevents peeling and bubbling around edges. This step requires care and the right tools. Follow safe cutting methods to avoid mistakes. Protect your car’s surface from damage. Finish edges smoothly for a professional result.
Safe Cutting Methods
Use a sharp utility knife or vinyl cutter. Cut slowly and steadily to control the blade. Hold the blade at a low angle to the surface. Avoid pressing too hard to prevent scratches. Cut along the edge of the car panel. Use a straight edge or ruler for straight lines. Replace dull blades often for clean cuts.
Avoiding Damage
Do not cut too deep. Only slice through the vinyl layer. Keep the blade just above the paint. Avoid cutting into the car’s clear coat. Work in a well-lit area to see edges clearly. Use gentle pressure near curves and corners. Protect delicate trim with painter’s tape.
Finishing Edges
After trimming, press edges firmly with a squeegee. Heat edges lightly with a heat gun for better adhesion. Smooth out any bubbles or wrinkles near edges. Use a vinyl edge sealer for long-lasting protection. Check edges regularly after installation. Make small touch-ups if vinyl lifts over time.

Credit: www.turtlewax.com
Post-application Care
After applying an automotive vinyl wrap, taking good care of it is very important. Proper post-application care keeps the wrap looking fresh and lasting longer. This section explains key steps to follow after the wrap is on your vehicle.
Curing Time
Let the vinyl wrap cure before washing or touching it. Curing means the wrap settles and sticks fully to the car surface. Wait at least 48 hours in a dry, warm place. Avoid rain, dust, or extreme cold during this time. Patience helps the wrap bond well and prevents peeling.
Washing And Maintenance
Wash your wrapped car gently to protect the vinyl. Use a soft cloth or sponge with mild soap and water. Avoid strong chemicals, abrasive brushes, or high-pressure washers. Wash by hand only. Dry the car with a soft towel to prevent water spots. Regular cleaning keeps the wrap bright and smooth.
Repairing Minor Imperfections
Minor scratches or bubbles can appear after wrapping. Small bubbles often disappear with heat from a hairdryer. Gently warm the area and press the bubble out. For scratches, use a vinyl repair kit or touch-up paint made for wraps. Act quickly to stop damage from growing.
Common Mistakes To Avoid
Applying automotive vinyl wrap requires care and attention. Many beginners make simple mistakes that affect the final look. Avoiding these errors helps achieve a smooth and professional finish. Understanding common pitfalls saves time and reduces frustration during the process.
Air Bubbles And Wrinkles
Air bubbles trap under the vinyl and cause bumps. Wrinkles happen when the wrap folds or creases. Both flaws make the wrap look uneven and cheap. Use a squeegee to press out air pockets gently. Stretch the vinyl slowly to avoid wrinkles. Work from the center out to the edges carefully.
Improper Surface Preparation
Cleaning the car surface is crucial before applying wrap. Dirt, dust, or grease stops the vinyl from sticking well. Wash the car thoroughly and dry it completely. Use rubbing alcohol to remove any leftover oil. Skipping this step causes peeling and bubbling later.
Rushing The Process
Hurrying leads to mistakes like misalignment and poor adhesion. Take your time to place the wrap correctly. Slow, steady movements ensure the vinyl lays flat. Allow sections to set before moving to the next area. Patience helps avoid costly errors and waste.
Credit: stonercarcare.com
Frequently Asked Questions
What Tools Are Needed For Automotive Vinyl Wrap Application?
Essential tools include a heat gun, squeegee, utility knife, and cleaning supplies. These help achieve a smooth, bubble-free wrap finish.
How Long Does It Take To Apply A Vinyl Wrap On A Car?
Applying a vinyl wrap typically takes 1 to 3 days, depending on the vehicle’s size and complexity.
Can Vinyl Wraps Protect My Car’s Original Paint?
Yes, vinyl wraps shield your car’s paint from scratches, UV rays, and minor abrasions, preserving its original condition.
How Do I Prepare My Car Before Vinyl Wrapping?
Clean the car thoroughly, remove dirt and grease, and dry it completely. Proper prep ensures better vinyl adhesion.
Conclusion
Applying automotive vinyl wrap takes patience and care. Clean your vehicle well before starting. Work slowly to avoid bubbles and wrinkles. Use proper tools for smooth results. Practice on smaller areas first if you can. A well-done wrap can change your car’s look easily.
Take time to learn each step clearly. Enjoy the process and the new style you create. Your car will stand out with a fresh, neat finish. Keep these tips in mind for a successful wrap.


