
You want your car to shine like new every time you step outside. Applying Optimum Car Wax is one of the best ways to protect your paint and keep your vehicle looking stunning.
But how do you make sure you do it right? In this guide, you’ll discover simple, step-by-step tips to get a flawless finish that lasts. Imagine your car turning heads with a deep, glossy shine—let’s make that happen together. Keep reading to learn how to apply Optimum Car Wax like a pro.
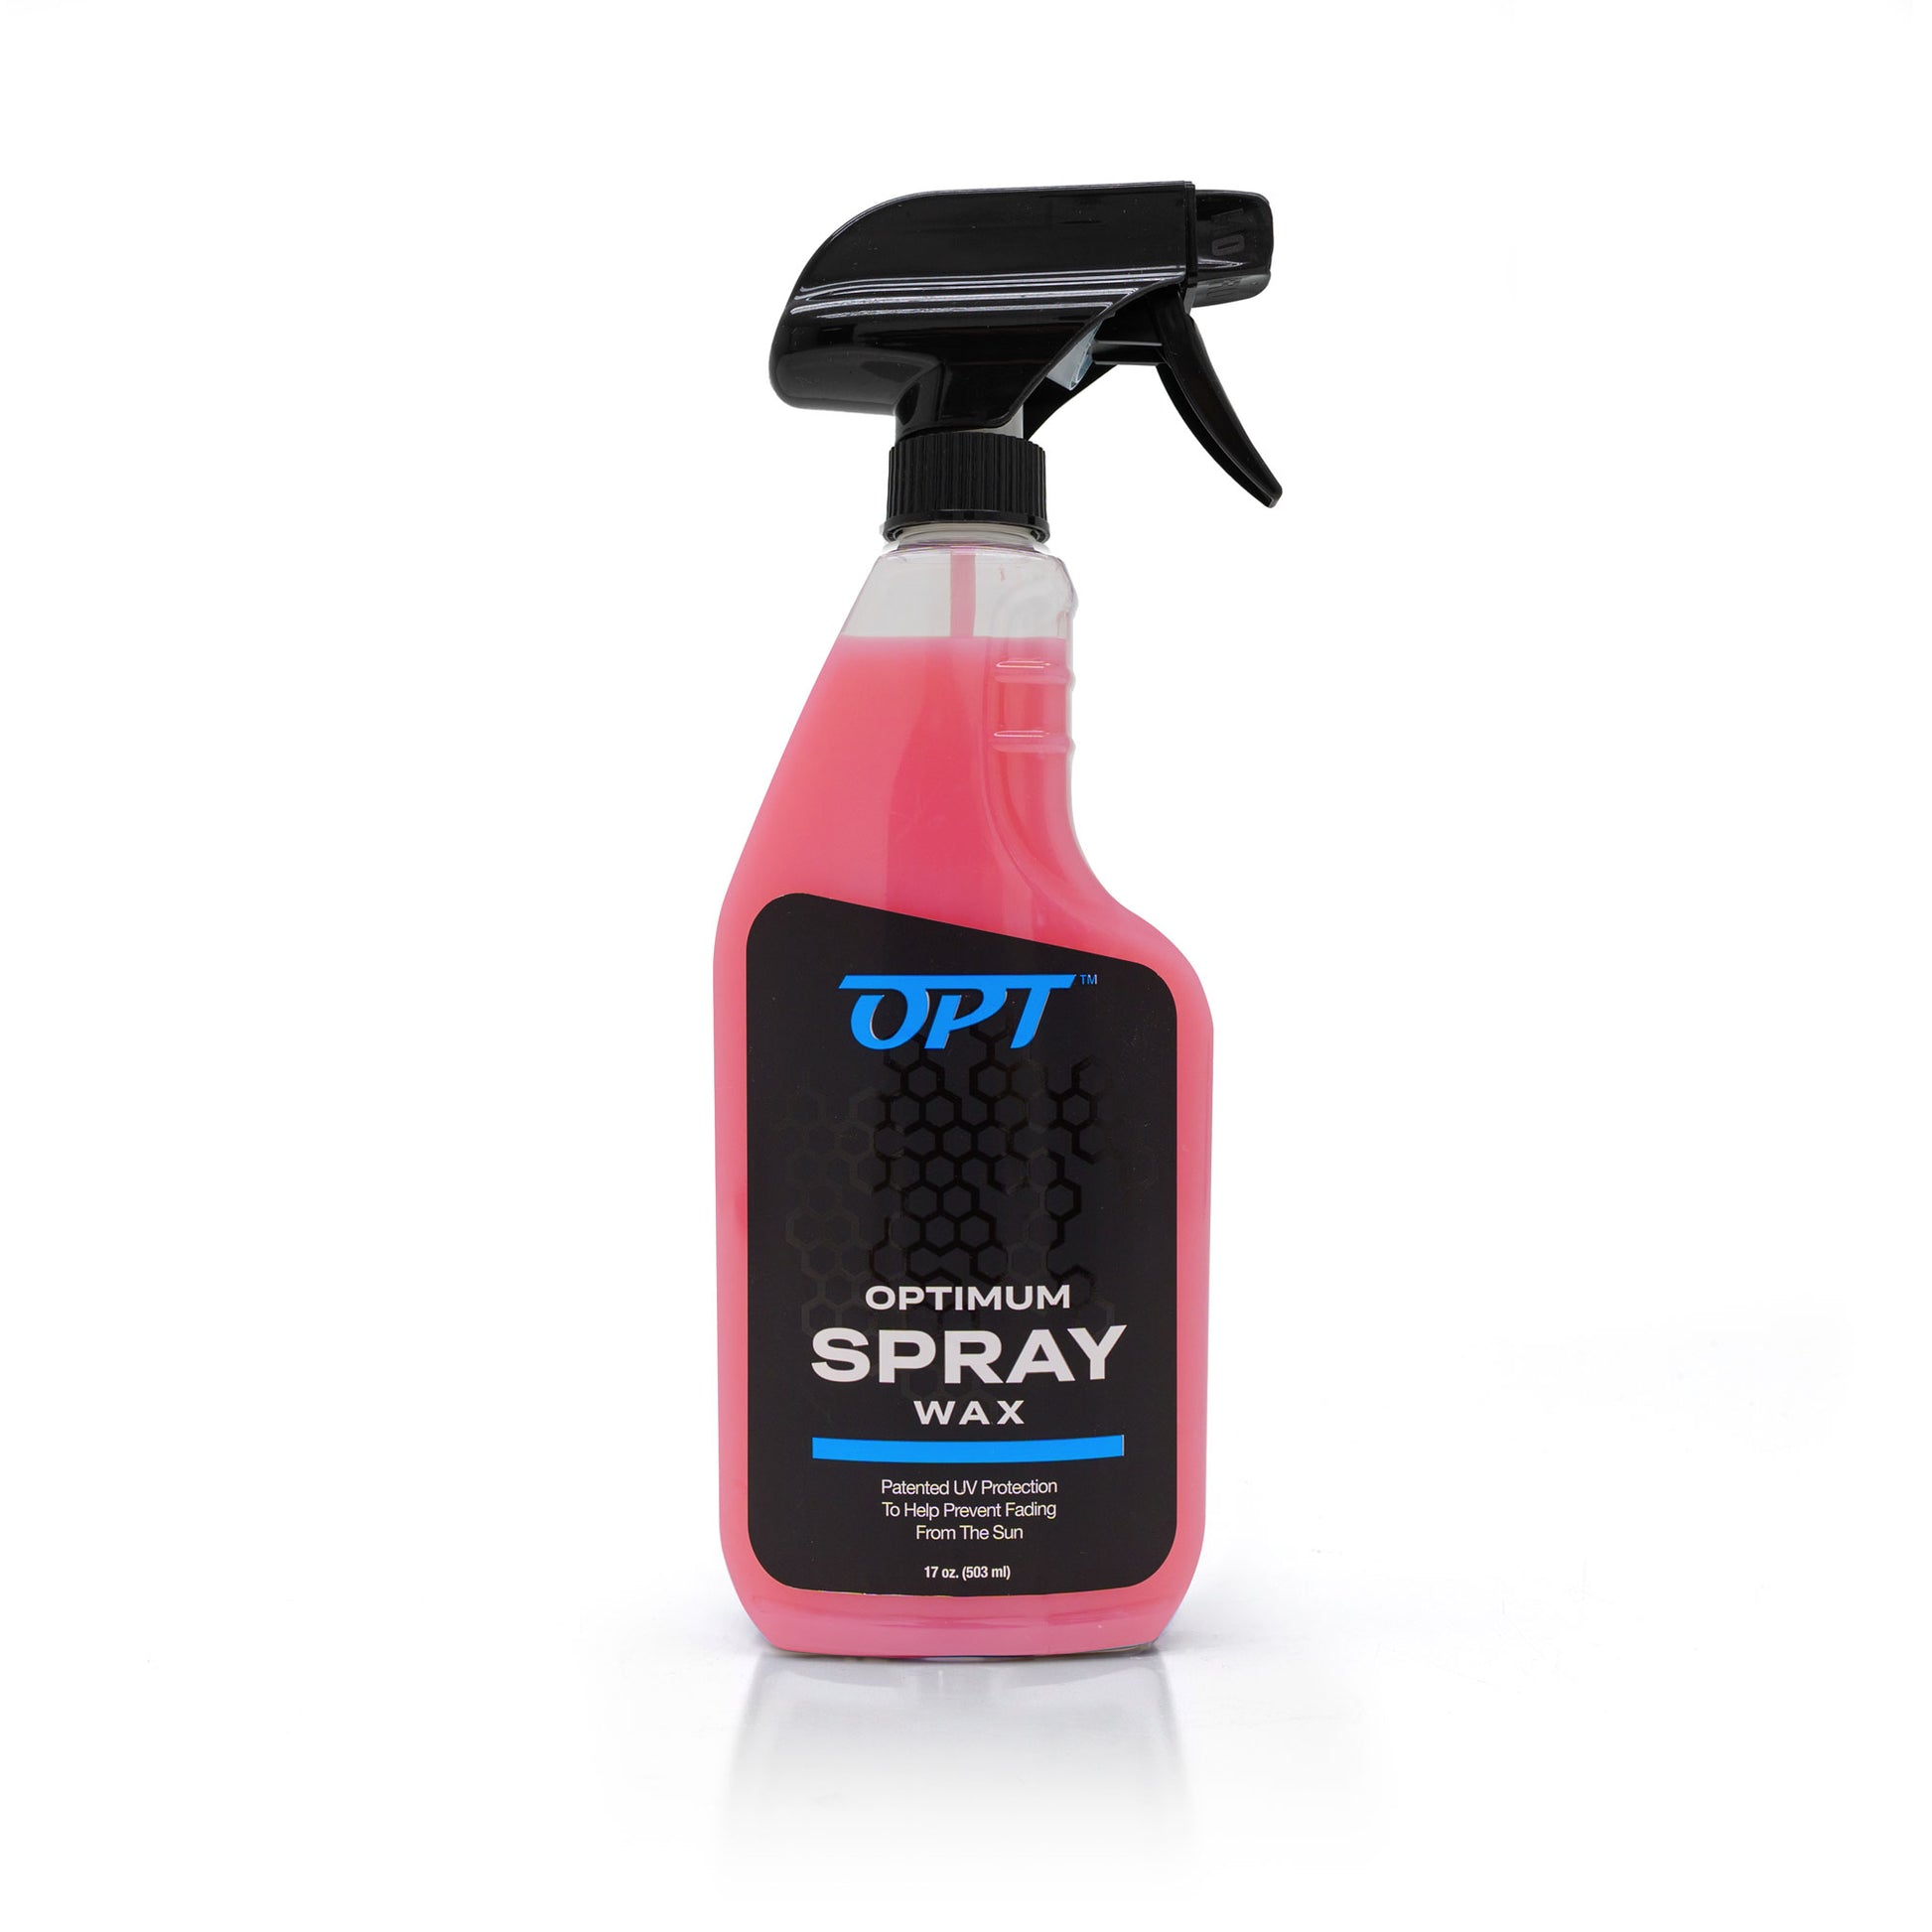
Credit: opticoat.com
Choosing The Right Car Wax
Choosing the right car wax makes a big difference in your car’s shine and protection. Different waxes work best for different cars and conditions. It helps to know the types, what to think about, and the ingredients. This way, you pick the best wax for your car’s needs.
Types Of Car Wax
Car wax comes in many forms. Paste wax is thick and lasts long. Liquid wax is easy to apply and dries fast. Spray wax is quick but may not protect as long. Each type suits different users and car surfaces.
Factors To Consider
Think about your car’s color and paint type. Dark colors show scratches more, so use wax with deep shine. New cars need gentle waxes. Older cars with scratches need wax that hides marks. Weather matters too. Choose wax that protects from sun and rain.
Wax Ingredients And Benefits
Natural carnauba wax gives a warm, rich shine. It also protects paint from UV rays. Synthetic wax lasts longer and repels water well. Some waxes mix both types for shine and protection. Check for extra ingredients like polymers for added strength.
Preparing Your Car For Waxing
Preparing your car for waxing is the key to a smooth and lasting finish. The wax will stick better to a clean, smooth surface. Dirt, dust, and other particles can block the wax from bonding with the paint. Taking time to prepare will make your car shine brighter and protect the paint longer.
Washing And Drying
Start by washing your car thoroughly with car shampoo. Use a soft sponge or mitt to avoid scratches. Rinse off all soap and dirt with clean water. Dry the car with a microfiber towel to prevent water spots. A dry surface helps the wax apply evenly.
Removing Contaminants
Look closely for any stubborn spots like bird droppings or tree sap. These need special attention. Use a gentle cleaner or bug remover to lift these contaminants. Clean them carefully without rubbing hard. Contaminants left on the paint will affect the wax’s performance.
Claying The Surface
Claying removes tiny particles that washing misses. Use a clay bar and lubricant made for cars. Gently rub the clay bar over the paint in straight lines. You will feel the surface getting smoother. This step helps the wax stick well and gives a glossy finish.
Tools And Materials Needed
Applying Optimum car wax needs specific tools and materials. These items help spread the wax evenly and remove residue. Using the right tools makes the process easier and gives better shine. Below are the key items needed for a smooth waxing job.
Applicator Pads
Applicator pads are soft and help apply wax without scratching the paint. Choose foam or microfiber pads for best results. Use small, circular motions to spread wax evenly on the car surface. Pads make sure the wax covers every part without wasting product.
Microfiber Towels
Microfiber towels are essential to remove excess wax after application. These towels are gentle and prevent swirl marks on the paint. Use clean, dry towels to buff the surface. They help bring out the shine and leave a smooth finish.
Wax Removers
Wax removers clean old wax or dirt before applying new wax. Using them ensures a fresh surface for better bonding. Choose a wax remover that suits your car’s paint type. Clean surfaces help the new wax last longer and look better.
Step-by-step Wax Application
Applying car wax the right way improves shine and protects your vehicle. Follow these simple steps to get the best results. Taking your time and working carefully helps the wax stick well and last longer. This step-by-step guide breaks down the process into easy parts. You will learn how to apply wax in small areas, use the right motions, and know when to wipe it off.
Applying Wax In Small Sections
Work on one small part of the car at a time. This helps you cover every spot evenly. Use a clean applicator pad to spread wax on the section. Avoid spreading wax on a large area all at once. Small sections dry better and are easier to manage.
Using Circular Motions
Apply the wax using soft, circular motions. This method helps the wax stick to the paint. Move the pad gently and cover the whole section. Circles help spread wax evenly and avoid streaks. Keep your hand steady and use light pressure.
Timing The Drying Process
Let the wax dry for a few minutes. The wax should look hazy but not fully dry. Check the instructions on your wax container for exact time. Wipe off the wax with a clean microfiber cloth. Use gentle, circular motions to buff the surface. This brings out a deep shine and smooth finish.
Buffing For Maximum Shine
Buffing is a key step to get the best shine from your car wax. It helps spread the wax evenly and removes any leftover residue. Proper buffing brings out a deep, glossy finish that protects your car’s paint. This step needs the right tools and careful technique for a smooth, bright look.
Choosing The Right Cloth
Use a soft, clean cloth for buffing. Microfiber cloths work best because they do not scratch the paint. Avoid rough or dirty cloths that can cause marks. Pick a cloth that fits comfortably in your hand for better control. Keep extra cloths ready in case one gets too dirty.
Buffing Techniques
Buff in small, circular motions to spread the wax evenly. Use light pressure; pressing too hard can damage the paint. Work in sections to cover the whole car surface. Change cloth sides often to avoid spreading dirt. Finish with gentle, straight strokes for a smooth shine.
Avoiding Streaks And Smudges
Buff in a shaded area to prevent quick drying. Fast drying wax is harder to buff cleanly. Use a clean cloth free of oils or dirt. Do not buff too fast; slow, steady movements work best. Check your work under different lights to spot any streaks early.
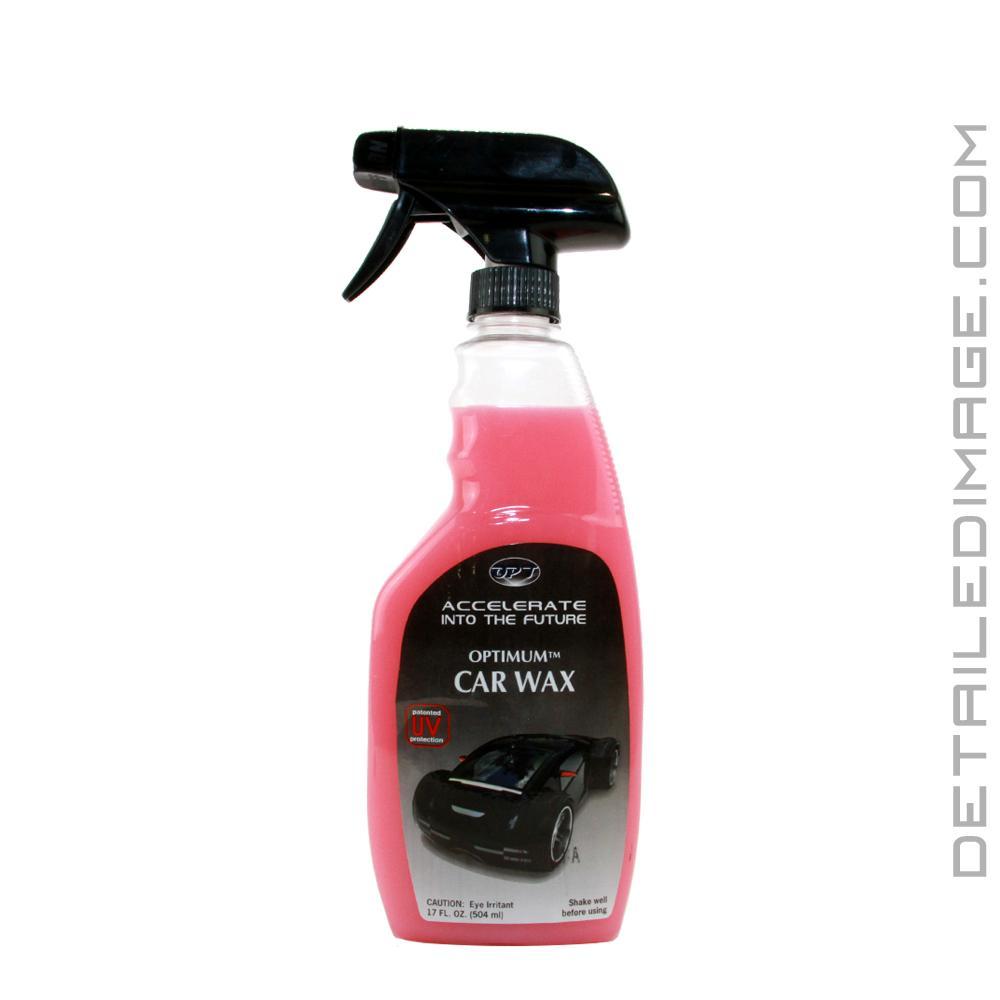
Credit: www.detailedimage.com
Maintaining The Waxed Finish
Maintaining the waxed finish on your car keeps it looking fresh and shiny. A well-kept wax layer protects the paint and extends its life. Regular care helps the wax last longer and keeps your car’s surface smooth. Follow simple steps to keep that glossy finish every day.
Regular Cleaning Tips
Clean your car often to keep dirt and dust off the wax. Use a soft cloth or sponge with mild soap. Avoid harsh brushes or strong chemicals. Dry the car gently with a microfiber towel. This prevents scratches and protects the wax layer.
Reapplying Wax Schedule
Apply wax again every three to four months. This depends on your climate and how often you drive. Check the wax’s shine and feel the surface. If it looks dull or rough, it is time to reapply. Regular waxing keeps the paint safe and bright.
Protecting From Environmental Damage
Park your car in shaded or covered areas. Sun, rain, and bird droppings can harm the wax. Use a car cover if no shade is available. Wash off any contaminants quickly to avoid damage. Proper care helps the wax stay strong and your car’s paint safe.
Common Mistakes To Avoid
Applying car wax seems easy. Yet, many make simple mistakes. These errors reduce shine and protection. Avoiding them helps your car look its best. Here are common errors to watch out for.
Applying Wax On A Hot Surface
Wax does not spread well on hot paint. The heat makes wax dry too fast. It becomes hard to buff out. Apply wax in shade or cool areas. This keeps the wax smooth and even.
Using Too Much Wax
More wax does not mean better shine. Thick layers take longer to dry and buff. It may leave a sticky residue on the car. Use a small amount and add more if needed. Thin layers work best for a glossy finish.
Skipping Surface Preparation
Wax sticks better on clean surfaces. Dirt and dust block wax from bonding. Wash and dry your car fully before waxing. Remove old wax or polish for best results. Proper prep ensures a smooth, lasting shine.

Credit: www.autogeek.net
Frequently Asked Questions
How Do I Prepare My Car Before Applying Optimum Car Wax?
Clean your car thoroughly using soap and water. Dry it completely to avoid water spots. Remove any old wax or residues for best results.
What Is The Best Temperature To Apply Optimum Car Wax?
Apply the wax in a shaded area with temperatures between 50°F and 80°F. Avoid direct sunlight to prevent streaking and uneven application.
How Long Should I Wait Before Buffing Optimum Car Wax?
Wait about 10 to 15 minutes until the wax becomes hazy. Then, buff gently with a microfiber cloth for a smooth, shiny finish.
Can I Apply Optimum Car Wax On Wet Surfaces?
No, always apply Optimum Car Wax on a dry surface. Applying on wet surfaces reduces effectiveness and can cause streaks or uneven coverage.
Conclusion
Applying optimum car wax protects your vehicle and keeps it shiny. Clean the car well before starting to avoid scratches. Use small amounts of wax and apply in circular motions. Let the wax dry slightly, then buff it with a soft cloth.
Regular waxing helps maintain your car’s paint and finish. Taking time to wax your car properly saves money on repairs later. Enjoy the smooth, glossy look and extra protection. Simple steps make a big difference in car care. Try waxing today for a fresh, polished ride.


