
Thinking about giving your car a fresh, new look without the high cost of a paint job? Car wrap vinyl might be just what you need.
It’s a smart, affordable way to transform your vehicle’s appearance while protecting its original paint. But how do you actually do it yourself? Don’t worry—you’re about to discover simple, step-by-step tips that make wrapping your car easier than you think.
Ready to learn how to turn your car into a head-turner? Keep reading, and you’ll master the art of car wrap vinyl in no time.

Credit: www.turtlewax.com
Choosing The Right Vinyl
Choosing the right vinyl is key to a successful car wrap. The vinyl you select affects the look, feel, and lifespan of the wrap. Picking the proper type ensures your car wrap stays vibrant and intact for years.
Types Of Vinyl Wraps
There are several types of vinyl wraps. Cast vinyl is thin and flexible. It molds well around curves and lasts longer. Calendared vinyl is thicker and stiffer. It suits flat surfaces and is less expensive. Air-release vinyl has tiny channels. These channels help air escape during application. This reduces bubbles and wrinkles for a smooth finish.
Color And Finish Options
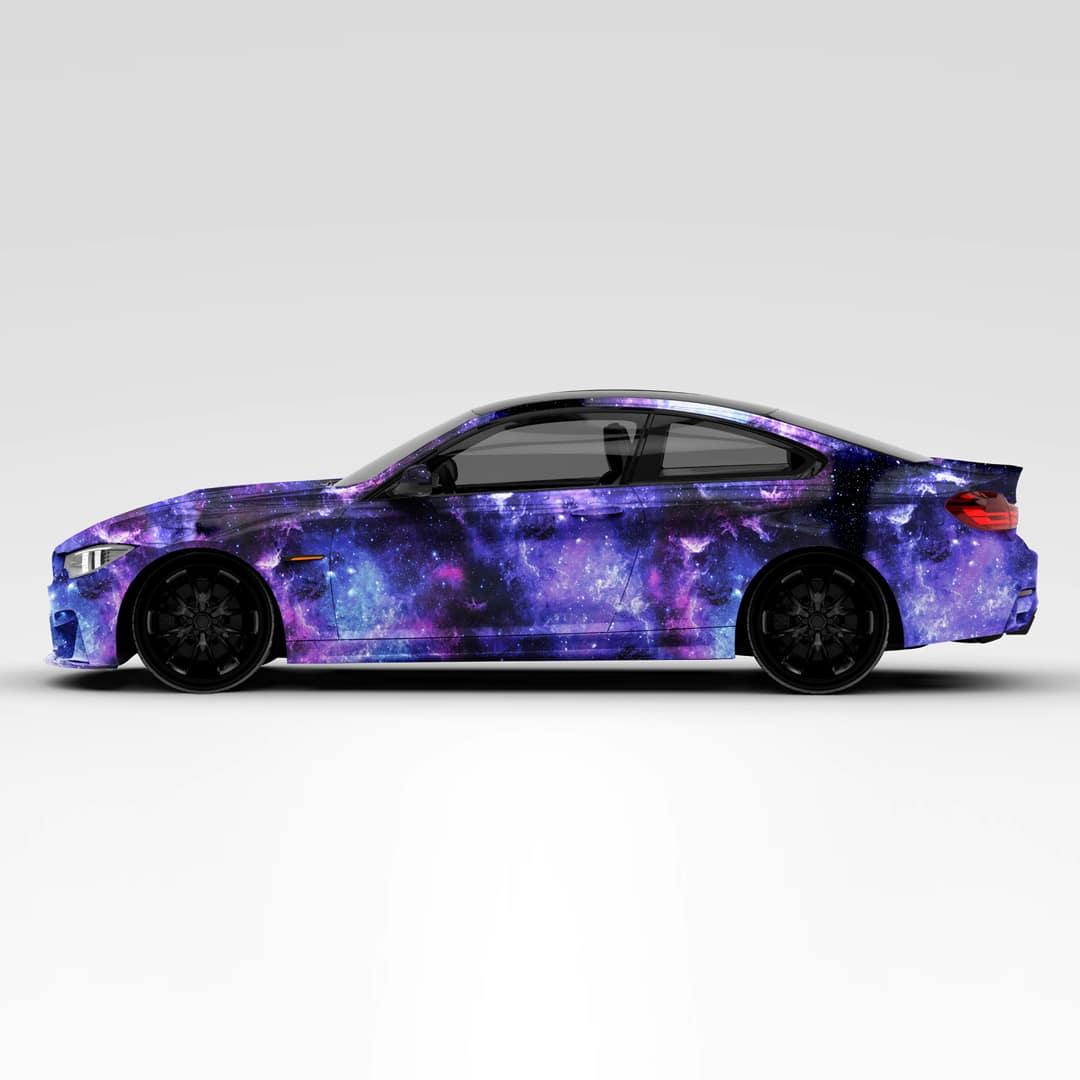
Vinyl wraps come in many colors and finishes. Glossy finishes give a shiny, polished look. Matte finishes offer a flat, modern style. Satin finishes fall between glossy and matte. They give a soft shine. You can find metallic and chrome options too. These add a bold, eye-catching touch to your car.
Quality And Durability Factors
High-quality vinyl lasts longer and resists damage better. Look for UV resistance to prevent fading under sunlight. Water resistance keeps the wrap safe from rain and car washes. Thickness matters; thicker vinyl is more durable but harder to apply. Choose vinyl designed for vehicles to ensure flexibility and strength.
Preparing Your Vehicle
Preparing your vehicle is the first step in applying car wrap vinyl. A clean and smooth surface helps the vinyl stick better and last longer. Taking time to prepare the car makes the wrapping process easier and improves the final look.
Cleaning And Degreasing
Start by washing the vehicle thoroughly. Use soap and water to remove dirt and dust. Then, degrease the surface using a cleaner made for cars. This removes oil, wax, and other residues. Make sure the car is completely dry before moving on.
Removing Obstacles
Remove parts that can get in the way of the vinyl wrap. This includes side mirrors, antennae, and trim pieces. Taking these off allows you to wrap the edges cleanly. It also prevents wrinkles and bubbles under the vinyl.
Repairing Surface Imperfections
Check the car for scratches, dents, or rust spots. Fix small dents with body filler and sand the area smooth. For scratches, use touch-up paint or polish to even the surface. Wrapping over damaged areas can cause bubbles and poor adhesion.
Tools And Materials Needed
Wrapping a car with vinyl needs the right tools and materials. Using proper items makes the work easier and the results better. This section lists what you need to start your car wrap project. Prepare these tools and gear before you begin.
Essential Tools List
- Vinyl wrap film – choose quality and color carefully.
- Heat gun – helps to stretch and smooth the vinyl.
- Application squeegee – removes air bubbles and smooths vinyl.
- Utility knife – cuts vinyl precisely without damage.
- Measuring tape – ensures accurate measurements for cuts.
- Surface cleaner – removes dirt and oils from the car.
- Lint-free cloth – cleans and dries surfaces without scratching.
Optional Accessories
- Magnets – hold vinyl in place during positioning.
- Gloves – protect vinyl from fingerprints and dirt.
- Edge sealing tape – secures edges for longer wrap life.
- Infrared thermometer – checks surface temperature for best adhesion.
- Soft felt edge tool – prevents scratching on delicate parts.
Safety Gear
- Safety glasses – protect eyes from sharp tools and heat.
- Work gloves – shield hands from cuts and heat burns.
- Mask – avoid inhaling fumes from vinyl adhesive.
- Long sleeves – protect skin from heat gun exposure.
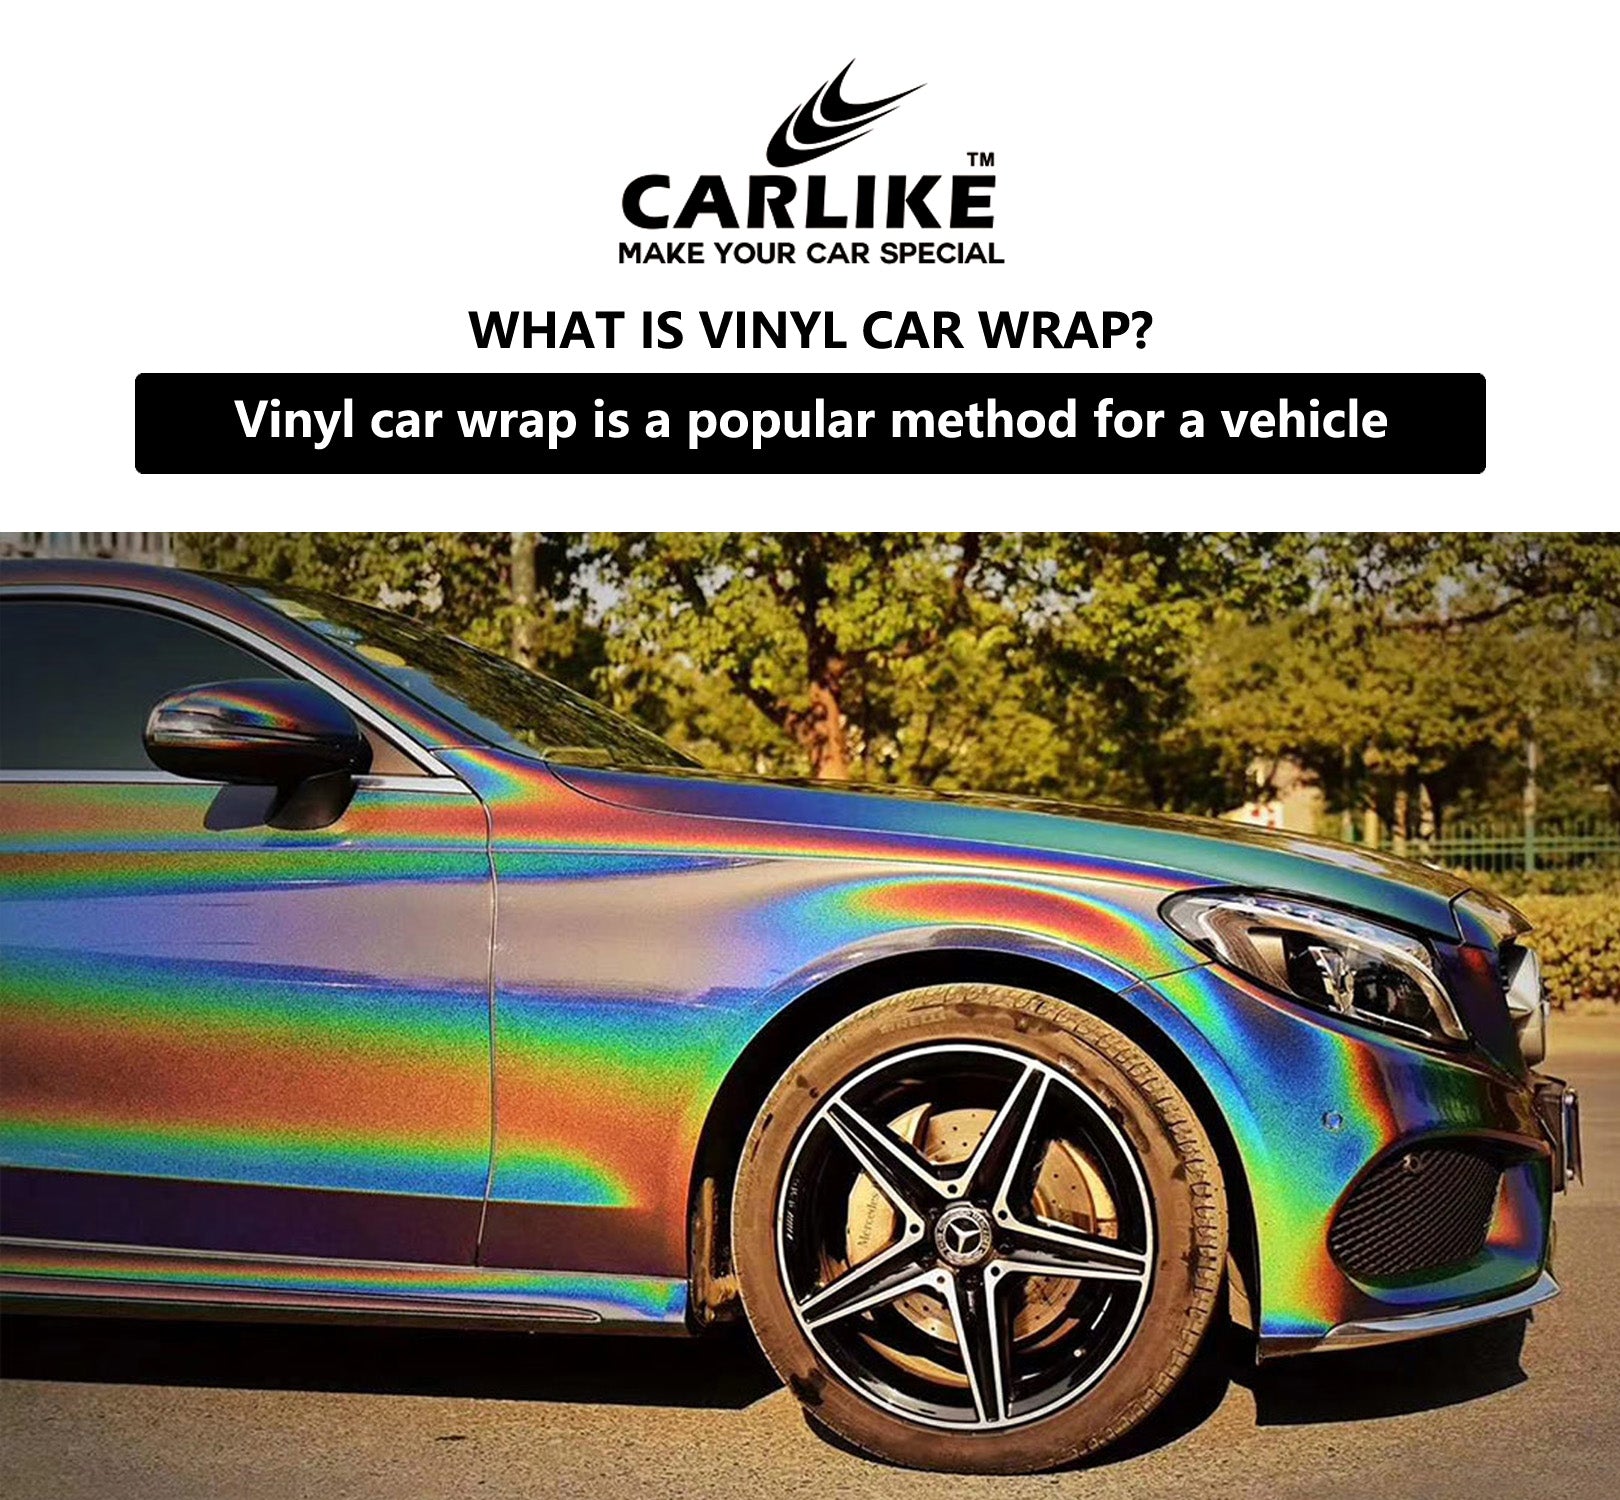
Credit: carlikewrap.com
Measuring And Cutting Vinyl
Measuring and cutting vinyl are key steps in car wrapping. They ensure the vinyl fits perfectly on your vehicle’s surface. Proper measuring prevents waste and saves time. Cutting the vinyl carefully helps avoid mistakes and damage. Handling large vinyl sheets can be tricky. This section guides you through these tasks with simple tips.
Accurate Measurements
Start with clean, dry surfaces for best results. Use a soft tape measure or ruler. Measure the car parts you want to wrap. Write down each measurement clearly. Add a few extra inches to each size. This helps cover curves and edges fully. Double-check your numbers before cutting. Accuracy here means fewer errors later.
Cutting Techniques
Use a sharp utility knife or vinyl cutter. Cut on a flat, clean surface to avoid damage. Score the vinyl lightly first, then cut through. Follow your measured lines carefully. Avoid cutting too close to the edge. Keep your hands steady and work slowly. Clean cuts help the vinyl lay smooth and neat.
Handling Large Sheets
Large vinyl sheets can be heavy and sticky. Work in a spacious area to spread out the vinyl. Roll the sheet loosely to prevent creases. Ask for help to hold the vinyl steady. Avoid folding the vinyl to stop wrinkles. Keep the adhesive side away from dirt. Proper handling keeps the vinyl ready to apply.
Applying The Vinyl Wrap
Applying vinyl wrap to a car is a careful process. It needs patience and attention to detail. This step changes the car’s look without painting. The vinyl must fit perfectly on the car’s surface. Small mistakes can cause bubbles or wrinkles. Follow these tips to get a smooth, clean finish.
Positioning The Vinyl
Place the vinyl carefully on the car. Align it with the edges and curves. Start from one side and slowly lay the vinyl down. Use magnets or tape to hold it in place. Check the fit before sticking it fully. Adjust the vinyl to avoid wrinkles or folds.
Using Heat For Flexibility
Heat softens the vinyl for easier shaping. Use a heat gun or a hair dryer. Warm the vinyl evenly but not too hot. Heat helps the vinyl stretch around curves and corners. Be gentle to avoid melting or damaging the material. Heat also helps the adhesive stick better.
Smoothing Out Air Bubbles
Air bubbles ruin the smooth look of a wrap. Use a squeegee to push bubbles out. Start from the center and move towards edges. Work slowly to avoid new bubbles. For small bubbles, use a pin to release trapped air. Smooth vinyl ensures a clean and professional finish.
Handling Edges And Curves
Handling edges and curves is a key part of car wrapping. These areas need special care for a smooth, clean look. Wrapping vinyl over curves or edges can be tricky. The vinyl can stretch, fold, or wrinkle if not handled properly.
Good techniques make the wrap last longer and look great. Careful work on edges and curves gives a professional finish. Here are some simple tips to help with this task.
Stretching Vinyl On Curves
Stretch the vinyl gently over curves. Use a heat gun to warm the vinyl slightly. Warm vinyl becomes more flexible and easier to shape. Pull the vinyl slowly and evenly over the curve. Avoid pulling too hard to prevent tearing. Keep the vinyl smooth as you stretch it. Let the vinyl cool down to keep its new shape.
Tucking And Trimming Edges
Tuck the vinyl neatly around edges and corners. Use a plastic squeegee to press the vinyl into tight spots. Trim excess vinyl carefully with a sharp blade. Cut close to the edge but avoid cutting the car’s paint. Work slowly to avoid mistakes. Clean edges help the wrap look clean and sharp. Tucking the vinyl well prevents lifting or peeling later.
Avoiding Wrinkles
Wrinkles are common problems during wrapping. Use a squeegee to smooth vinyl as you apply it. Work from the center outwards to push out air bubbles. Heat the vinyl gently to soften it before pressing. Avoid stretching too much in one spot. Take your time to adjust and fix wrinkles as you go. Smooth vinyl gives a polished and professional finish.
Post-application Care
After applying a car wrap vinyl, proper care is essential. This care keeps the wrap looking fresh and lasts longer. Small steps can protect your investment and keep your car stylish.
Curing Time
Let the vinyl cure before touching it. Most wraps need 24 to 48 hours to set fully. Avoid washing or rubbing the surface during this time. This helps the vinyl stick well and prevents bubbles or peeling.
Cleaning Tips
Clean the wrap gently with a soft cloth or sponge. Use mild soap mixed with water for washing. Avoid strong chemicals or abrasive brushes. Rinse with clean water to remove soap. Dry the wrap with a soft towel to prevent water spots.
Maintenance For Longevity
Park your car in shade or covered spots. This protects the vinyl from sun damage and fading. Avoid automatic car washes with harsh brushes. Hand washing is safer and keeps the wrap smooth. Check the edges often for lifting and press them down carefully if needed.
Credit: www.vehiclewrapping.com
Troubleshooting Common Issues
Car wrapping with vinyl can be tricky. Small problems often happen during or after the wrap. Knowing how to fix these issues saves time and money. This section covers common problems and easy solutions.
Fixing Bubbles And Wrinkles
Bubbles and wrinkles appear if air gets trapped under the vinyl. Use a pin to prick the bubble gently. Press the air out with a soft cloth or squeegee. For wrinkles, warm the vinyl with a heat gun. Stretch the vinyl slightly and smooth it out carefully.
Dealing With Peeling Edges
Peeling edges happen when the vinyl does not stick well. Clean the area with rubbing alcohol to remove dirt and oils. Apply pressure with a squeegee to press the edges down firmly. Use a heat gun to warm the edges, helping the glue bond better. If needed, add extra adhesive tape for strong hold.
Repairing Minor Damage
Scratches or small tears can occur after wrapping. Clean the damaged area first. Use a vinyl repair kit to fill tears or scratches. Press the repair patch firmly and heat it gently. Avoid sharp objects near the wrap to prevent further damage.
Professional Vs Diy Wrapping
Choosing between professional car wrap vinyl and a DIY approach can affect your results and budget. Both have their benefits and challenges. Understanding these can help you decide the best way to wrap your car.
Cost Comparison
DIY wrapping costs less upfront. You only pay for the vinyl and basic tools. Professionals charge more because of experience and equipment. But they reduce risks of mistakes and damage. Consider your budget and value for quality.
Skill Levels Required
DIY wrapping needs patience and some skill. You must learn how to handle vinyl without bubbles or wrinkles. Professionals have training and practice. They work faster and create a smooth, even finish. Beginners might struggle with complex curves and edges.
When To Hire Experts
Hire professionals for large or detailed wraps. They ensure long-lasting and flawless results. Choose experts if you want quick and guaranteed work. For small projects or simple designs, DIY could work well. Weigh your time, skills, and desired outcome.
Frequently Asked Questions
What Materials Are Needed For Car Wrap Vinyl Installation?
You need vinyl wrap sheets, a squeegee, a heat gun, a utility knife, and cleaning supplies. Proper tools ensure a smooth application and lasting results.
How Long Does Car Wrap Vinyl Installation Take?
Installation time varies by vehicle size and complexity, typically 1 to 3 days. Experienced installers work faster and achieve better quality.
Can Car Wrap Vinyl Protect My Car’s Paint?
Yes, vinyl wraps protect paint from scratches, UV rays, and minor abrasions. They act as a protective barrier while enhancing appearance.
How Do I Maintain My Car Wrap Vinyl?
Clean the wrap regularly with mild soap and water. Avoid abrasive cleaners and high-pressure washers to prolong wrap life.
Conclusion
Car wrapping vinyl offers a fresh look for any vehicle. It protects your car’s paint from scratches and sun damage. You can change colors or add designs without permanent change. Take time to clean and prepare the surface well. Apply the vinyl carefully to avoid bubbles or wrinkles.
With patience, the process becomes easier and rewarding. This skill saves money on paint jobs. Enjoy the chance to customize your car simply and safely. Try it yourself and see the difference.


