
Are you looking to give your car a sleek, polished look while protecting its sides from dings and scratches? Installing chrome body side molding is an easy and affordable way to do just that.
In this guide, you’ll find simple, step-by-step instructions to help you add this stylish touch to your vehicle yourself. Whether you’re a beginner or just want a quick refresher, you’ll discover tips that make the process smooth and hassle-free. Keep reading to transform your car’s appearance and keep it looking sharp for years to come.
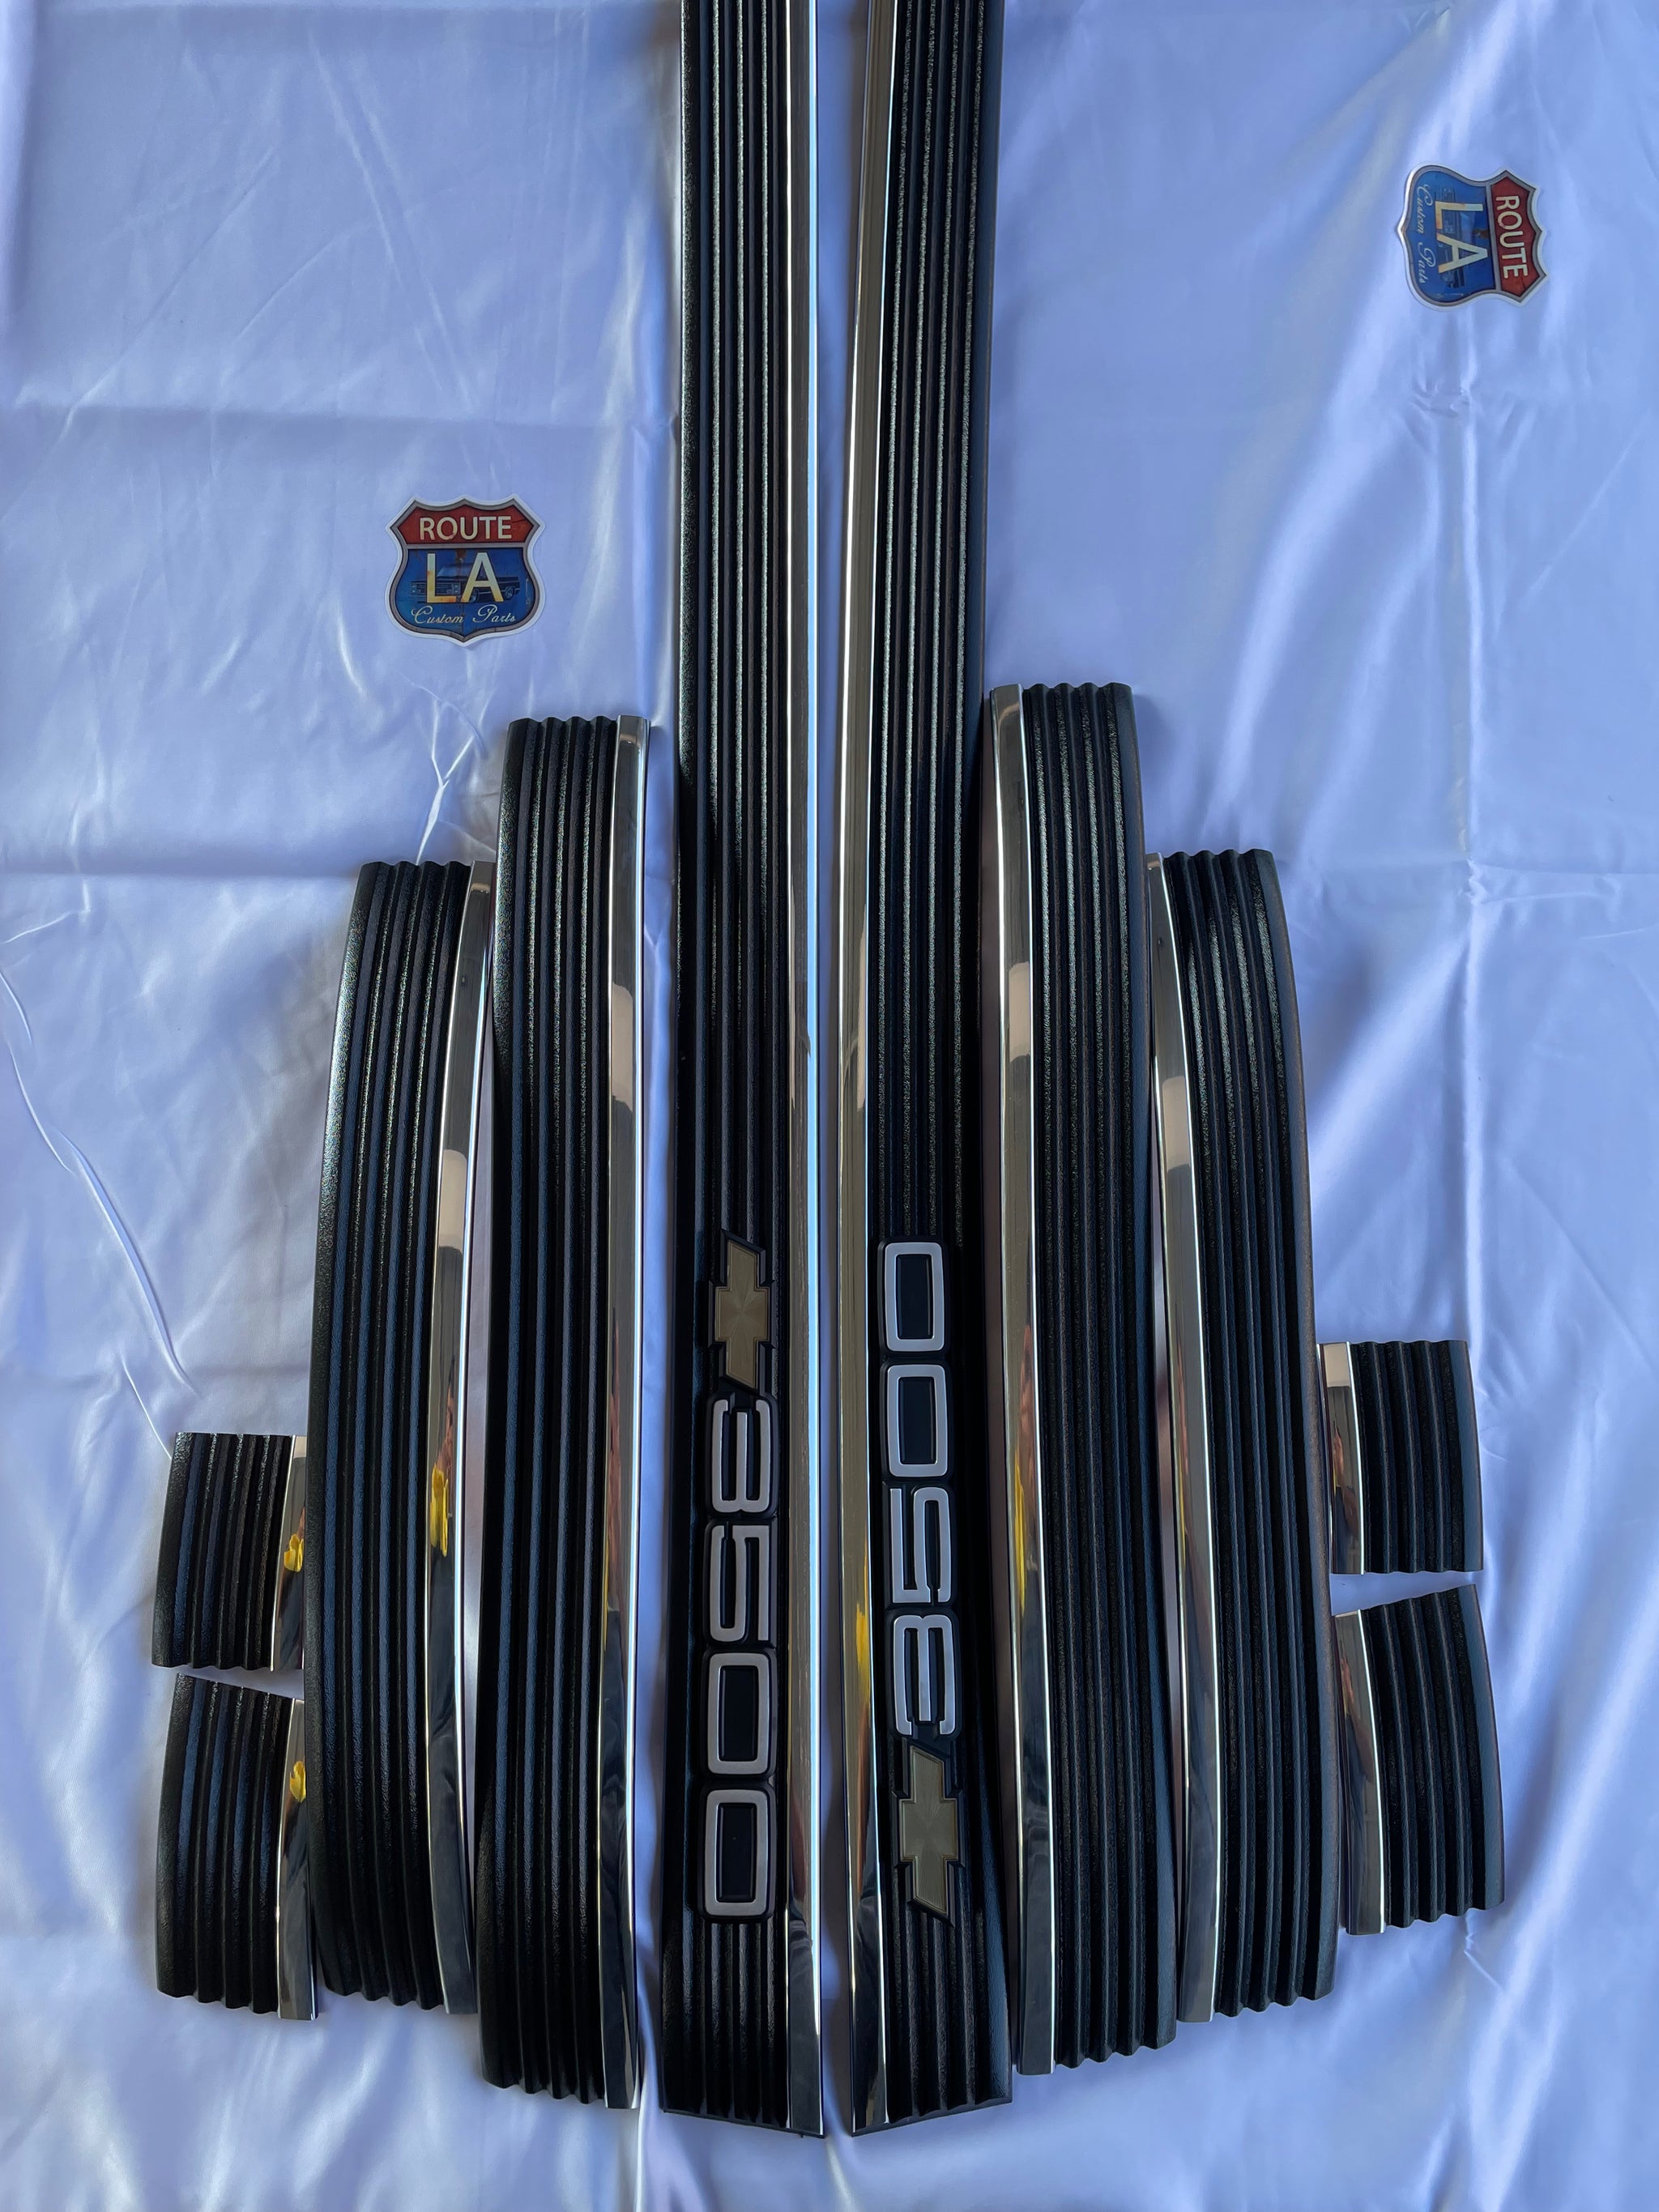
Credit: www.gilgharda.com
Tools And Materials Needed
Installing chrome body side molding requires specific tools and materials. Having everything ready makes the job easier and faster. Preparing the right items helps avoid mistakes and damage.
This section lists all necessary tools and materials. Each item plays a key role in the installation process. Use this guide to gather what you need before starting.
Chrome Body Side Molding
Choose the correct molding size for your vehicle. The molding should match the car model and style. Check for any defects or damage before installation.
Cleaning Supplies
Use soap, water, and a clean cloth to prepare the surface. Removing dirt and grease helps the molding stick better. A rubbing alcohol wipe can remove stubborn residues.
Measuring Tape And Marker
Measure the car’s side carefully to place the molding accurately. Mark the spots where the molding will attach. This step ensures a straight and balanced fit.
Adhesive Promoter
An adhesive promoter improves the bond between the car and molding. Apply it to the cleaned area before sticking the molding. It increases durability and prevents peeling.
Double-sided Automotive Tape
Use high-quality automotive tape designed for exterior use. This tape holds the molding firmly to the car body. Make sure the tape is the right width for the molding.
Heat Gun Or Hair Dryer
Heat softens the tape adhesive for better sticking power. Warm the tape and car surface gently before pressing the molding. Avoid overheating to prevent damage.
Plastic Pry Tool
A plastic pry tool helps remove old molding without scratching the paint. Use it carefully to lift the molding edges. It protects the car’s finish during removal or adjustment.
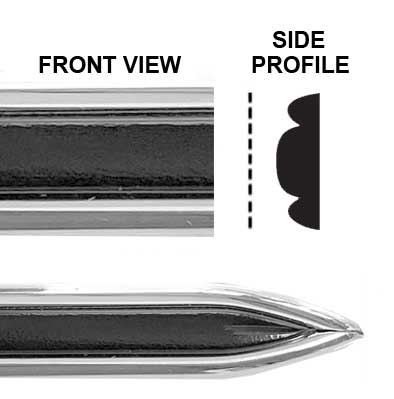
Credit: www.customautotrim.com
Preparing The Vehicle Surface
Preparing the vehicle surface is an important step before installing chrome body side molding. A clean, smooth surface helps the molding stick better and last longer. Taking time to prepare the area ensures a neat, professional look.
Start by cleaning and drying the surface well. Dirt, grease, and moisture can prevent the molding from attaching properly. Then, remove any old molding left on the vehicle. This creates a flat surface for the new piece. Proper preparation saves time and effort during installation.
Cleaning And Drying
Wash the area with soap and water to remove dirt and dust. Use a soft cloth to avoid scratching the paint. Rinse thoroughly to clear all soap residues. Dry the surface completely using a clean towel or air dry. Avoid installing molding on wet or damp surfaces. Dryness improves the adhesive bond and prevents peeling.
Removing Old Molding
Check the vehicle for any old molding strips. Use a plastic scraper or your fingers to peel them off carefully. Avoid metal tools that can scratch the paint. Remove leftover adhesive with rubbing alcohol or adhesive remover. Wipe the area clean and dry it again. A smooth, adhesive-free surface helps the new molding stick better and look cleaner.
Measuring And Aligning The Molding
Measuring and aligning the chrome body side molding is a key step for a perfect fit. This step ensures the molding looks straight and stays secure on your car. Careful measurement avoids mistakes and saves time.
Start by cleaning the car surface where the molding will go. Dirt or grease can affect the molding’s stickiness and alignment. Use a mild cleaner and a soft cloth for this task.
Measure The Length Of The Side Panel
Use a tape measure to find the exact length of your car’s side panel. Measure from the front fender to the rear door edge. Write down the length to cut the molding accurately.
Mark The Position With Painter’s Tape
Apply painter’s tape along the side panel to mark where the molding will sit. This tape acts as a guide. It helps to check alignment before sticking the molding to the car.
Check Alignment From Multiple Angles
Step back and look at the taped line from the front, side, and rear. This ensures the line is straight and even. Adjust the tape marks if needed to get the best fit.
Test Fit The Molding
Place the molding gently on the taped line without removing the backing. Check if it matches the marks and fits the panel shape. This test prevents errors before final installation.
Applying Adhesive Or Tape
Applying adhesive or tape is a key step in installing chrome body side molding. It ensures the molding stays firmly attached to your vehicle. A proper application prevents the molding from falling off or shifting over time.
Clean the surface well before applying adhesive or tape. Dirt and grease reduce the bond strength. Use rubbing alcohol on a clean cloth to wipe the area. Let it dry completely for best results.
Choosing Between Adhesive And Double-sided Tape
Adhesive offers a strong, permanent hold. It works well on uneven surfaces. Double-sided tape is easier to use and less messy. It suits smooth, flat surfaces best. Pick the option that fits your molding and car surface.
Preparing The Adhesive Or Tape
Cut the tape or apply adhesive in strips matching the molding length. Avoid overuse to prevent excess glue from squeezing out. For tape, peel off one side’s backing carefully. For adhesive, apply evenly using a small brush or applicator.
Applying The Adhesive Or Tape To The Molding
Stick the tape or spread adhesive on the back of the molding. Press firmly to ensure good contact. Make sure the adhesive covers all edges and corners for a tight seal. Avoid touching the adhesive to keep it clean.
Positioning And Pressing The Molding On The Car
Align the molding carefully with the car’s body line. Press it gently to hold in place. Use firm, even pressure along the entire molding length. Hold for a few seconds to secure the bond. Avoid moving the molding once placed.
Attaching The Chrome Body Side Molding
Attaching the chrome body side molding is a key step in upgrading your vehicle’s look. This process requires care and precision to ensure the molding fits perfectly and stays secure. Follow these simple steps to attach the molding correctly and avoid any damage to your car’s surface.
Positioning The Molding
Start by holding the chrome molding along the side of your vehicle. Align it carefully with the existing body lines. Check that the molding is straight and matches the car’s contours. Mark the position lightly with a pencil or masking tape. This ensures the molding stays in place during attachment.
Pressing And Securing
Once positioned, press the molding firmly against the car’s surface. Apply even pressure along the entire length. Use gentle, steady force to avoid bending or warping the molding. If adhesive tape is included, press it down firmly to secure the molding. For clips or screws, tighten them carefully without overdoing it.
Final Touches And Inspection
After attaching the chrome body side molding, the final touches and inspection are very important. These steps ensure the molding fits well and looks great. Taking time here helps avoid problems later and keeps your car’s appearance sharp.
Careful inspection helps spot any small issues. Fixing these now saves effort in the future. Let’s focus on two key tasks: checking for gaps and cleaning excess adhesive.
Checking For Gaps
Look closely along the edges of the molding. Check for any spaces between the molding and the car’s surface. Gaps can cause the molding to come loose or allow dirt inside.
Run your hand gently over the molding. Feel for uneven areas or loose spots. Press down firmly but carefully to ensure the molding sticks properly all around.
If you find gaps, try to push the molding back in place. Use a soft cloth to avoid scratches. Small gaps may need extra adhesive or adjustment.
Cleaning Excess Adhesive
Adhesive may squeeze out during installation. Remove any extra glue immediately. Use a clean cloth slightly dampened with rubbing alcohol or adhesive remover.
Wipe carefully to avoid damaging the molding or paint. Clean edges help the molding look neat and professional. This step also prevents dirt buildup on sticky areas.
Check the surface again after cleaning. Make sure no adhesive remains visible. Your car will have a smooth, polished finish with no mess.
Maintenance Tips For Longevity
Maintaining chrome body side molding is key to keeping it shiny and strong. Proper care helps avoid rust, scratches, and fading. These tips help your molding last longer and look new.
Regular cleaning removes dirt and grime that can damage the chrome. Use a soft cloth and mild soap. Avoid harsh chemicals that can dull the finish.
Clean Gently With Soft Materials
Use microfiber cloths or soft sponges for cleaning. Hard brushes or rough cloths can scratch the chrome surface. Clean in small circles for the best results.
Apply Protective Coatings
Use a chrome polish or wax to protect the molding. This adds a layer that repels water and dirt. Apply every few months for lasting shine.
Check For Damage Often
Look for scratches, dents, or rust spots regularly. Early repair prevents bigger problems. Use touch-up paint or rust remover as needed.
Avoid Harsh Chemicals
Do not use bleach or strong detergents on chrome molding. These can cause discoloration and damage. Stick to gentle car cleaning products.
Park In Shaded Or Covered Areas
Sun exposure can fade the chrome finish over time. Parking in shade or garages helps protect the molding. This keeps it bright and fresh longer.

Credit: myfuse.education
Frequently Asked Questions
How Do I Prepare The Surface For Body Side Molding Installation?
Clean the car surface thoroughly with soap and water. Remove all dirt, wax, and grease. Dry completely before applying molding. Use rubbing alcohol for better adhesion.
What Tools Are Needed To Install Chrome Body Side Molding?
You need molding adhesive or double-sided tape, a cleaning cloth, rubbing alcohol, a measuring tape, and a plastic trim tool. These ensure precise and secure installation.
How Long Does It Take To Install Body Side Molding?
Installation typically takes 30 to 60 minutes. It depends on the car model and your experience level. Proper preparation and alignment are crucial for a good fit.
Can I Remove And Reinstall Chrome Body Side Molding?
Yes, but be careful. Use a plastic trim tool to avoid damage. Clean residual adhesive before reinstalling. Reapplication may reduce adhesive strength slightly.
Conclusion
Installing chrome body side molding can enhance your car’s look easily. Follow the steps carefully to avoid mistakes. Take your time and use the right tools. Clean the surface well before applying the molding. Press firmly to ensure it sticks properly.
Regular checks help keep the molding in good shape. Small efforts bring big changes to your vehicle’s style. Enjoy the fresh, polished look of your car. Simple upgrades like this make driving more fun.


