Are you tired of driving with a plain, uncomfortable steering wheel? Imagine turning your daily drive into a cozy, stylish experience with a quilted steering wheel cover you made yourself.
Not only will it add a personal touch to your car, but it will also protect your hands from heat and cold. In this guide, you’ll discover simple steps to create your own cover, even if you’ve never sewn before.
Ready to give your steering wheel a fresh new look that feels just right? Keep reading, and you’ll be surprised how easy and rewarding this project can be.
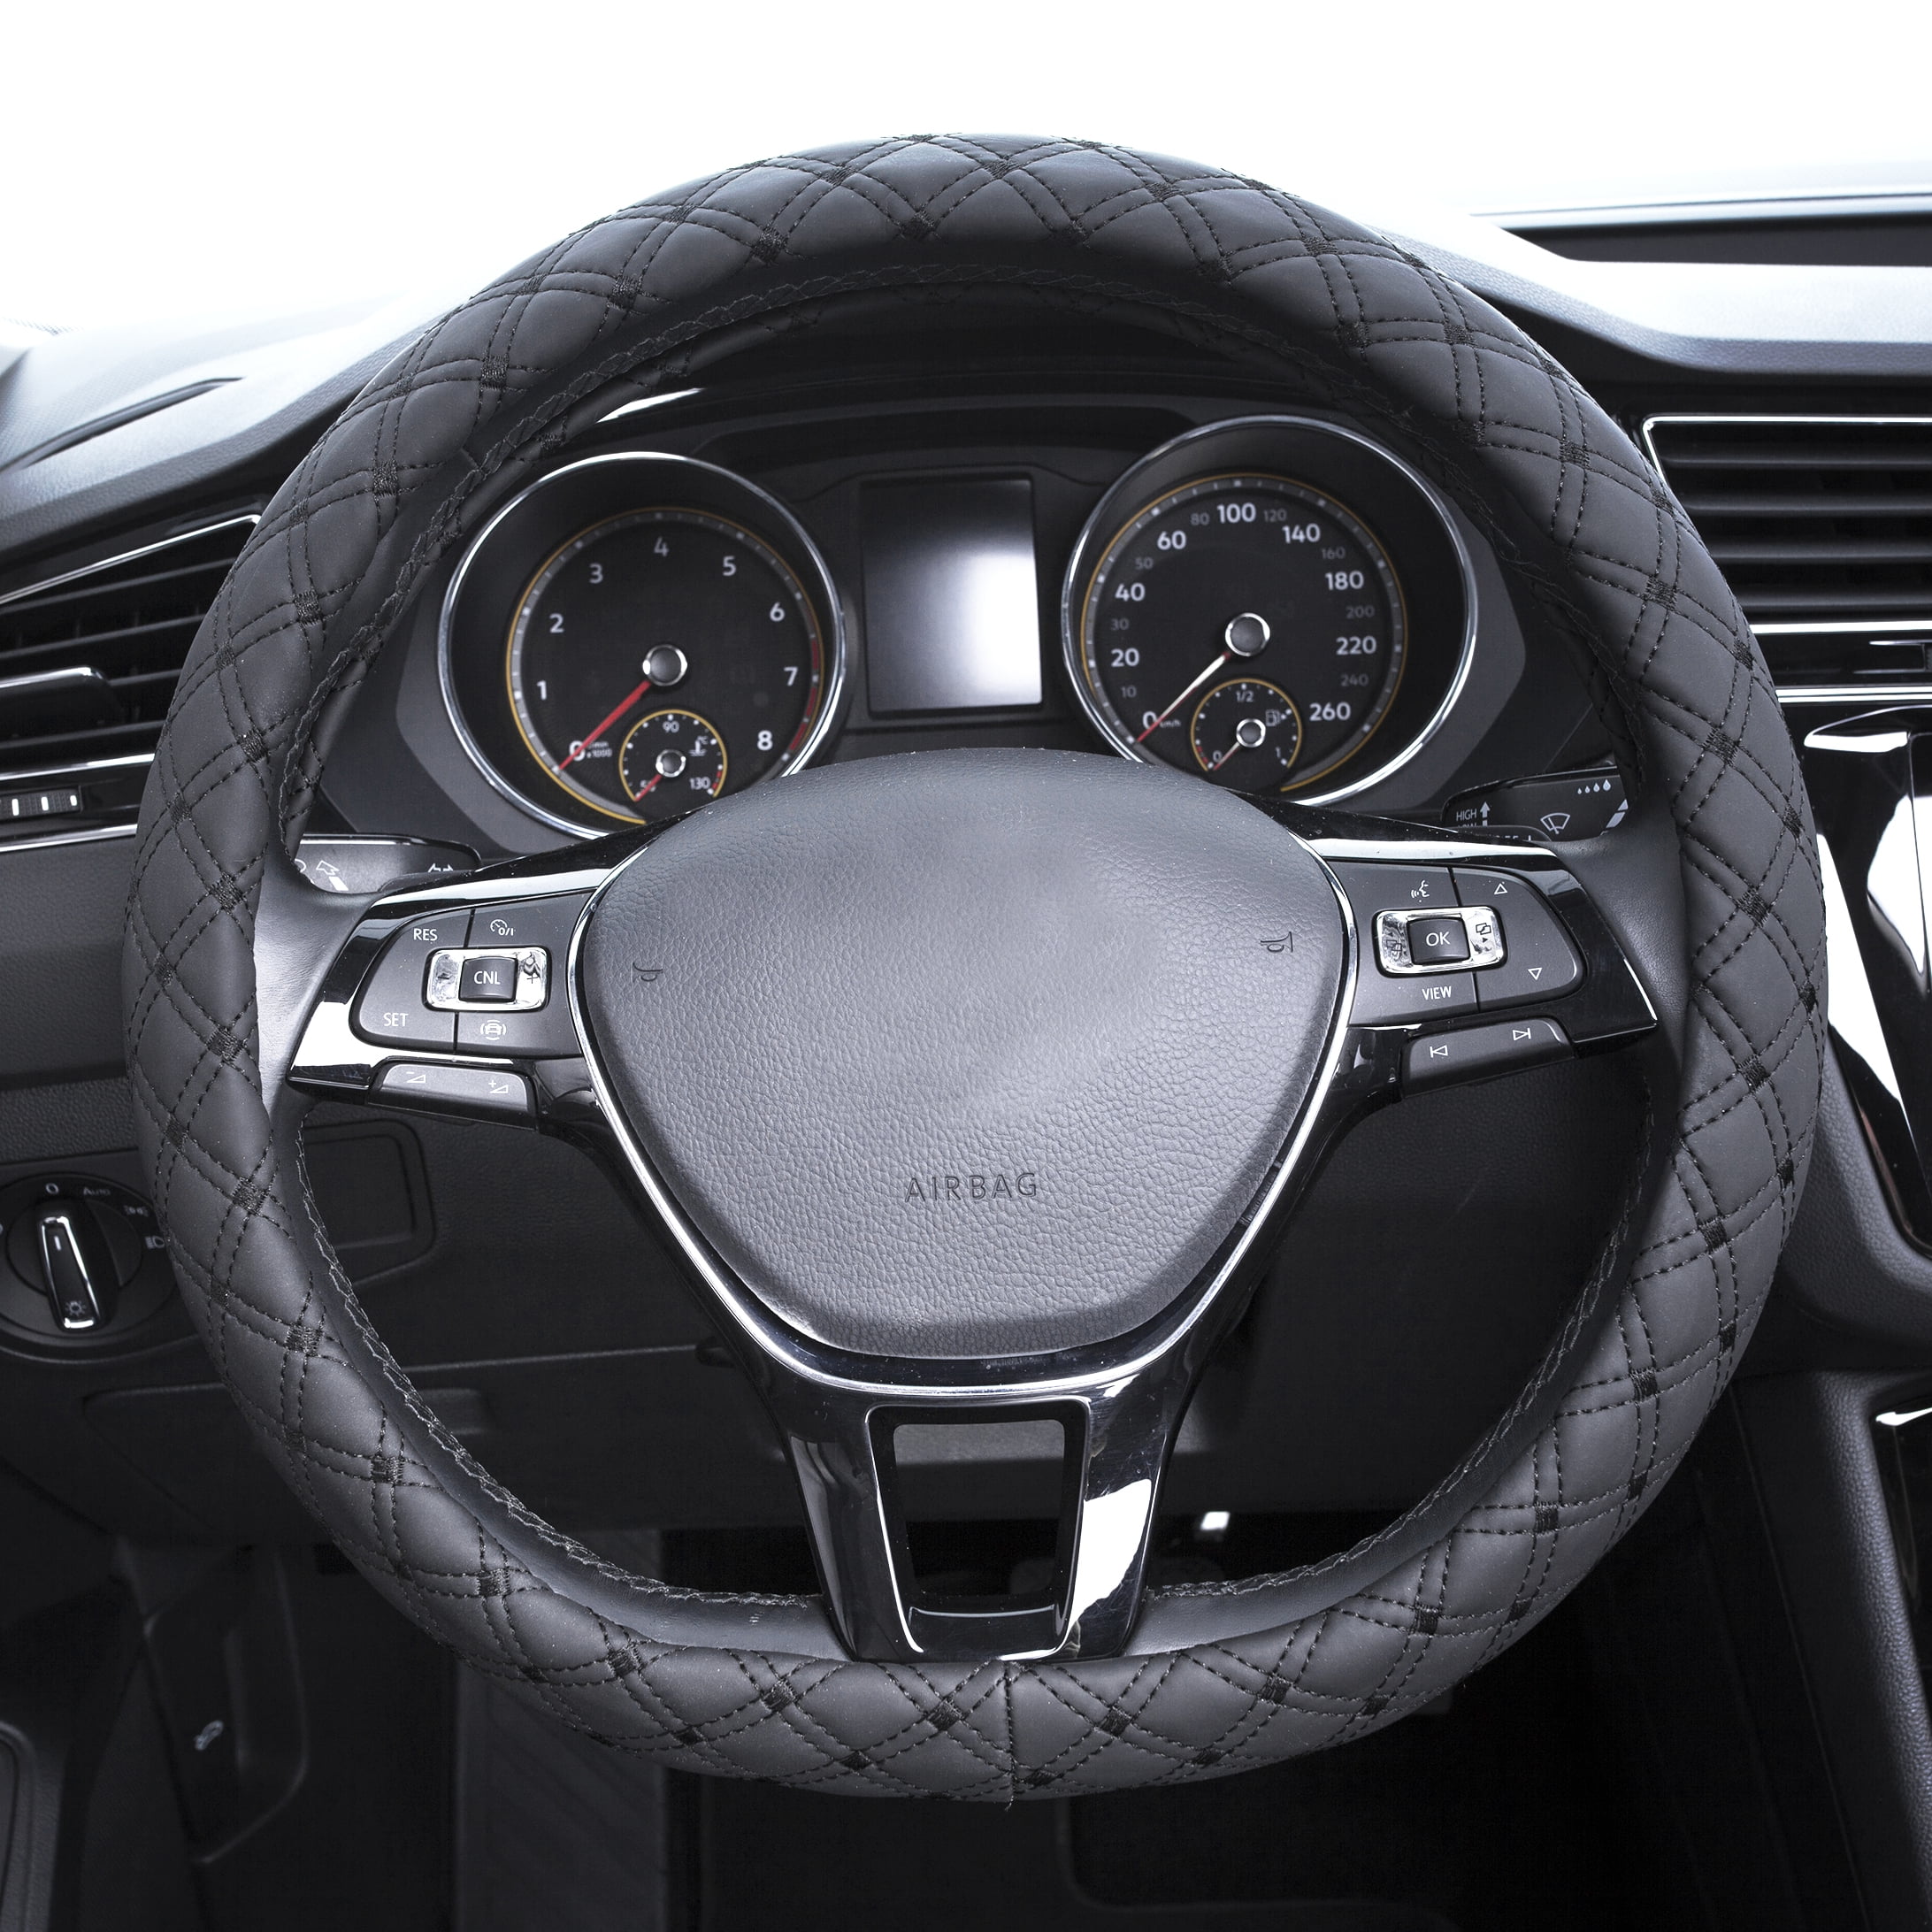
Credit: www.nutco.es
Materials Needed
Before starting your quilted steering wheel cover, gather all materials. Having everything ready saves time and avoids frustration. The right materials make your project easier and ensure a good result. This section lists the essential fabrics, tools, and supplies needed.
Fabric Selection
Choose soft, durable fabrics for comfort and style. Cotton fabric works well and is easy to sew. Quilting cotton offers many colors and patterns. Pick fabric that feels good to touch and can handle daily use. Avoid slippery or very thick materials.
Tools Required
Basic sewing tools are necessary for this project. A sewing machine speeds up the work. Sharp scissors help cut fabric cleanly. Pins or clips hold fabric pieces together. A measuring tape ensures accurate sizes. A seam ripper fixes any mistakes quickly.
Additional Supplies
Extra supplies improve the cover’s fit and durability. Use quilt batting or foam for padding. Thread should match or complement your fabric. Elastic bands keep the cover snug on the wheel. Fabric chalk or pencils mark cutting lines clearly.
Preparing The Fabric
Preparing the fabric is a key step in making a quilted steering wheel cover. It helps ensure the cover fits well and feels comfortable. This step involves measuring, cutting, and choosing the right materials. Taking your time here will make sewing easier and give better results.
Measuring Your Steering Wheel
Start by measuring the steering wheel’s diameter. Use a tape measure or a string to wrap around the wheel’s outer edge. Note this measurement carefully. Also, measure the width of the wheel’s grip. These numbers guide the fabric size. Add about 1 inch to each measurement for seam allowance.
Cutting The Fabric Pieces
Use your measurements to mark the fabric. Draw two rectangular pieces for the front and back of the cover. Make sure both pieces are the same size. Cut the fabric with sharp scissors. Cut slowly for clean edges. Keep the fabric flat to avoid uneven cuts.
Choosing The Batting
Batting adds softness and warmth to the cover. Choose a thin, flexible batting made for quilting. It should fit between the fabric layers easily. Avoid thick batting that makes the cover bulky. Cut the batting to match the fabric pieces exactly. This helps keep the cover smooth and comfortable.
Quilting The Fabric
Quilting the fabric is the key step in making a cozy steering wheel cover. This process adds softness, warmth, and a unique look. It also helps the fabric hold its shape around the wheel. Careful quilting makes the cover last longer and feel comfortable to touch.
Layering Fabric And Batting
Start by cutting the fabric and batting to the same size. Place the batting between two fabric pieces. The batting adds padding and thickness. Smooth out wrinkles and align edges carefully. Pin the layers together to keep them from shifting. This creates a soft, cushioned base for quilting.
Stitching Patterns
Choose a simple stitching pattern for easy sewing. Straight lines, diamonds, or grid patterns work well. Use a sewing machine or sew by hand. Stitch through all fabric layers to hold them tightly. Keep stitches even and close for strength. The pattern adds texture and prevents fabric from bunching.
Trimming Excess Material
After quilting, trim extra fabric and batting close to the stitches. This reduces bulk and creates clean edges. Be careful not to cut too near the stitches. Use sharp scissors for a neat finish. Trimming helps the cover fit the steering wheel perfectly.

Credit: bona-store.com
Assembling The Cover
Assembling the quilted steering wheel cover brings all your materials together. This step shapes the cover and makes it ready to use. Careful sewing and attaching parts are key for a neat finish.
Follow these simple steps to create a sturdy and comfortable cover. Each step helps your cover fit well and last long.
Sewing The Quilt Layers Together
Start by placing the quilt top, batting, and backing layers flat. Pin the layers to stop shifting while sewing. Use a sewing machine or hand stitch to join all layers. Sew around the edges, leaving a small opening. This opening lets you turn the cover inside out later. Stitch slowly to keep the layers even and smooth.
Adding Elastic Or Fasteners
Elastic helps the cover fit snugly around your steering wheel. Cut a piece of elastic that matches your wheel’s size. Sew the elastic into the inside edge of the cover. Stretch it slightly as you sew for a tight fit. Alternatively, add fasteners like snaps or Velcro. Place them evenly to hold the cover firmly in place. Secure fasteners well to avoid slipping.
Finishing Edges
Turn the cover inside out through the opening. Push out corners and edges for a clean shape. Sew the opening closed with small, neat stitches. Topstitch around the cover edge for strength and style. Check all seams for gaps or loose threads. Trim any excess fabric for a tidy look. Your quilted steering wheel cover is now ready to use.
Installing The Cover
Installing your quilted steering wheel cover is a simple step that adds comfort and style to your driving experience. This part of the process ensures the cover fits well and feels good in your hands. Take your time to make sure everything sits just right.
Fitting The Cover On The Wheel
Start by stretching the cover over the top of the steering wheel. Pull it down slowly, moving around the wheel evenly. Make sure the quilted side faces outward. Avoid forcing the cover too hard to prevent damage. The cover should fit snugly but not too tight.
Adjusting For Comfort
Once the cover is on, check how it feels in your hands. Move it slightly to find the best position. The quilted texture should feel soft and provide a good grip. Adjust the cover until it feels natural and comfortable while driving.
Maintenance Tips
Keep your cover clean by wiping it with a damp cloth. Avoid harsh chemicals that can harm the fabric. Regular cleaning helps keep the quilted material soft and fresh. Remove the cover occasionally to air it out and check for wear.
Customization Ideas
Customization makes your quilted steering wheel cover truly yours. It lets you add personality and style to a practical item. Simple touches can change its look and feel. Here are some ideas to inspire your creativity.
Adding Embroidery
Embroidery adds a personal touch to your cover. You can stitch your initials or a small design. Choose thread colors that stand out or blend in. Use simple patterns like stars, hearts, or leaves. Embroidery gives your cover a handmade, unique look.
Using Different Fabrics
Mix fabrics to create interesting textures and colors. Try cotton with soft fleece for comfort. Use denim for a sturdy feel or velvet for luxury. Combining prints like stripes or florals adds fun. Different fabrics make your cover one of a kind.
Incorporating Pockets Or Accessories
Add small pockets to hold coins or keys. Sew a loop for your car key or air freshener. Attach buttons or patches for decoration. These small extras make your cover useful and stylish. They give you easy access to little items while driving.

Credit: blog.siysewityourself.com
Frequently Asked Questions
How Do I Choose Fabric For A Quilted Steering Wheel Cover?
Select durable, breathable fabric like cotton or polyester blends. Choose patterns that match your car’s interior for a personalized touch. Pre-wash fabric to prevent shrinking and color fading during use.
What Tools Are Needed To Make A Quilted Steering Wheel Cover?
You need fabric scissors, sewing needles, thread, pins, measuring tape, and a sewing machine. Optional tools include quilting batting and fabric markers for precise cutting and sewing.
How Long Does It Take To Make A Quilted Steering Wheel Cover?
It typically takes 2 to 4 hours depending on your sewing skills. Preparing fabric, cutting, quilting, and sewing are the main time-consuming steps.
Can I Customize The Design Of My Steering Wheel Cover?
Yes, you can choose any fabric pattern, quilting style, and thread color. Customizing adds uniqueness and enhances your car’s interior style.
Conclusion
Making a quilted steering wheel cover adds comfort and style to your car. You can choose colors and patterns to match your taste. The process is simple and fun to do at home. This cover protects your steering wheel from wear and tear.
It also gives you a better grip while driving. Try this project to enjoy a cozy and personalized car accessory. Keep practicing to improve your sewing skills. Enjoy your new, handmade steering wheel cover every time you drive.


