
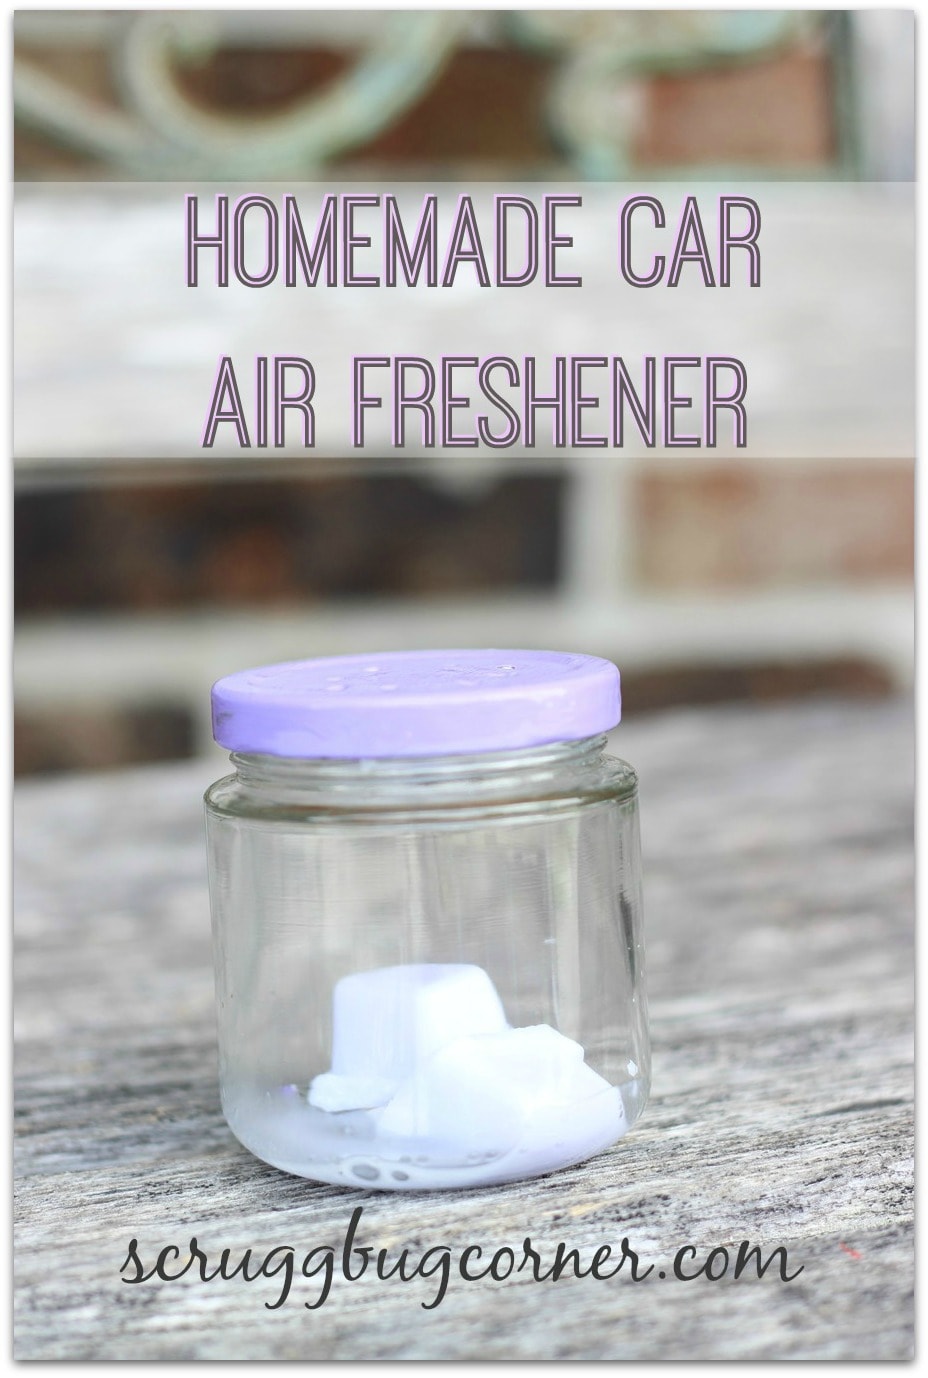
Want to keep your car smelling fresh without spending a lot of money? Making your own wax car fresheners is easier than you think.
You can customize the scent, shape, and design to match your style. Plus, homemade fresheners last longer and are free from harmful chemicals. In this guide, you’ll discover simple steps to create your own wax car fresheners that will keep your car smelling great every day.
Ready to transform your car’s atmosphere? Let’s dive in!
Materials Needed
Making wax car fresheners is simple and fun. You need a few basic materials to start. These items help you create fresheners that smell great and look nice. Gather everything before you begin for a smooth process.
Wax Types
Choose the right wax to create your fresheners. Soy wax is popular because it melts well and holds scent. Beeswax offers a natural scent and is long-lasting. Paraffin wax is easy to find and affordable. Pick one that suits your needs and preferences.
Essential Oils
Essential oils give your fresheners their scent. Pick oils you enjoy, like lavender, lemon, or peppermint. Use pure oils for the best fragrance. Avoid synthetic scents to keep it natural. Add drops carefully to get the perfect smell strength.
Molds And Accessories
Molds shape your wax fresheners. Silicone molds work best because they are flexible and easy to use. Choose fun shapes like circles, stars, or hearts. You also need a mixing bowl, a spoon, and a double boiler or microwave-safe container. A string or ribbon helps hang your freshener in the car.
Choosing Scents
Choosing the right scents is key to making wax car fresheners. The scent creates the mood inside the car. It also affects how long the freshener will smell good. Picking the best fragrance means thinking about what you or others like. Think about fresh, sweet, or strong smells. Some scents relax, while others energize.
Start by deciding if you want one scent or a mix. Single scents are simple and clear. Mixed scents can be unique and personal. Both options are fun to explore.
Popular Fragrance Options
Some scents are classic favorites. Lavender is calm and soothing. Citrus smells like lemon or orange feel fresh and clean. Pine or cedar bring a woodsy, natural touch. Vanilla offers a warm and sweet scent. These scents work well for many people.
Other choices include peppermint, eucalyptus, and cinnamon. Peppermint is cool and sharp. Eucalyptus clears the air and refreshes. Cinnamon is spicy and cozy. Pick scents that fit the car’s vibe and your taste.
Mixing Scents For Custom Blends
Mixing scents lets you create your own fragrance. Start with two or three oils that go well together. For example, lemon and lavender make a fresh, calm blend. Orange and cinnamon create a warm, spicy mix.
Test small amounts before making a big batch. Add drops slowly and smell often. Adjust the mix until it feels right. Custom blends make your freshener unique and personal.
Melting Wax Safely
Melting wax safely is the key step to create car fresheners without accidents. Wax can burn quickly if not handled right. Taking safety steps protects you and keeps the wax perfect for crafting.
Never leave melting wax unattended. Use tools made for heat. Keep your workspace clear of flammable items. These habits keep the process smooth and safe.
Melting Techniques
Use a double boiler to melt wax gently. Place wax in a heatproof container over boiling water. This method stops direct heat, preventing wax from burning.
Microwave melting works but needs caution. Heat wax in short bursts of 20-30 seconds. Stir between bursts to spread heat evenly. Watch closely to avoid overheating.
Choose the right container. Glass or metal containers work best. Avoid plastic, as it can melt or release harmful fumes.
Temperature Tips
Keep wax temperature below 200°F (93°C). Higher heat can cause wax to smoke or catch fire. Use a thermometer to check the heat precisely.
Remove wax from heat once melted. Stir well to even out temperature. Let it cool slightly before adding scents or pouring into molds.
Work in a well-ventilated area. This reduces inhaling any fumes from the wax or fragrance oils.
Adding Fragrance
Adding fragrance to your wax car fresheners is key to making them smell great. The right scent can create a pleasant atmosphere in your car. Knowing when and how to add the fragrance oils helps keep the scent strong and long-lasting. This part of the process needs care and attention to get the best results.
When To Add Oils
Add fragrance oils after melting the wax but before it cools. The wax should be warm, not hot. High heat can burn the oils and change their smell. Wait until the wax cools to about 140°F (60°C). This temperature keeps the oils fresh and lets them blend well.
Adding oils too early or too late can weaken the scent. Pour the oils quickly but carefully into the melted wax. Stir gently to mix the fragrance evenly. This timing locks in the best aroma for your freshener.
Proper Mixing
Mix the fragrance oils well to spread the scent evenly. Use a spoon or stick to stir the wax and oils together. Stir slowly to avoid creating bubbles. Bubbles can affect the look and scent release.
Mix for about 30 seconds to one minute. This time is enough to blend without cooling the wax too much. Proper mixing helps your car freshener keep its smell longer. It also ensures every freshener has the same lovely scent.
Pouring Wax Into Molds
Pouring wax into molds is a key step in making wax car fresheners. It shapes the wax and captures the scents you want. The process needs care and the right tools. A good pour creates smooth, even fresheners that smell great and last long.
Choosing The Right Mold
Select molds that fit the size of your freshener. Silicone molds are best for easy removal. Look for shapes that match your car’s style or your personal taste. Avoid very deep molds; shallow ones cool faster and are easier to work with. Clean molds ensure a smooth finish on your wax.
Pouring Tips
Heat wax to the right temperature, usually around 170°F. Pour slowly to avoid air bubbles. Hold the mold steady and pour close to the surface. Fill the mold just below the edge to prevent overflow. Let the wax cool and harden at room temperature. Do not move the mold during this time to keep shapes clear.

Credit: www.sietesetenta.com.ar
Setting And Curing
Setting and curing are key steps in making wax car fresheners. This process makes sure the wax hardens properly. It also locks in the scent for longer freshness. Taking time for these steps improves the quality and look of your fresheners.
Cooling Time
After pouring the wax into molds, let it cool down slowly. Cooling too fast can cause cracks or bubbles. Keep the molds on a flat surface at room temperature. Wait at least 2 to 3 hours for the wax to harden fully. Patience here creates a smooth, solid freshener.
Removing From Molds
Check if the wax feels firm before removing it. Gently push the mold edges to release the freshener. If it resists, wait a little longer to set. Avoid bending or twisting the wax to prevent breakage. Clean, smooth edges show a neat final product.
Adding Hanging Accessories
Adding hanging accessories is a key step in making wax car fresheners. It helps the freshener hang easily inside your car. This step also adds a personal touch to your creation. Simple accessories can make your freshener look charming and neat.
Choosing the right hanging accessory ensures your freshener stays secure. It also makes it easy to place and remove from your car. Let’s explore easy ways to attach these accessories and creative decoration ideas.
Attaching Strings Or Ribbons
Start by making a small hole at the top of the wax freshener. Use a toothpick or a small skewer to create the hole before the wax hardens. Thread a string or ribbon through this hole. Tie a knot to secure it tightly. Choose a string or ribbon that matches your freshener’s color. Cotton string, thin ribbon, or twine work well. Make sure the length suits where you want to hang it. A loop about 4 to 6 inches long usually fits most car mirrors.
Creative Decoration Ideas
Use beads on the string for extra charm. Slide a few small beads before tying the knot. Add tiny charms or pendants that reflect your style. You can glue small dried flowers or glitter on the wax surface. Wrap the ribbon with a thin wire to shape it. Twist the wire into a small bow or spiral. These small touches make your freshener unique. Keep decorations light to avoid weighing down the freshener. Simple and neat designs last longer and look better in the car.
Using And Maintaining Fresheners
Using and maintaining wax car fresheners is simple and keeps your car smelling great. Proper use helps the scent last longer. Taking care of the freshener ensures you enjoy a pleasant smell every drive. Follow easy steps for best results.
Placement In Cars
Place the wax freshener where air flows well. Near air vents is a good spot. Avoid direct sunlight to stop melting. Keep it away from windows that open often. Secure it so it does not move while driving. Proper placement spreads the scent evenly inside the car.
Refreshing Scents Over Time
Wax fresheners lose scent after weeks. To refresh, lightly warm the wax with your hand. Avoid heating with a flame or heat source. This releases more fragrance safely. Store fresheners in airtight bags when not in use. Replace them every few months for a strong scent. A well-maintained freshener keeps your car smelling fresh longer.
Troubleshooting Common Issues
Making wax car fresheners is fun but can come with some problems. Fixing these common issues helps you get the best results. This section covers two main problems: wax cracking and weak fragrance. Each problem has easy tips to solve it.
Wax Cracking
Wax cracking happens when the wax cools too fast or gets too hard. Pour wax at the right temperature, about 140°F to 160°F. Pouring wax that is too hot or too cold causes cracks.
Use good-quality wax made for crafting fresheners. Avoid mixing different wax types, as this can cause uneven cooling. Let the wax cool slowly at room temperature. Do not put it in the fridge or freezer.
Adding a small amount of oil, like coconut or mineral oil, helps keep the wax flexible. Too much oil makes the wax soft, so add just a little. Check your mold for any sharp edges that can create cracks in the wax.
Weak Fragrance
A weak scent means not enough fragrance oil or poor mixing. Use fragrance oils made for wax products. Add about 6% to 10% fragrance oil by weight for a strong smell.
Mix the fragrance oil well with the melted wax. Stir gently but fully before pouring into molds. Adding fragrance when the wax is too hot can burn off the scent. Wait until wax cools to about 160°F before adding oil.
Store finished fresheners in airtight bags to keep the scent fresh. Fresheners lose smell over time if exposed to air. Using stronger oils or blending scents can also improve fragrance strength.
Credit: gymcraftlaundry.com
Credit: www.youtube.com
Frequently Asked Questions
What Materials Are Needed For Wax Car Fresheners?
You need wax flakes, fragrance oils, silicone molds, a double boiler, and essential oils. These materials help create custom scents and shapes for your car fresheners.
How Long Does It Take To Make Wax Car Fresheners?
It takes about 30 to 45 minutes to make wax car fresheners. This includes melting wax, adding fragrance, pouring into molds, and cooling.
Can I Customize Scents For Wax Car Fresheners?
Yes, you can customize scents by mixing various fragrance or essential oils. This allows you to create unique and personalized car fresheners.
How Do I Prevent Wax Car Fresheners From Melting?
Keep wax fresheners away from direct sunlight and heat sources. Store them in a cool, dry place to maintain shape and fragrance.
Conclusion
Making wax car fresheners is simple and fun. You only need a few basic materials. Choose your favorite scent and colors to make it personal. These fresheners last long and keep your car smelling nice. You can make many at home without spending much money.
Try different shapes and scents to see what you like best. Enjoy the fresh smell every time you get in your car. This small project adds a nice touch to your driving experience. Give it a try and enjoy your custom fresheners today.


