If you’ve ever tried to remove wheel covers from your Mercedes, you know it’s not always as simple as it looks. You might worry about damaging the cover or the wheel itself.
But don’t let that stop you. In this guide, you’ll discover easy, step-by-step tips to safely and quickly remove your Mercedes wheel covers. Whether you want to clean them, replace them, or customize your wheels, this article will give you the confidence and know-how to get the job done right.
Keep reading to make the process smooth and hassle-free.

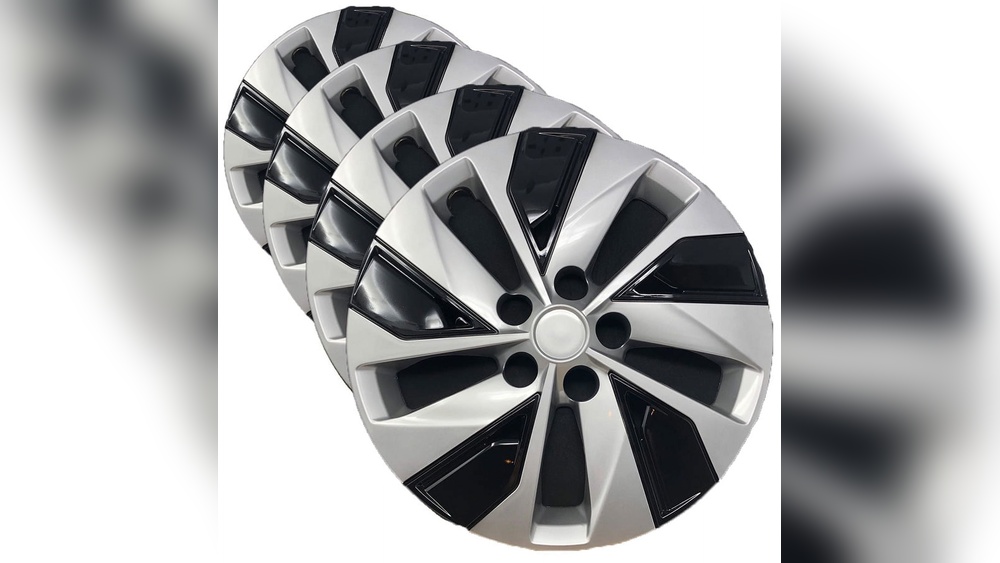
Credit: www.ebay.com
Tools Needed
Removing wheel covers from a Mercedes requires a few simple tools. Having the right tools makes the job easier and safer. You can avoid damage to the wheel or cover by using proper equipment.
Gather all tools before starting. This saves time and effort during the process.
Flathead Screwdriver
A flathead screwdriver helps pry off the wheel cover gently. Choose one with a sturdy handle and a wide blade. Wrap the blade tip with tape to protect the wheel surface.
Rubber Mallet
A rubber mallet helps tap the wheel cover loose without scratching. Use light taps around the edge to loosen the cover evenly. Avoid metal hammers that can cause dents.
Gloves
Wear gloves to protect your hands from sharp edges and dirt. Gloves also improve grip on slippery surfaces. Choose comfortable gloves for better control.
Tire Iron Or Pry Tool
A tire iron or pry tool can assist in lifting the wheel cover. Use it carefully to avoid bending or cracking the cover. Insert it gently between the cover and wheel rim.
Clean Cloth
A clean cloth helps wipe dirt and dust off the wheel cover. It also protects the wheel from scratches during removal. Keep the cloth handy for cleaning before and after removal.
Safety Precautions
Removing wheel covers from a Mercedes requires care and attention to safety. Protecting yourself and the car is important during the process. Taking proper safety steps can prevent injuries and damage to the vehicle.
Before starting, prepare your workspace. A clean, flat area helps keep tools and parts organized. Good lighting lets you see all details clearly. These simple steps make the job easier and safer.
Wear Protective Gloves
Use gloves to protect your hands from sharp edges. Wheel covers can have metal or plastic parts that may cut skin. Gloves also improve your grip on tools and covers.
Use The Right Tools
Select tools designed for wheel cover removal. Using the wrong tools can damage the cover or wheel. A plastic pry tool reduces risk of scratching the paint.
Secure The Vehicle
Make sure the car is parked on a flat surface. Engage the parking brake to stop any movement. This keeps the vehicle stable while you work.
Work Slowly And Carefully
Remove the wheel cover gently to avoid breaking clips. Sudden force can cause damage to the cover or wheel. Patience prevents costly repairs.
Protect The Wheel And Surroundings
Place a soft cloth or mat near the wheel. This protects the paint and catches any falling parts. Keeping the area clean avoids scratches and lost pieces.
Locate The Wheel Cover Clips
Locating the wheel cover clips is the first step in removing wheel covers from a Mercedes. These clips hold the cover tightly to the wheel. Knowing where they are helps you avoid damage during removal.
Each wheel cover has several clips around its edge. They fit into slots on the wheel rim. The clips keep the cover secure while driving.
Identify The Clip Positions On The Wheel Cover
Check the outer edge of the wheel cover carefully. You will see small raised areas or indentations. These marks show where the clips are placed. Usually, there are four to six clips spaced evenly.
Use A Tool To Locate Hidden Clips
Some clips may be hard to see with the naked eye. Use a flat tool, like a plastic pry tool or a flat screwdriver. Gently run it around the cover edge. Feel for small catches or hooks beneath the cover.
Check The Backside Of The Wheel Cover
If possible, look at the back of the wheel cover. You will see the clips from this side. They look like small hooks or tabs sticking out. This view confirms the clip locations and how they attach to the wheel.

Credit: www.youtube.com
Use A Flathead Screwdriver
Using a flathead screwdriver is a common and effective way to remove wheel covers from a Mercedes. This simple tool helps you pry the cover away without causing damage. You need to be careful and gentle to keep your wheels looking good. The process is straightforward but requires attention to avoid scratches or dents.
Protecting The Wheel Surface
Before inserting the screwdriver, protect the wheel surface. Use a cloth or tape around the edge of the wheel cover. This prevents the metal or plastic parts from scratching the wheel. Take your time to place the protection carefully. It helps keep the wheel clean and undamaged during removal.
Prying The Cover Gently
Insert the flathead screwdriver between the wheel cover and the rim. Push the screwdriver slowly to create a small gap. Avoid forcing it, as this can crack the cover or bend the wheel. Work your way around the cover by moving the screwdriver to different spots. This spreads the pressure evenly and makes removal easier. Keep lifting gently until the cover pops off.
Use A Wheel Cover Removal Tool
Using a wheel cover removal tool makes the job easier and safer. This tool helps to lift the wheel cover without damaging it or the wheel. It fits between the cover and the rim, giving you good leverage.
The tool is designed to apply even pressure. This prevents bending or cracking the cover. It also reduces the risk of scratching the paint on your Mercedes wheel.
Choose The Right Wheel Cover Removal Tool
Pick a tool made for Mercedes or similar cars. Some tools have plastic tips to avoid damage. Check the size and shape to match your wheel cover.
Position The Tool Correctly
Slide the tool gently under the edge of the wheel cover. Find a spot where the cover clips hold firmly. Use slow, steady pressure to lift the cover a little.
Work Around The Wheel Cover
Move the tool around the wheel cover edge. Release the clips one by one. Avoid prying too hard in one spot to prevent cracks.
Remove The Wheel Cover Carefully
Once all clips are loose, pull the cover off by hand. Hold it firmly to avoid dropping. Set it down on a soft surface to keep it safe.
Removing The Wheel Cover
Removing the wheel cover from a Mercedes is simple with the right steps. It needs care to avoid damage to the cover or wheel. This guide helps you remove the cover safely and quickly.
Use the right tools and a gentle touch. Each wheel cover fits tightly, so patience is key during removal.
Working Around The Cover
Start by cleaning the area around the wheel cover. Dirt can make removal harder and cause scratches. Use a soft cloth to wipe the edges gently.
Look for the clips or slots holding the cover in place. These are usually spaced evenly around the cover. Use a flat tool like a plastic pry bar or a screwdriver wrapped in tape.
Insert the tool carefully between the wheel and cover. Pry slowly and move around the cover in small steps. This loosens the cover evenly and prevents bending or breaking.
Handling Stubborn Clips
Some clips may be tight or stuck due to dirt or rust. Spray a little lubricant like WD-40 on the clips. Let it sit for a few minutes to loosen the grip.
Use gentle pressure to release the clips. Avoid forcing the cover as it can crack or warp. Work on one clip at a time to keep control.
If a clip resists, try a small twisting motion with the pry tool. This can help release it without damage. Keep your hands steady and go slow.
Inspecting The Wheel And Cover
Before removing wheel covers from your Mercedes, start by inspecting the wheel and the cover. This step helps you understand how the cover fits and if any parts need special care. A careful check prevents damage to your wheels and covers.
Look closely at the wheel cover’s edges. Notice how it clips or snaps onto the wheel. Some covers have small tabs or clips that hold them tightly. Knowing their location helps you avoid breaking them.
Check the wheel itself for dirt or debris. Clean areas make removal easier and reduce the risk of scratching the wheel. Use a soft cloth to wipe around the cover’s edge gently.
Examining The Wheel Cover Clips
Clips hold the wheel cover firmly in place. Inspect each clip for cracks or damage. Damaged clips might break during removal. Identify where the clips connect to the wheel.
Checking For Rust Or Corrosion
Rust or corrosion can make wheel covers stick. Look for brown or orange spots near the cover’s edge. Rust may require extra care or specific tools for removal.
Noting The Cover’s Material
Wheel covers come in plastic or metal. Plastic covers need gentle handling. Metal covers may need more force but risk scratching. Knowing the material guides your removal technique.
Cleaning And Maintenance Tips
Keeping your Mercedes wheel covers clean helps maintain the car’s look. Dirt and brake dust can build up fast. Regular cleaning stops damage and keeps covers shiny. Proper care also makes removal easier next time.
Use gentle products and soft tools to protect the covers. Avoid harsh chemicals that can fade or crack the plastic. Simple steps can extend the life of your wheel covers.
Cleaning Supplies Needed
Gather mild soap, water, and a soft cloth. A soft brush helps reach small crevices. Avoid steel wool or rough sponges. They can scratch the surface.
Step-by-step Cleaning Process
First, rinse the wheel covers with water. This removes loose dirt and dust. Apply soapy water with a soft cloth. Gently scrub the entire cover surface. Rinse well to remove soap. Dry with a clean microfiber towel to avoid water spots.
Maintenance Tips For Longevity
Check wheel covers regularly for cracks or loose clips. Tighten or replace clips as needed. Store removed covers in a cool, dry place. Avoid direct sunlight to prevent fading. Clean covers before reinstalling to keep them looking new.

Credit: www.ebay.com
Frequently Asked Questions
How Do I Safely Remove Wheel Covers From A Mercedes?
To remove Mercedes wheel covers safely, use a flat plastic pry tool. Insert it gently between the cover and rim. Pry slowly around the edges to avoid damage. Avoid metal tools that can scratch or dent the wheel.
What Tools Are Needed To Remove Mercedes Wheel Covers?
You only need a flat plastic pry tool or a flathead screwdriver wrapped in cloth. This prevents scratching. No special tools are required for most Mercedes wheel covers. Always work carefully to avoid damage.
Can I Remove Wheel Covers Without Damaging Mercedes Wheels?
Yes, by using plastic pry tools and gentle pressure, you can remove covers without damage. Avoid forcing or using metal tools. Work slowly and evenly around the cover to detach it safely.
How Often Should Mercedes Wheel Covers Be Removed For Maintenance?
Remove wheel covers during tire rotations or inspections, typically every 5,000 to 7,500 miles. Regular removal helps check wheel condition and clean hidden areas. This keeps wheels and covers in good shape.
Conclusion
Removing wheel covers from a Mercedes can be quick and simple. Use the right tools and be gentle to avoid damage. Start by loosening the clips or screws carefully. Take your time and follow each step with care. Doing this yourself saves money and helps you learn more about your car.
Now, you can handle wheel cover removal with confidence and ease. Keep this guide handy for future use.