
Are you struggling to remove the wheel covers on your golf cart? It can be tricky if you don’t know the right steps.
But don’t worry—removing them is easier than you think. Whether you want to clean, replace, or upgrade your wheel covers, this guide will walk you through the process quickly and safely. Keep reading, and you’ll have your wheel covers off in no time.
Tools Needed
Removing wheel covers on a golf cart is easy with the right tools. Having the correct tools saves time and prevents damage. Prepare these tools before starting the job.
Flathead Screwdriver
A flathead screwdriver helps pry off the wheel cover gently. It fits between the cover and the wheel rim. Use it carefully to avoid scratching the wheel.
Rubber Mallet
A rubber mallet loosens tight wheel covers. Tap the cover softly to avoid damage. It provides controlled force without hurting the wheel or cover.
Gloves
Wear gloves to protect your hands. They offer grip and prevent cuts from sharp edges. Gloves also keep your hands clean during the process.
Protective Cloth Or Towel
Place a cloth or towel between the tool and wheel cover. This prevents scratches and dents. It cushions the impact when prying or tapping the cover.
Safety Precautions
Removing wheel covers on a golf cart needs care and attention. Safety precautions protect you from injury and damage. Following simple safety steps makes the process smooth and safe.
Always prepare before starting. Check your tools and environment. Avoid rushing to prevent accidents.
Wear Protective Gloves
Gloves protect your hands from sharp edges and dirt. They also improve grip on the wheel cover. Use durable gloves made for mechanical work.
Use Proper Tools
Choose tools that fit the wheel cover design. A wrong tool can slip and cause injury. Keep tools in good condition for safe use.
Secure The Golf Cart
Make sure the cart is on a flat surface. Engage the parking brake to stop movement. This prevents accidents while you work.
Work In A Well-lit Area
Good lighting helps you see clips and screws clearly. Avoid dark or cluttered spaces. This reduces the risk of mistakes.
Handle Wheel Covers Gently
Do not force the cover off quickly. Gentle pressure avoids breaking clips or hurting yourself. Take your time and be patient.
Locate The Wheel Covers
Before removing wheel covers on a golf cart, first locate them clearly. Knowing their exact position helps you avoid damage. Wheel covers are usually attached to the wheels, covering the lug nuts and wheel hub. They protect the wheel and give the cart a neat look.
Look closely at each wheel. You will see a round plastic or metal piece in the center. This is the wheel cover. Some golf carts have full wheel covers that cover the entire wheel. Others have smaller hubcaps only covering the center.
Check The Wheel Center
The wheel cover sits right in the middle of the wheel. It hides the lug nuts and wheel hub. You can spot it easily by its shape and material. It is often a different color or finish than the tire and wheel.
Identify The Type Of Wheel Cover
Wheel covers vary in design and attachment style. Some snap on, while others use screws or bolts. Knowing the type helps in choosing the right removal method. Snap-on covers have visible edges or tabs. Screw-on covers show small screws around the edge.
Look For Clips Or Screws
Check around the edge of the wheel cover for clips or screws. Clips hold snap-on covers in place. Screws secure covers that need tools to remove. Using the right tool protects the wheel cover and wheel from damage.
Loosen The Wheel Covers
Loosening the wheel covers on a golf cart is the first step to removing them safely. These covers often fit tightly to protect the wheels and keep dirt out. Applying the right tools carefully can prevent damage to the covers or wheels. Take your time and work gently to avoid scratching or bending the covers.
Using A Flathead Screwdriver
A flathead screwdriver helps to gently pry the wheel cover from the wheel. Insert the tip of the screwdriver between the edge of the cover and the wheel. Twist the screwdriver slowly to create space. Move around the wheel cover, lifting it a little at different points. This method loosens the cover evenly. Be careful not to push too hard. Too much force can crack the cover or scratch the wheel.
Using A Rubber Mallet
A rubber mallet can tap the wheel cover to loosen it without damage. Hold the mallet firmly and tap around the edges of the cover. Use soft, controlled taps. This action helps break the seal or loosen any stuck spots. Avoid hitting too hard. The rubber mallet is gentle but effective at freeing tight covers. Check often to see if the cover moves. Stop tapping once it feels loose enough to remove by hand.
Remove The Wheel Covers
Removing wheel covers from a golf cart is simple with the right steps. This process helps you access the wheels for maintenance or replacement. You only need a few tools and some patience.
Start by focusing on the wheel covers themselves. They fit snugly and need careful handling to avoid damage. Follow the tips below to remove them safely and easily.
Prying Off The Covers
Use a flat tool like a flathead screwdriver or a plastic pry bar. Insert it gently between the wheel cover and the wheel rim. Work slowly to avoid scratching the surface.
Move the tool around the edge, lifting slightly at different points. This helps loosen the cover evenly. Once loose, you can pull the cover off by hand.
Handling Stubborn Covers
Some covers may stick tightly due to dirt or age. Spray a little soapy water or lubricant around the edges. Let it sit for a few minutes to loosen the grip.
Try prying again with the tool. Avoid using too much force to prevent breaking the cover. If needed, gently tap the pry tool with a rubber mallet to help.
Patience is key. Take your time to protect the wheel cover and the wheel itself.

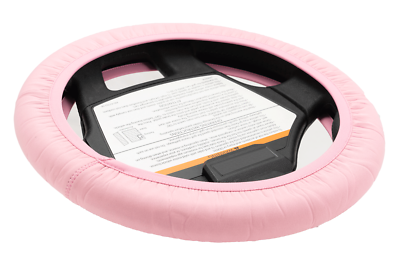
Credit: www.walmart.ca
Inspect The Wheel Area
Start by checking the wheel area carefully for any clips or screws holding the cover. Clear dirt or debris to avoid damage during removal. Notice how the cover fits to find the best way to take it off safely.
Check For Dirt And Debris
Start by looking closely at the wheel area. Dirt and debris can stick around the wheel cover. This can make it harder to remove. Clean the area with a brush or cloth. A clean surface helps you see how the cover fits.
Look For Retaining Clips Or Screws
Many golf cart wheel covers have clips or screws holding them. Inspect the edge of the cover carefully. Find any small screws or plastic clips. These need to be removed before you pull off the cover. Missing this step can cause damage.
Examine The Wheel Cover Fit
Check how tightly the wheel cover fits on the wheel. Some covers snap on firmly. Others slide on with less force. Understanding the fit helps you plan how to remove it safely. A tight fit means you need gentle, steady pressure.
Tips For Reinstalling Wheel Covers
Reinstalling wheel covers on a golf cart requires care and attention. Doing it right ensures the covers stay secure and look great. Follow these tips to make the process smooth and safe.
Clean The Wheel And Cover Before Reinstalling
Remove dirt and dust from the wheel and cover. Use a soft cloth or brush to clean both parts. This helps the cover fit better and prevents damage.
Align The Cover Correctly
Match the cover’s clips or holes with the wheel’s edges. Proper alignment makes snapping the cover on easier. Check all sides before pressing it firmly.
Use Gentle Pressure When Pressing
Press the cover evenly around the wheel. Avoid using too much force to prevent cracks. Start from one side and move around slowly for a snug fit.
Check For Loose Or Damaged Clips
Inspect clips before reinstalling the cover. Replace broken or weak clips to keep the cover secure. Strong clips hold the cover in place during rides.
Test The Cover After Installation
Spin the wheel to see if the cover stays in place. Listen for any rattling sounds. If loose, press again or check the clips for damage.
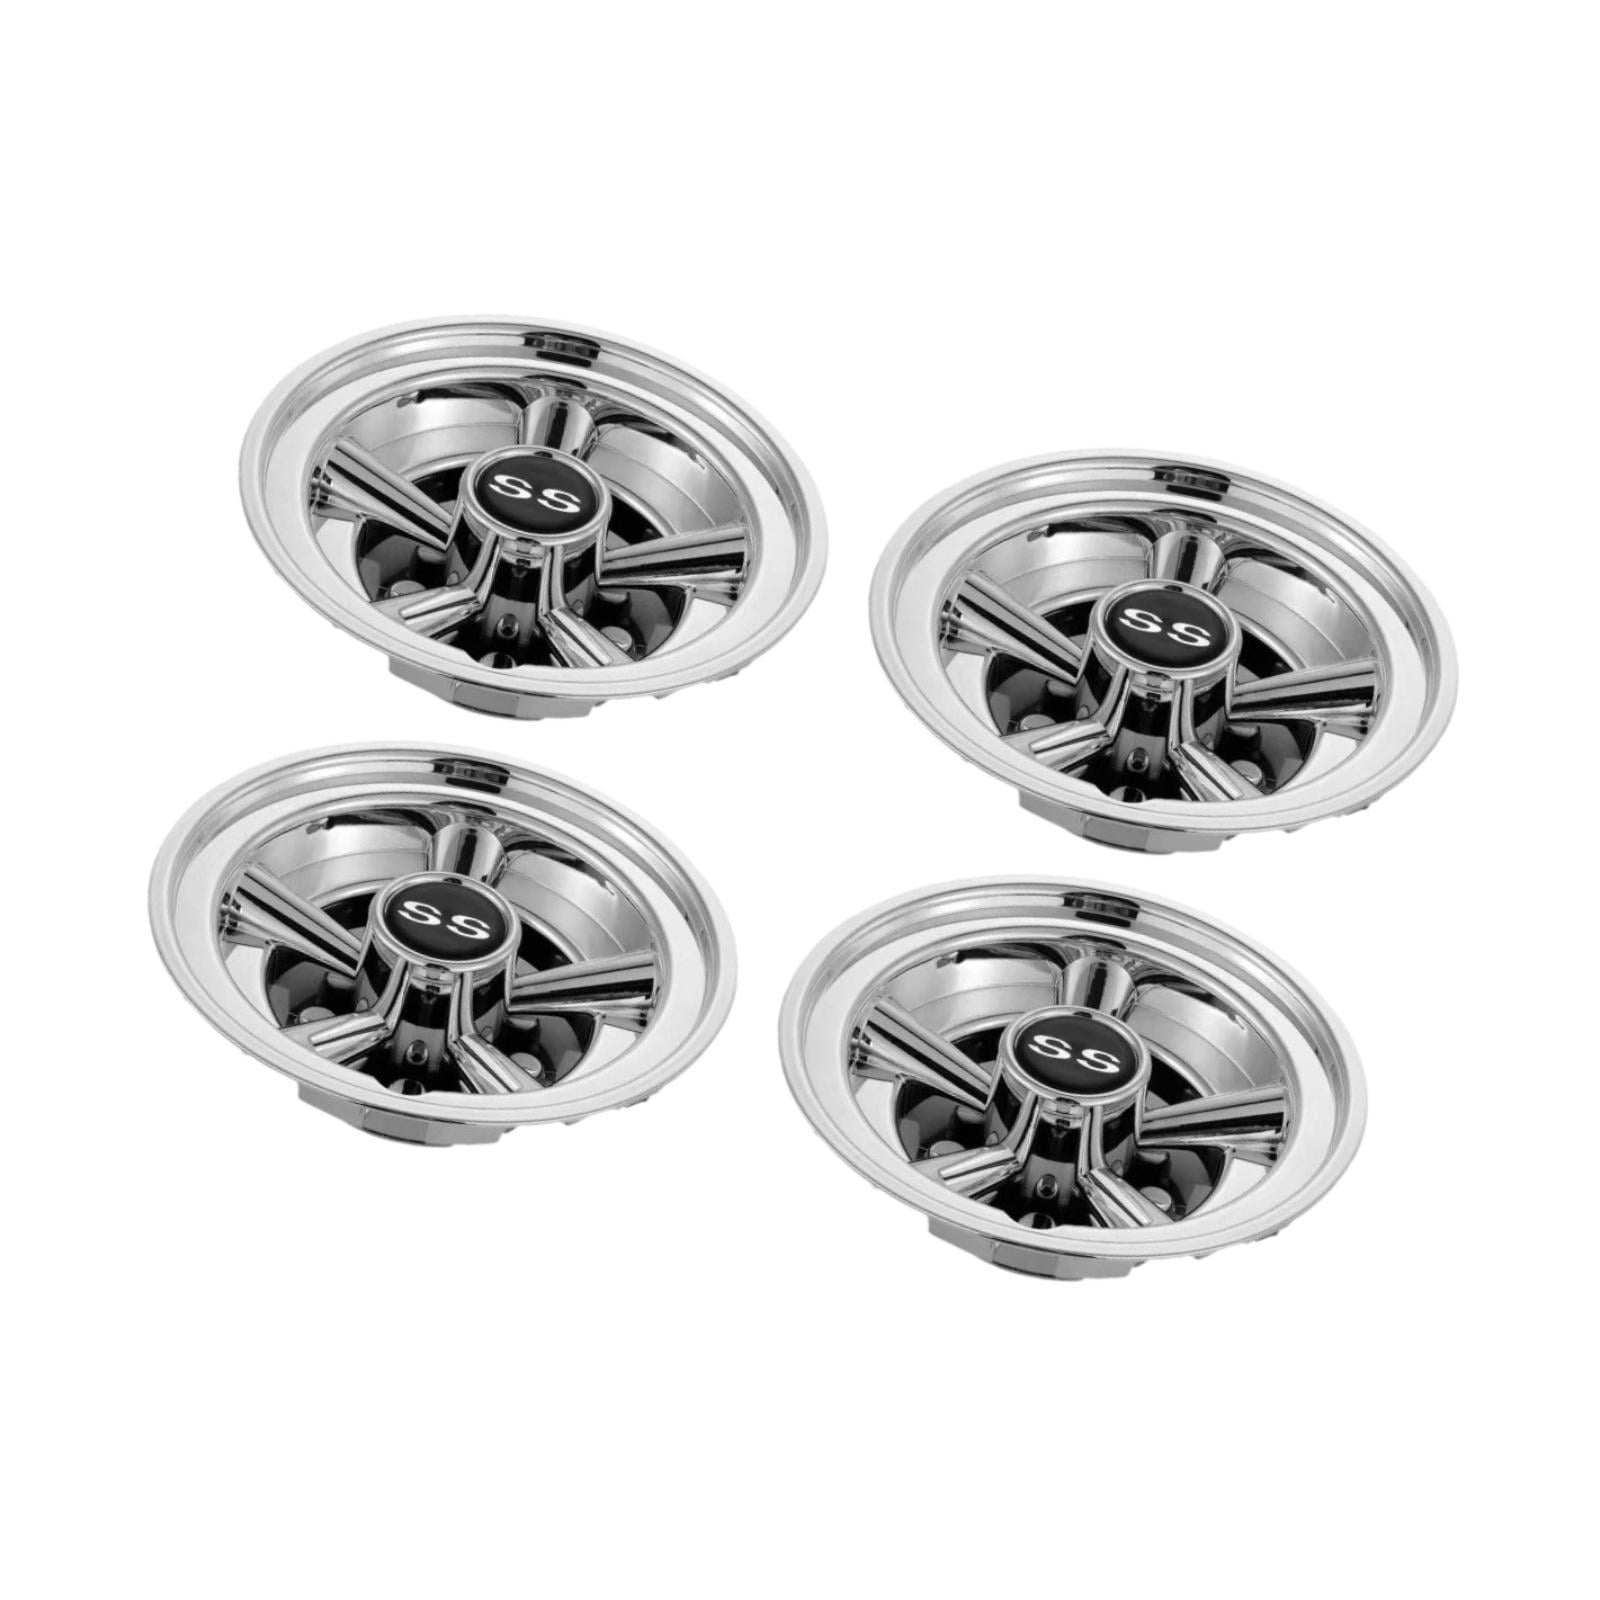
Credit: www.ebay.com
Credit: www.liftingitalia.com
Frequently Asked Questions
How Do I Safely Remove Wheel Covers On A Golf Cart?
Use a flathead screwdriver or plastic pry tool to gently pry the wheel cover. Work around evenly to avoid damage. Remove slowly to prevent snapping clips or scratching the wheel.
What Tools Are Needed To Remove Golf Cart Wheel Covers?
Typically, a flathead screwdriver or a plastic pry tool works best. These tools help gently lift and detach the wheel cover without causing damage.
Can I Remove Wheel Covers Without Damaging Them?
Yes, by carefully prying evenly around the edges with a plastic tool or screwdriver. Avoid using excessive force to preserve clips and cover integrity.
How Often Should Golf Cart Wheel Covers Be Removed?
Remove wheel covers only when necessary for maintenance or repair. Frequent removal can loosen clips and damage the covers over time.
Conclusion
Removing wheel covers on a golf cart is simple with the right steps. Use basic tools and gentle force to avoid damage. Take your time and follow safety tips for best results. Regular checks help keep your golf cart in good shape.
Now, you can easily remove and replace wheel covers anytime. Keep practicing, and it will become easier each time.


