
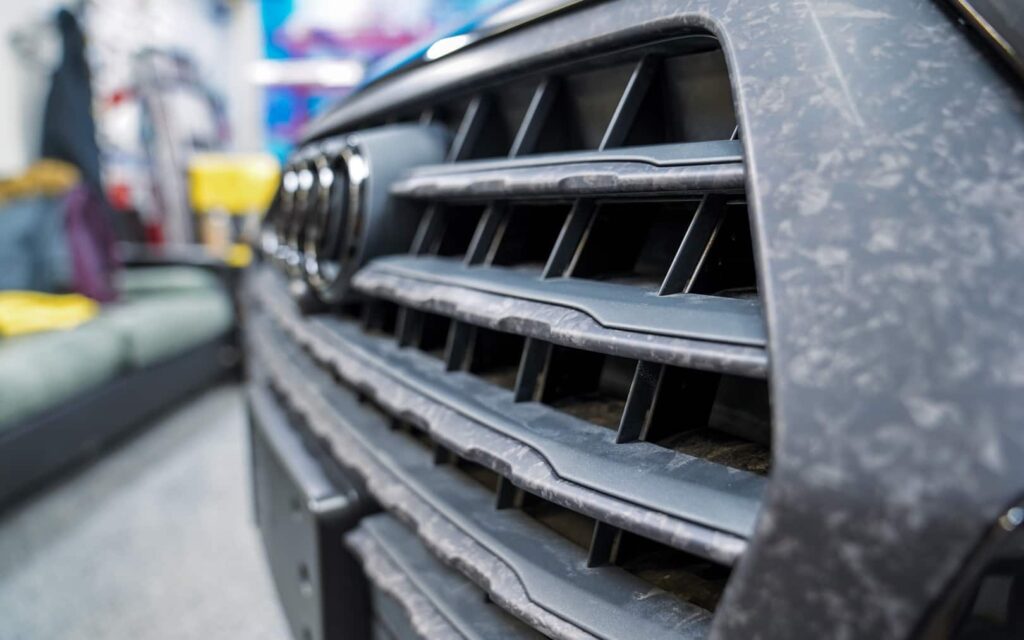
Looking to give your car a fresh, personalized look without spending a fortune? Vinyl wrapping your car grill is a simple and effective way to do just that.
Whether you want a sleek black finish, a bold color, or a unique texture, wrapping your grill lets you transform your car’s style quickly and safely. In this guide, you’ll discover easy steps that anyone can follow to achieve professional-looking results.
Ready to upgrade your ride and turn heads wherever you go? Let’s dive into how you can vinyl wrap your car grill like a pro.

Credit: www.wannaberacerwraps.com
Tools And Materials Needed
Preparing to vinyl wrap a car grill means gathering the right tools and materials first. This step makes the process smoother and helps achieve great results. Having everything ready saves time and prevents mistakes. Quality materials also improve the final look and durability of the wrap.
Choosing The Right Vinyl Wrap
Pick a vinyl wrap designed for automotive use. It should be flexible and strong. Look for vinyl with air-release technology. This feature helps avoid bubbles under the wrap. Choose a color or finish that matches your style. Matte, gloss, or carbon fiber are popular options. Check the vinyl thickness for durability. A thicker wrap lasts longer and resists damage better.
Essential Tools Checklist
Use a heat gun to soften the vinyl for easy shaping. A squeegee helps smooth out bubbles and wrinkles. Have a sharp utility knife to trim excess vinyl cleanly. Use isopropyl alcohol and a clean cloth to prepare the grill surface. This removes dirt and oils for better adhesion. Gloves protect your hands and keep the vinyl clean. Finally, a measuring tape or ruler ensures accurate cutting.

Credit: www.youtube.com
Preparing The Car Grill
Preparing the car grill is the first key step before applying a vinyl wrap. This step ensures the vinyl sticks well and looks smooth. Take your time to get the grill ready for a perfect wrap.
Proper preparation helps avoid bubbles and peeling later. The better the surface, the longer the wrap lasts. Follow these simple steps to prepare your grill for wrapping.
Cleaning And Removing Dirt
Start by cleaning the grill thoroughly. Use soap and water to remove dust and dirt. Dirt can stop the vinyl from sticking properly. Use a soft cloth or sponge to avoid scratches.
After washing, dry the grill with a clean towel. Use rubbing alcohol to remove oil and grease. This step makes the surface smooth and ready for the vinyl.
Removing The Grill From The Car
Remove the grill carefully from your car. This step helps you wrap without trouble. Check your car manual for the right method.
Use the proper tools to avoid damage. Unscrew bolts and clips holding the grill in place. Keep all small parts safe to reattach later.
Working on the grill outside the car is easier. You can wrap it evenly and reach all areas. This step improves the final look of your wrap.
Measuring And Cutting The Vinyl
Measuring and cutting the vinyl are important steps in wrapping a car grill. These steps help ensure the vinyl fits perfectly. Proper measurements prevent waste and make installation easier. Cutting the vinyl carefully avoids mistakes and keeps the wrap clean.
Taking Accurate Measurements
Start by cleaning the grill surface. Use a tape measure to get the width and height. Measure every section you want to cover. Take note of curves and edges. Write down all measurements clearly. Double-check the numbers to avoid errors.
Cutting Vinyl To Size
Lay the vinyl flat on a clean surface. Use a ruler or straight edge for guidance. Cut the vinyl slightly larger than the measurements. This extra margin helps during installation. Use a sharp blade or scissors for clean cuts. Avoid jagged edges by cutting slowly and carefully.
Applying The Vinyl Wrap
Applying the vinyl wrap to your car grill is a key step. It needs care and patience. This process changes the look of your grill and protects it. Follow these steps carefully for the best results.
Positioning The Vinyl On The Grill
Start by placing the vinyl carefully on the grill. Align it so it covers the entire surface. Leave a little extra vinyl on the edges. This extra helps during trimming. Hold the vinyl in place before moving to the next step.
Smoothing Out Air Bubbles
Use a soft tool to press the vinyl down. Move from the center outwards. This pushes out air bubbles and wrinkles. Work slowly to avoid tearing the vinyl. If bubbles remain, gently lift and reapply the vinyl.
Heating And Stretching The Vinyl
Use a heat gun to warm the vinyl. Heat makes the vinyl soft and flexible. Stretch it gently over curves and edges. Do not overheat to avoid damage. Cooling the vinyl helps it set in place firmly.
Finishing Touches
Finishing touches make your vinyl-wrapped car grill look smooth and clean. These steps ensure the wrap fits perfectly and stays in place. Attention to detail here gives the best final result.
Trimming Excess Vinyl
Use a sharp blade to cut off extra vinyl carefully. Cut close to the edges without damaging the grill. Keep your cuts straight for a neat finish. Small, slow cuts work best to avoid mistakes.
Reinstalling The Grill
Place the grill back onto the car once trimming is done. Make sure it fits securely and matches the original position. Tighten all screws and clips gently but firmly. Check for any loose parts before moving on.
Curing And Maintenance Tips
Let the vinyl cure for at least 24 hours before washing. Avoid strong chemicals or high-pressure water on the wrap. Clean with mild soap and soft cloth to keep it fresh. Regular care extends the vinyl’s life and look.
Credit: www.tintingchicago.com
Frequently Asked Questions
What Materials Do I Need To Vinyl Wrap A Car Grill?
You need vinyl wrap film, a heat gun, a squeegee, a utility knife, and cleaning supplies. These tools ensure smooth application and lasting results.
How Long Does It Take To Vinyl Wrap A Car Grill?
Wrapping a car grill typically takes 1 to 2 hours. Time depends on the grill’s size and your experience level.
Can I Remove Vinyl Wrap From My Car Grill Easily?
Yes, vinyl wrap can be removed without damage if heated properly. Use a heat gun to soften the adhesive and peel gently.
Is Vinyl Wrapping A Car Grill Cost-effective?
Vinyl wrapping is cost-effective compared to repainting or replacing the grill. It offers a quick, affordable way to customize your vehicle’s look.
Conclusion
Vinyl wrapping a car grill can change your car’s look fast. Take your time and follow each step carefully. Clean the grill well before you start. Use a heat gun to shape the vinyl smoothly. Avoid bubbles by pressing firmly as you go.
Practice on small areas to build confidence. A neat wrap protects and refreshes your grill. You can try different colors or textures too. Enjoy the new style and show it off proudly. Simple effort brings big changes to your car’s front.
Keep your tools ready for future touch-ups.


