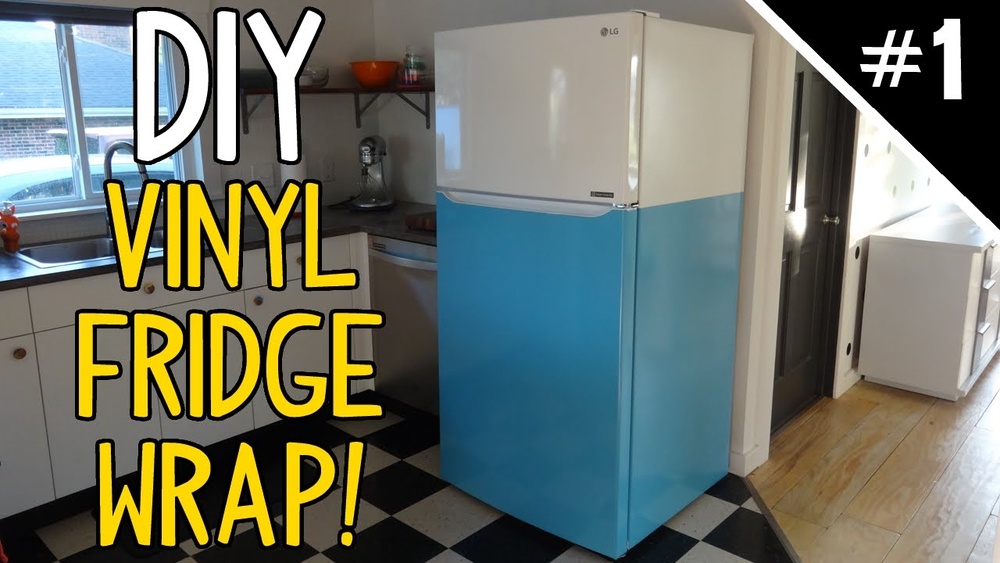
Want to give your fridge a fresh, stylish look without spending a lot of money? Vinyl wrapping is the perfect solution for you.
It’s easy, affordable, and can completely transform your kitchen’s vibe. Imagine turning your old, plain fridge into a sleek, modern centerpiece that matches your style. In this guide, you’ll learn simple steps to wrap your fridge like a pro. Stick with me, and by the end, you’ll have all the tips and tricks you need to make your fridge stand out.
Ready to get started? Let’s dive in!
Credit: www.rmwraps.com
Materials Needed
Before starting to vinyl wrap a fridge, gather all the materials needed. Having the right supplies makes the job easier and the result cleaner. This section covers the materials needed for a smooth vinyl wrap process.
Choosing The Right Vinyl Wrap
Select vinyl made for appliances or vehicles. It should be thick enough to cover the fridge surface well. Matte or glossy finishes work, depending on your style. Pick a color or pattern that fits your space. Make sure the vinyl size covers the entire fridge with extra to trim.
Essential Tools
Use a squeegee to smooth the vinyl and remove air bubbles. A utility knife helps cut vinyl edges precisely. Have a heat gun or hairdryer to soften vinyl for curves. Use cleaning supplies to prepare the fridge surface. Lint-free cloths are best for wiping down dirt and dust.
Preparing The Workspace
Work in a clean, dry area with good light. Clear enough space to move around the fridge freely. A flat table nearby helps hold tools and vinyl pieces. Avoid dusty or windy places that can ruin the wrap. Keep pets and children away during the process.
Preparing The Fridge
Preparing the fridge is the first step in vinyl wrapping. A clean and smooth surface helps the vinyl stick well. Taking time now saves problems later. Follow these simple steps to get your fridge ready.
Cleaning The Surface
Start by wiping the fridge with a soft cloth. Use warm water mixed with mild soap. Remove all dirt, grease, and dust. Avoid harsh chemicals that can damage the fridge. Clean every corner carefully. A spotless surface is key for a good wrap.
Removing Handles And Accessories
Take off all handles, magnets, and stickers. This makes the surface flat and easy to wrap. Use a screwdriver to remove handles gently. Keep screws in a safe place. Removing accessories helps avoid bumps under the vinyl.
Drying And Inspecting
Dry the fridge completely with a clean towel. Check the surface for any scratches or dents. Smooth out any rough spots with fine sandpaper. A smooth surface ensures the vinyl looks neat. Make sure no moisture remains before applying vinyl.
Measuring And Cutting
Measuring and cutting vinyl for your fridge is a key step. It ensures a perfect fit and a smooth look. Taking your time here saves you from mistakes later. Accurate measurements and careful cutting help the vinyl wrap stick well and last longer.
Taking Accurate Measurements
Start by measuring the fridge’s height, width, and depth. Use a soft measuring tape for easy handling. Write down each measurement clearly. Measure twice to avoid errors. Include extra inches for wrapping around edges and corners.
Don’t forget to measure doors and handles separately. This helps cut vinyl pieces that fit exactly. Take note of any curves or unusual shapes. These details make cutting easier and more precise.
Marking The Vinyl
Lay the vinyl flat on a clean surface. Place the measurements on the back side of the vinyl. Use a pencil or light marker to mark the cutting lines. Draw straight lines to keep the cuts clean. Mark extra space for folding over edges.
Double-check marks before cutting. Clear and accurate markings guide your cutting tools. Avoid pressing too hard to prevent damage on the vinyl surface.
Cutting Techniques
Use a sharp utility knife or scissors for cutting vinyl. Cut slowly along the marked lines. Keep the vinyl flat to avoid wrinkles. Use a ruler or straight edge to guide the knife for straight cuts.
For curves or rounded edges, make small cuts and bend the vinyl gently. Avoid tearing or stretching the vinyl. Smooth cuts help the wrap look professional and neat.
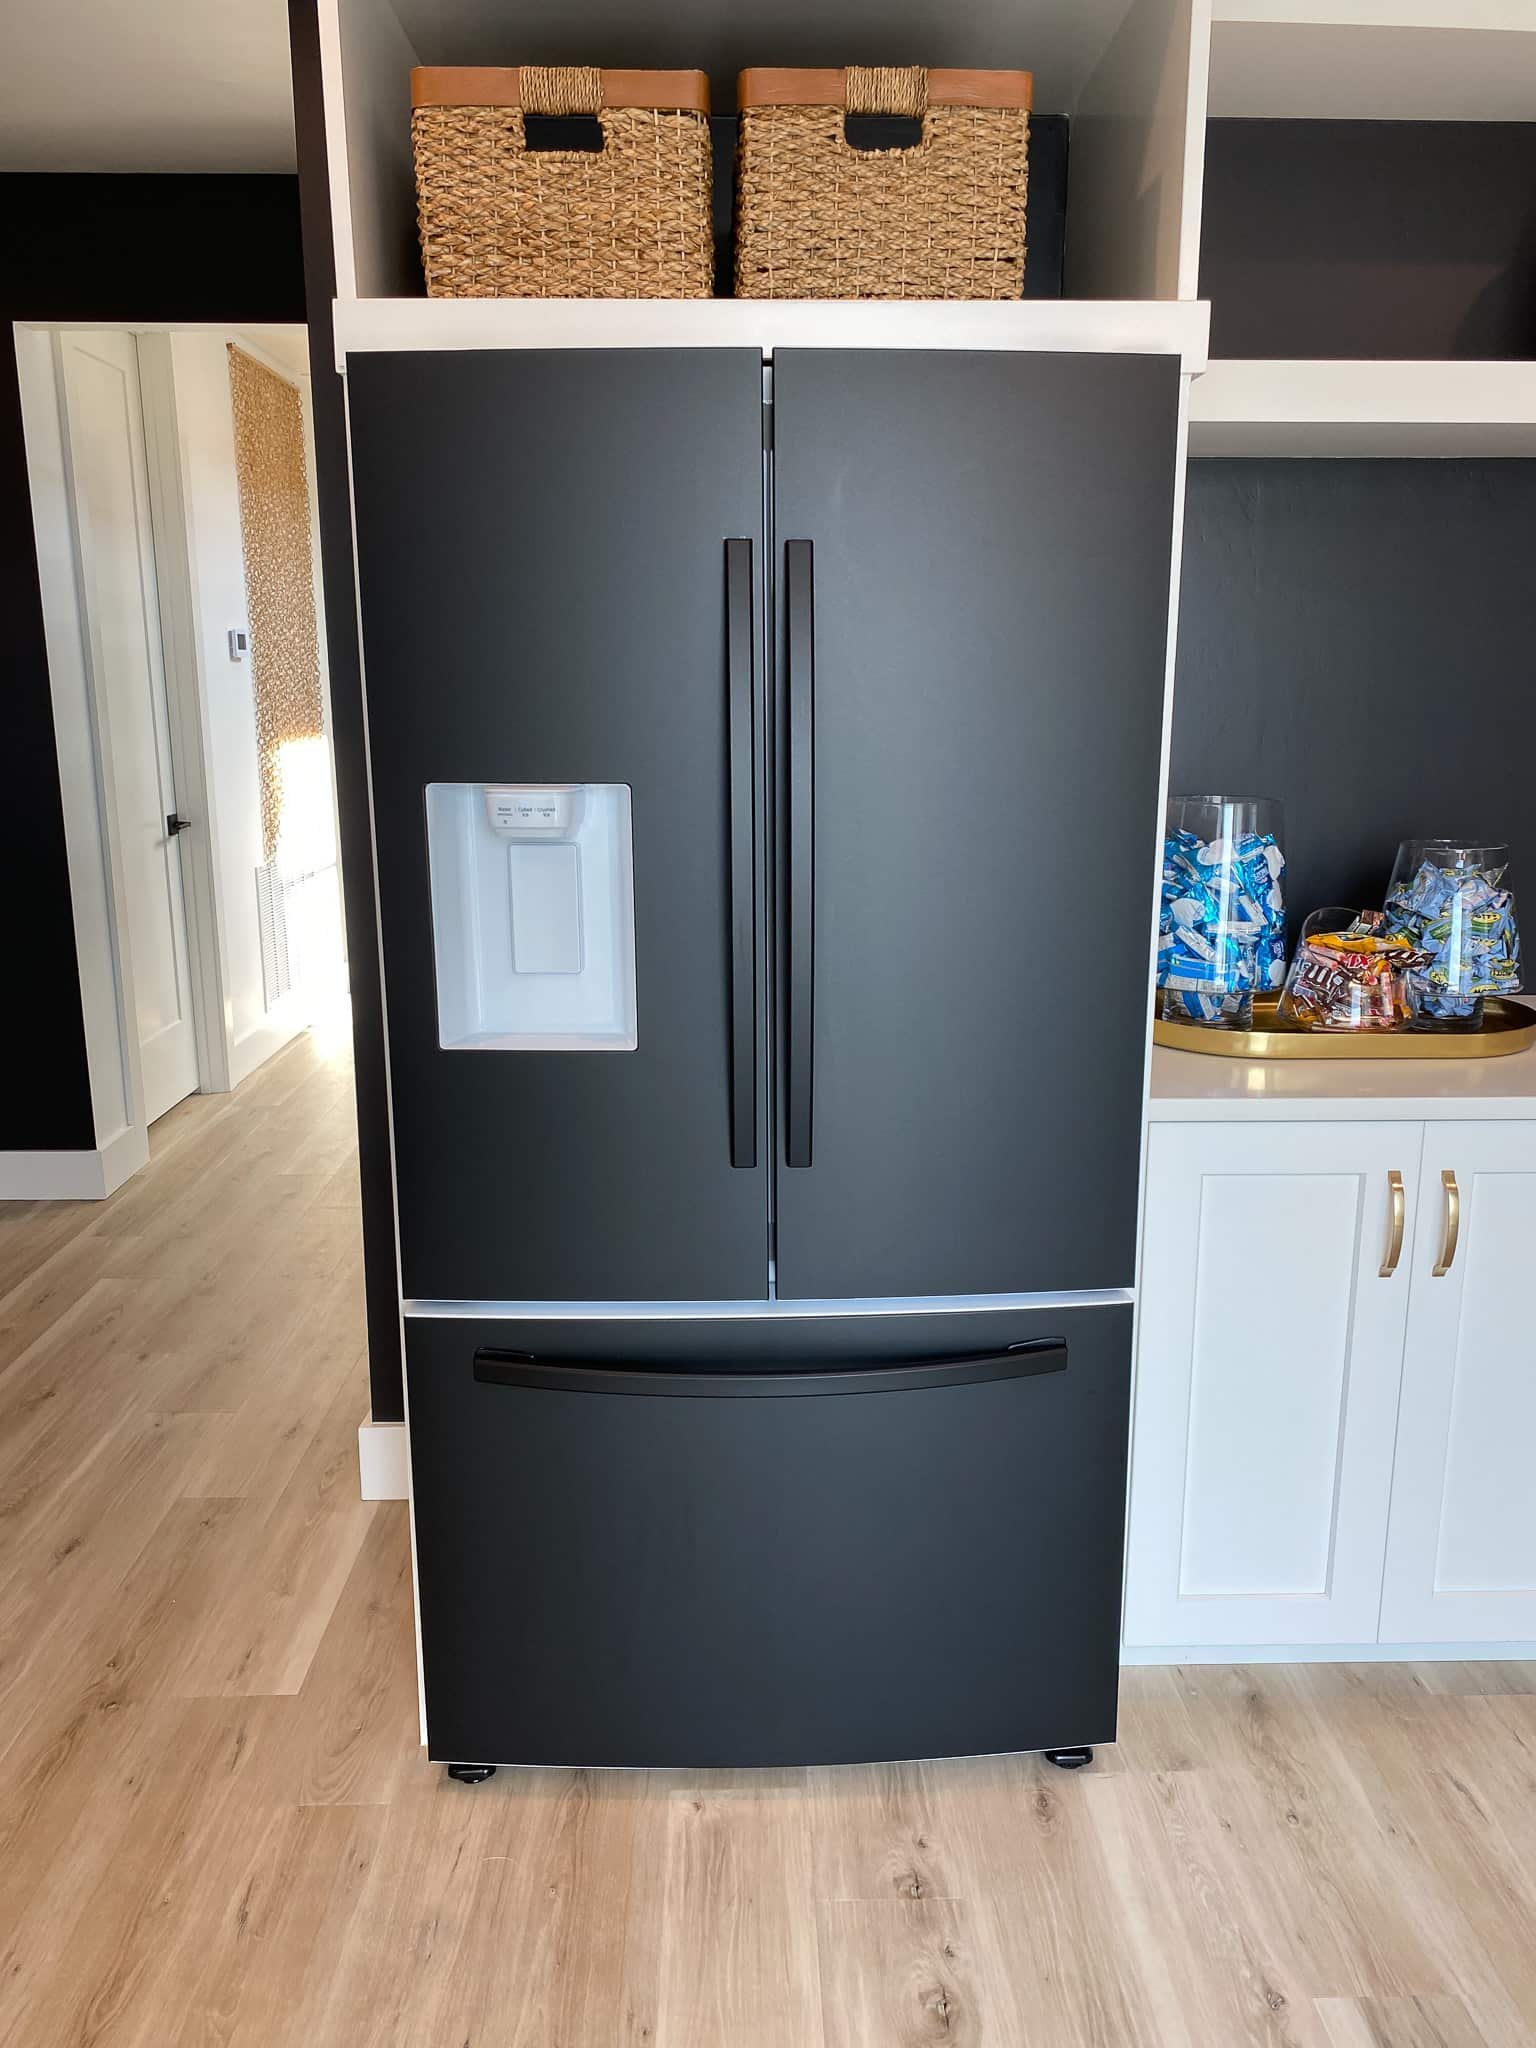
Credit: www.meganmckean.com
Applying The Vinyl Wrap
Applying the vinyl wrap to your fridge needs care and patience. This step changes the fridge’s look completely. Follow the right methods to get a smooth, clean finish. The process involves positioning, peeling, sticking, and smoothing out bubbles.
Positioning The Vinyl
Start by placing the vinyl sheet over the fridge surface. Align it carefully with edges and corners. Make sure the vinyl covers the entire area you want to wrap. Hold it loosely first to check the fit. Adjust the position until it looks right.
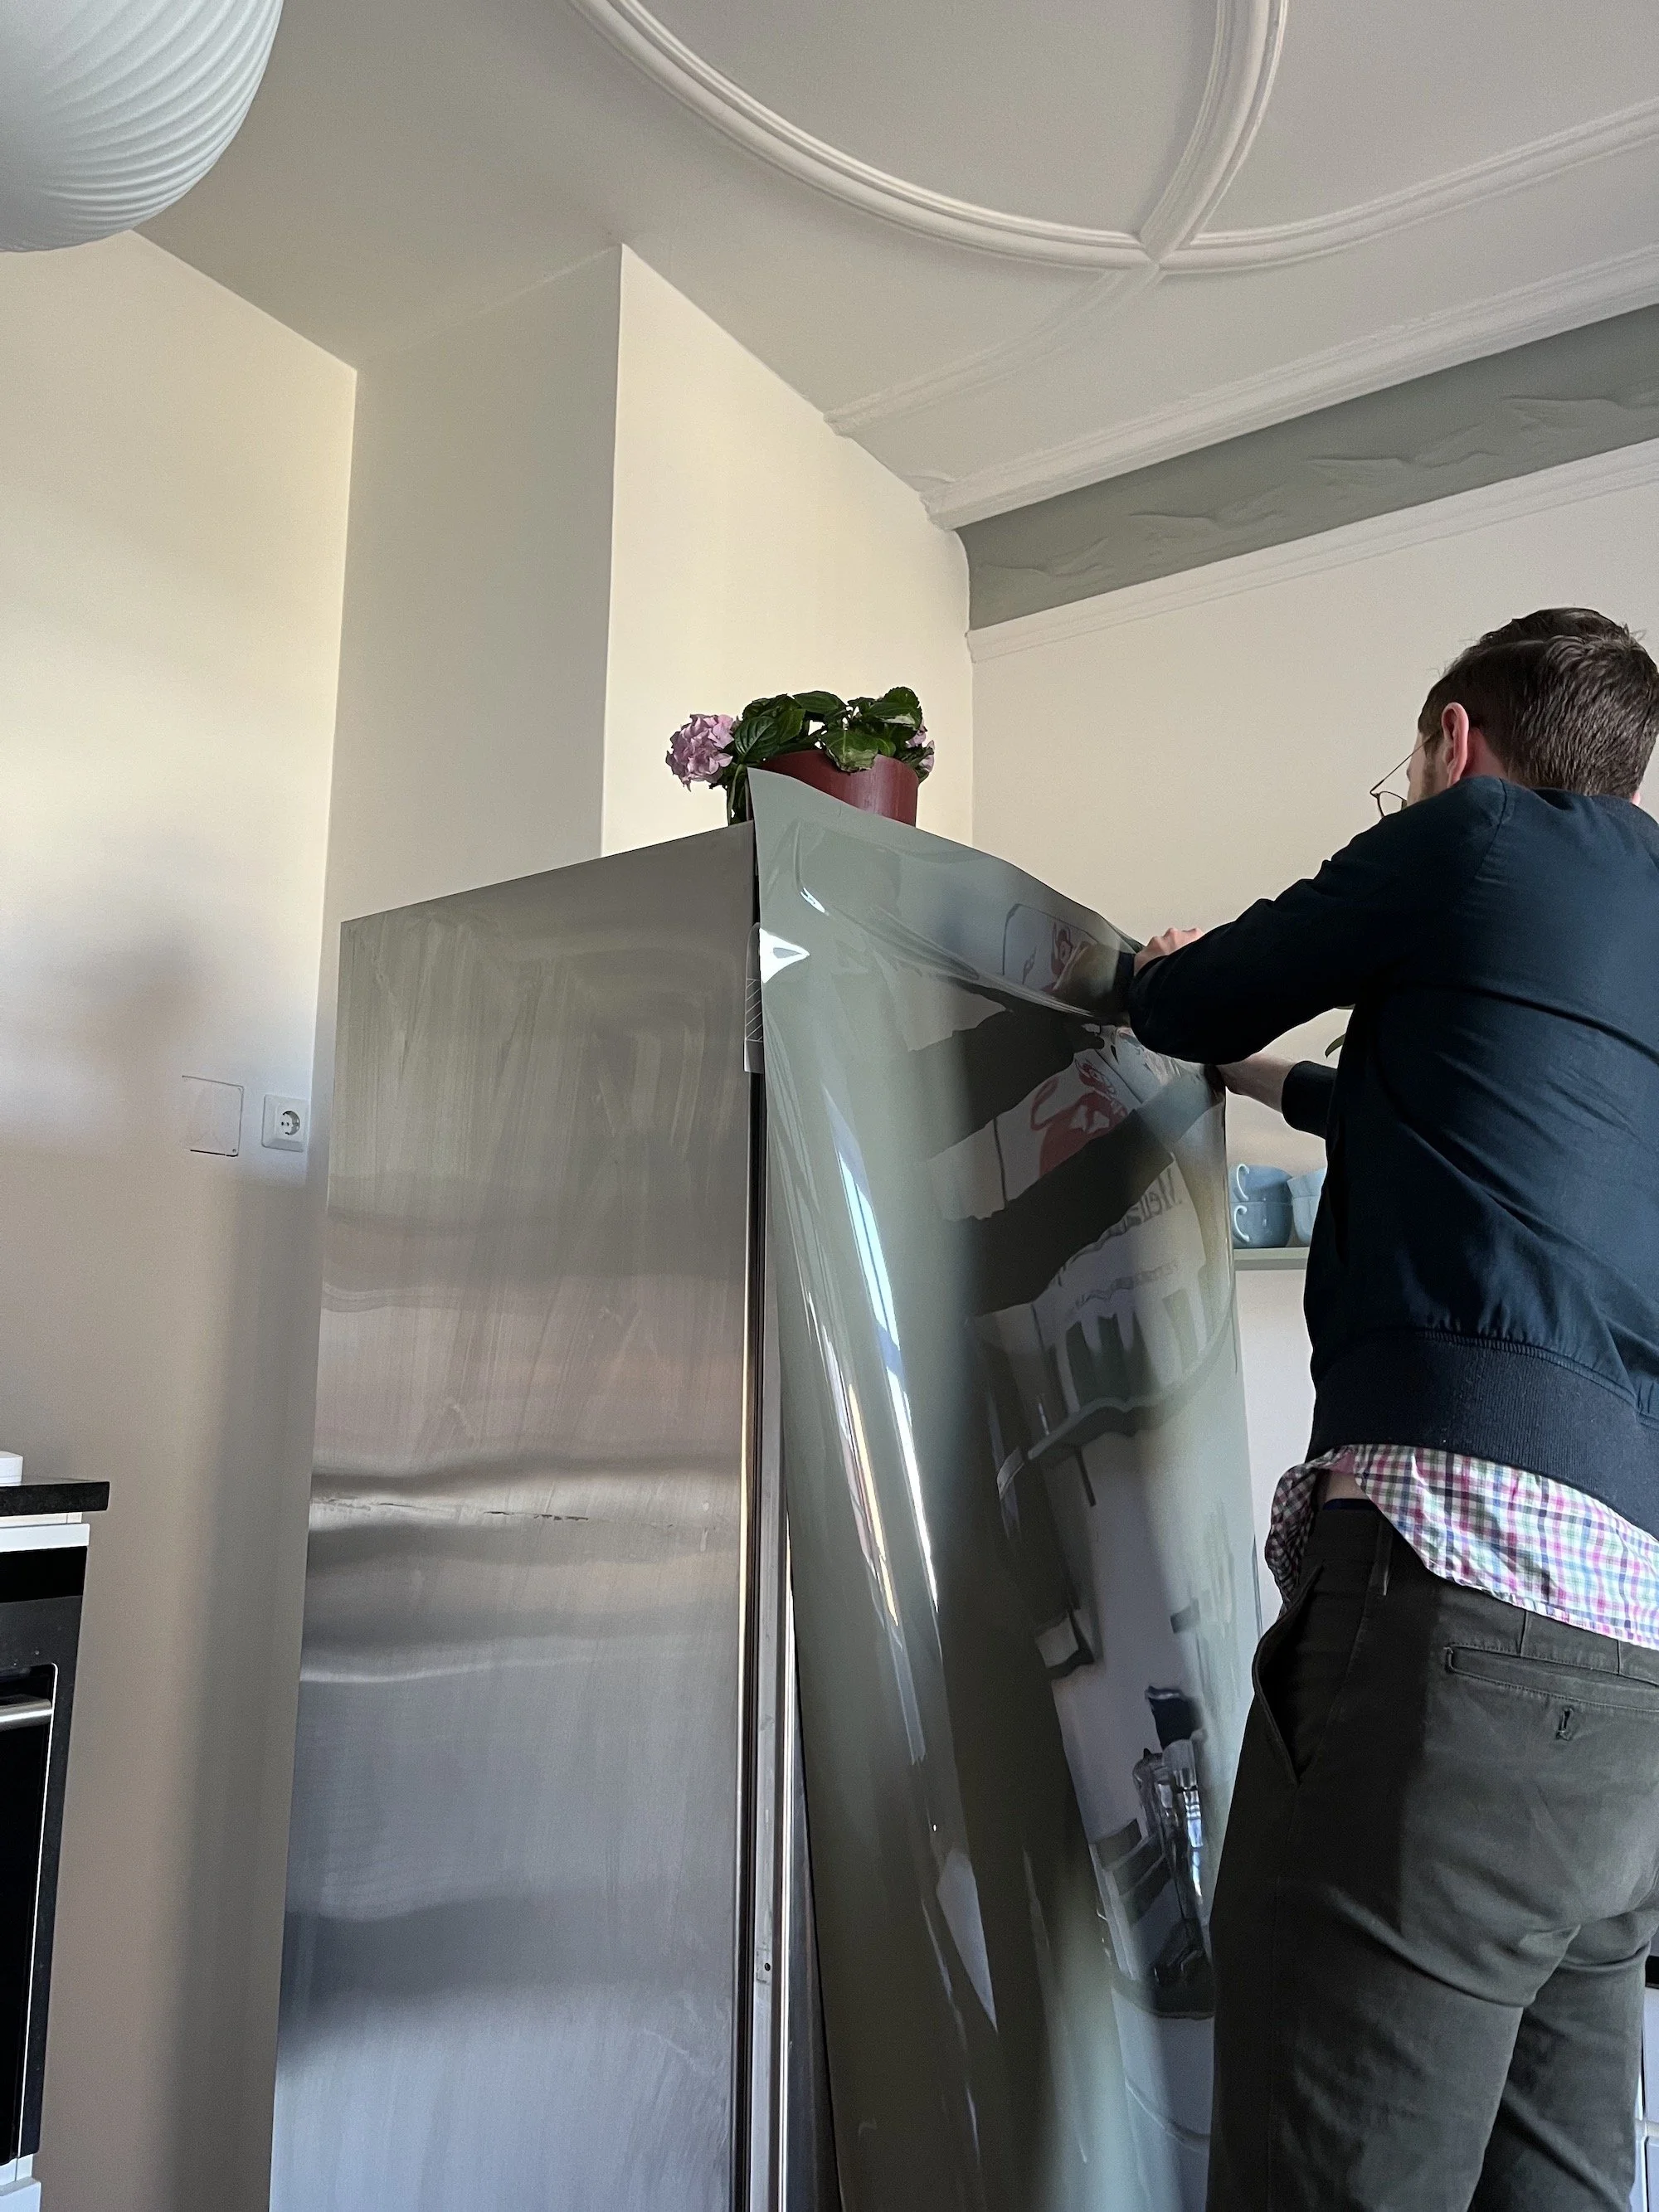
Peeling And Sticking
Peel a small section of the vinyl backing from the top. Stick this part gently to the fridge surface. Slowly peel more backing while pressing the vinyl down. Work from top to bottom to avoid wrinkles. Take your time to avoid stretching the vinyl.
Smoothing Out Bubbles
Use a squeegee or soft cloth to push out air bubbles. Move from the center toward edges to remove trapped air. Apply firm but gentle pressure to avoid tearing. If bubbles remain, lift the vinyl and reapply carefully. Repeat until the surface looks smooth and even.
Finishing Touches
The finishing touches are key to making your vinyl wrap look smooth and professional. This step ensures the vinyl fits perfectly and stays in place. Small details make a big difference in the final look of your fridge wrap.
Trimming Excess Vinyl
Trim the extra vinyl carefully around edges and corners. Use a sharp utility knife for clean cuts. Take your time to avoid cutting too much or damaging the fridge surface. Neat edges give a polished appearance.
Reattaching Handles
Remove the wrap from handle areas before reattaching them. Screw the handles back gently to avoid tearing the vinyl. Check that the vinyl fits tightly around the handles for a seamless look.
Sealing The Edges
Seal the edges with a heat gun or hair dryer set to low heat. Warm the vinyl slightly to make it stick better. Press down edges firmly with a soft cloth or squeegee. This step prevents peeling and keeps the wrap secure.
Maintenance Tips
Taking care of a vinyl-wrapped fridge is easy with the right steps. Proper maintenance keeps the wrap looking fresh and bright. It also helps avoid peeling or damage over time.
Cleaning The Wrapped Surface
Use a soft cloth or sponge to clean the wrap. Mild soap and warm water work best. Avoid harsh cleaners or scrubbing pads. Wipe gently in one direction to prevent scratches. Dry the surface with a clean towel after cleaning.
Avoiding Damage
Keep sharp objects away from the wrapped fridge. Avoid scraping or rubbing the surface hard. Place the fridge where it won’t get bumped often. Heat can cause the wrap to peel, so avoid direct sunlight or heaters nearby.
Longevity Of Vinyl Wrap
Vinyl wrap can last several years with good care. Regular cleaning and careful use extend its life. Fix small bubbles or tears quickly to prevent bigger damage. Store extra vinyl wrap safely for future repairs.

Credit: www.youtube.com
Frequently Asked Questions
How Long Does Vinyl Wrapping A Fridge Take?
Vinyl wrapping a fridge typically takes 1 to 3 hours. It depends on fridge size and your experience. Proper surface cleaning and careful application ensure a smooth finish.
Can I Remove Vinyl Wrap From My Fridge Easily?
Yes, vinyl wrap can be removed without damage. Heat the wrap with a hairdryer for easier peeling. Remove residue with mild adhesive remover or soapy water.
What Tools Do I Need To Vinyl Wrap A Fridge?
You’ll need vinyl wrap, a squeegee, a utility knife, a heat gun or hairdryer, and a cleaning cloth. These tools help apply and smooth the wrap perfectly.
Is Vinyl Wrap Durable For Fridge Surfaces?
Vinyl wrap is durable and protects against scratches and stains. It resists water and heat from regular kitchen use. Proper application increases its lifespan significantly.
Conclusion
Vinyl wrapping a fridge is a simple way to change its look. Take time to clean and measure the surface well. Apply the vinyl slowly to avoid bubbles and wrinkles. Use a heat gun or hairdryer to smooth edges. Small tools, like a squeegee, help for better results.
This project saves money and adds style to your kitchen. With patience, anyone can do it. Try it yourself and enjoy a fresh, new fridge appearance.