Want to give your laptop a fresh, personalized look without spending a fortune? Vinyl wrapping is the perfect solution.
It’s easy, affordable, and lets you express your style while protecting your device. But how do you make sure the wrap fits perfectly and looks professional? This guide will walk you through every step, so you can transform your laptop with confidence.
Ready to turn heads and keep your laptop safe? Let’s dive in!

Credit: www.reddit.com
Choosing Vinyl Wrap Material
Choosing the right vinyl wrap material is key to a great laptop wrap. The material affects how easy the wrap is to apply and how long it lasts. Picking the right type and finish makes your laptop look good and protects it well. Measuring your laptop correctly helps avoid mistakes and waste.
Types Of Vinyl Wraps
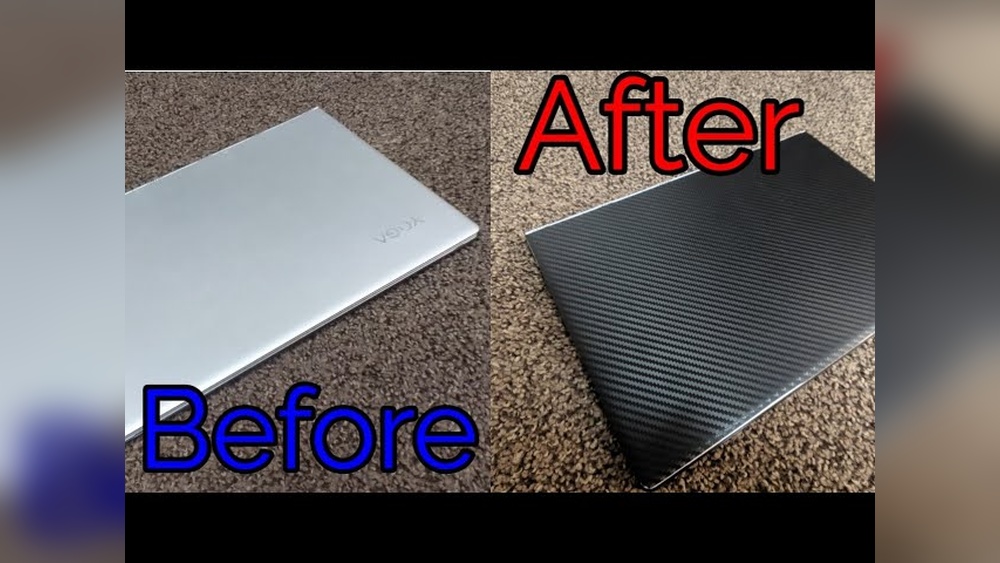
There are several types of vinyl wraps to consider. Cast vinyl is thin, flexible, and perfect for curved surfaces. It sticks well and lasts a long time. Calendered vinyl is thicker and cheaper, but less flexible. It works best on flat surfaces. Textured vinyl adds unique looks, like carbon fiber or leather. Choose one that suits your style and needs.
Selecting The Right Finish
Vinyl wraps come in many finishes. Glossy finish gives a shiny and bright look. Matte finish offers a smooth, non-reflective surface. Satin finish is a mix of both, with a soft shine. Some finishes resist fingerprints and scratches better. Pick a finish that matches your laptop’s style and your daily use.
Measuring Your Laptop
Measure your laptop carefully before buying vinyl. Use a ruler or tape measure for accuracy. Note the width, height, and thickness of the laptop. Don’t forget to measure the lid, sides, and keyboard area if wrapping them. Add extra material for errors and curves. Proper measurements save time and money.
Preparing Your Laptop
Preparing your laptop is the first important step before applying a vinyl wrap. This process helps the vinyl stick well and look smooth. A clean and clear surface will make your wrap last longer and prevent bubbles or wrinkles.
Cleaning The Surface
Start by turning off your laptop and unplugging it. Use a soft cloth with a little rubbing alcohol or a mild cleaner. Wipe the laptop gently to remove oils, dirt, and fingerprints. Avoid wetting the surface too much. Let it dry completely before moving on.
Removing Accessories
Take off any stickers, cases, or covers on your laptop. Remove USB drives, headphones, and power cables. This step avoids bumps and stops the vinyl from catching on objects. Make sure the laptop surface is smooth and clear.
Ensuring A Dust-free Environment
Dust can cause bubbles under the vinyl wrap. Find a clean, dust-free area to work in. Turn off fans and close windows to reduce dust in the air. Use a lint roller or tape to pick up any leftover dust on the laptop.
Cutting And Aligning The Vinyl
Cutting and aligning the vinyl is a key step in wrapping your laptop. This process ensures the vinyl fits perfectly and looks smooth. Proper cutting prevents wrinkles and bubbles. Aligning helps the design stay straight and neat. Careful handling here saves time and effort later.
Trimming To Size
Start by measuring your laptop’s surface carefully. Cut the vinyl slightly larger than the laptop size. This extra margin allows room for adjustment. Use sharp scissors or a craft knife for clean edges. Straight cuts reduce the chance of peeling later.
Positioning The Wrap
Peel a small corner of the vinyl backing. Place the vinyl gently on the laptop’s surface. Align edges slowly and check for straightness. Smooth the vinyl from the center outward. This action pushes out air bubbles and prevents wrinkles.
Marking Key Areas
Mark important points like ports and vents with a pencil. These marks guide cutting and folding. Avoid cutting too early to keep the vinyl stable. Use light marks so they do not show through. Accurate marks help the wrap fit perfectly around curves.
Applying The Vinyl Wrap
Applying the vinyl wrap on your laptop is the most important step. It needs care and patience. A smooth wrap makes your laptop look great and protects it from scratches. Follow these simple steps to get the best results and avoid wrinkles or bubbles.
Peeling And Sticking
Start by peeling a small part of the vinyl backing. Do not remove it all at once. Align the vinyl carefully with your laptop’s surface. Slowly stick the vinyl, pressing gently as you go. Keep peeling the backing little by little while pressing the vinyl down. This method helps control the placement and avoids mistakes.
Smoothing Out Bubbles
After sticking the vinyl, small air bubbles may appear. Use a soft cloth or a squeegee to push bubbles toward the edges. Work from the center outwards. Press firmly but gently. For stubborn bubbles, lift the vinyl slightly and reapply. Removing bubbles early keeps the wrap smooth and neat.
Using Heat For Better Adhesion
Use a heat gun or hairdryer on low heat. Warm the vinyl gently to make it more flexible. Heat helps the vinyl stick tightly, especially on curved edges. Move the heat source constantly to avoid damage. After heating, press the vinyl firmly again. This step improves the wrap’s durability and finish.
Finishing Touches
Finishing touches give your vinyl wrap a neat and lasting look. These final steps make the wrap fit perfectly and stay secure. They also help keep your laptop looking great for a long time.
Trimming Excess Vinyl
Use a sharp blade to cut away extra vinyl. Cut close to the edges but be careful not to damage the laptop. Take small, slow cuts for control and accuracy. Smooth edges make the wrap look clean and professional.
Securing Edges
Press down all edges firmly to avoid lifting. Use a heat gun or hairdryer to warm the vinyl. Heat helps the vinyl stick better and conform to curves. Press edges with a soft cloth or squeegee to seal them tight. This stops peeling and keeps dirt out.
Cleaning And Maintenance Tips
Clean your wrapped laptop with a soft, damp cloth. Avoid harsh chemicals that can damage the vinyl. Wipe spills immediately to prevent stains. Store your laptop in a case to protect the wrap. Regular care keeps your wrap looking fresh and new.
Common Mistakes To Avoid
Vinyl wrapping a laptop can change its look quickly and affordably. Many make simple errors that ruin the finish. Avoiding these common mistakes helps get a smooth, neat wrap. Focus on careful steps and the right tools for best results.
Ignoring Surface Preparation
Clean the laptop surface before wrapping. Dust, oil, and dirt cause bubbles and poor adhesion. Use a soft cloth with rubbing alcohol. Let it dry fully. Skipping this step leads to peeling and wrinkles later.
Rushing Application
Take your time during the wrap. Moving too fast creates air pockets and uneven edges. Work slowly and smooth the vinyl gradually. Pause to adjust and fix any bubbles. Patience ensures a clean, professional look.
Using Incorrect Tools
Use tools made for vinyl wrapping. A squeegee helps press the vinyl down. A sharp blade trims excess material cleanly. Avoid using rough or blunt tools. Wrong tools cause scratches, tears, or uneven cuts.
Benefits Of Vinyl Wrapping Your Laptop
Vinyl wrapping a laptop offers many benefits beyond just a fresh look. It can protect, personalize, and even increase the device’s lifespan. This simple process gives users control over their laptop’s appearance and condition without much effort.
Protecting The Surface
Vinyl wrap acts as a shield against scratches and minor dents. It guards the laptop’s outer shell from daily wear and tear. Dust and small spills are less likely to damage the surface. This protection keeps the laptop looking new for longer.
Customizing Your Style
Choose from many colors and patterns to match your taste. Vinyl wrap allows you to express personality without permanent changes. Change the look easily whenever you want a fresh style. This customization helps your laptop stand out in a crowd.
Easy Removal And Replacement
Vinyl wraps peel off without leaving sticky residue. This makes it simple to replace the wrap if damaged or outdated. It also protects the original laptop finish underneath. Switching designs is quick and affordable, keeping your laptop trendy.

Credit: www.youtube.com
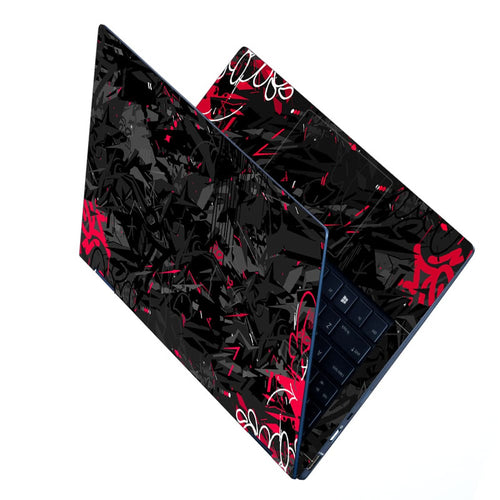
Credit: www.skinslegend.com
Frequently Asked Questions
What Materials Do I Need For Vinyl Wrapping A Laptop?
You need vinyl wrap sheets, a squeegee, a heat gun, scissors, and a cleaning cloth. These help ensure a smooth, bubble-free application.
How Do I Prepare My Laptop For Vinyl Wrapping?
Clean the laptop surface thoroughly with rubbing alcohol. Remove dirt, oils, and dust for better adhesion. Dry completely before applying the vinyl wrap.
Can I Remove Vinyl Wrap Without Damaging My Laptop?
Yes, you can remove vinyl wrap carefully using heat to soften the adhesive. Peel slowly to avoid leaving residue or damaging the laptop surface.
How Long Does A Vinyl Wrap Last On A Laptop?
A well-applied vinyl wrap can last 3 to 5 years. Its durability depends on usage, exposure, and quality of the vinyl material.
Conclusion
Vinyl wrapping a laptop can change its look quickly and affordably. It protects the surface from scratches and dirt. Following simple steps helps you get smooth, bubble-free results. Take your time and work carefully for the best finish. You can try different colors and designs to match your style.
This small project adds a personal touch to your device. Enjoy your new laptop look every day.


