
Are you looking to give your wooden furniture or surfaces a fresh, modern look without the hassle of sanding or painting? Vinyl wrapping wood is a simple and effective way to transform your space quickly and affordably.
In this guide, you’ll discover easy steps to achieve a smooth, professional finish that lasts. Whether you want to update old cabinets, tables, or shelves, this method can save you time and money while making your wood look brand new.
Keep reading to find out how you can master vinyl wrapping wood and unlock a whole new style for your home.

Credit: www.youtube.com
Choosing The Right Vinyl Wrap
Choosing the right vinyl wrap is a key step in covering wood surfaces. The right wrap makes the process easier. It also ensures a smooth and lasting finish. You need to consider the type, color, and size before buying. These factors affect the look and durability of the wrap.
Types Of Vinyl Wraps For Wood
There are several types of vinyl wraps designed for wood. Cast vinyl is flexible and strong. It fits well on curved or uneven surfaces. Calendered vinyl is thicker and less flexible. It works best on flat surfaces. Textured vinyl adds a wood-like feel. It can hide small scratches and dents. Choose a type based on the wood shape and use.
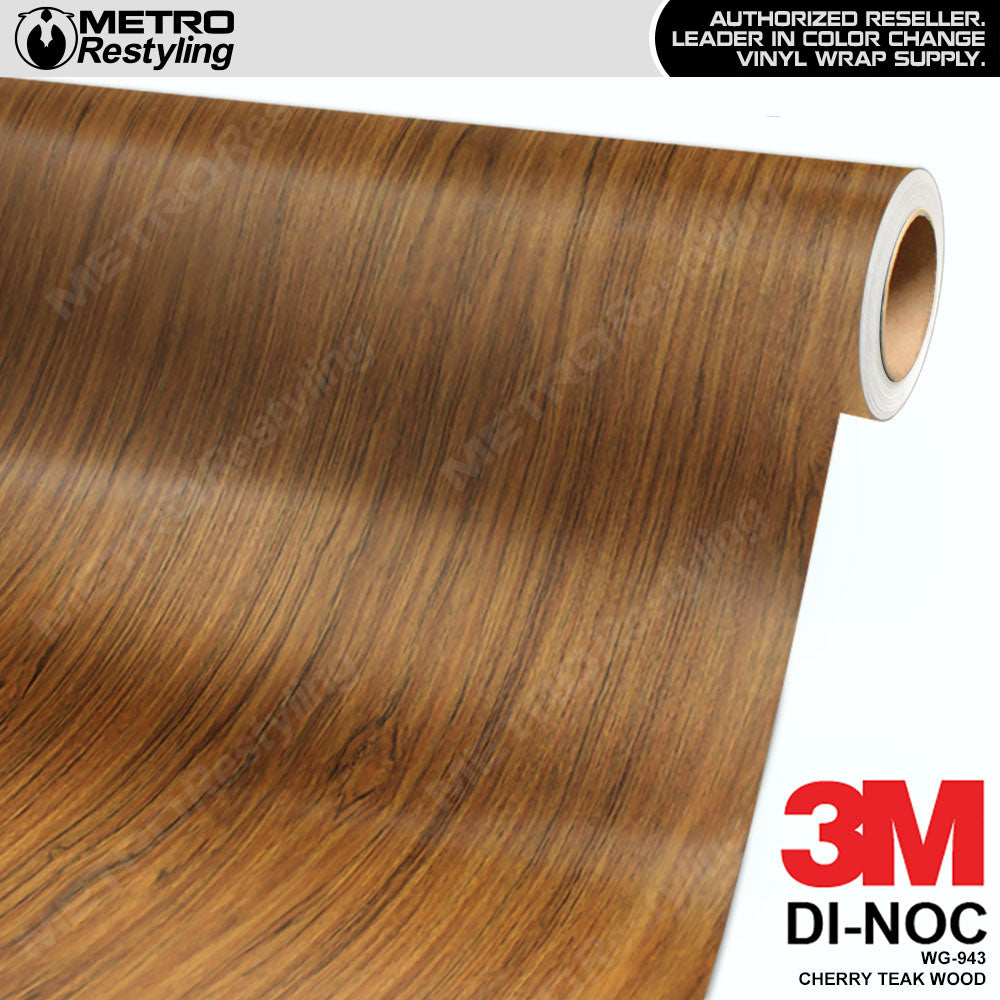
Color And Finish Options
Vinyl wraps come in many colors and finishes. Matte finishes give a soft, modern look. Glossy finishes add shine and brightness. Satin finish offers a balance between matte and glossy. Wood grain patterns mimic real wood closely. Solid colors are good for bold, simple designs. Pick colors and finishes that match your style and room decor.
Measuring Your Wood Surface
Accurate measurements help prevent waste and errors. Use a tape measure to get the length and width. Measure twice to make sure numbers are right. Add a few extra inches for edges and trimming. Write down the measurements before buying vinyl. Proper measurement ensures you buy enough material to cover the wood fully.
Preparing The Wood Surface
Preparing the wood surface is the first step to a smooth vinyl wrap. A clean, smooth base helps the vinyl stick better and last longer. Skipping preparation can cause bubbles, peeling, or uneven texture. Follow these steps carefully to get the best results.
Cleaning And Sanding
Start by removing dirt, dust, and grease from the wood. Use a damp cloth with mild soap to wipe the surface clean. Let the wood dry completely before moving on.
Next, sand the wood lightly with fine-grit sandpaper. This removes rough spots and old finishes. Sanding creates a smooth, even surface for the vinyl to grip. Wipe away sanding dust with a clean cloth.
Repairing Imperfections
Inspect the wood for cracks, holes, or dents. Fill these imperfections with wood filler or putty. Use a putty knife to press the filler into the damaged areas. Allow it to dry according to the product instructions.
After drying, sand the filled spots smooth. The goal is a flat, even surface without bumps. This step prevents the vinyl from showing flaws underneath.
Priming For Better Adhesion
Apply a primer designed for wood surfaces. Priming seals the wood and improves vinyl adhesion. Use a brush or roller to spread a thin, even layer of primer.
Let the primer dry fully before wrapping. This step helps the vinyl stick firmly and avoid peeling over time. Proper priming makes a big difference in the wrap’s durability.
Cutting And Aligning The Vinyl
Cutting and aligning vinyl on wood is a key step for a smooth finish. Precision here makes the wrap look neat and professional. Take time to measure well and place the vinyl carefully.
Measuring And Cutting To Size
Start by measuring the wood surface accurately. Use a tape measure for best results. Add a small extra margin to your measurement. This margin helps avoid mistakes during application.
Mark the vinyl with a pencil or chalk. Use a sharp utility knife or scissors to cut. Cut slowly to keep straight edges. A clean cut prevents peeling later on.
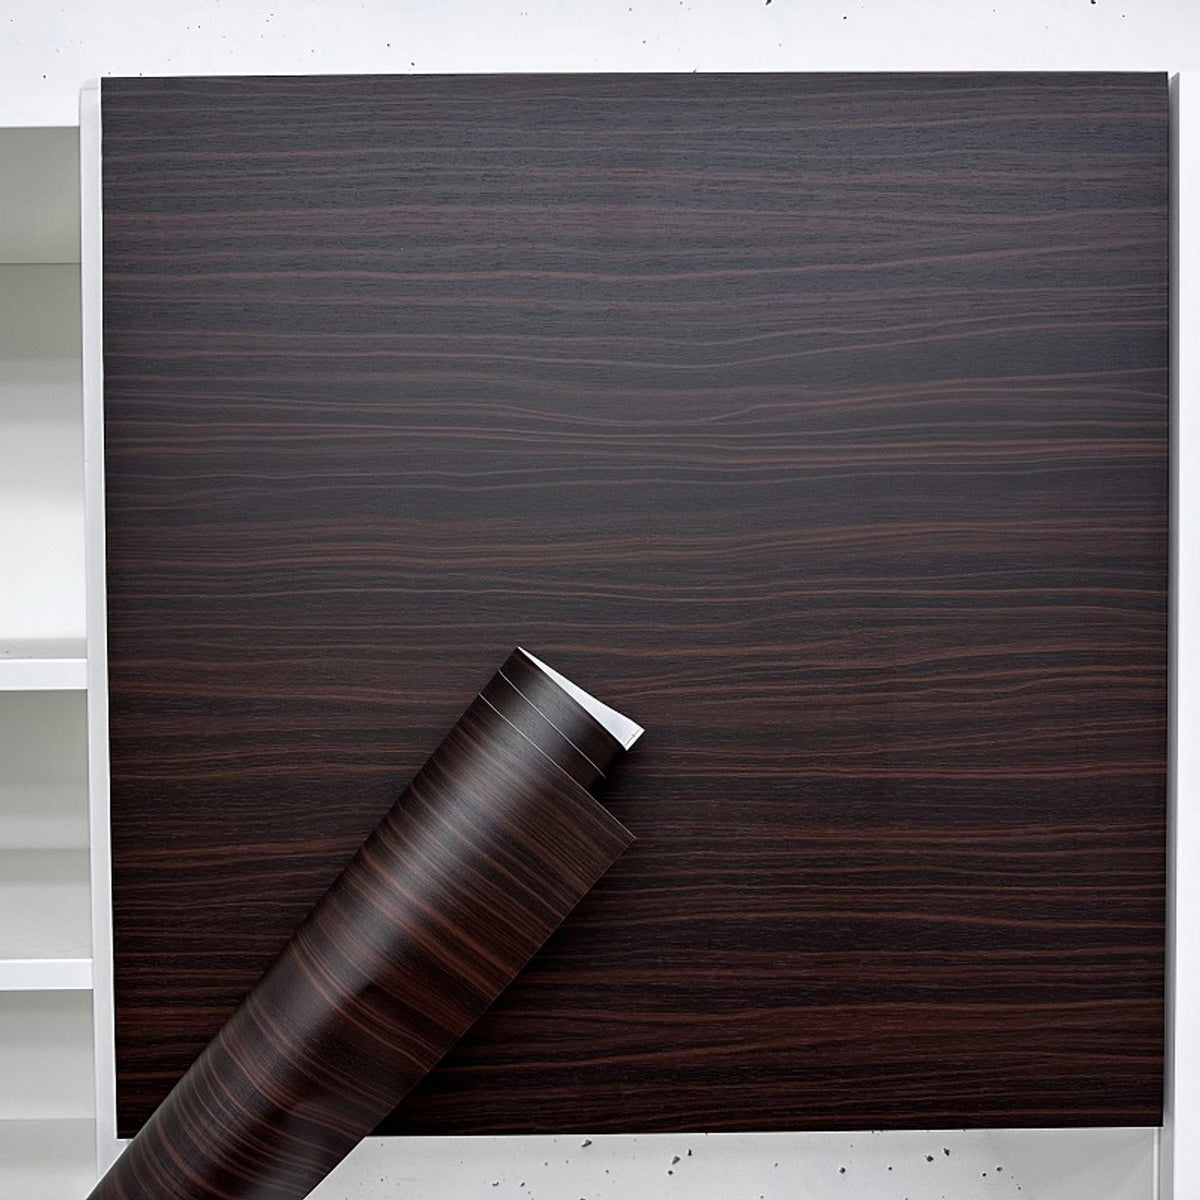
Aligning The Vinyl On Wood
Lay the vinyl sheet carefully on the wood. Start from one edge and slowly press down. Use a squeegee or flat tool to smooth air bubbles. Work from center to edges to push out air.
Check alignment often to keep the vinyl straight. Adjust gently if needed before fully pressing. Proper alignment ensures a smooth, wrinkle-free finish.
Credit: metrorestyling.com
Applying The Vinyl Wrap
Applying the vinyl wrap on wood is a careful process. It needs patience and attention. The goal is a smooth, bubble-free finish that lasts long. Follow each step closely for the best results.
Peeling And Positioning
Start by peeling a small section of the vinyl backing. Avoid removing all the backing at once. Place the exposed sticky part on the wood surface. Adjust the wrap to align it correctly. Work slowly to prevent mistakes. Make sure edges match the wood shape.
Using Heat For Flexibility
Use a heat gun or hairdryer to warm the vinyl. Heat makes the vinyl soft and flexible. This helps wrap around curves and corners easily. Keep the heat moving to avoid damage. Warm the vinyl until it feels pliable but not too hot.
Smoothing Out Air Bubbles
Use a squeegee or soft cloth to smooth the wrap. Push bubbles and wrinkles toward the edges. Work from the center outwards for best results. If bubbles remain, pierce gently with a pin. Press down again to flatten the vinyl. Take your time to ensure a clean finish.
Trimming And Finishing Touches
Trimming and finishing touches are key to a neat vinyl wrap on wood. These steps help make the wrap look smooth and last longer. Careful cutting and sealing stop peeling and give a clean edge. Cleaning after wrapping brings out the shine and smooth feel.
Cutting Excess Vinyl
Use a sharp craft knife or blade for clean cuts. Cut close to the wood edge but not too tight. Leave a tiny margin for adjustments. Cut slowly to avoid tearing the vinyl. Trim excess vinyl carefully around corners and curves.
Sealing Edges For Durability
Apply edge sealer or clear tape on all vinyl edges. Press firmly to seal the edges well. This prevents water or dirt from getting under the wrap. Make sure no air bubbles remain near the edges. Proper sealing helps the wrap stay strong for years.
Cleaning And Polishing
Use a soft cloth to clean the vinyl surface gently. Avoid harsh chemicals that can damage the wrap. Mild soap and water work best for cleaning. Polish the vinyl with a vinyl-safe product to add shine. Regular cleaning keeps the wrap looking fresh and new.
Maintaining Your Vinyl Wrapped Wood
Maintaining your vinyl wrapped wood keeps it looking fresh and new for years. Proper care prevents damage and extends the life of the wrap. Simple steps help preserve the wrap’s color and texture. Follow these tips to keep your wood wrap clean and intact.
Cleaning Tips
Use a soft cloth or sponge to clean the vinyl surface. Avoid abrasive scrubbers that can scratch the wrap. Use mild soap mixed with water for cleaning. Rinse with clean water and dry with a soft towel. Clean spills quickly to avoid stains and discoloration.
Avoiding Damage
Keep sharp objects away from the vinyl wrap. Avoid placing hot items directly on the surface. Use coasters or mats to protect from heat and scratches. Do not use harsh chemicals or solvents on the wrap. Avoid excessive moisture to prevent peeling or bubbling.
Repairing Small Tears
Small tears can be fixed with vinyl repair kits. Clean the area around the tear before applying glue. Use a small brush to spread the adhesive evenly. Press the torn edges together gently and hold until set. For larger tears, consider professional help to ensure a smooth finish.
Credit: layed.com
Frequently Asked Questions
What Materials Are Needed To Vinyl Wrap Wood?
You need vinyl wrap film, a squeegee, a heat gun, a utility knife, and cleaning supplies. Clean the wood surface thoroughly before application for best results.
How Do You Prepare Wood Before Vinyl Wrapping?
Sand the wood surface smooth, remove dust and debris, and clean with rubbing alcohol. A clean, smooth surface ensures better vinyl adhesion.
Can Vinyl Wrap Be Applied On Rough Or Textured Wood?
Vinyl wrap adheres best to smooth surfaces. Rough or textured wood may cause bubbles and poor adhesion. Sanding the surface smooth is recommended.
How Long Does A Vinyl Wrap Last On Wood?
A vinyl wrap on wood typically lasts 5 to 7 years indoors. Longevity depends on surface prep, vinyl quality, and environmental conditions.
Conclusion
Vinyl wrapping wood can give old surfaces a fresh look. Take your time and follow each step carefully. Use the right tools and keep the surface clean. Avoid bubbles by smoothing the vinyl as you go. Practice makes the process easier and more fun.
Small mistakes can be fixed with patience. Enjoy the new style and protect your wood well. Try different colors or patterns to match your space. This simple project can change your room’s feel fast. Give it a try and see the difference yourself.


