
Want to give your car a shiny, polished look without spending money on a buffer? You might think waxing your car without a buffer is tough or will take forever.
But the truth is, you can achieve a smooth, glossy finish with just a few simple tools and the right technique. In this guide, you’ll discover easy steps to wax your car by hand, saving time and effort while protecting your paint.
Keep reading, and you’ll learn how to make your car look like it just came from the showroom—no buffer needed.

Credit: www.youtube.com
Choosing The Right Wax
Choosing the right wax is key for waxing a car without a buffer. The wax you select affects the shine and protection of your car’s paint. Different waxes work better on various paint types and require different application methods. Understanding wax types and formulations helps you pick the best one for your needs.
Types Of Car Wax
Car wax comes in several types. Paste wax is traditional and offers strong protection but needs more effort to apply. Liquid wax spreads easily and is good for quick use. Spray wax is the simplest, perfect for light cleaning and adding shine fast. Each type has pros and cons, so consider your time and effort before choosing.
Wax Formulations Without Buffing
Some waxes do not need buffing. These waxes dry clear and can be wiped off with a microfiber cloth. They save time and reduce effort. Look for no-buff or spray wax formulas. They work well for beginners and those who want a quick shine. These waxes still protect your car but are easier to use without special tools.
Selecting Wax For Your Paint Type
Paint types vary. New cars often have clear coat paint, which needs gentle wax to avoid damage. Older cars with single-stage paint may need a wax that adds extra protection. Matte finishes require special waxes without gloss. Always check your car’s paint type and choose a wax that suits it. This choice keeps your paint safe and looking great.
Preparing Your Car
Preparing your car before waxing is very important. It helps the wax stick better and last longer. Taking time to clean and prepare the surface gives a smooth, shiny finish. Follow these steps to get your car ready without a buffer.
Washing And Drying
Start by washing your car with soap and water. Use a soft sponge to avoid scratches. Make sure to clean all dirt and grime. Rinse well to remove all soap. Dry your car with a clean microfiber towel. Avoid air drying to stop water spots.
Removing Surface Contaminants
After washing, check for stubborn dirt like tar or tree sap. Use a clay bar to remove these contaminants. This step makes the paint smooth and clean. Work gently to avoid damaging the paint. Wipe the surface with a clean cloth afterward.
Working In A Shaded Area
Choose a shaded spot to wax your car. Direct sunlight can cause the wax to dry too fast. Fast drying can leave streaks and spots. Shade keeps the surface cool and easier to work on. It also protects you from strong sun rays.
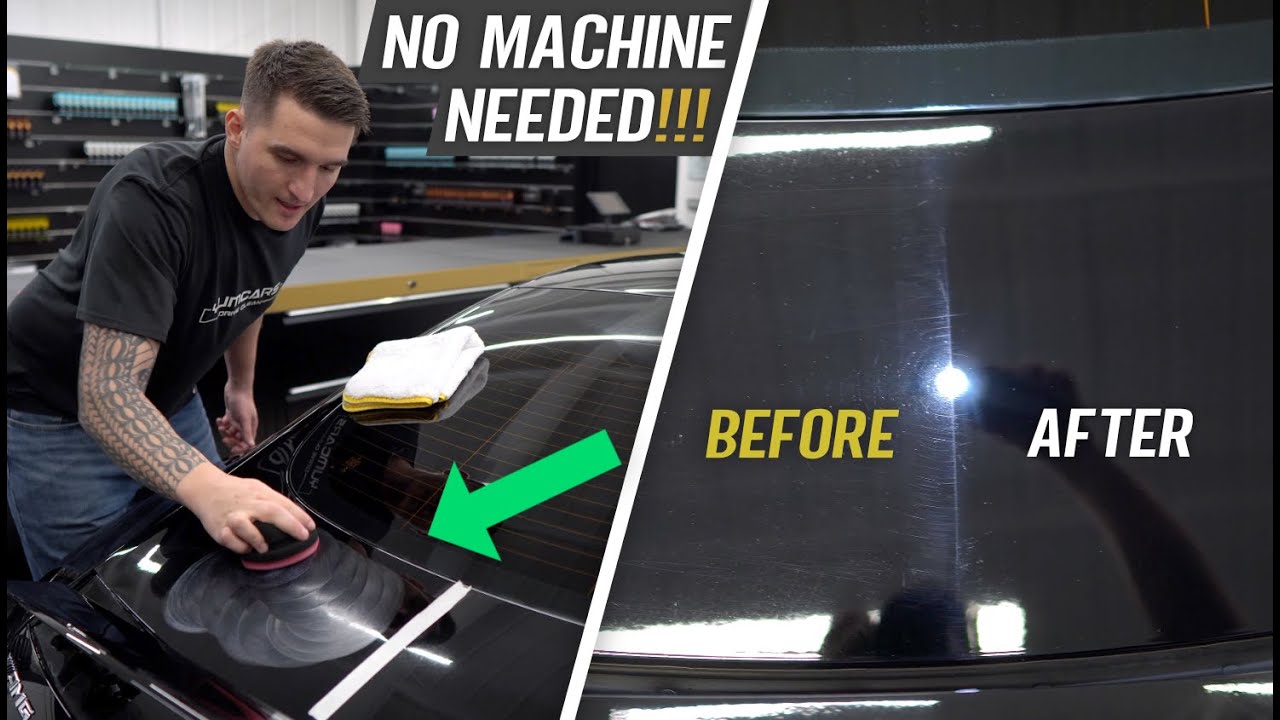
Applying Wax By Hand
Applying wax by hand is a simple way to protect your car’s paint. It does not need special machines or tools. With a little patience and the right technique, you can make your car shine beautifully.
Hand waxing helps you control the amount of wax and pressure. You can reach every corner and make sure the wax covers the surface evenly. This method works well for small areas or the entire car.
Using Applicator Pads
Use soft applicator pads made of foam or microfiber. They hold the wax and spread it smoothly. Avoid using rough cloths that can scratch the paint.
Put a small amount of wax on the pad. You can always add more later. Dab the pad lightly into the wax to avoid waste.
Applying Thin, Even Layers
Spread the wax in thin, even layers. Thick layers take longer to dry and remove. Thin layers dry faster and give a better finish.
Use circular or back-and-forth motions. Cover the surface gently but completely. Make sure no spots are left without wax.
Working Panel By Panel
Focus on one panel at a time. This method keeps the wax fresh and easier to buff. Each panel gets the right attention and care.
Apply wax, let it haze, then wipe it off. Move to the next panel only after finishing the first. This way, the wax does not dry too hard.
Allowing Wax To Haze
Allowing wax to haze is a key step in waxing a car without a buffer. This stage helps the wax dry on the surface, creating a thin, cloudy layer. This haze shows that the wax has bonded with the paint. Removing wax too soon can reduce shine and protection.
Timing For Different Waxes
Every wax type needs a different wait time to haze. Paste wax usually takes 5 to 10 minutes. Liquid wax dries faster, often in 2 to 5 minutes. Spray wax can haze in under a minute. Weather also affects timing. Warm, dry days speed up the process. Cold or humid conditions slow it down. Follow the instructions on your wax container for the best results.
Signs Wax Is Ready To Remove
Look for a dull, cloudy look on your car’s surface. The wax should not feel sticky or wet. It will appear dry but not cracked or powdery. Lightly touch the wax with your finger. If it smudges, wait longer. If it wipes off cleanly, it is ready. Proper haze means easier removal and a smooth finish.
Removing Wax Without A Buffer
Removing wax without a buffer can be simple and effective. It only needs the right tools and a careful approach. This method keeps your car shiny without special machines. A soft cloth and steady hands will do the work well.
Choosing The Right Microfiber Cloth
Pick a clean microfiber cloth for wax removal. It should be soft to avoid scratching the paint. A thick, plush cloth works best to absorb wax residues. Avoid rough or old cloths that can leave marks.
Gentle Circular Motions
Use gentle circular motions to wipe off the wax. Move the cloth slowly and evenly around the car’s surface. This helps remove wax without damaging the paint. Press lightly to avoid streaks or uneven spots.
Avoiding Streaks And Residue
Check your cloth often to avoid spreading wax residue. Flip or change the cloth when it gets dirty. Work in small sections for better control. This keeps the surface clean and free from streaks.

Credit: irisandteasel.co.uk
Finishing Touches
After waxing your car without a buffer, the final steps are important. These finishing touches help your car look shiny and clean. They also protect the wax and keep your car looking fresh for longer. Spend some time on these steps to get the best result.
Inspecting For Missed Spots
Check your car carefully for any missed wax spots. Look under bright light or in the sun. Missed spots may look dull or streaky. Use your hand to feel for rough areas. Apply a small amount of wax on those spots again. Wipe gently with a clean cloth to blend it.
Polishing By Hand
Use a soft microfiber cloth to polish your car by hand. Move the cloth in small, circular motions. This removes excess wax and brings out the shine. Do not press too hard to avoid streaks. Take your time and cover all waxed areas. Polishing makes the surface smooth and glossy.
Maintaining The Shine
Keep your car shiny by washing it regularly. Use mild soap and soft sponges to protect the wax. Avoid harsh chemicals or abrasive tools. Park your car in the shade to reduce sun damage. Apply a quick detailer spray for extra shine between waxes. These steps help your wax last longer.
Tips For Best Results
Waxing your car without a buffer can be simple and effective. Follow these tips for the best results. They help protect your car’s paint and keep it shiny. Small steps make a big difference.
Frequency Of Waxing
Wax your car every three to four months. This keeps the paint protected from dirt and sun damage. If you live in a harsh climate, wax more often. Regular waxing keeps your car looking new longer.
Storage Of Wax Products
Store wax products in a cool, dry place. Avoid direct sunlight or heat, which can spoil wax. Keep the container tightly closed to stop dust or moisture. Proper storage helps maintain wax quality and ease of use.
Common Mistakes To Avoid
Do not wax your car in direct sunlight. The heat can make wax hard to spread and remove. Avoid using too much wax; a thin layer works best. Don’t wax a dirty car; clean it first to avoid scratches.
Credit: www.youtube.com
Frequently Asked Questions
How To Wax A Car Without Using A Buffer?
To wax a car without a buffer, use a foam applicator pad and apply wax in small, circular motions. Work on one section at a time, then buff the wax off with a microfiber cloth for a smooth, even finish.
What Tools Do I Need To Wax My Car Manually?
You need a foam applicator pad, high-quality car wax, and a clean microfiber cloth. Optionally, use a bucket of water and car wash soap to prep the surface before waxing.
How Long Does Manual Car Waxing Take Without A Buffer?
Manual waxing typically takes 30 to 60 minutes depending on car size and wax type. Taking your time ensures an even coating and better protection.
Can I Achieve A Professional Shine Without A Buffer?
Yes, with proper technique and good-quality wax, you can get a glossy finish. Patience and consistent, circular motions help achieve a professional look.
Conclusion
Waxing your car without a buffer is simple and effective. Use soft cloths and gentle motions for best results. Take your time to apply wax evenly and wipe off carefully. This method protects your car’s paint and gives a nice shine.
You don’t need special tools to keep your car looking good. Just a little effort can make a big difference. Try it yourself and enjoy a clean, shiny car every time.


