
Are you looking to give your door panels a fresh, stylish look without spending a fortune? Wrapping door panels in vinyl is a simple and effective way to transform your space instantly.
Whether you want to update old doors or add a unique touch to new ones, this guide will walk you through every step. By the end, you’ll have the confidence and know-how to tackle the project yourself and achieve professional results.
Ready to learn how to wrap your door panels in vinyl like a pro? Let’s get started!
Choosing The Right Vinyl
Choosing the right vinyl is a key step in wrapping door panels. The vinyl must fit the door’s shape and last long. The wrong vinyl can peel or look bad quickly. Understanding the types, adhesives, and colors helps make a good choice. This guide breaks down what you need to know.
Types Of Vinyl Sheets
Vinyl sheets come in many forms. Cast vinyl is thin and flexible. It molds well around curves and lasts for years. Calendered vinyl is thicker and less flexible. It works for flat surfaces but may not fit curves well. For door panels, cast vinyl is often the best choice. It sticks better and looks smooth.
Selecting The Best Adhesive
Adhesive quality affects how well the vinyl sticks. Some vinyl sheets have adhesive already on the back. This makes applying easier. Look for adhesives that resist heat and moisture. They keep the vinyl in place through weather changes. A strong adhesive prevents bubbles and lifting over time.
Color And Texture Options
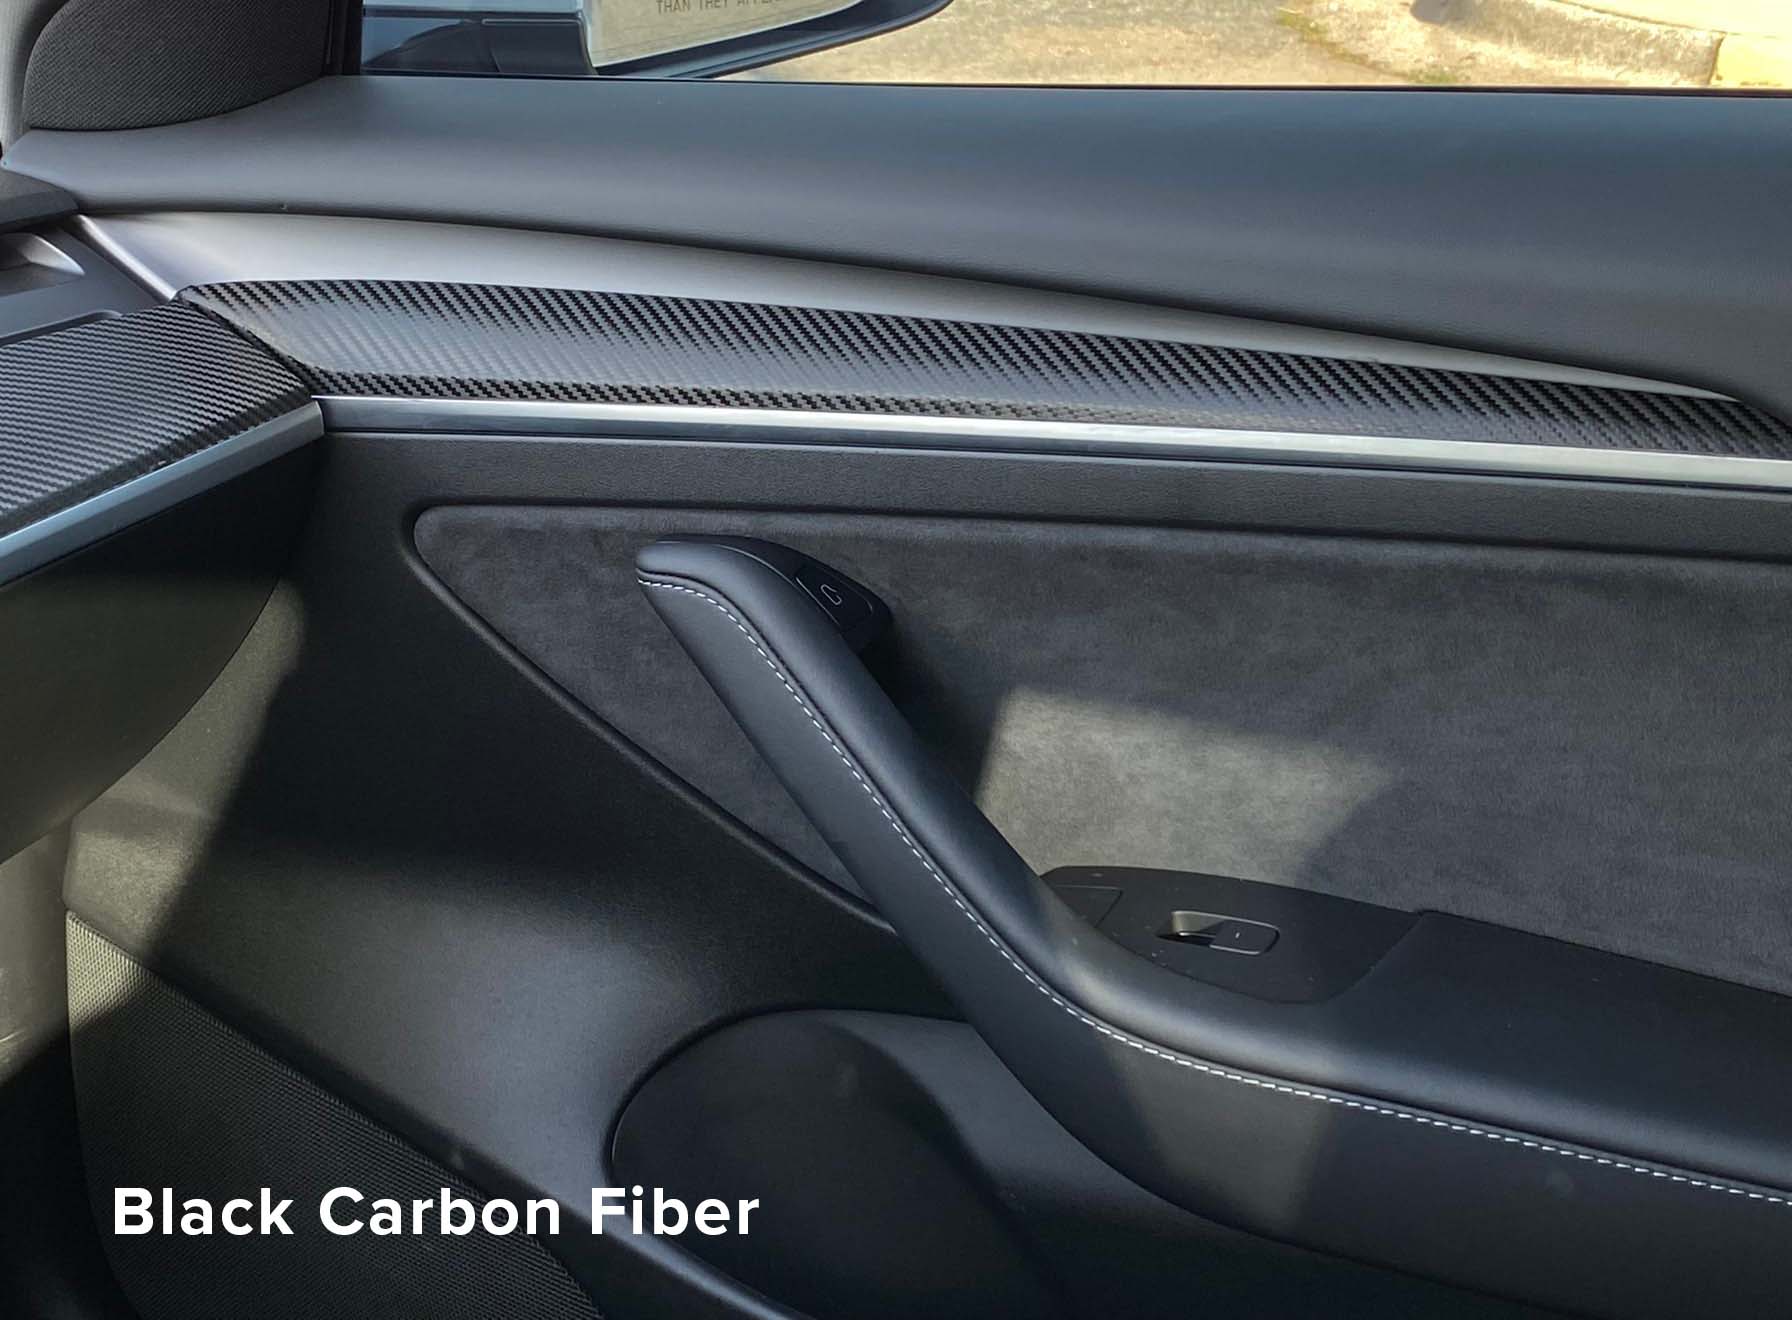
Vinyl comes in many colors and textures. Glossy vinyl gives a shiny look. Matte vinyl offers a soft, smooth finish. Textured vinyl can mimic wood, leather, or metal. Choose a color that matches the room or car interior. Texture adds style and hides small flaws. Pick a style that fits your taste and the door’s use.
Preparing Door Panels
Preparing door panels is the first step in wrapping them with vinyl. A clean and smooth surface helps the vinyl stick well. Taking time to prepare the panels ensures the final look is neat and lasts longer.
Cleaning And Sanding Surface
Start by wiping the door panels with a damp cloth. Remove dust, dirt, and grease. Use a mild detergent for tough stains. After cleaning, let the panels dry completely.
Next, lightly sand the surface with fine-grit sandpaper. This creates a rough texture for better vinyl adhesion. Sand evenly but gently to avoid damage. Wipe away dust after sanding.
Removing Old Hardware
Take off any handles, locks, or hinges from the door panels. Use a screwdriver to remove screws carefully. Removing hardware makes wrapping easier and cleaner. Keep all parts safe for reinstallation later.
Filling Imperfections
Check the panels for holes, dents, or scratches. Use wood filler or putty to fill these spots. Apply with a putty knife and smooth the surface. Let it dry completely before sanding again. A smooth panel gives a flawless vinyl finish.
Measuring And Cutting Vinyl
Measuring and cutting vinyl is an important step in wrapping door panels. This step helps ensure the vinyl fits perfectly. It prevents waste and makes the wrapping process smoother. Careful measuring and cutting also improve the final look of your door panels.
Taking Accurate Measurements
Start by measuring the door panel’s height and width carefully. Use a tape measure for precision. Measure twice to avoid mistakes. Write down the numbers clearly before moving on. Remember to add a little extra vinyl for wrapping around edges.
Marking Cut Lines
Lay the vinyl on a flat surface. Use a pencil or chalk to mark the cut lines gently. Draw straight lines based on your measurements. Avoid pressing too hard to prevent damage. Double-check the lines before cutting to ensure accuracy.
Using Sharp Cutting Tools
Choose a sharp utility knife or vinyl cutter for clean cuts. Dull blades can tear the vinyl and ruin the project. Cut slowly along the marked lines to keep edges smooth. Replace blades often to maintain sharpness. Safety first: cut away from your body and fingers.
Credit: spinnywhoosh.com
Applying Vinyl To Panels
Applying vinyl to door panels requires care and patience. This step is key to getting a smooth, clean finish. Proper application stops bubbles and wrinkles. Follow these simple steps for best results.
Positioning The Vinyl
Start by placing the vinyl over the panel. Align it carefully to cover all edges. Check the fit before sticking it down. Use light pressure to hold it in place. Make sure the vinyl is straight and centered.
Removing Backing Safely
Peel the backing paper slowly from one corner. Keep the vinyl flat to avoid folds. Pull the backing away gently as you apply the vinyl. Do not rush this step to prevent damage. Hold the vinyl steady with your other hand.
Smoothing Out Air Bubbles
Use a squeegee or flat tool to smooth the vinyl. Start from the center and push towards edges. This moves air bubbles out quickly. Work in small sections for better control. Check for bubbles and press them out firmly.
Finishing Touches
Finishing touches give your vinyl-wrapped door panels a clean, professional look. This final step ensures the vinyl fits perfectly and stays secure. It also prepares the door panel for reinstallation without damage.
Trimming Excess Material
Start by carefully cutting off extra vinyl around the edges. Use a sharp utility knife or scissors. Cut slowly to avoid damaging the door panel or the vinyl. Leave a small margin for folding over edges for a neat finish.
Securing Edges
Press the vinyl edges firmly against the door panel. Use a heat gun or hair dryer to warm the vinyl gently. This softens the material and helps it stick better. Use a plastic squeegee to smooth out any bubbles and secure the edges firmly.
Reinstalling Hardware
Remove any protective film from the vinyl before reinstalling hardware. Align screws, handles, or other parts with their original spots. Screw them back carefully to avoid tearing the vinyl. Check all parts for tightness and smooth operation.

Credit: www.youtube.com
Tips For A Professional Look
Getting a professional look when wrapping door panels in vinyl takes care and attention. Small details make a big difference in the final result. Follow these tips to make the wrap smooth and long-lasting.
Working In A Dust-free Area
Dust can ruin the vinyl wrap by causing bumps and bubbles. Choose a clean, dust-free space before you start. Wipe the door panels with a damp cloth to remove dirt. Avoid windy or dusty environments that can blow particles onto the surface. A clean area helps the vinyl stick better and look smooth.
Using Heat For Better Adhesion
Heat makes the vinyl more flexible and easier to shape. Use a heat gun or a hairdryer to warm the vinyl gently. Warm vinyl sticks better to curves and edges. Avoid overheating to prevent damage or shrinking. Apply heat evenly while pressing the vinyl down with a squeegee or your hand. This step improves adhesion and gives a neat finish.
Maintaining The Wrapped Panels
Keep the vinyl wrap looking fresh with simple care. Clean the panels with a soft cloth and mild soap. Avoid harsh chemicals that can damage the vinyl. Check edges regularly to catch any lifting early. Fix small lifts quickly by applying gentle heat and pressing down. Proper maintenance extends the life of your vinyl wrap.
Credit: shop.teslarati.com
Frequently Asked Questions
How Do You Prepare Door Panels For Vinyl Wrapping?
Clean the door panels thoroughly to remove dirt and grease. Lightly sand the surface for better vinyl adhesion. Remove any hardware or trims before wrapping.
What Tools Are Needed To Wrap Door Panels In Vinyl?
You need vinyl wrap film, a squeegee, a heat gun, a utility knife, and cleaning supplies. These tools help achieve a smooth, bubble-free finish.
How Long Does It Take To Wrap Door Panels In Vinyl?
Wrapping door panels usually takes 1 to 3 hours depending on experience. Proper preparation and careful application ensure a professional look.
Can Vinyl Wrap Door Panels Be Removed Without Damage?
Yes, vinyl wraps can be removed safely with heat and slow peeling. This process preserves the original door panel surface underneath.
Conclusion
Wrapping door panels in vinyl is a simple way to refresh your space. You only need a few tools and some patience. Take your time to smooth out bubbles and wrinkles. Vinyl gives a clean, modern look that lasts. Small mistakes can be fixed easily along the way.
This project saves money compared to replacing doors. Try it yourself and enjoy the new style. It feels good to update your home with your own hands. Give vinyl wrapping a chance—it’s worth the effort.


