Is your bike making strange noises or feeling shaky when you brake? A warped disc brake rotor could be the culprit.
Luckily, you don’t need to rush to a mechanic or buy a new rotor right away. You can fix it yourself with a few simple steps. In this guide, you’ll discover how to straighten a disc brake rotor quickly and safely, so you can get back to riding smoothly and confidently.
Keep reading—you’ll be surprised how easy it is to bring your brakes back to perfect shape.
Credit: www.bikeradar.com
Signs Of A Warped Rotor
Warped disc brake rotors cause problems while riding or driving. They affect the smoothness and safety of your braking system. Recognizing the signs early helps avoid bigger damage. Knowing these signs is important for every vehicle owner.
Common Symptoms
Vibrations in the brake pedal or steering wheel appear during braking. The vehicle may shake or wobble slightly. You might hear a squealing or scraping noise from the brakes. The brake pedal can feel soft or pulsate. These signs often mean the rotor is uneven or bent.
Impact On Braking
Warped rotors reduce braking power and increase stopping distance. The brakes may grab unevenly, causing a jerky stop. This can make driving unsafe, especially in emergency situations. Uneven braking wears out brake pads faster. It also puts stress on other brake parts.
When To Inspect
Inspect rotors if you feel unusual vibrations during braking. Check the brakes after hitting a pothole or curb hard. Regular inspections help catch rotor warping early. It is wise to examine rotors during routine brake maintenance. Early inspection saves money and improves safety.

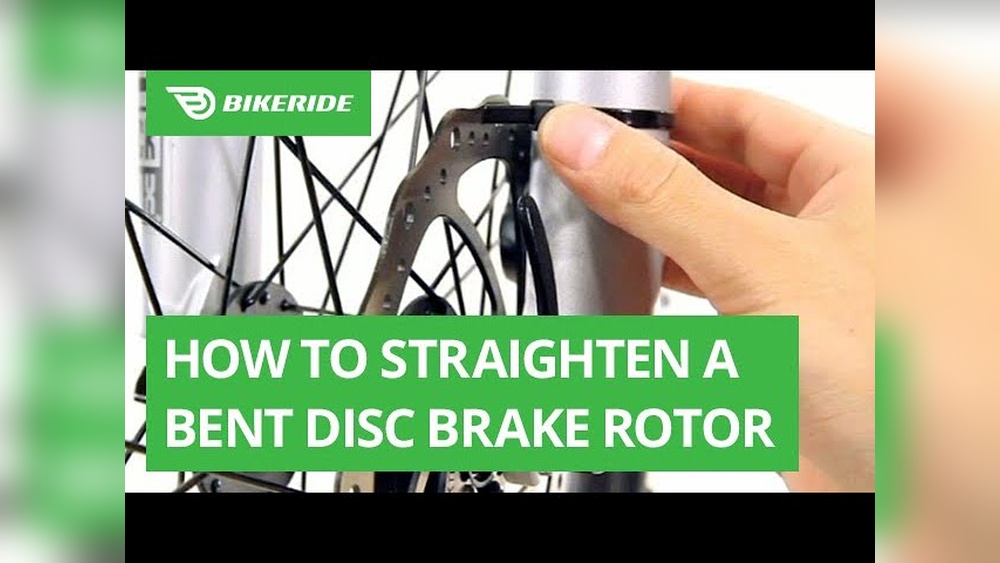
Credit: www.youtube.com
Tools Needed For Straightening
Straightening a disc brake rotor requires the right set of tools. Using proper tools makes the job easier and safer. It also helps you fix the rotor without causing more damage. Below are the tools you need to get started.
Essential Tools
A dial indicator is key to finding rotor bends. It measures small movements accurately. You also need a rotor truing tool or a flat, strong piece of metal. This helps you gently bend the rotor back into shape. A wrench set is useful for removing the rotor from the bike. Lastly, a clean rag helps to wipe off dirt and brake dust.
Optional Accessories
Some tools make the process smoother but are not required. A rotor alignment gauge helps check if the rotor is straight. A rubber mallet can tap the rotor gently without causing harm. A torque wrench ensures bolts are tightened to the right level. These tools improve precision but you can do without them.
Safety Gear
Protect your hands with gloves to avoid cuts from sharp edges. Wear safety glasses to guard your eyes from dust and small particles. Work in a well-lit area to see clearly. Safety gear keeps you safe and comfortable during the repair.
Preparing The Bike
Preparing your bike properly makes straightening the disc brake rotor easier and safer. This step helps you work more precisely and avoid damage. Start by removing parts that get in the way. Clean the rotor to see any bends clearly. Finally, secure the bike so it stays steady while you fix the rotor.
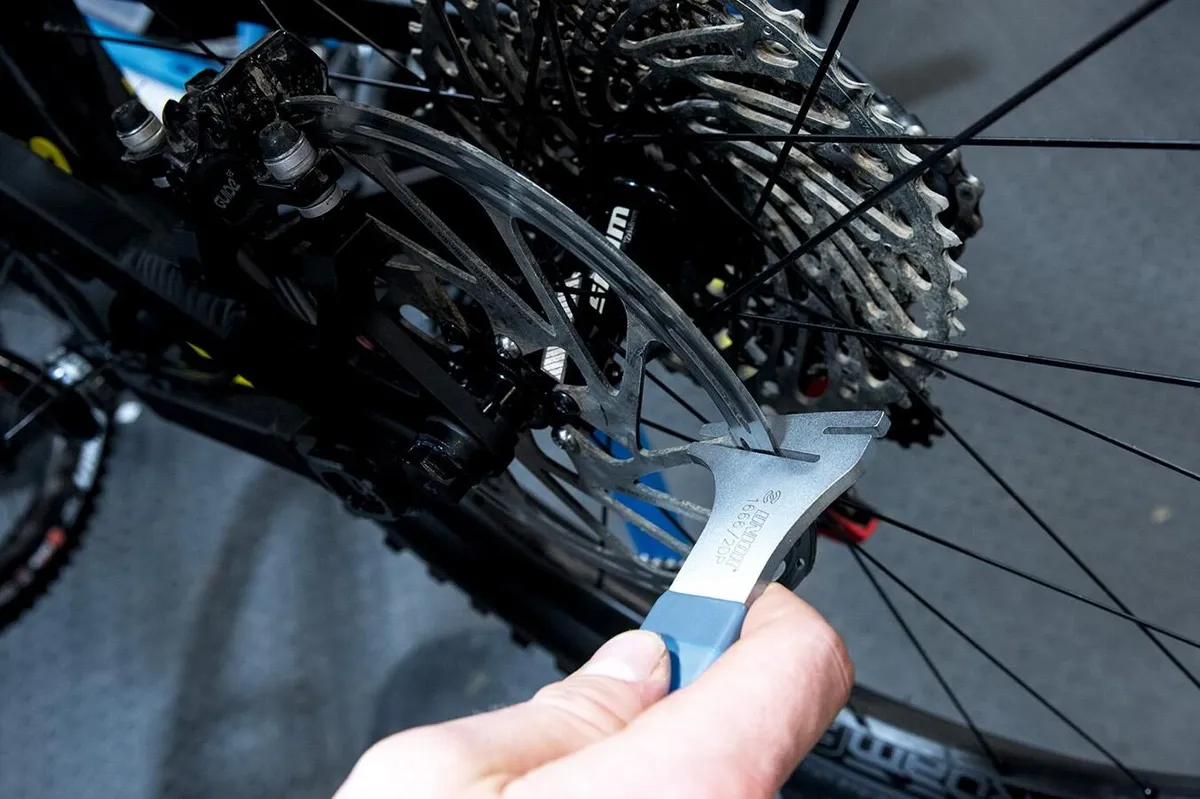
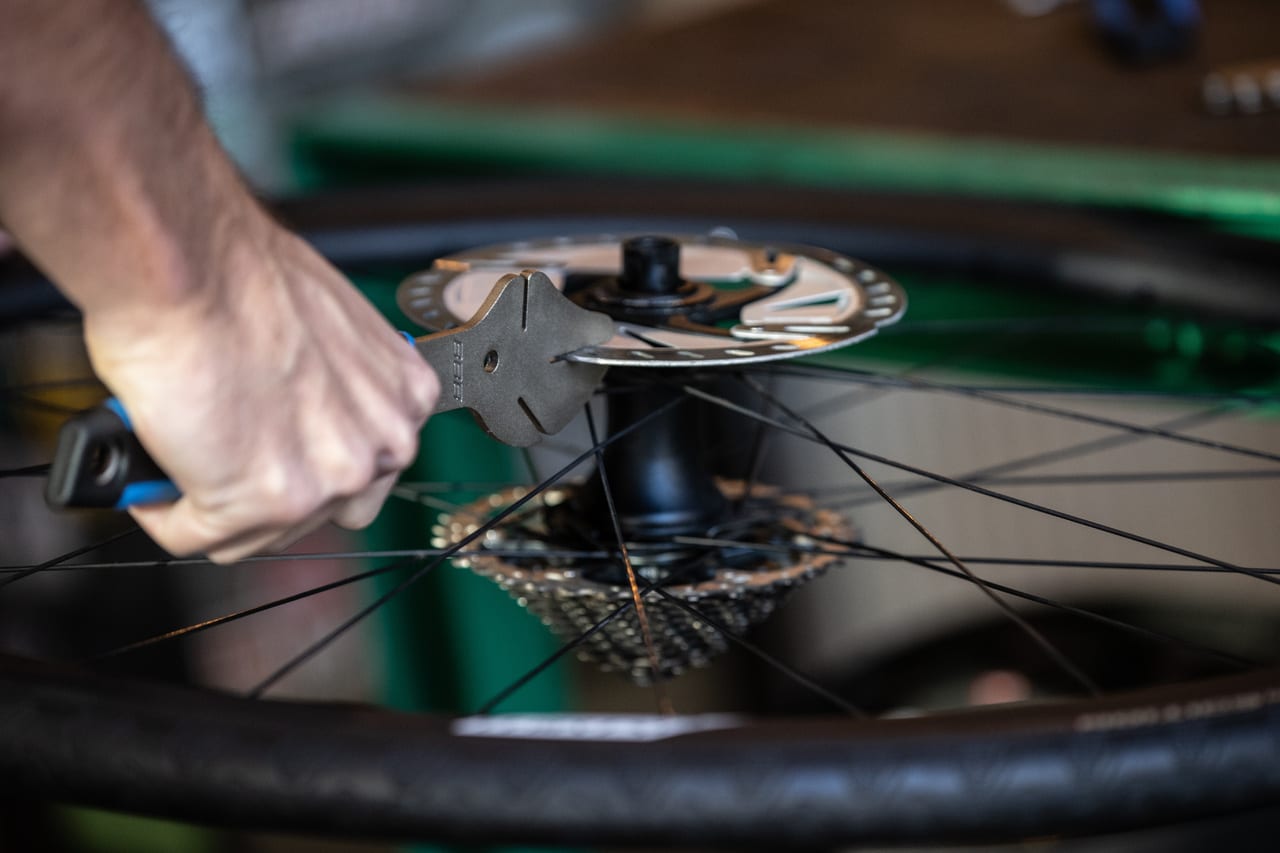
Removing The Wheel
Start by taking off the wheel with the bent rotor. Use a wrench or quick release to loosen the axle. Pull the wheel out carefully. This gives you clear access to the rotor and lets you work without obstruction. Set the wheel on a flat surface for better control.
Cleaning The Rotor
Wipe the rotor with a clean cloth to remove dirt and oil. Use rubbing alcohol or a bike-specific cleaner for stubborn grime. A clean rotor shows bends and damage clearly. It also prevents dirt from getting inside the brake system during repair.
Securing The Bike
Place your bike on a stable stand or flip it upside down. Make sure it will not move while you work. A steady bike helps you apply even pressure to the rotor. Avoid holding the bike by hand to reduce mistakes and accidents.
Methods To Straighten The Rotor
Straightening a disc brake rotor is a simple task you can do at home. Small bends in the rotor cause noise and poor braking. Fixing these bends helps your bike stop smoothly and safely.
Different tools and methods work for straightening rotors. Choose one based on your comfort and the tools available. Each method needs care and patience to avoid damage.
Using A Rotor Truing Tool
A rotor truing tool is designed for fixing bent rotors. It has a gauge to find the bent spot. The tool lets you gently push or pull the rotor back to shape.
This tool gives precise control. It reduces the risk of making the bend worse. Using it often leads to the best results for small and medium bends.
Applying Gentle Pressure By Hand
You can straighten the rotor by hand if the bend is small. Hold the wheel steady. Use your fingers to gently push the bent area back.
Move slowly and check often. This method works well for minor bends. It requires no special tools but needs a careful touch.
Using Adjustable Wrenches Carefully
Adjustable wrenches can help straighten larger bends. Place the wrench on the bent part of the rotor. Slowly apply pressure to bend it back.
Use light force to avoid cracking the rotor. Adjust the grip as needed to keep control. This method suits those with some mechanical experience.
Testing Rotor Alignment
Testing rotor alignment is an important step after straightening a disc brake rotor. It helps ensure the rotor spins evenly without touching the brake pads too much. Proper alignment prevents noise and improves braking performance. This process requires careful observation and small adjustments.
Spin And Observe
First, spin the wheel slowly by hand. Watch the rotor as it turns. Look for any side-to-side wobbling or uneven movement. A well-aligned rotor should spin smoothly without hitting the brake pads. If you see the rotor hit the pads repeatedly, it needs more adjustment.
Brake Pad Clearance Check
Check the gap between the rotor and brake pads. The pads should be close but not touching the rotor when the brake is not applied. Use a piece of paper or feeler gauge to measure the clearance. Proper clearance stops rubbing and prevents brake wear.
Fine-tuning Adjustments
Make small bends or taps on the rotor edge to correct any wobble. Use a rotor truing tool or a rubber mallet. After each adjustment, spin the wheel and recheck the rotor. Repeat the process until the rotor spins straight and clears the pads evenly.
Preventing Future Warping
Preventing future warping of your disc brake rotor helps keep your bike safe and smooth. Warped rotors cause noise, vibration, and poor braking. Taking simple steps can extend the life of your rotors and improve your ride quality.
Proper Braking Techniques
Apply brakes gently and evenly. Avoid sudden hard stops that create stress on the rotor. Use both front and rear brakes to balance the force. Let your brakes cool down after long or steep rides.
Regular Maintenance Tips
Check your rotors often for signs of wear or damage. Clean rotors with isopropyl alcohol to remove dirt and oil. Tighten all bolts to the correct torque to keep rotors secure. Replace worn brake pads to protect the rotor surface.
Avoiding Heat Build-up
Heat weakens rotors and causes warping. Ride at a moderate speed on long descents. Use intermittent braking instead of holding brakes constantly. Allow your brakes time to cool between uses on tough trails.
When To Replace The Rotor
Knowing when to replace a disc brake rotor is important for bike safety. A rotor can sometimes be straightened, but damage may need a full replacement. This section helps you decide when replacement is necessary.
Signs Of Irreparable Damage
Deep grooves or cracks on the rotor mean it is unsafe to use. Warping that causes constant brake rubbing cannot be fixed by straightening. Rust that eats through the metal weakens the rotor. If your rotor is too thin after wear, replacement is required.
Cost Considerations
Replacing a rotor is often affordable and worth the safety. Repairing a badly damaged rotor can waste time and money. New rotors last longer and improve brake performance. Check prices before deciding to fix or replace.
Choosing The Right Replacement
Match the new rotor to your bike’s brake system. Size and thickness must fit the manufacturer’s specifications. Look for rotors made from durable materials like stainless steel. Quality rotors ensure better stopping power and last longer.
Credit: bbbcycling.com
Frequently Asked Questions
How Do You Identify A Warped Disc Brake Rotor?
A warped disc brake rotor causes vibrations or pulsing when braking. Inspect the rotor surface for uneven wear or visible bends. Use a dial indicator to measure runout and confirm warping accurately.
What Tools Are Needed To Straighten A Disc Brake Rotor?
To straighten a disc brake rotor, you’ll need a rotor truing tool or an adjustable wrench. A dial indicator helps measure rotor runout. Safety gloves and eye protection are also essential during the process.
Can A Slightly Bent Rotor Be Safely Straightened?
Yes, a slightly bent rotor can be safely straightened if the damage is minor. Use careful, gentle pressure to avoid cracking. If warping is severe, replacing the rotor is safer and more effective.
How Long Does It Take To Straighten A Disc Brake Rotor?
Straightening a disc brake rotor typically takes 15 to 30 minutes. Time depends on the extent of the warp and your experience. Proper measurement and careful adjustment ensure the best results.
Conclusion
Straightening a disc brake rotor can save time and money. Small bends cause noise and reduce brake power. Use the right tools and work slowly to avoid damage. Check the rotor often while fixing it. A smooth, straight rotor helps your bike stop safely.
Regular maintenance keeps brakes working well longer. Try these steps carefully for better riding safety.