
Is your car’s body side molding looking worn out or damaged? Replacing it might seem tricky, but you can do it yourself with the right steps.
Imagine saving money and giving your car a fresh, clean look in just a short time. In this guide, you’ll discover simple, clear instructions to replace your body side molding quickly and easily. Keep reading—you’re just moments away from making your car look as good as new!

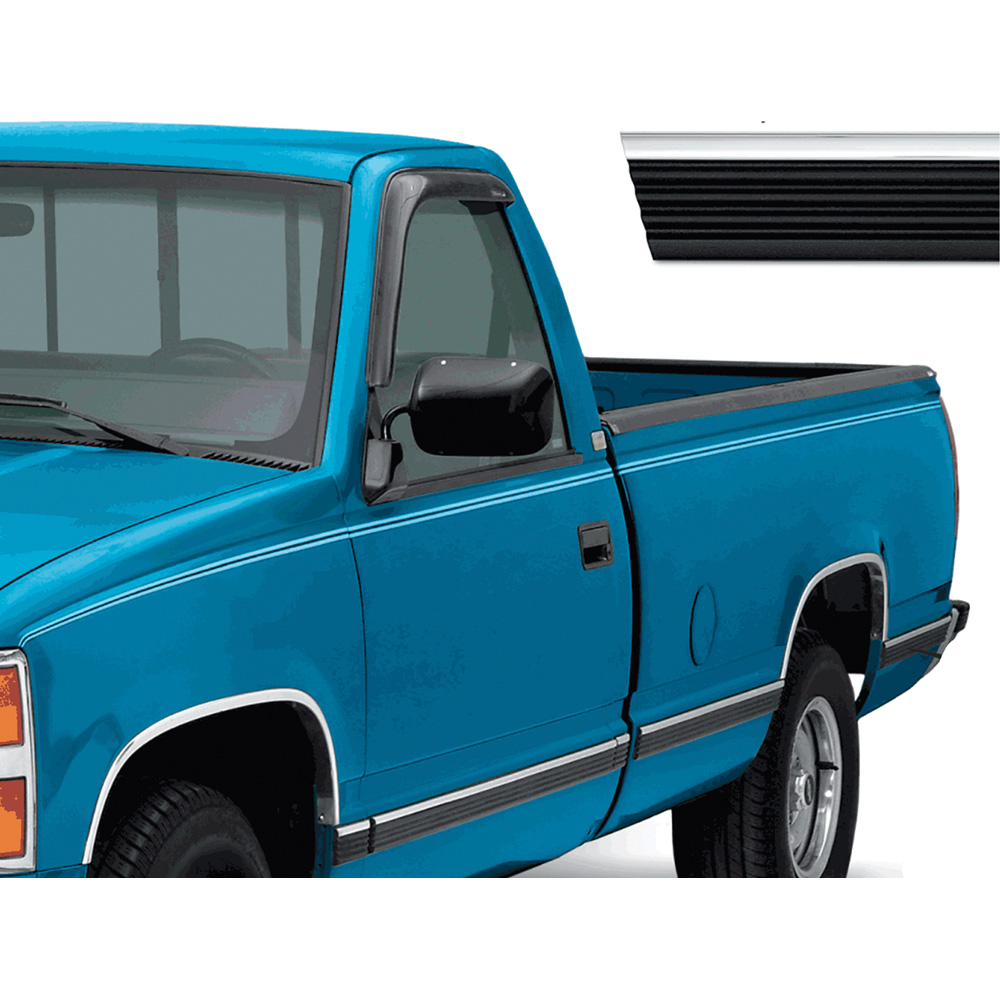
Credit: www.youtube.com
Tools And Materials Needed
Replacing body side molding requires specific tools and materials. Having the right items makes the job easier and ensures a clean finish. Prepare everything before starting to avoid delays.
Basic Hand Tools
Use a flathead screwdriver or plastic trim removal tool. These help to gently pry off old molding without scratching paint. A pair of needle-nose pliers can assist in removing clips or nails.
Replacement Clips And Adhesive
New clips hold the molding firmly in place. Buy clips that fit your car model. Use automotive-grade double-sided tape or adhesive for extra hold on smooth surfaces.
Cleaning Supplies
Clean the surface before applying new molding. Use rubbing alcohol or a mild detergent and water. A clean cloth helps remove dirt and old adhesive residue.
Measuring And Marking Tools
A tape measure ensures proper alignment of the new molding. Use a pencil or masking tape to mark the correct position. Precise placement avoids uneven fitting.
Safety Gear
Wear gloves to protect your hands from sharp edges. Safety glasses shield your eyes from dust or debris. Keep safety first throughout the project.
Preparing The Vehicle
Preparing the vehicle is the first step in replacing body side molding. This step ensures the new molding sticks well and looks neat. Proper preparation helps avoid problems later. It takes some time but makes the job easier and cleaner.
Cleaning The Molding Area
Clean the area where the molding will go. Use soap and water to remove dirt and dust. Dry the surface fully with a clean cloth. Dirt or moisture can stop the adhesive from working properly. A clean surface helps the molding stick tight and last longer.
Removing Old Molding Residue
Remove any leftover glue or residue from the old molding. Use a plastic scraper or a soft cloth with adhesive remover. Work gently to avoid scratching the paint. Clean the area again after removing residue. This step makes sure the new molding fits flat and sticks well.
Removing The Old Side Molding
Removing old body side molding is the first step in replacement. It requires care and patience. The molding may be stuck tight after years on the vehicle. Using the right tools and methods helps avoid damage to the car’s paint and body. This section guides you through removing the old molding safely and effectively.
Loosening The Molding
Start by cleaning the area around the molding. Dirt and debris can scratch the paint during removal. Use a plastic trim tool or a flat, soft object. Gently pry the edge of the molding away from the car. Work slowly along the length of the molding. Use a heat gun or hair dryer to soften the adhesive. Keep the heat moving to avoid paint damage. Once loose, pull the molding off with steady pressure. Avoid yanking or pulling too hard.
Using Proper Techniques To Avoid Damage
Protect the car’s paint with painter’s tape along the molding edges. This prevents accidental scratches from tools. Use plastic or nylon tools instead of metal. Metal tools can easily chip or scratch the surface. Apply adhesive remover to dissolve old glue. Let it sit a few minutes before wiping clean. Remove any leftover glue carefully with a soft cloth. Avoid sharp scrapers or harsh chemicals. Take breaks to inspect progress and avoid rushing.
Installing The New Side Molding
Installing the new side molding is a key step in replacing your car’s body side molding. It requires careful handling to ensure the molding fits perfectly. This process helps protect the car and keeps it looking great.
Aligning The New Molding
Start by holding the new molding against the car’s side. Check that it matches the original shape and length. Move the molding slowly along the body to find the correct position. Make sure it lines up with the edges and any clips or holes. Proper alignment prevents gaps and uneven spots.
Securing The Molding In Place
Once aligned, press the molding firmly against the car. If it uses clips, push until you hear a click. For adhesive-backed moldings, peel off the tape cover carefully. Press the molding down in sections to ensure it sticks well. Use gentle pressure to avoid bending or damaging the molding. Let the adhesive set before driving or washing the car.
Finishing Touches
Finishing touches are key to making your body side molding look perfect. These final steps ensure a clean and professional appearance. Taking time to clean and check your work improves the overall result. A neat finish boosts the car’s look and protects the molding.
Cleaning Up Adhesive Residue
After placing the molding, some adhesive may remain. Use a soft cloth and adhesive remover to clean the surface. Remove all sticky spots carefully to avoid damage. Clean edges help the molding stick better and look smooth. Work slowly to avoid scratching the paint.
Inspecting For A Flawless Fit
Look closely at the molding’s edges and alignment. Check that it sits evenly and follows the car’s shape. Press gently along the molding to ensure strong contact. Fix any gaps or loose spots right away. A perfect fit keeps the molding secure and improves appearance.

Credit: yourpghlawyer.com
Tips For Long-lasting Results
Replacing body side molding is a smart way to keep your car looking fresh. Proper care during and after installation helps the molding last longer. Follow simple tips to get strong, lasting results. These steps protect your work and keep your vehicle looking great.
Clean The Surface Thoroughly
Remove dirt and grease before applying new molding. Use soap and water, then dry the area well. A clean surface helps the adhesive stick better. Avoid touching the cleaned spot with oily hands.
Use High-quality Adhesive
Choose adhesive made for automotive molding. It bonds strongly and resists weather damage. Follow instructions carefully for best application. Avoid cheap glues that weaken over time.
Press Firmly And Evenly
Apply steady pressure along the molding after placing it. This helps the adhesive set properly. Use a soft cloth to avoid scratches. Hold for a few minutes to secure the fit.
Allow Adequate Curing Time
Let the adhesive dry fully before driving or washing. Check the product label for recommended curing hours. Skipping this step can cause molding to peel off early.
Protect From Harsh Conditions
Park in shaded areas to avoid sun damage. Wash gently and avoid strong chemicals near molding. Cover the car during winter to prevent cracking. These habits extend the molding’s lifespan.
Credit: www.oerparts.com
Frequently Asked Questions
How Do You Remove Old Body Side Molding?
To remove old body side molding, heat the adhesive with a heat gun. Gently peel off the molding using a plastic trim tool to avoid paint damage. Clean residual adhesive with an automotive adhesive remover for a smooth surface.
What Tools Are Needed To Replace Side Molding?
You will need a heat gun, plastic trim tool, adhesive remover, new side molding, and double-sided automotive tape. Having a clean cloth and rubbing alcohol helps in surface preparation. These tools ensure a smooth and damage-free installation.
How Long Does It Take To Replace Side Molding?
Replacing side molding typically takes 30 to 60 minutes. This depends on the vehicle model and the installer’s experience. Proper surface cleaning and adhesive curing time may extend the process slightly.
Can I Replace Side Molding Myself Safely?
Yes, replacing side molding is safe for most DIYers with basic tools. Follow instructions carefully and work slowly to avoid paint damage. If unsure, consult a professional to ensure correct installation.
Conclusion
Replacing body side molding helps keep your car looking fresh. It protects your vehicle from scratches and dents. The process is simple with the right tools and steps. Take your time to avoid mistakes and ensure a good fit. A neat job saves money on future repairs.
Now, your car’s side looks smooth and clean again. This small task boosts your car’s overall appearance. Try it yourself and enjoy the results.


