
Removing a vinyl wrap from your car might seem tricky, but it doesn’t have to be. If you want to get your car looking fresh again or prepare it for a new wrap, knowing the right steps is key.
You might worry about damaging your paint or spending hours on a frustrating task. Don’t worry—this guide will walk you through simple, effective ways to take off vinyl wrap safely and quickly. Keep reading, and you’ll have your car ready in no time.
Credit: vvividshop.com
Preparing For Removal
Preparing to remove a vinyl wrap from your car is an important first step. It helps avoid damage and makes the process smoother. Proper preparation saves time and effort. Take your time to get ready before peeling off the wrap.
Gathering Necessary Tools
Collect all tools needed before starting. A heat gun or hair dryer helps soften the vinyl. Use a plastic scraper to lift edges gently. Have microfiber cloths ready for cleaning. Use adhesive remover to clear sticky residue. Gloves protect your hands during work.
Choosing The Right Environment
Pick a shaded, dry spot to work in. Avoid direct sunlight to prevent vinyl from overheating. A garage or covered area works best. Make sure the temperature is moderate, not too hot or cold. Good lighting helps see edges clearly. Avoid dusty or windy places to keep dirt off the car.
Protecting Your Car’s Surface
Clean the car surface before starting. Use soap and water to remove dirt. Dry the surface fully to avoid slipping. Place tape over delicate areas like trims and emblems. This prevents damage when peeling the wrap. Work slowly to avoid scratches or paint damage.
Heating The Vinyl Wrap
Heating the vinyl wrap is a key step in removing it from your car. Applying heat softens the adhesive under the vinyl. This makes the wrap easier to peel off without damaging the paint. Heat also helps prevent the vinyl from tearing during removal. Use gentle heat and work in small sections for best results.
Using A Heat Gun Safely
Hold the heat gun about 6 inches from the vinyl surface. Keep the heat moving to avoid burning one spot. Use a low or medium heat setting to protect the paint. Never stay too long in one area. Wear gloves to protect your hands from hot air. Turn off the heat gun if you need a break.
Alternative Heating Methods
You can use a hair dryer if you do not have a heat gun. It works well but takes longer. Warm water and a cloth can also soften the vinyl. Soak the cloth in hot water and press it on the wrap. Avoid using open flames or very high heat sources. These can damage your car’s paint.
Why Heating Helps
Heat loosens the glue holding the wrap to the car. Softened adhesive peels off easier and cleaner. It reduces the chance of leaving sticky residue behind. Heat also makes the vinyl more flexible. This prevents tearing and helps you remove bigger pieces at once.
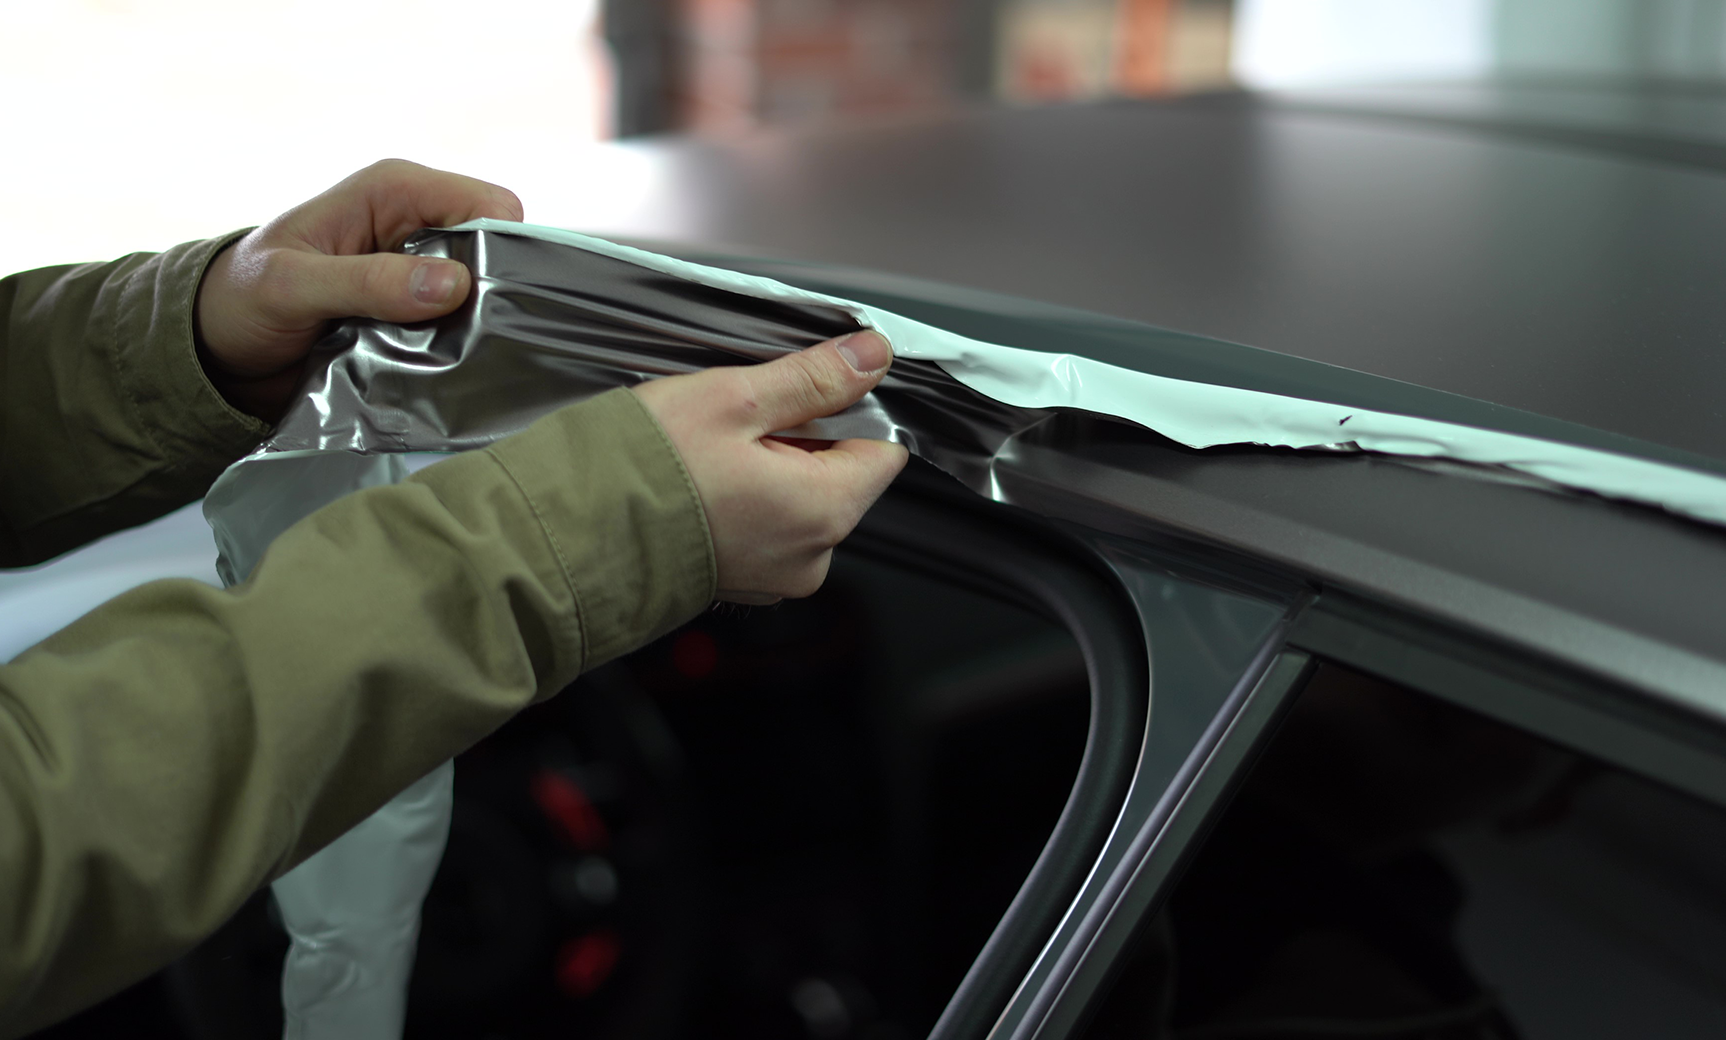
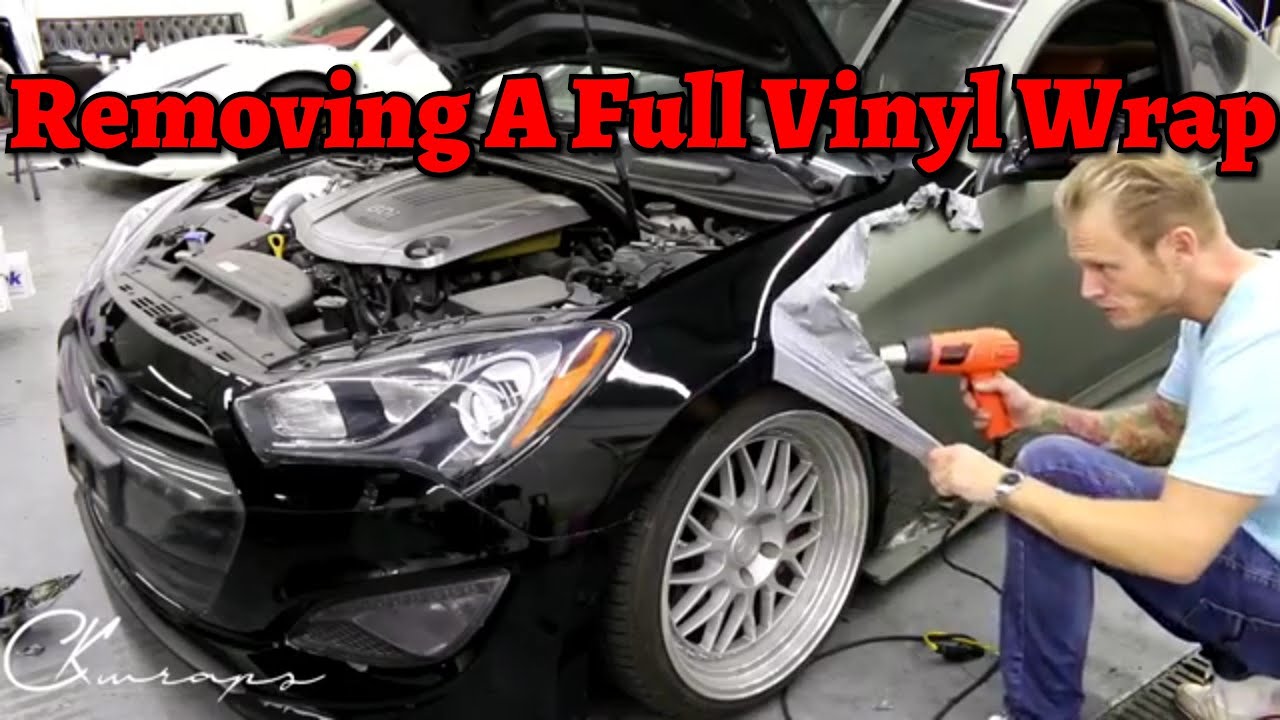
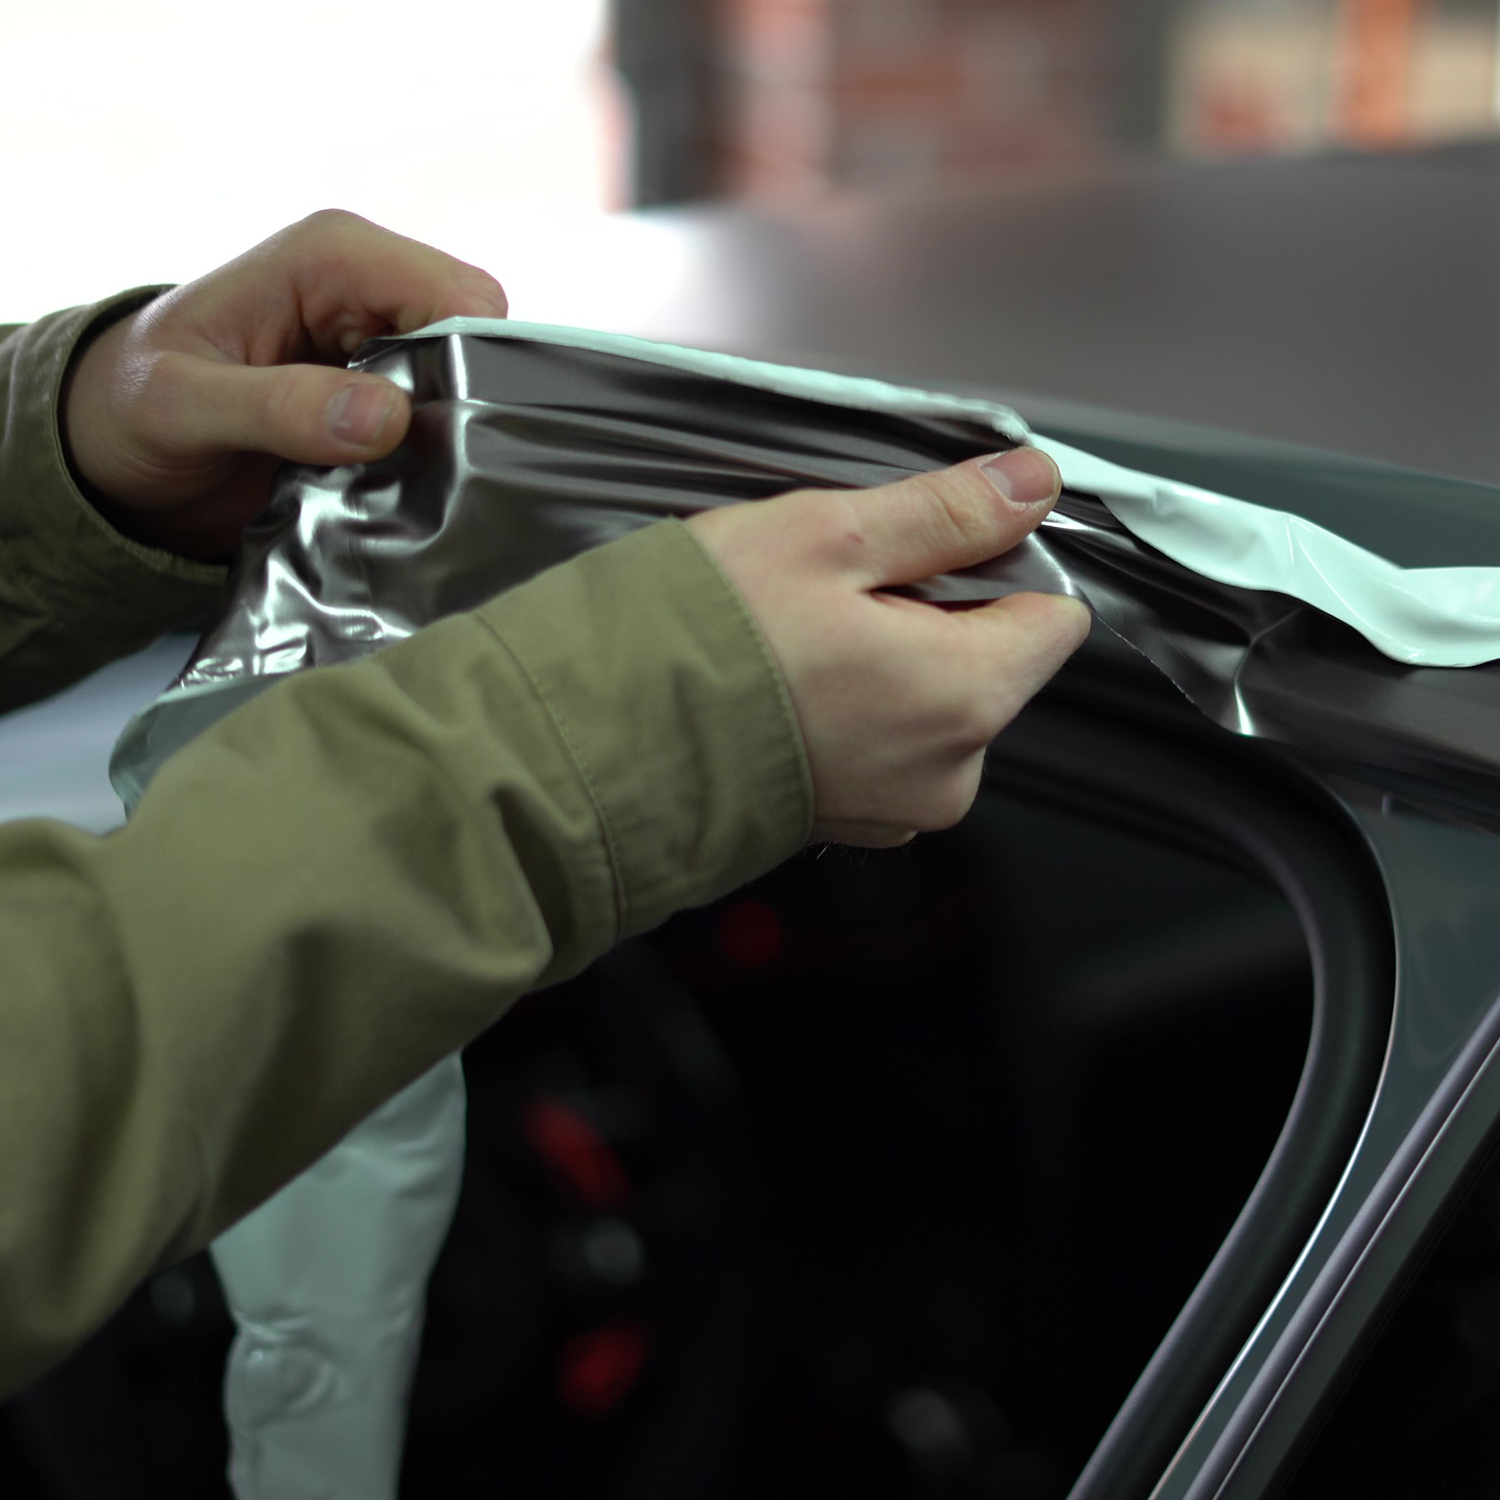
Peeling Off The Vinyl
Peeling off vinyl wrap from a car takes care and patience. Rushing can damage the paint or leave sticky residue. The key is to start gently and work steadily. Follow simple steps for a smooth removal process.
Starting At The Edges
Begin peeling at a corner or edge of the wrap. Use your fingernail or a plastic tool to lift it. Avoid metal tools to prevent scratches. Once you lift the edge, grab it firmly but gently.
Peeling At The Right Angle
Pull the vinyl back slowly at a low angle, close to the car’s surface. This reduces stress on the paint and vinyl. Pulling straight up can cause tears or paint damage. Keep the wrap flat against the surface as you peel.
Handling Stubborn Areas
Some spots might stick tight or resist peeling. Use a heat gun or hairdryer on low heat to soften the adhesive. Warm the area evenly, then peel slowly. If residue remains, clean it with adhesive remover or soapy water.
Removing Adhesive Residue
Removing adhesive residue after taking off a vinyl wrap is important. Sticky glue left on the car can attract dirt and ruin the finish. Cleaning this residue carefully helps keep the paint smooth and shiny. Use the right tools and methods to avoid damage. Take your time to get the best results.
Choosing Adhesive Removers
Choose a remover made for car paint. Some products are too strong and can harm the surface. Look for gentle adhesive removers or ones labeled safe for cars. Household oils like coconut or olive oil can also work. Test any product on a small spot first. This avoids surprises or damage.
Techniques For Cleaning Residue
Apply adhesive remover to a clean cloth, not directly on the car. Rub gently in a circular motion. Let the product sit for a few minutes to soften glue. Use a plastic scraper to lift thick residue. Clean the area with warm soapy water after. Repeat if needed, but avoid harsh scrubbing.
Avoiding Damage To Paint
Do not use metal tools on the paint. They can scratch and leave marks. Avoid strong chemicals like acetone or paint thinner. These can strip the clear coat. Work in a shaded area to prevent quick drying. Always rinse the car well after cleaning to remove any leftover remover.
Post-removal Care
After removing a vinyl wrap from your car, proper care is essential. The paint may look dull or have residue left behind. Taking steps to clean and protect your car helps keep it looking its best. Follow these simple post-removal care tips for a smooth finish.
Washing And Polishing
Start with a gentle wash using car shampoo and water. This removes leftover glue and dirt. Avoid harsh chemicals that could damage the paint. Use a microfiber cloth to avoid scratches. Once dry, polish the surface with a light car polish. Polishing restores shine and smooths minor rough spots.
Inspecting For Paint Damage
Check your car’s paint carefully after washing. Look for scratches, peeling, or discoloration. Vinyl wrap removal can sometimes lift paint or cause damage. Small chips or cracks need attention before they worsen. Catching problems early helps avoid costly repairs later.
Applying Protective Coating
Apply a protective coating like wax or sealant after polishing. This adds a barrier against dirt and UV rays. Use a soft cloth to spread the coating evenly. Regular protection keeps your paint safe and shiny. Reapply every few months for best results.
Credit: www.youtube.com
Credit: vvividshop.ca
Frequently Asked Questions
How Do I Safely Remove Vinyl Wrap From My Car?
To safely remove vinyl wrap, heat the wrap gently with a heat gun. Peel slowly from one corner. Avoid using sharp tools to prevent paint damage. Clean adhesive residue with a mild solvent afterward.
Can I Remove Vinyl Wrap Without Damaging The Paint?
Yes, by heating the vinyl wrap evenly and peeling carefully, you can avoid paint damage. Take your time and avoid harsh scraping. Use adhesive remover designed for automotive use to clean leftover residue.
How Long Does It Take To Remove Car Vinyl Wrap?
Removing vinyl wrap typically takes 1 to 3 hours depending on the car size and wrap condition. Larger vehicles or older wraps may take longer due to stronger adhesive bonds.
What Tools Are Needed To Remove Vinyl Wrap Properly?
You will need a heat gun or hair dryer, plastic scraper or fingernails, and adhesive remover. Soft cloths for cleaning and gloves for protection are also helpful.
Conclusion
Removing vinyl wrap from your car can be simple and safe. Take your time and use the right tools. Heat the wrap gently to make peeling easier. Avoid rushing to prevent damage to the paint. Clean the car surface after removal for best results.
With care and patience, your car will look great again. Enjoy the fresh look or prepare for a new wrap. This process saves money and keeps your car’s finish nice. Try these steps next time you want to change your car’s style.


