Looking to give your iPhone a fresh, unique look without spending a fortune? Vinyl wrapping is the perfect way to transform your device quickly and easily.
You might think it’s complicated, but with the right steps, you can do it yourself and achieve a professional finish. Imagine turning heads every time you pull out your phone, showing off a design that’s truly yours. Keep reading, and you’ll discover simple tips and tricks that make vinyl wrapping your iPhone not only possible but fun.
Ready to make your phone stand out? Let’s dive in.
Choosing The Right Vinyl Wrap
Choosing the right vinyl wrap is key for a great iPhone look. The right wrap protects the phone and shows your style. Picking the best type, color, and size makes the job easier. This guide helps you select the perfect vinyl wrap for your iPhone.
Types Of Vinyl Material
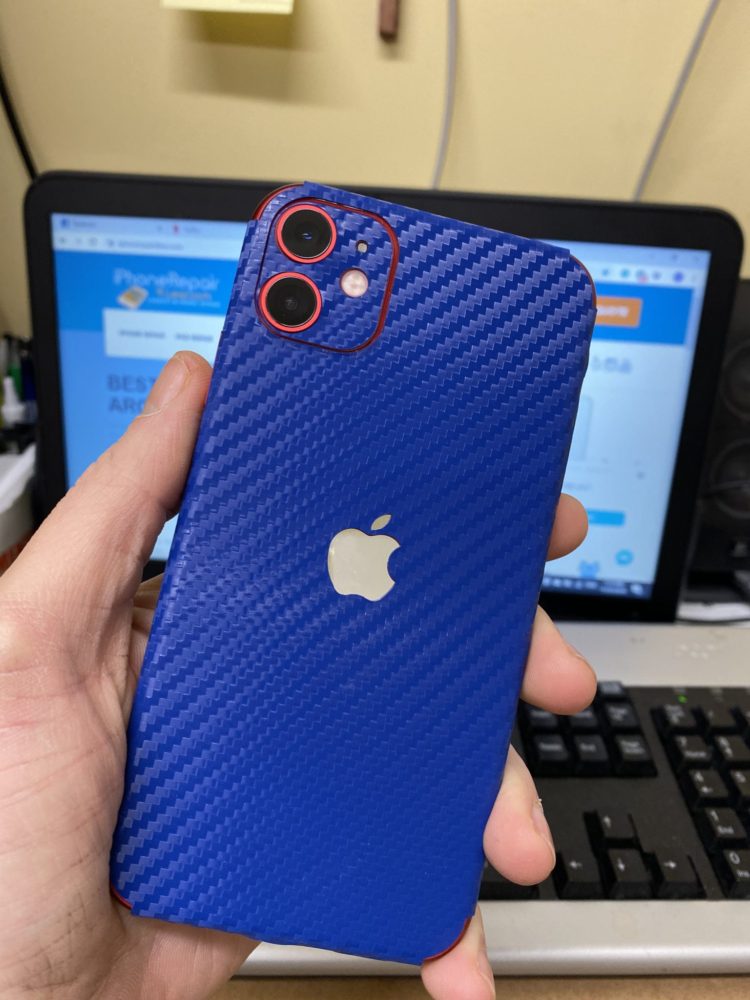
Vinyl wraps come in different materials. Glossy vinyl shines and looks smooth. Matte vinyl has no shine and feels soft. Satin vinyl is between glossy and matte. Carbon fiber vinyl adds a textured look. Choose material based on how you want your phone to look and feel.
Selecting Colors And Patterns
Colors and patterns change your iPhone’s style. Solid colors are simple and neat. Patterns like stripes or camo add personality. Dark colors hide dirt well. Light colors show dust but look bright. Pick colors that match your taste and daily use.
Measuring Your Iphone
Measure your iPhone carefully before buying vinyl. Use a ruler to get the length and width. Note the size of buttons and camera area. Cut the vinyl a little bigger than your measurements. This helps cover edges and curves perfectly.
Preparing Your Iphone
Preparing your iPhone is the first step in a smooth vinyl wrap process. It helps the vinyl stick well and last longer. Taking time to prepare your device avoids bubbles and peeling later.
Focus on cleaning, removing accessories, and setting up a dust-free space. These steps make the surface perfect for the vinyl wrap.
Cleaning The Surface
Start by wiping your iPhone with a soft cloth. Use a bit of rubbing alcohol or screen cleaner. This removes oils, dirt, and fingerprints. A clean surface helps the vinyl stick tightly. Avoid using water alone, as it may leave residue.
Removing Existing Cases Or Accessories
Take off any cases, screen protectors, or stickers. These can block the vinyl from sticking properly. Removing them ensures a smooth, flat surface. It also prevents bumps under the vinyl wrap.
Ensuring A Dust-free Environment
Find a clean and dust-free room for wrapping. Dust can cause bubbles and rough spots under the vinyl. Turn off fans and close windows to avoid dust blowing around. A calm space makes the wrapping easier and cleaner.
Cutting The Vinyl Wrap
Cutting the vinyl wrap is an important step in customizing your iPhone. It shapes the vinyl to fit perfectly on the phone’s surface. Careful cutting avoids wrinkles and bubbles later. Precise cuts help the wrap look neat and professional. Use the right tools and methods for best results.
Using Templates Or Guides
Templates make cutting easier and more accurate. They show exact shapes and sizes needed for each phone model. You can print or download templates online. Place the template on the vinyl before cutting. This reduces mistakes and saves time.
Guides help to follow lines clearly. They keep the vinyl aligned with the phone’s edges. Using guides prevents cutting too much or too little. It also helps with tricky areas like buttons and cameras.
Precision Cutting Techniques
Use a sharp craft knife or blade for clean cuts. Dull blades tear or stretch the vinyl. Cut slowly and steadily to avoid jagged edges. Small, careful cuts give better control. It’s easier to fix small mistakes than large ones.
Work on a flat surface to keep the vinyl steady. Use a ruler or straight edge for straight lines. For curves, cut little by little to follow the shape. This technique results in smooth edges that fit well.
Trimming Excess Material
After placing the wrap, trim extra vinyl around the edges. Leave a tiny margin to avoid peeling later. Use fine scissors or a craft knife for trimming. Cut close but do not cut the phone or case.
Check all sides and corners carefully. Remove any excess slowly to keep the wrap tight. Proper trimming makes the wrap look clean and sealed. It also helps the vinyl last longer on your phone.
Applying The Vinyl Wrap
Applying the vinyl wrap to your iPhone requires care and patience. A good application gives your phone a fresh new look and protects it from scratches. Follow the steps carefully to avoid mistakes and get a smooth finish.
Peeling And Positioning
Start by peeling a small part of the backing from the vinyl wrap. Do this slowly to avoid stretching the material. Align the vinyl with the edges of your iPhone. Take your time to position it correctly before sticking it down. A good start makes the rest easier.
Avoiding Air Bubbles
Air bubbles are the main challenge when applying vinyl. Press the vinyl gently from the center outwards. Use a soft cloth or a plastic card to push out trapped air. Work slowly to keep the surface smooth. Small bubbles can be removed by lifting the vinyl slightly and reapplying.
Smoothing And Stretching
Once the vinyl is in place, smooth the edges carefully. Stretch the vinyl gently around curved areas. Avoid too much force to prevent tearing. Use your fingers or a soft tool to press the vinyl into corners. This step ensures a clean and secure wrap.
Finishing Touches
After wrapping your iPhone with vinyl, the final steps matter a lot. These finishing touches ensure the wrap stays smooth and lasts longer. Small efforts here make a big difference in appearance and durability.
Sealing Edges
Edges are the most common places for vinyl to lift or peel. Press the edges firmly using your fingers or a plastic tool. Use a small amount of heat to soften the vinyl around edges. This helps the wrap stick better and look neat. Check for any loose corners and press them down carefully.
Using Heat For Better Adhesion
Heat activates the glue on the vinyl wrap. Use a heat gun or hair dryer on low heat. Move it slowly over the wrapped surface to avoid damage. Heat helps the vinyl conform to curves and corners. It also removes small air bubbles under the wrap. Be careful not to overheat, as this can damage your phone or wrap.
Adding Protective Coatings
Apply a clear protective coating to protect your vinyl wrap. This adds a layer against scratches and fading. Use a spray designed for vinyl or plastic surfaces. Spray evenly and let it dry fully before using your phone. Protective coatings keep your wrap looking fresh longer.
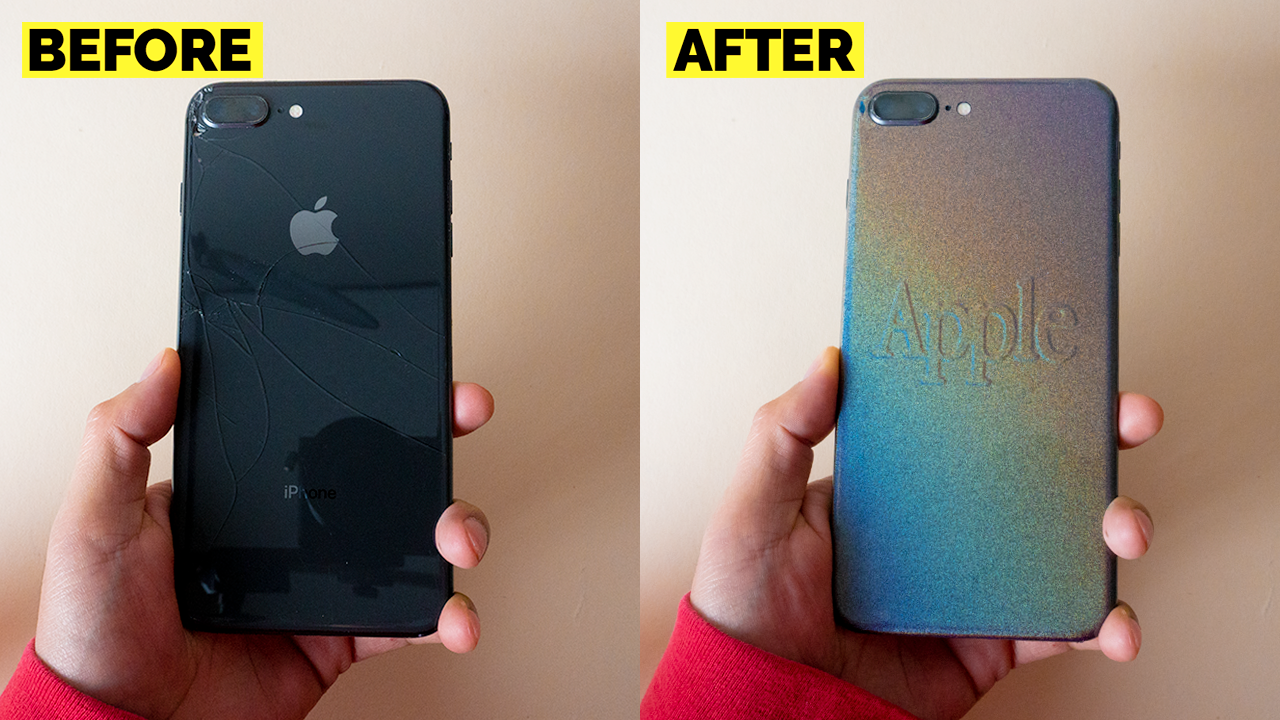
Credit: www.madebyedgar.art
Maintaining Your Wrapped Iphone
Maintaining your vinyl-wrapped iPhone keeps it looking fresh and new. A well-kept wrap lasts longer and protects your phone better. Regular care prevents peeling, fading, and dirt buildup.
Cleaning Tips
Use a soft cloth to clean the wrap gently. Avoid rough materials that can scratch the surface. Lightly dampen the cloth with water or mild soap. Wipe the wrap in smooth, circular motions. Do not soak the phone or use harsh chemicals. Dry the wrap with a clean, dry cloth after cleaning.
Avoiding Damage
Keep your wrapped iPhone away from sharp objects. Avoid dropping or scratching the phone. Do not expose the wrap to extreme heat or sunlight for long. Use a case if you want extra protection. Avoid bending or stretching the wrap as it can peel off. Handle the phone with clean hands to reduce dirt.
When To Replace The Wrap
Replace the wrap if you see cracks or peeling edges. Faded colors or scratches mean the wrap is aging. If dirt builds up under the wrap, it’s time for a new one. Change the wrap to refresh your phone’s look. Regular replacement keeps your iPhone stylish and protected.
Troubleshooting Common Issues
Troubles with vinyl wrapping your iPhone can happen. These issues can make your phone look less neat and reduce the wrap’s lifespan. Knowing how to fix common problems helps keep your wrap looking great. Simple steps can solve most troubles quickly.
Fixing Bubbles And Wrinkles
Bubbles and wrinkles appear when air gets trapped under the vinyl. Use a small pin to gently prick the bubble. Press the air out with a soft cloth or squeegee. For wrinkles, warm the vinyl slightly with a hairdryer. Smooth the vinyl slowly from the center outwards.
Dealing With Peeling Edges
Peeling edges occur if the wrap did not stick well. Clean the surface and edges carefully before applying wrap. Use a heat gun to warm the edges. Press down firmly with a squeegee or your fingers. For stubborn edges, apply a small amount of vinyl adhesive.
Handling Color Fading
Color fading happens after long sun exposure or harsh cleaning. Protect the wrap by keeping your phone out of direct sunlight. Clean with mild soap and water only. Avoid using strong chemicals or rough cloths. Replace the wrap if colors become too dull to restore look.
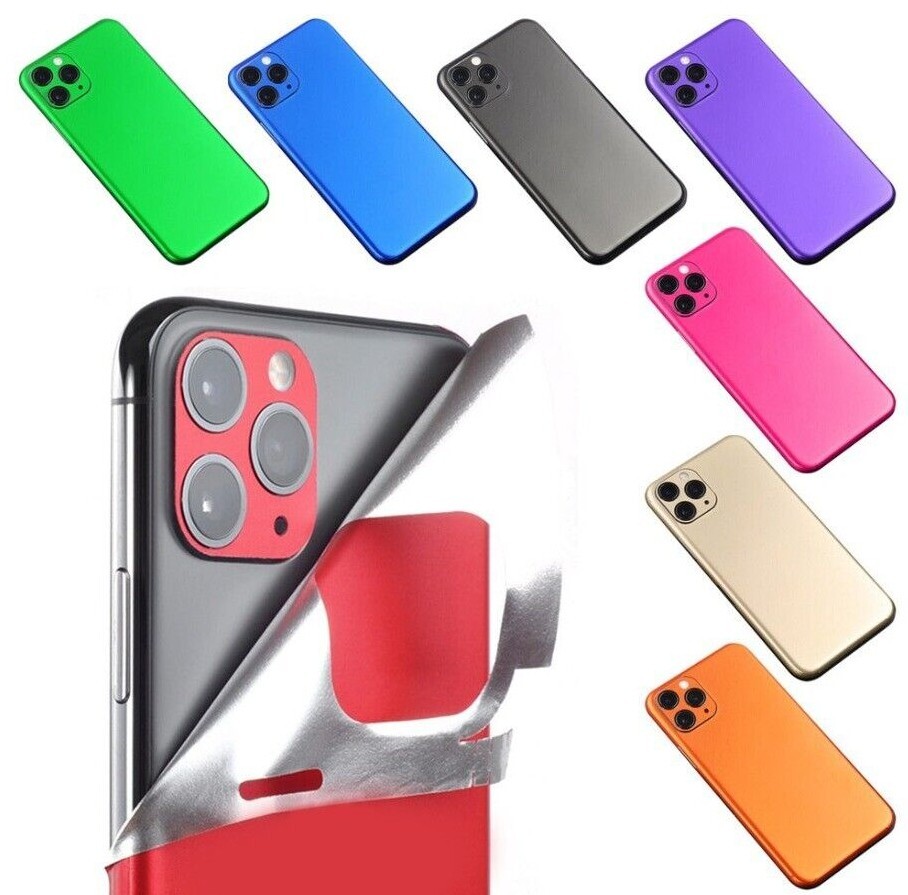
Credit: www.ebay.com
Credit: iphonerepair4less.com
Frequently Asked Questions
What Materials Are Needed To Vinyl Wrap An Iphone?
You need vinyl wrap sheets, a squeegee, a heat gun, and a precision knife. Clean your iPhone before applying. These tools help achieve a smooth, bubble-free finish.
How Long Does It Take To Vinyl Wrap An Iphone?
Vinyl wrapping an iPhone usually takes 30 to 60 minutes. Time varies based on skill and phone model. Patience ensures a neat, professional look.
Can Vinyl Wrap Protect My Iphone From Scratches?
Yes, vinyl wrap adds a protective layer against minor scratches and scuffs. It doesn’t replace a case but enhances scratch resistance and keeps your iPhone looking new.
Is Vinyl Wrap Removable Without Damaging My Iphone?
Vinyl wrap is designed to be removable without residue or damage. Gently peel it off starting from a corner. Use heat to soften adhesive for easier removal.
Conclusion
Vinyl wrapping your iPhone is simple with the right steps. Take your time to clean and prepare the surface well. Use a smooth, steady hand to apply the vinyl without bubbles. Small mistakes can be fixed with a heat gun or your fingers.
Practice helps you improve and get better results. Enjoy your phone’s new look and protect it from scratches. Try different colors or patterns to match your style. This DIY project saves money and adds personal touch. Keep your phone safe and stylish every day.