If you have a 4×4 post that looks worn or outdated, wrapping it in vinyl can instantly give it a fresh, clean look. You might think it’s a tough job, but with the right steps, you can do it yourself and save money.
Imagine your post standing out, protected from weather, and looking great year-round. In this guide, you’ll learn exactly how to wrap your 4×4 post in vinyl—easy, fast, and with professional results. Ready to transform your space? Let’s get started.
Choosing Vinyl For 4×4 Posts
Choosing the right vinyl for your 4×4 posts is important. The right vinyl protects the wood and looks good. It also lasts long and stands up to weather. Picking the correct type, color, and size helps your project succeed. Understand these factors before you start wrapping your posts.
Types Of Vinyl Materials
Vinyl comes in different types. Some are thick, some thin. Thick vinyl offers better protection and lasts longer. Thin vinyl is easier to cut and handle. Look for vinyl that is weather-resistant. Some vinyl has UV protection to stop fading. Choose vinyl designed for outdoor use on posts.
Color And Texture Options
Vinyl comes in many colors. Pick a color that matches your home or fence. Light colors keep posts cooler in sun. Dark colors may absorb heat. Vinyl also has textures like smooth, wood grain, or matte. Wood grain vinyl looks natural and hides dirt well. Texture adds style and hides scratches.
Measuring Your Post
Measure your 4×4 post carefully. Measure height and all four sides. Add a little extra length for overlap. Cut vinyl pieces to fit each side. Proper measurement avoids gaps and loose edges. Use a tape measure for accuracy. Good fit keeps vinyl tight and neat.
Gathering Tools And Supplies
Gathering the right tools and supplies makes wrapping a 4×4 post in vinyl easier. Having everything ready helps the project go smoothly. This section lists the essential tools and safety gear needed for the job.
Essential Tools List
Start with a tape measure to get exact post dimensions. A utility knife helps cut the vinyl cleanly. Use a straight edge or ruler for precise cutting lines. A staple gun or nails secure the vinyl to the post. A hammer or drill may be needed for nails or screws. A rubber mallet helps smooth the vinyl without damage. Use a level to ensure the vinyl wraps evenly. Finally, have a pair of scissors for trimming small sections.
Safety Gear Recommendations
Wear gloves to protect your hands from cuts or scrapes. Safety glasses shield your eyes from flying debris. Use a dust mask if sanding or cutting near dust. Closed-toe shoes protect your feet from dropped tools. Keep a first aid kit nearby for minor injuries. Proper safety gear prevents accidents and keeps you comfortable.
Preparing The Post Surface
Preparing the post surface is the first step before wrapping a 4×4 post in vinyl. A smooth, clean surface helps the vinyl stick better and last longer. Dirt, rough spots, and damage can cause the vinyl to peel or bubble. Taking time to prepare the post ensures a neat and durable finish.
Cleaning And Sanding
Start by cleaning the post with soap and water. Remove all dirt, dust, and grime. Use a scrub brush for stubborn spots. Let the post dry completely before moving on.
Next, sand the entire post surface with medium-grit sandpaper. This smooths out rough areas and helps the vinyl grip. Sand evenly to avoid deep scratches. Wipe off sanding dust with a clean cloth.
Repairing Imperfections
Check the post for cracks, holes, or splinters. Fill small holes and cracks with wood filler. Press the filler firmly and smooth it out. Let the filler dry fully before sanding it down to blend with the post surface.
Remove any loose wood or splinters with a scraper. Sand repaired areas again to create an even surface. A well-prepared post means your vinyl wrap will look clean and last longer.
Cutting Vinyl To Size
Cutting vinyl to size is a key step in wrapping a 4×4 post. It ensures the vinyl fits perfectly around the post. Proper cutting prevents gaps and overlaps. This section explains how to measure, mark, and cut vinyl accurately.
Measuring And Marking
Start by measuring the height and width of the 4×4 post. Use a tape measure for accuracy. Write down the measurements to avoid mistakes. Add an extra inch or two for overlap and trimming.
Mark the vinyl sheet clearly with a pencil or marker. Use a ruler or straight edge to draw straight lines. Make sure the lines match your measurements exactly. Check twice before cutting.
Using The Right Cutting Tools
Select sharp tools for clean cuts. A utility knife works well on vinyl sheets. Scissors designed for heavy materials also do the job. Avoid dull blades to prevent jagged edges.
Cut on a flat, stable surface. Use a cutting mat to protect your work area. Follow the marked lines carefully. Take your time to keep cuts straight and smooth.
Applying Adhesive
Applying adhesive is a key step in wrapping a 4×4 post with vinyl. The right adhesive holds the vinyl tightly. It prevents peeling and damage from weather. Knowing how to apply adhesive properly ensures a smooth, lasting finish.
Choosing The Best Adhesive
Select an adhesive designed for outdoor use. Vinyl glue or construction adhesive works well. Choose one that bonds wood and vinyl strongly. Check the label for waterproof and weatherproof features. Avoid adhesives that dry too fast or remain sticky. A good adhesive should dry clear and firm.
Proper Application Techniques
Clean the post surface before applying adhesive. Remove dirt and dust with a cloth. Apply the adhesive evenly using a brush or roller. Use a thin layer to avoid lumps under vinyl. Press the vinyl firmly onto the post. Smooth out air bubbles and wrinkles carefully. Allow the adhesive to dry fully before handling the post.

Credit: eco-web.fr
Wrapping The Vinyl Around The Post
Wrapping vinyl around a 4×4 post requires care and patience. The goal is to cover the post smoothly and neatly. Start by preparing the vinyl and cutting it to size. This step makes the wrapping process easier and prevents mistakes.
Next, focus on placing the vinyl on the post with precision. This part ensures the best look and durability. Proper wrapping protects the post and improves its appearance.
Aligning The Vinyl
Place the vinyl at the base of the post. Check that the edges line up straight. Use your hands to hold the vinyl tightly around the post. Make sure the vinyl wraps evenly without twisting. Take your time. Proper alignment stops the vinyl from peeling later.
Smoothing Out Bubbles And Wrinkles
Press the vinyl firmly against the post. Use a flat tool or your hands to push out air bubbles. Work from the center outward. Small wrinkles can be smoothed this way too. Avoid stretching the vinyl too much. This keeps the wrap tight and clean. Smooth vinyl stays in place longer and looks better.
Sealing And Finishing Touches
Sealing and finishing touches make your wrapped 4×4 post last longer. These steps protect the vinyl from water, dirt, and wear. They also give your post a neat, professional look. Taking time here improves the post’s durability and appearance.
Sealing Edges For Durability
Seal all vinyl edges tightly to stop moisture from getting in. Use a high-quality, clear exterior sealant. Apply it carefully along every seam and corner. This step prevents peeling and warping over time. Let the sealant dry fully before touching the post. Well-sealed edges keep your wrap strong through all weather.
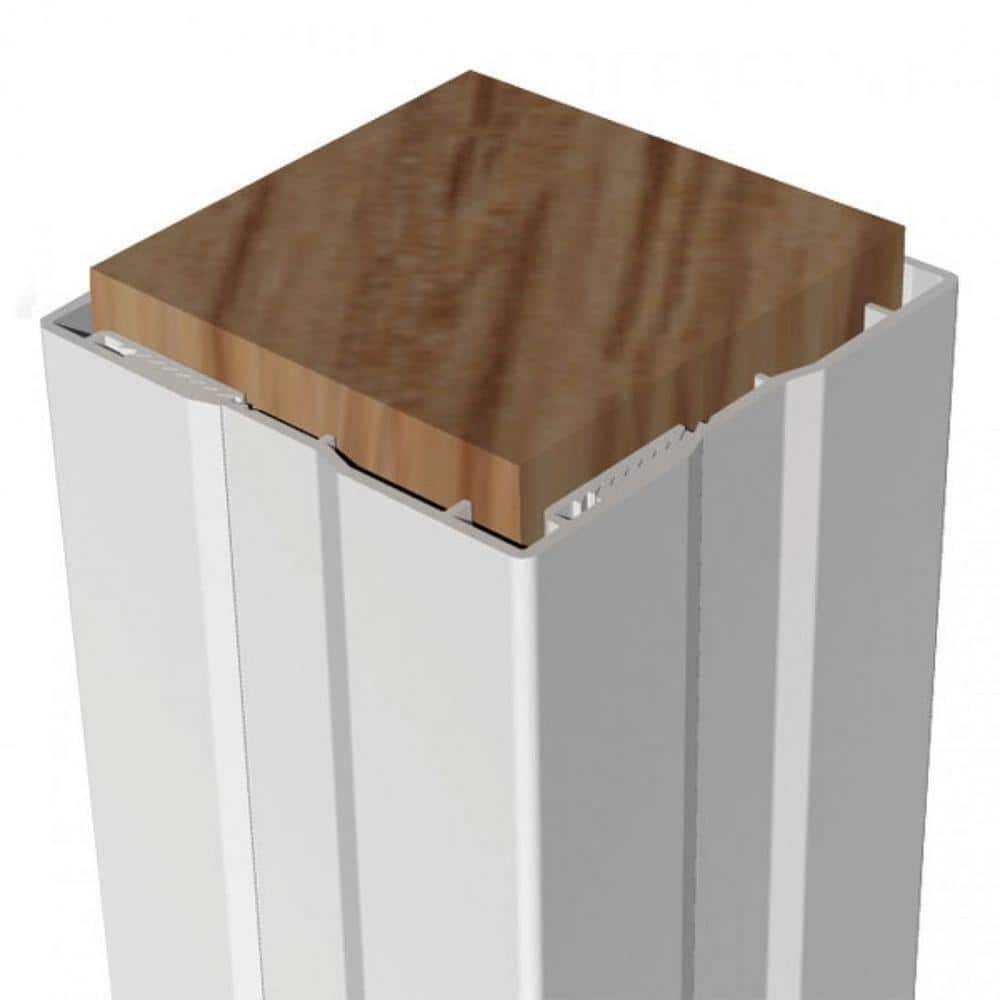
Adding Trim Or Caps
Add trim or caps to cover the top and bottom of the post. These pieces hide rough edges and protect vinyl ends. Choose vinyl or metal caps that fit the post size. Snap or glue the caps firmly in place. Trim around the post corners adds a clean, finished look. Caps and trim give your project a polished, lasting finish.
Credit: www.homedepot.com
Maintenance Tips For Vinyl-wrapped Posts
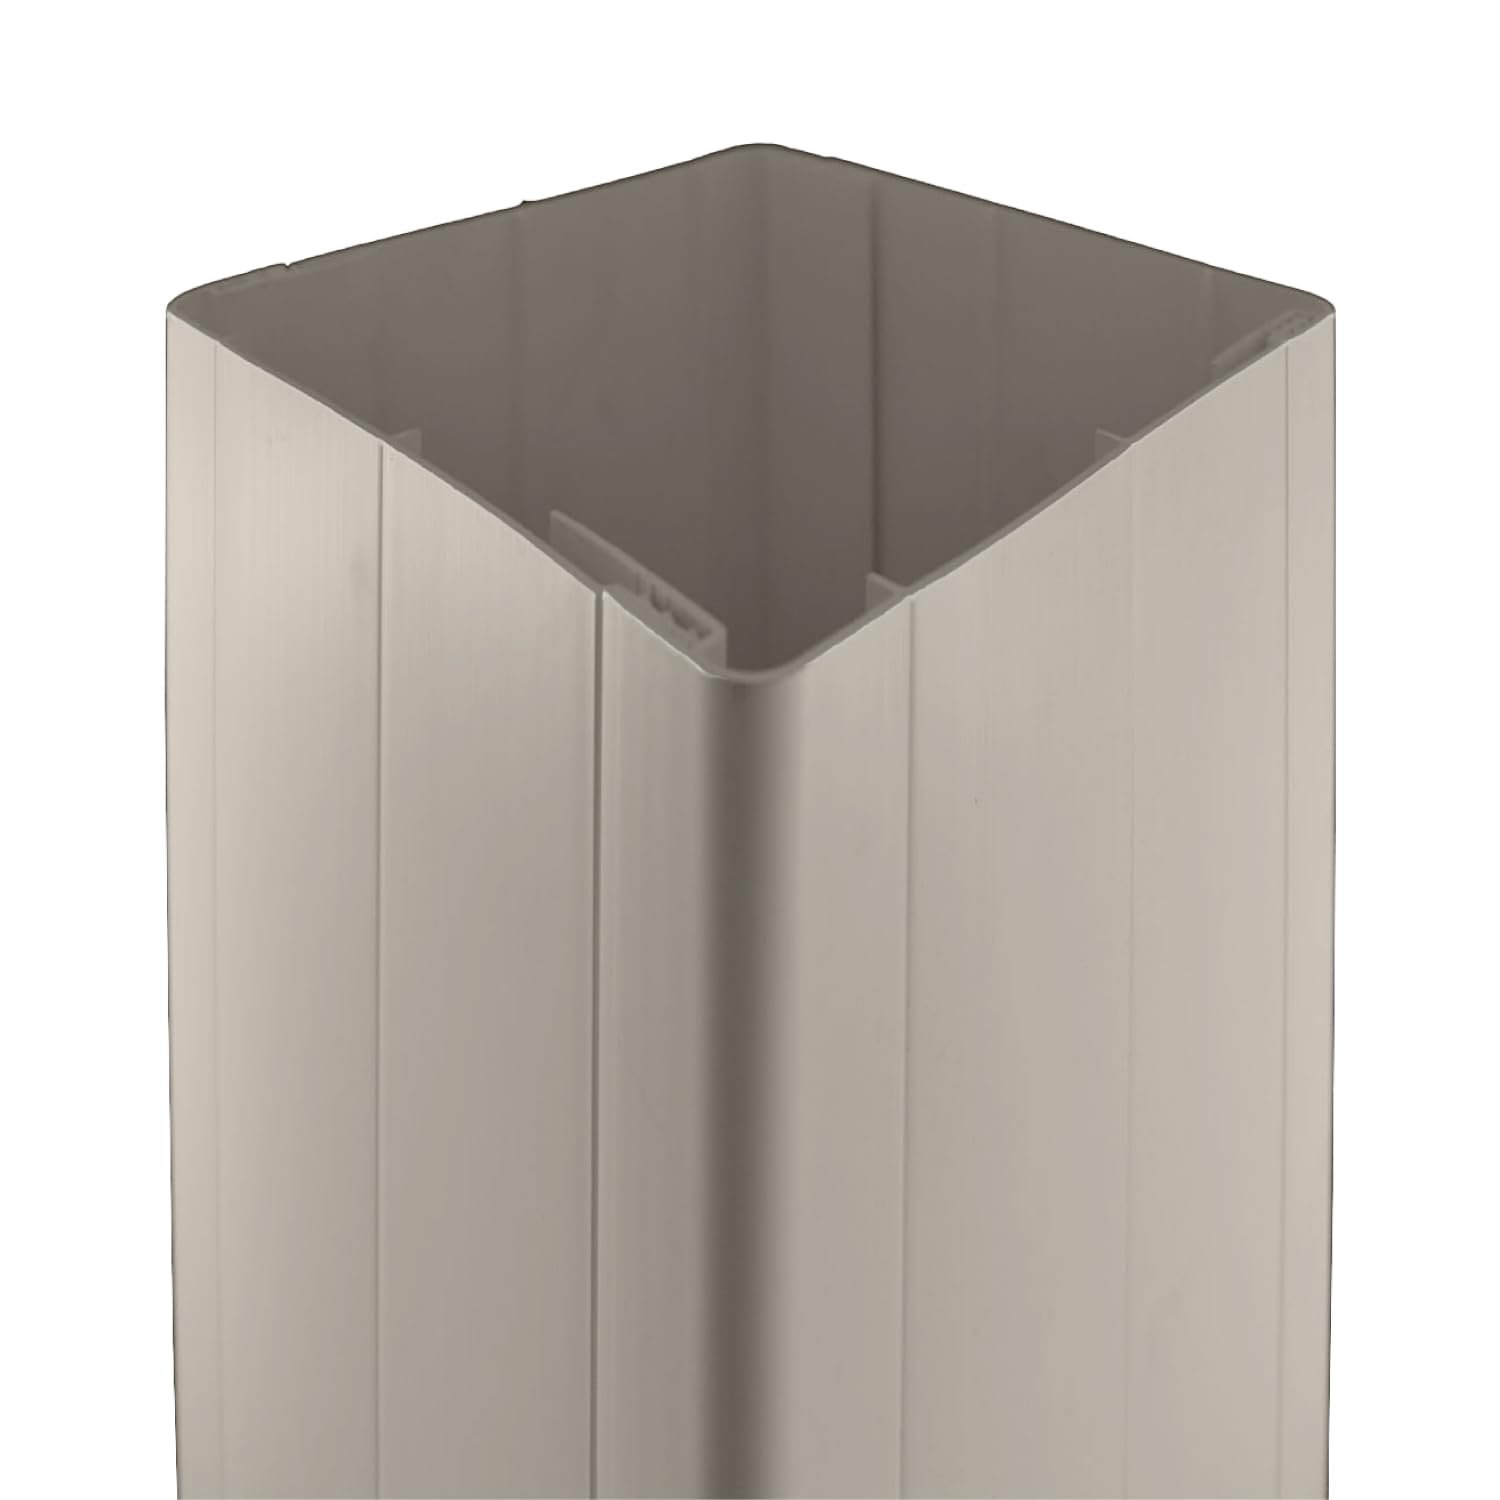
Vinyl-wrapped 4×4 posts bring style and protection to outdoor spaces. Keeping them in top shape extends their life and looks. Simple care steps keep the vinyl clean and damage-free. Follow these maintenance tips to enjoy your posts longer.
Cleaning Guidelines
Use mild soap and water for cleaning vinyl-wrapped posts. Avoid harsh chemicals that can dull or damage the surface. A soft cloth or sponge works best to wipe away dirt and grime. Rinse with clean water after washing to remove soap residue. Clean posts regularly to prevent buildup and stains.
Preventing Damage
Keep sharp objects away from vinyl to avoid scratches or tears. Avoid using abrasive tools or brushes when cleaning. Protect posts from heavy impacts that can dent or crack the vinyl. Check posts for any loose edges and press them back firmly. Cover posts during extreme weather to reduce wear and tear.
Credit: www.amazon.com
Frequently Asked Questions
How Do You Prepare A 4×4 Post For Vinyl Wrapping?
Start by cleaning the post thoroughly and sanding any rough spots. Ensure the surface is dry and smooth before applying vinyl wrap. This preparation ensures strong adhesion and a neat finish.
What Tools Are Needed To Wrap A 4×4 Post In Vinyl?
You need vinyl wrap sheets, a measuring tape, scissors, a utility knife, a squeegee, and adhesive primer. These tools help achieve a precise and smooth vinyl application.
How Long Does It Take To Wrap A 4×4 Post In Vinyl?
Wrapping a 4×4 post typically takes 30 to 60 minutes. The time depends on skill level and surface condition. Proper preparation can speed up the process.
Can Vinyl Wrap Protect A 4×4 Post From Weather Damage?
Yes, vinyl wrap adds a protective layer against moisture, UV rays, and dirt. It helps extend the post’s lifespan and maintain its appearance.
Conclusion
Wrapping a 4×4 post in vinyl protects it from weather damage. It also gives a clean, finished look to your project. The process is simple and requires just a few tools. Take your time to measure and cut vinyl carefully.
Secure it tightly to avoid wrinkles or gaps. This small effort can keep your posts looking new for years. Try this method to improve your outdoor space easily. You will enjoy a neat and durable result every time.