
Are you ready to give your car a fresh, new look with a vinyl wrap? Before you dive in, there’s one crucial step you can’t skip: proper preparation.
How you prep your vehicle will make all the difference between a smooth, flawless finish and a wrap that peels or bubbles too soon. In this guide, you’ll discover simple, effective tips to get your car’s surface perfectly ready. Follow these steps, and you’ll save time, avoid costly mistakes, and achieve a result you’ll be proud to show off.
Keep reading to learn exactly how to prep for vinyl wrap like a pro.
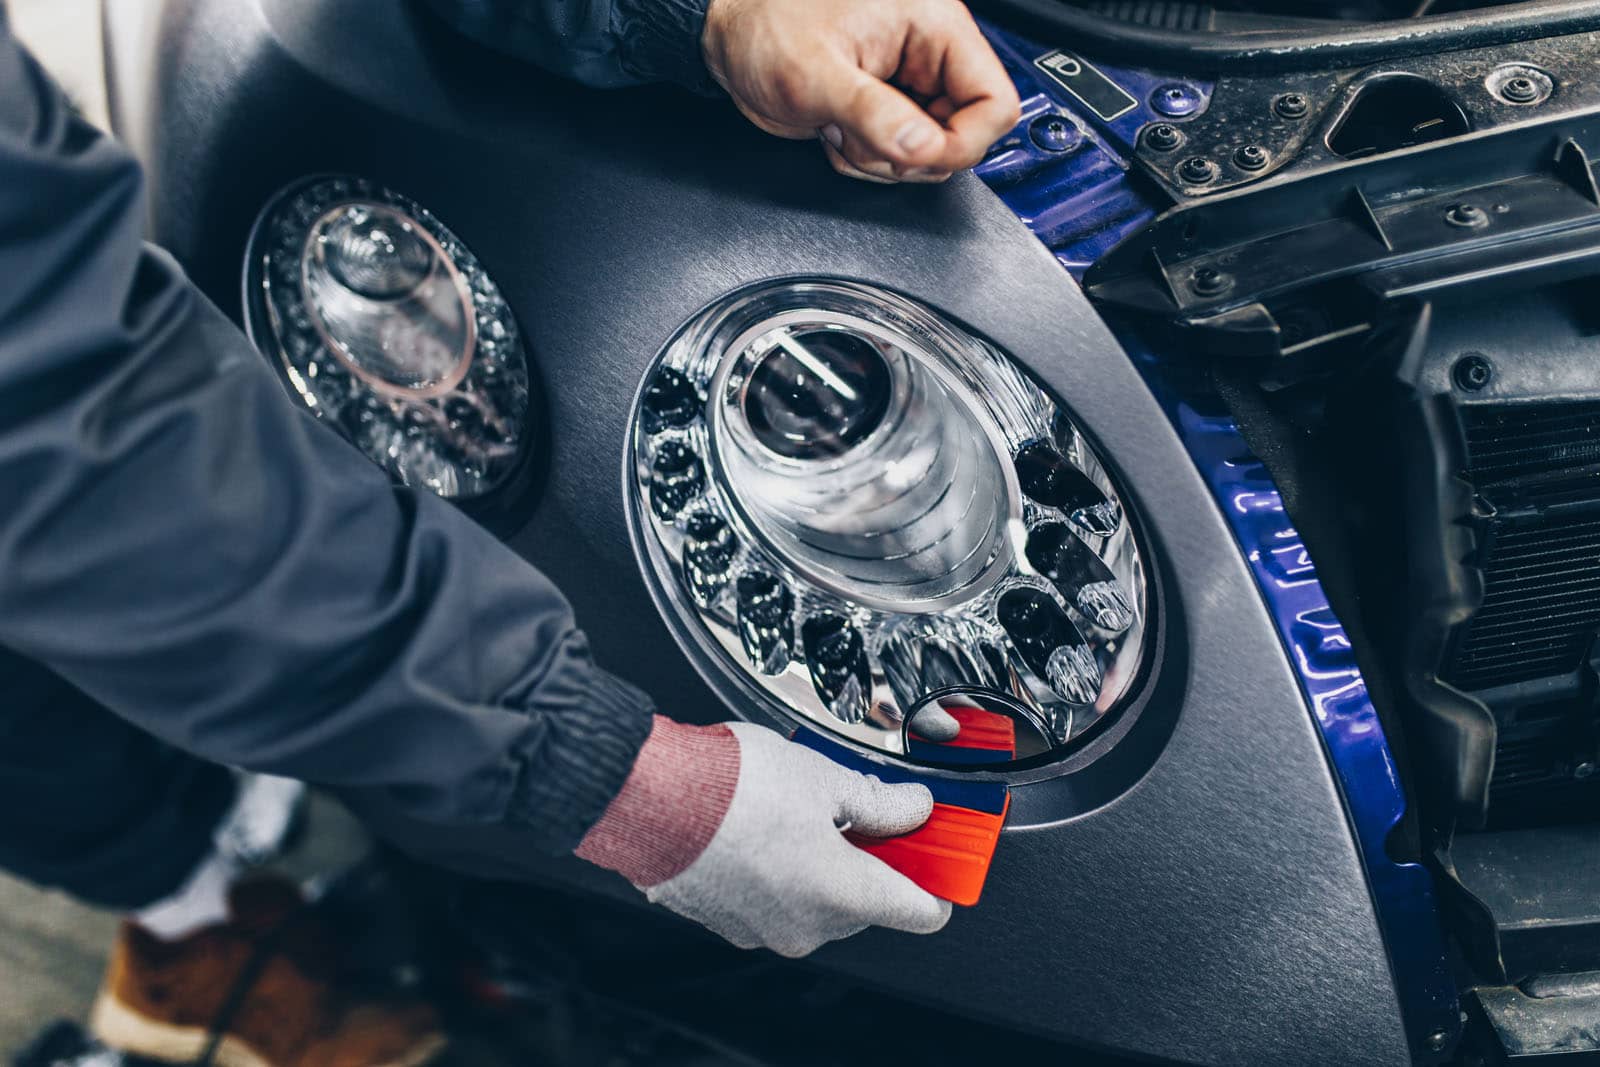
Credit: theartworks.com
Gathering The Right Tools
Gathering the right tools is the first step to a smooth vinyl wrap project. Good tools make the job easier and help you get better results. You need to prepare all supplies before starting. This saves time and reduces mistakes. Having the right items lets you work with confidence and care.
Essential Supplies For Vinyl Wrapping
Start with the basics. A squeegee helps smooth out the vinyl and remove bubbles. Use a sharp utility knife to cut vinyl precisely. Heat guns soften the vinyl, making it easier to wrap around curves. Cleaning supplies like alcohol wipes remove dirt and grease. A measuring tape ensures accurate cuts. Gloves keep fingerprints off the vinyl. A soft cloth helps with final polishing and adjustments.
Choosing Quality Materials
Good quality vinyl lasts longer and looks better. Choose vinyl with strong adhesive for secure sticking. Matte or glossy finishes depend on your style choice. Pick tools that feel sturdy in your hands. Cheap knives or squeegees can damage the vinyl or car paint. Invest in materials that fit your project size and surface type. Quality matters for a clean, professional look.
Cleaning The Surface
Cleaning the surface is a key step before applying a vinyl wrap. Dirt and oils can stop the wrap from sticking well. A clean surface helps the wrap last longer and look smooth. Taking time to prepare properly saves effort later. Focus on removing all dirt and grease.
Removing Dirt And Debris
Start by rinsing the surface with water. Use a soft cloth or sponge to wipe away loose dirt. Avoid harsh brushes that might scratch the paint. For stubborn dirt, use a mild soap or car shampoo. Rinse thoroughly to remove all soap residues. Let the surface dry completely before moving on.
Degreasing For Better Adhesion
Grease and oils block the vinyl from sticking. Use a degreaser or isopropyl alcohol on a clean cloth. Wipe the entire area gently but thoroughly. Change cloths as needed to avoid spreading dirt. Ensure no oily spots remain on the surface. Allow the surface to dry fully before wrapping.
Inspecting And Repairing
Inspecting and repairing your vehicle’s surface is a key step before applying a vinyl wrap. It helps the wrap stick better and last longer. Small problems like scratches and dents must be fixed first. A smooth surface prevents bubbles and wrinkles in the wrap. Take your time to check every part carefully. This effort gives a clean and professional finish.
Fixing Scratches And Dents
Start by cleaning the area to see damage clearly. Use sandpaper or a scratch remover for light scratches. For deeper scratches, fill them with a body filler. Dents need to be pulled out or filled before sanding smooth. Always let the filler dry fully before moving to the next step. Proper fixing makes the surface even and ready for wrapping.
Ensuring A Smooth Base
After repairs, sand the entire surface lightly. This removes rough spots and old paint flakes. Clean the area with a degreaser to remove dust and oils. Avoid any dirt or grease, as they stop vinyl from sticking well. Use a tack cloth to wipe the surface last. A smooth, clean base helps the vinyl wrap stay perfect longer.
Preparing The Environment
Preparing the environment is a crucial step before starting a vinyl wrap project. The right conditions help the vinyl stick well and last longer. A clean, controlled space makes the job easier and reduces mistakes. Focus on temperature, lighting, and cleanliness to create the perfect workspace.
Ideal Temperature And Lighting
Keep the workspace temperature between 60°F and 80°F. Vinyl wraps stick best in this range. Too cold or too hot can cause bubbles or poor adhesion. Use bright, even lighting to see every detail clearly. Natural light or white LED lights work well. Avoid shadows that hide imperfections.
Dust-free Workspace Setup
Dust and dirt can ruin a vinyl wrap. Clean the area thoroughly before starting. Use a vacuum or damp cloth to remove dust. Cover floors and nearby objects to prevent dust from spreading. Work in a closed room with little airflow to stop dust from entering. A clean space helps the vinyl lay smooth and stick better.
Measuring And Cutting
Measuring and cutting are key steps in preparing for a vinyl wrap. These steps help avoid mistakes and save material. Proper measuring ensures the wrap fits perfectly on the surface. Cutting the vinyl correctly avoids wrinkles and bubbles later.
Taking time for careful measuring and cutting makes installation smoother. It also improves the final look of the wrap. Use the right tools and methods for best results.
Accurate Measurements For Wrap Size
Start by measuring the surface carefully. Use a tape measure and note the length and width. Measure twice to ensure accuracy. Add a few extra inches to each side. This extra space helps during application and trimming.
Check curves and edges separately. Measure around corners and handles if needed. Record all measurements on paper. Clear notes prevent confusion during cutting.
Pre-cutting Techniques
Lay the vinyl flat on a clean surface. Use a sharp blade or scissors for cutting. Cut slightly larger than your measurements. This extra margin allows easy adjustment on the vehicle. Avoid cutting too close to the edge.
Make straight cuts for simple shapes. For curves, cut slowly and follow the line carefully. Use a ruler or straight edge for straight cuts. Keep the vinyl clean to avoid dust sticking during handling.
Credit: www.reddit.com
Applying Primer And Tack
Applying primer and tack is a vital step in preparing a surface for vinyl wrap. These products help the vinyl stick better and last longer. Proper use of primer and tack prevents peeling and bubbles. This section explains when to use primer and how tack improves adhesion.
When To Use Primer
Primer is useful on surfaces that are smooth, glossy, or hard to stick to. It creates a slightly rough layer for the vinyl to grip. Use primer on plastic trims, metal parts, or painted areas that feel slick. Applying primer helps the vinyl stay in place during heat and weather changes. Avoid using primer on dirty or oily surfaces; clean them first.
Enhancing Adhesion With Tack
Tack is a sticky substance applied before the vinyl wrap. It increases the grip between the surface and the vinyl. Tack is helpful on surfaces that are dusty or slightly textured. It also works well on corners and edges where vinyl can lift easily. Use a thin, even layer of tack to avoid lumps. This step makes the vinyl wrap smoother and more secure.
Planning The Wrap Layout
Planning the wrap layout is a key step before starting the vinyl wrap process. It helps avoid mistakes and saves time. A clear plan makes the wrap look professional and neat. This step requires careful thought about how the vinyl will cover the vehicle’s surface. Understanding the shape and size of each part is important for a smooth finish.
Mapping Out Sections
Divide the vehicle into sections for easier wrapping. Each part should fit the vinyl size available. Mark the edges where one section ends and another begins. This prevents overlapping and bubbles during application. Mapping sections helps handle curves and corners better. Prepare each section separately for better control.
Aligning Patterns And Seams
Check the vinyl pattern before cutting. Make sure the design lines up across sections. Align seams to avoid visible breaks in the pattern. Plan seams along less visible areas like edges or curves. Proper seam alignment gives a clean, seamless look. Take time to measure and adjust patterns carefully.
Final Surface Check
The final surface check is a crucial step before applying a vinyl wrap. This step ensures the surface is perfectly clean and ready. Any dust or moisture can cause bubbles or peeling later.
Take your time with this final check. It helps the vinyl stick well and look smooth. Skip this step, and the wrap may not last long.
Removing Last-minute Dust
Use a soft cloth or microfiber towel to wipe the surface. Gently remove any dust or dirt left behind. Even tiny particles can cause bumps under the vinyl.
Spray a little water or cleaning solution to catch dust. Wipe again until the surface feels smooth and clean. Avoid using rough cloths that might scratch the surface.
Ensuring Surface Dryness
Check that the surface is fully dry before wrapping. Moisture can stop the vinyl from sticking properly. Use a dry cloth to absorb any water spots.
Let the surface air dry for a few minutes if needed. A dry surface gives the best grip for the vinyl wrap. Confirm no wet patches remain to avoid bubbling later.
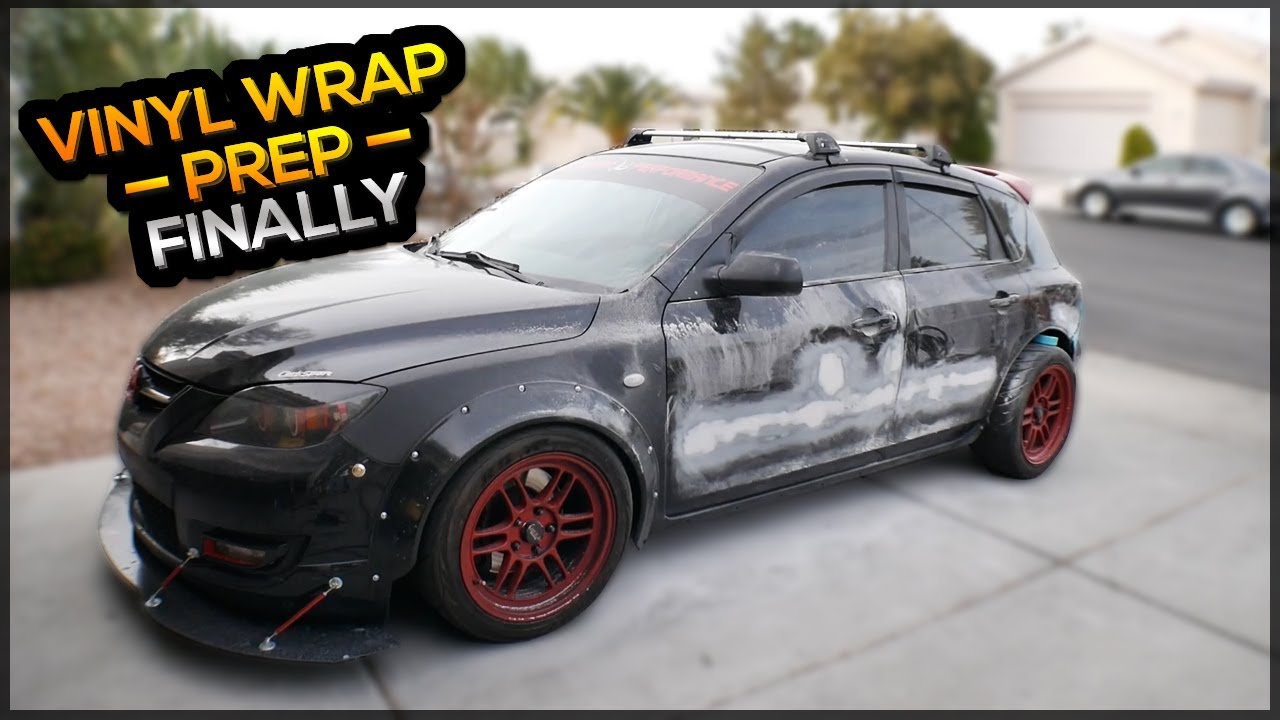
Credit: www.youtube.com
Frequently Asked Questions
What Surface Preparation Is Needed For Vinyl Wrap?
Clean the surface thoroughly to remove dirt, grease, and wax. Use isopropyl alcohol for best results. Ensure the surface is dry and smooth before applying the vinyl wrap.
How Do I Remove Old Paint Or Decals Before Wrapping?
Use a heat gun or adhesive remover to soften old paint or decals. Gently scrape them off without damaging the surface. Clean the area afterward to ensure proper vinyl adhesion.
Why Is Temperature Important When Applying Vinyl Wrap?
Ideal temperature ranges between 60°F and 80°F. Too cold, and vinyl becomes stiff; too hot, and it may stretch or bubble. Proper temperature ensures easier application and better adhesion.
Can I Wrap Over Scratches Or Dents?
Minor scratches can be covered, but dents should be repaired first. Wrapping over dents may cause uneven surfaces and visible imperfections. For best results, smooth surfaces are recommended.
Conclusion
Preparing your surface well makes a big difference for vinyl wrap. Clean and dry it carefully to avoid bubbles and wrinkles. Small repairs help the wrap stick better and last longer. Taking time now saves you from problems later. A smooth, clean surface ensures a neat, professional look.
Follow these steps to get the best results every time. Your patience pays off with a vinyl wrap that looks great and stays strong. Easy steps lead to great finishes.


