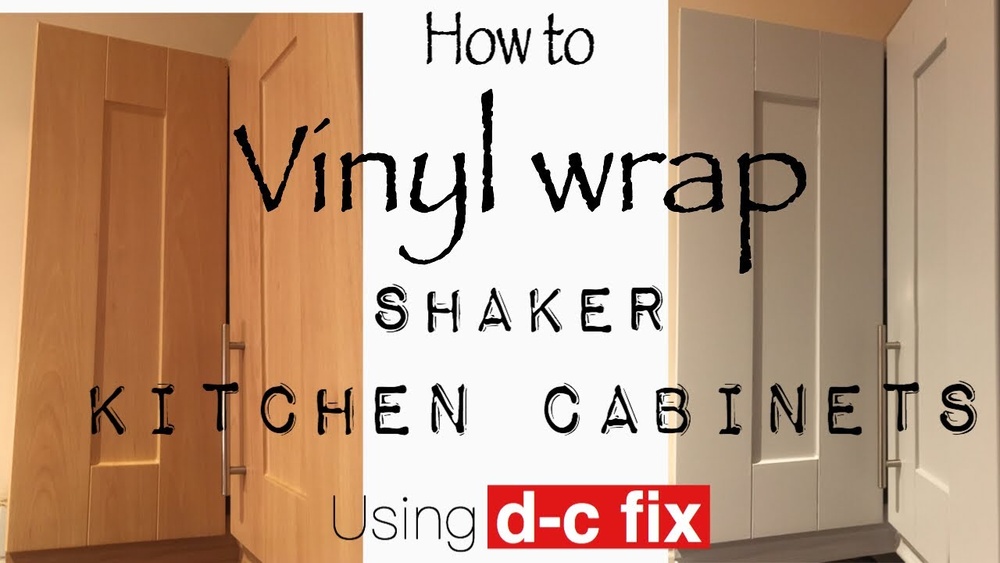
Are your kitchen doors looking tired or outdated? What if you could give them a fresh, stylish look without spending a fortune or hiring a pro?
Vinyl wrapping your kitchen doors is a simple, affordable way to transform your space quickly. In this guide, you’ll discover easy steps to make your kitchen doors look brand new. Ready to learn how you can take control and upgrade your kitchen with a sleek vinyl wrap?
Keep reading, because your dream kitchen makeover starts here.
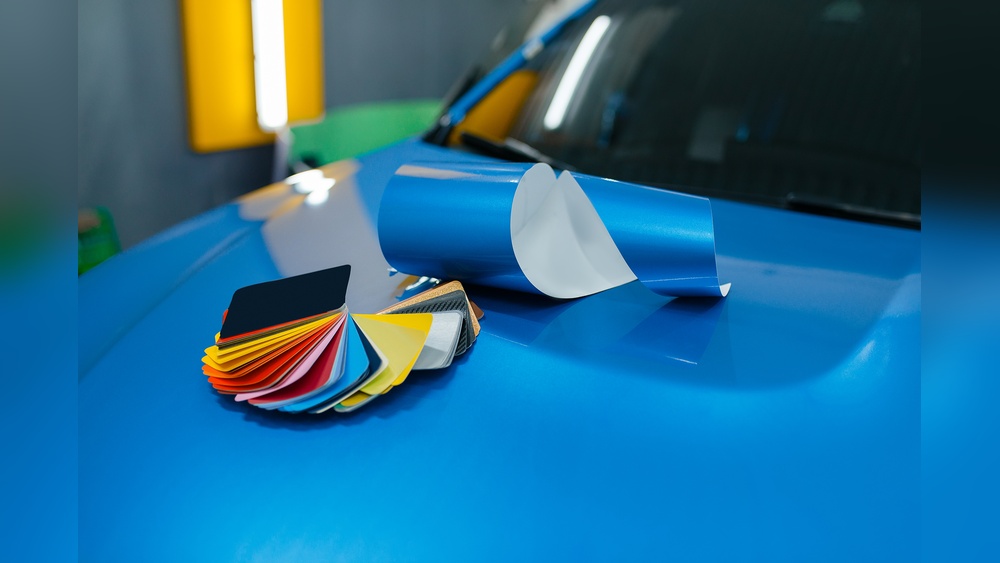
Choosing The Right Vinyl Wrap
Choosing the right vinyl wrap is key to a successful kitchen door makeover. It affects the look, feel, and durability of your doors. Picking the perfect wrap means thinking about style, function, and size. These factors help your kitchen look fresh and last longer.
Types Of Vinyl Wraps
Vinyl wraps come in many types. There are glossy wraps that shine and reflect light. Matte wraps offer a smooth, soft look without shine. Textured wraps mimic materials like wood or metal. Each type changes the kitchen’s feel and style. Choose a type that fits your kitchen’s mood and your needs.
Selecting Colors And Patterns
Colors and patterns set the kitchen’s tone. Light colors make spaces feel bigger and brighter. Dark colors add a modern, bold touch. Patterns can be simple or detailed. Stripes, wood grain, and marble are popular choices. Pick colors and patterns that match your kitchen’s walls and floors. This creates harmony and style.
Measuring Your Kitchen Doors
Accurate measurements ensure the vinyl wrap fits well. Measure each door’s height and width carefully. Write down the numbers for each door. Add extra inches to cover edges and mistakes. Double-check your measurements before buying vinyl. Proper sizing helps avoid waste and extra costs.
Credit: www.reddit.com
Preparing Kitchen Doors
Preparing kitchen doors is the first step to a smooth vinyl wrap project. Proper preparation ensures the vinyl sticks well and lasts longer. It involves removing doors and hardware, cleaning and sanding surfaces, and fixing any imperfections. Each step matters for a professional finish.
Removing Doors And Hardware
Start by taking off the kitchen doors from their hinges. Use a screwdriver to remove screws carefully. Take off all handles, knobs, and other hardware. Removing these parts makes wrapping easier and prevents damage. Place screws and hardware in a safe container to avoid losing them.
Cleaning And Sanding Surfaces
Clean the doors thoroughly using a mild soap and water solution. Remove all dirt, grease, and dust. Dry the doors completely before the next step. Lightly sand the surface with fine-grit sandpaper. Sanding creates a rough texture for better vinyl adhesion. Wipe off sanding dust with a clean cloth.
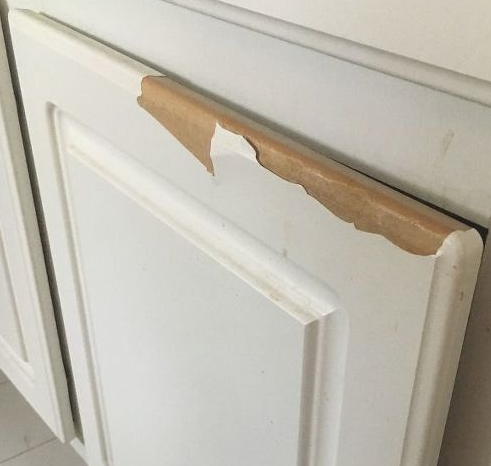
Fixing Imperfections
Check the doors for dents, scratches, or holes. Use wood filler to repair any damage. Apply the filler evenly and let it dry fully. Sand the repaired areas smooth to match the door surface. Clean off any dust before applying vinyl wrap. Smooth surfaces help the vinyl look flawless.
Cutting And Applying Vinyl
Cutting and applying vinyl to kitchen doors takes patience and care. This step sets the base for a smooth, professional look. You need to work slowly and precisely to avoid mistakes. Follow clear steps for best results.
Cutting Vinyl To Size
Measure each kitchen door carefully before cutting. Add a small extra margin to the vinyl for trimming later. Use a sharp knife or scissors to cut the vinyl cleanly. Straight edges help the vinyl fit well on the door.
Positioning The Vinyl
Peel off a small corner of the backing paper first. Align the vinyl with the top edge of the door. Slowly peel the backing while pressing the vinyl onto the surface. Adjust the position gently to avoid wrinkles or folds.
Smoothing Out Air Bubbles
Use a flat tool like a squeegee or credit card. Start from the center and push air bubbles outward. Apply even pressure to ensure the vinyl sticks well. Work patiently to remove all trapped air for a smooth finish.
Credit: www.wesprayupvc.co.uk
Trimming And Finishing Touches
Trimming and finishing touches are key steps in vinyl wrapping kitchen doors. They give your project a neat, professional look. Careful trimming prevents loose edges and bubbling. Finishing touches seal the vinyl and protect it from damage. These steps ensure your kitchen doors look smooth and last longer.
Trimming Excess Vinyl
Start by using a sharp utility knife. Cut close to the door edges, but do not cut the wood. Hold the knife steady and follow the door shape. Trim slowly to avoid tearing the vinyl. Remove small bits of vinyl around corners carefully. Smooth out the edges with your fingers after trimming.
Sealing Edges
Use a heat gun or hair dryer to warm the vinyl edges. Warm edges stick better and form a tight seal. Press the vinyl edges firmly with a plastic scraper or cloth. This prevents lifting and peeling over time. Check all edges for any gaps or bubbles. Fix them immediately to keep the wrap smooth.
Reattaching Hardware And Doors
Put back door handles and knobs gently. Use the original screws to avoid damage. Check that all parts fit well and work properly. Hang the doors carefully on their hinges. Test each door to ensure it opens and closes smoothly. Your vinyl wrap is now complete and ready to impress.
Maintenance Tips
Maintaining vinyl-wrapped kitchen doors keeps them looking fresh and new. Simple care helps protect the vinyl and extends its life. Follow these tips for easy and effective maintenance.
Cleaning Wrapped Doors
Use a soft cloth and warm water to clean the doors. Avoid harsh chemicals or abrasive materials that can damage the vinyl. Light soap works well for removing grease and dirt. Wipe gently and dry with a clean towel to prevent water spots.
Avoiding Damage
Keep sharp objects away from the vinyl surface. Avoid excessive heat near the doors to prevent peeling or warping. Be careful when using kitchen tools around the doors. Prevent scratches by handling doors with care during daily use.
Repairing Small Tears
Small tears can be fixed with vinyl repair kits from stores. Clean the damaged area before applying the adhesive. Press the vinyl back firmly and smooth out air bubbles. For best results, follow the kit instructions carefully. Quick repair stops damage from getting worse.

Credit: www.youtube.com
Frequently Asked Questions
What Materials Do I Need To Vinyl Wrap Kitchen Doors?
You need vinyl wrap sheets, a heat gun, squeegee, utility knife, cleaning supplies, and measuring tape. Clean doors thoroughly before starting for better adhesion.
How Long Does Vinyl Wrapping Kitchen Doors Take?
Vinyl wrapping kitchen doors typically takes 2 to 4 hours depending on door size and experience. Patience ensures a smooth, bubble-free finish.
Can I Vinyl Wrap Kitchen Doors Myself?
Yes, vinyl wrapping kitchen doors is a DIY-friendly project. Follow instructions carefully and use proper tools for best results.
How To Prepare Kitchen Doors Before Vinyl Wrapping?
Clean doors with mild detergent and remove dirt, grease, and old paint. Sand rough spots lightly for smooth adhesion.
Conclusion
Vinyl wrapping kitchen doors can refresh your space quickly. It saves money compared to full replacement. The process is simple with the right tools and care. Clean the doors well and apply the vinyl slowly. Take your time to avoid air bubbles.
Small wrinkles can be smoothed out easily. This method lets you change colors or styles anytime. A fresh look makes your kitchen feel new again. Try it yourself and enjoy the transformation.