
Thinking about giving your car a fresh new look with a vinyl wrap? You might be wondering, “How hard is it to vinyl wrap a car?” You’re not alone.
Many car owners ask this question before deciding to take on the project themselves or hire a pro. Wrapping your car can transform its appearance without the cost of a new paint job. But it also comes with challenges that could make or break the final result.
You’ll discover what makes vinyl wrapping tricky, what skills you need, and how to avoid common mistakes. By the end, you’ll know if this is a task you can handle or if it’s better to call in an expert. Ready to find out? Let’s dive in!
Preparing The Car Surface
Preparing the car surface is a crucial step before applying a vinyl wrap. It affects how well the wrap sticks and how smooth the finish looks. Skipping or rushing this step can cause bubbles, peeling, or uneven surfaces. Proper preparation helps the wrap last longer and look professional.
Cleaning And Degreasing
Clean the car thoroughly. Dirt and grease stop the wrap from sticking properly. Use soap and water to wash the surface first. Then, apply a degreaser or isopropyl alcohol. Wipe the car with a clean cloth to remove any oils or residue. A spotless surface ensures better adhesion.
Removing Old Wraps And Decals
Old vinyl wraps or decals must come off completely. Leftover edges can cause bumps under the new wrap. Peel the old wrap slowly to avoid damaging the paint. Use heat from a hair dryer to soften the adhesive. Clean any sticky residue with adhesive remover or alcohol.
Repairing Surface Imperfections
Check the car for scratches, dents, or rust spots. These flaws show under the vinyl wrap. Fill small dents with body filler and sand smooth. Sand rough paint or rust spots to create a flat surface. A smooth surface helps the wrap look even and last longer.

Credit: www.turtlewax.com
Choosing The Right Vinyl
Choosing the right vinyl is a key step in wrapping your car. The vinyl type affects how easy the wrap is to apply. It also impacts how the car looks and how long the wrap lasts. Picking the correct vinyl helps avoid problems during installation and keeps the car safe.
Types Of Vinyl Materials
There are several vinyl types for car wraps. Cast vinyl is thin and flexible. It molds well to curves and lasts long. Calendered vinyl is thicker and less flexible. It works best on flat surfaces and costs less. For beginners, cast vinyl is easier to use. It handles heat and stretching better during installation.
Color And Finish Options
Vinyl comes in many colors and finishes. Glossy finishes look shiny and smooth. Matte finishes give a flat, non-shiny look. Satin finishes are between glossy and matte. Some vinyl has textures, like carbon fiber or brushed metal. Choose a color and finish that matches your style. Think about how the car will look in sunlight and rain.
Tools And Accessories Needed
Using the right tools makes wrapping easier. A squeegee helps smooth out air bubbles. A heat gun softens vinyl for curves. A sharp knife trims extra vinyl cleanly. Clean cloths keep the car surface dust-free. Tape helps hold vinyl in place before sticking. Having these tools ready saves time and reduces mistakes.
Measuring And Cutting Vinyl
Measuring and cutting vinyl are key steps in wrapping a car. They affect the final look and fit of the wrap. Careful work here saves time and material. Mistakes can cause waste and poor results. Precision and patience help achieve a smooth, clean finish.
Accurate Measurements
Start by cleaning the car surface. Measure each panel carefully. Use a tape measure for length and width. Add a few extra inches to each measurement. This extra space helps during application. Mark measurements clearly on the vinyl backing. Double-check all numbers before cutting.
Cutting Techniques
Use a sharp utility knife or vinyl cutter. Cut on a flat, clean surface for better control. Avoid jagged or rough edges. Cut slowly to follow the markings exactly. Keep the blade sharp to prevent tearing. Trim excess vinyl after applying to the car.
Handling Complex Curves
Curves and edges need special care. Measure curves in small sections. Cut vinyl slightly larger than the shape. Use heat to soften vinyl for easier stretching. Stretch gently to avoid bubbles or wrinkles. Use a squeegee to smooth the vinyl on curves.
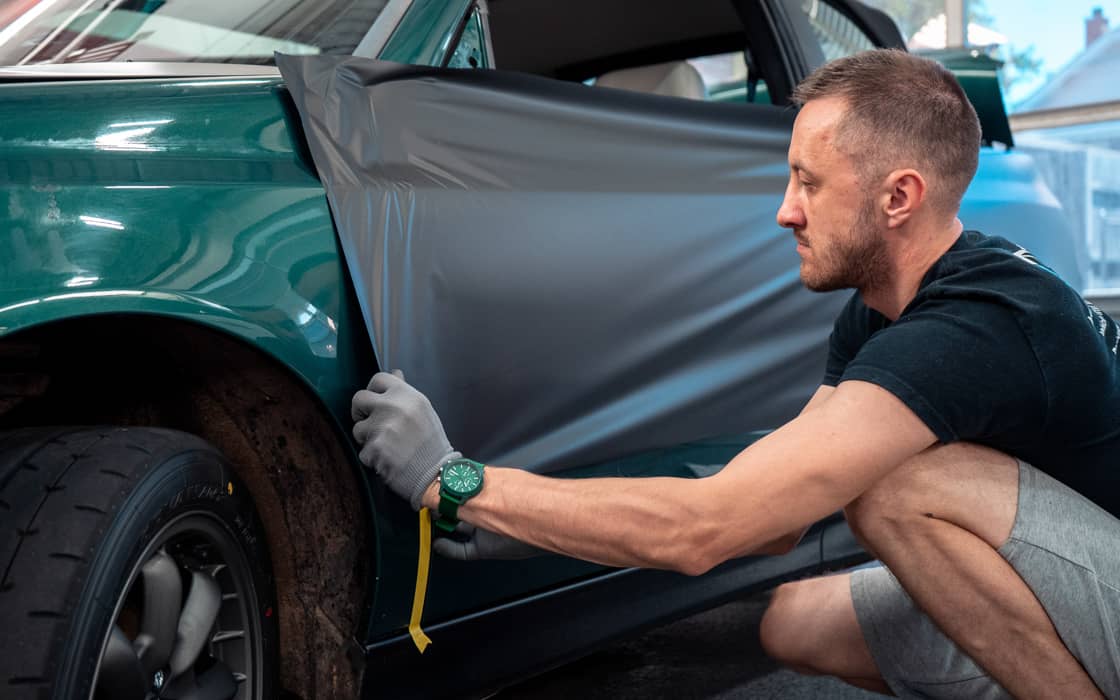
Applying The Vinyl Wrap
Applying the vinyl wrap is a careful process. It requires patience and attention to detail. This step ensures the wrap fits perfectly and looks smooth on the car’s surface. Each move affects the final look and durability. Following the right steps makes the job easier and the results better.
Positioning And Alignment
Start by placing the vinyl wrap on the car. Align it carefully to cover the area fully. Check edges and corners to avoid gaps. Use magnets or tape to hold the wrap temporarily. This helps adjust the position without sticking it permanently. Take your time here. Proper alignment saves time fixing mistakes later.
Using Heat For Flexibility
Heat softens the vinyl, making it easier to work with. Use a heat gun or a warm cloth. Gently warm the wrap while applying it to curves and edges. The heat helps the vinyl stretch and bend without tearing. Avoid overheating, which can damage the material. Warm vinyl sticks better and looks smoother.
Smoothing And Stretching
Use a squeegee to smooth out air bubbles and wrinkles. Work from the center outward to push air out. Stretch the vinyl gently over curves for a tight fit. Pulling too hard can stretch the wrap unevenly or cause tears. Take small steps, smoothing as you go. This step creates a clean, professional finish.
Dealing With Common Challenges
Vinyl wrapping a car can be tricky. Many beginners face common problems that make the job harder. These issues can affect the final look of the wrap. Knowing how to handle these challenges can save time and effort. The following tips focus on three main problems: air bubbles, wrinkles, and edges.
Avoiding Air Bubbles
Air bubbles form when air gets trapped under the vinyl. They cause bumps and uneven surfaces. To avoid bubbles, start by cleaning the car surface well. Use a squeegee to press the vinyl down slowly. Work from the center toward the edges. If bubbles appear, use a pin to gently release the air. Press the vinyl flat again to smooth the area.
Preventing Wrinkles
Wrinkles happen when the vinyl stretches too much or folds. They spoil the smooth finish of the wrap. Use heat from a heat gun to make the vinyl soft and flexible. Stretch the vinyl carefully over curved areas. Pull gently, not too hard. Move slowly and keep checking for folds. Smooth wrinkles with a squeegee while the vinyl is warm.
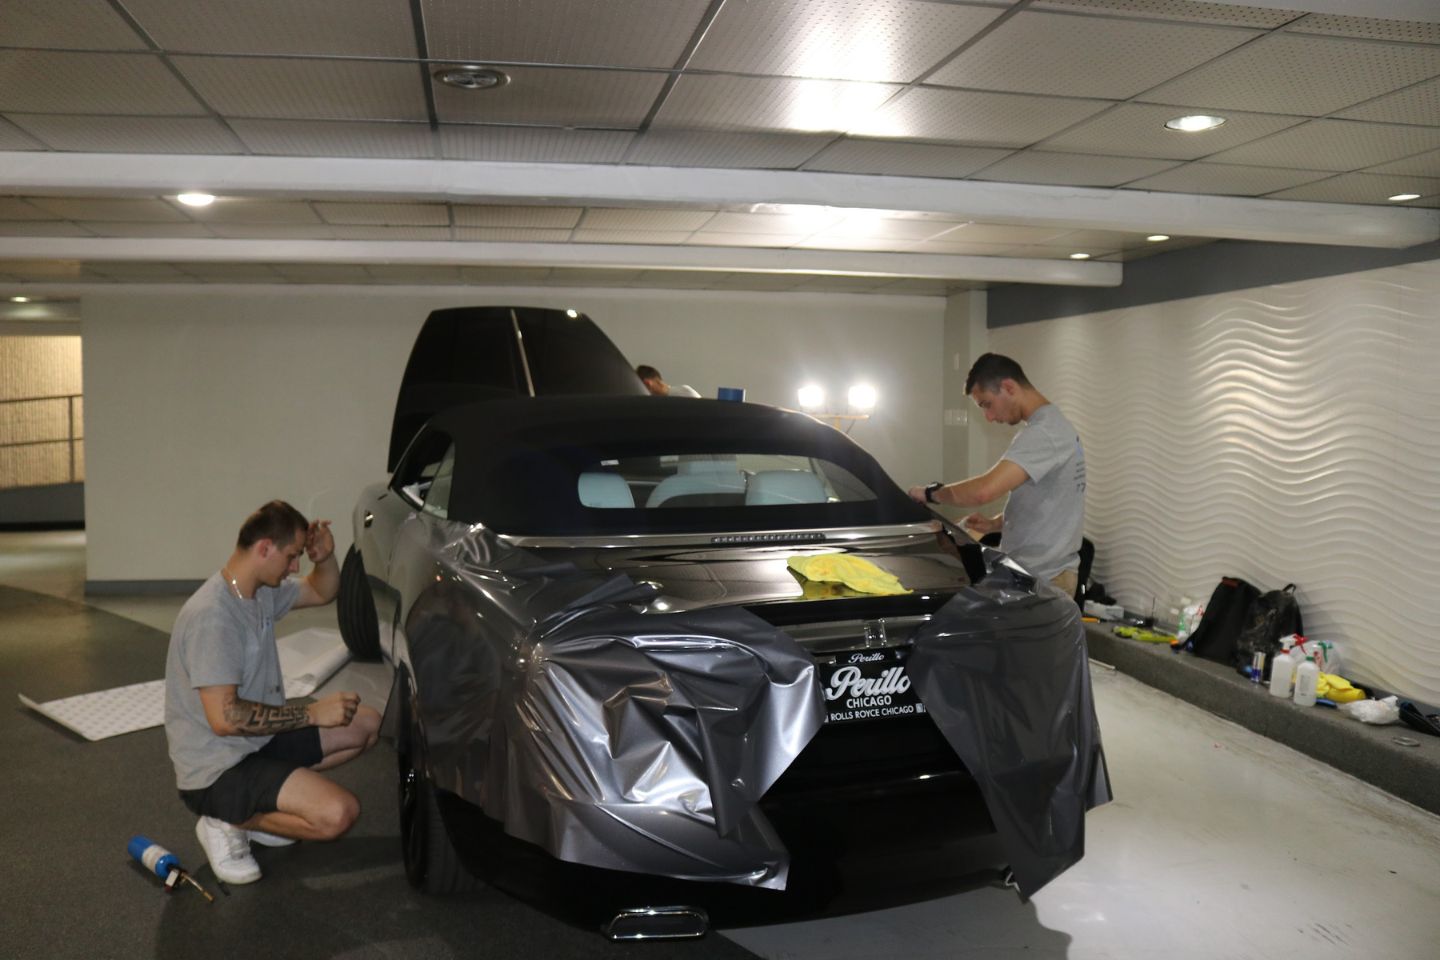
Handling Edges And Seams
Edges and seams are tricky spots to wrap perfectly. The vinyl can lift or peel if not done right. Wrap the vinyl over edges with enough overlap. Use a heat gun to soften the vinyl around curves and corners. Press the vinyl firmly with a squeegee to stick it well. Trim excess vinyl carefully to avoid gaps or loose ends.
Credit: www.tintingchicago.com
Finishing Touches
Finishing touches are the last and most important steps in vinyl wrapping a car. They ensure the wrap looks smooth and lasts a long time. Small details make a big difference in the final look and protection of the wrap.
Trimming Excess Vinyl
Careful trimming is key to a clean finish. Use a sharp blade to cut away extra vinyl. Cut close to edges, but avoid cutting into the paint. Take your time around curves and corners. Smooth edges prevent peeling and create a neat look.
Sealing And Protecting
Seal all edges to stop dirt and water from getting under the wrap. Use heat to gently press edges down. Apply edge sealant for extra protection. This step helps the wrap stay tight and look fresh for months.
Curing And Maintenance Tips
Let the wrap cure for at least 24 hours before washing. Avoid high-pressure water near edges during the first week. Clean with mild soap and soft cloths only. Keep your car in shade to protect the wrap from sun damage. Regular care keeps the wrap strong and attractive.
Credit: www.tintingchicago.com
Frequently Asked Questions
How Difficult Is It To Vinyl Wrap A Car Yourself?
Vinyl wrapping a car yourself requires patience, skill, and proper tools. It can be challenging for beginners but doable with practice and guidance. Complex curves and large surfaces increase difficulty. Professional results need careful surface prep, precise cutting, and steady application to avoid bubbles and wrinkles.
What Tools Do I Need For Vinyl Car Wrapping?
Essential tools include a heat gun, squeegee, utility knife, and surface cleaner. A microfiber cloth helps remove dust. Gloves protect the vinyl from fingerprints. Using the right tools ensures smooth application and reduces mistakes, making the wrapping process easier and more efficient.
How Long Does It Take To Vinyl Wrap A Car?
Vinyl wrapping a car typically takes 1 to 3 days. Time varies by vehicle size, complexity, and skill level. Thorough surface preparation and careful application add to the duration but improve the final look and durability of the wrap.
Can Vinyl Wraps Damage My Car’s Paint?
Vinyl wraps generally do not damage paint if applied and removed properly. They protect paint from scratches and UV rays. However, poor-quality vinyl or improper removal can cause paint peeling or damage, especially on older or weak paint surfaces.
Conclusion
Vinyl wrapping a car takes time and patience. It is not very easy but not too hard either. You need steady hands and some practice. Small mistakes can be fixed with care. Using the right tools makes a big difference.
Watching tutorials helps a lot before starting. The final look can be very rewarding. Anyone willing to try can learn step by step. Just remember to work slowly and carefully. The effort you put in shows in the end result.


