Are you looking to give your car, laptop, or even furniture a fresh new look without spending a fortune? Applying a vinyl wrap might be the perfect solution for you.
But maybe you’re worried it’s too tricky or time-consuming. The good news is, with the right steps and a little patience, you can achieve a smooth, professional finish all by yourself. In this guide, you’ll discover exactly how to apply a vinyl wrap, avoid common mistakes, and get results that will make you proud.
Ready to transform your space or ride with a sleek new style? Let’s dive in.
Preparing Your Vehicle
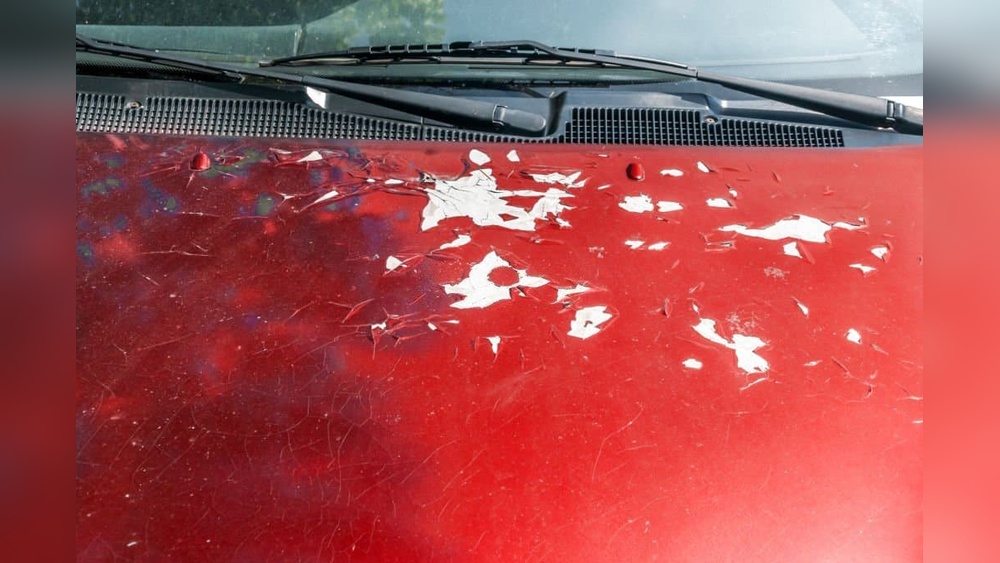
Preparing your vehicle is the first step in applying a vinyl wrap. This step ensures the wrap sticks well and looks smooth. Taking time here saves you from problems later. Clean and clear surfaces make the wrap last longer and look better.
Cleaning And Degreasing
Start by washing the vehicle with soap and water. Remove dirt, dust, and grime from every part. After washing, use a degreaser to clear oils and wax. Oils can stop the vinyl from sticking properly. Use a clean cloth to wipe the surface dry.
Removing Obstacles And Trims
Take off any parts that block the wrap. Remove trims, badges, and antennas carefully. These parts can cause bumps under the vinyl. Removing them helps the wrap fit tightly and look smooth. Keep small parts safe for reassembly later.
Choosing The Right Environment
Pick a clean, dry place to apply the wrap. Avoid dusty or windy areas that bring dirt. Make sure the temperature is between 60 and 80 degrees Fahrenheit. Extreme heat or cold affects the vinyl’s stickiness and flexibility. Good lighting helps you see bubbles or wrinkles easily.
Credit: www.youtube.com
Selecting Vinyl Wrap Materials
Selecting the right vinyl wrap materials is key to a smooth application. The quality and type of vinyl affect the look and durability of the wrap. Choosing materials that fit your project helps avoid common problems. Understanding the types of vinyl wraps and the tools needed makes the process easier.
Types Of Vinyl Wraps
There are several types of vinyl wraps to choose from. Cast vinyl is thin and flexible. It molds well to curves and lasts longer. Calendered vinyl is thicker and less flexible. It works best on flat surfaces. Glossy vinyl gives a shiny finish. Matte vinyl offers a flat, non-reflective look. Satin vinyl provides a soft sheen. Metallic and chrome vinyls add special effects. Pick the type that matches your style and surface.
Tools And Accessories Needed
Having the right tools helps apply vinyl smoothly. A squeegee removes air bubbles and smooths the wrap. A heat gun softens the vinyl for curves and edges. A sharp utility knife cuts clean lines. Cleaning supplies remove dirt and grease from surfaces. Gloves keep fingerprints off the vinyl. Measuring tape and masking tape help with alignment. Use these tools for a neat and lasting wrap.
Measuring And Cutting Vinyl
Measuring and cutting vinyl wrap are key steps for a smooth application. Precise measurements prevent waste and ensure a perfect fit. Cutting the vinyl correctly avoids wrinkles and bubbles during installation. Take your time with these steps for the best results.
Accurate Measurement Techniques
Use a tape measure or ruler for exact dimensions. Measure the surface twice to confirm accuracy. Note curves or edges that need extra vinyl. Add a few inches to your measurements. This extra material helps with adjustments during application.
Cutting Strategies For Precision
Use a sharp utility knife or vinyl cutter. Cut on a flat, clean surface to avoid mistakes. Follow your measurements carefully, using a straight edge as a guide. Cut slowly to keep lines straight and smooth. Avoid cutting too close to the edge. Leave a small margin for trimming later.
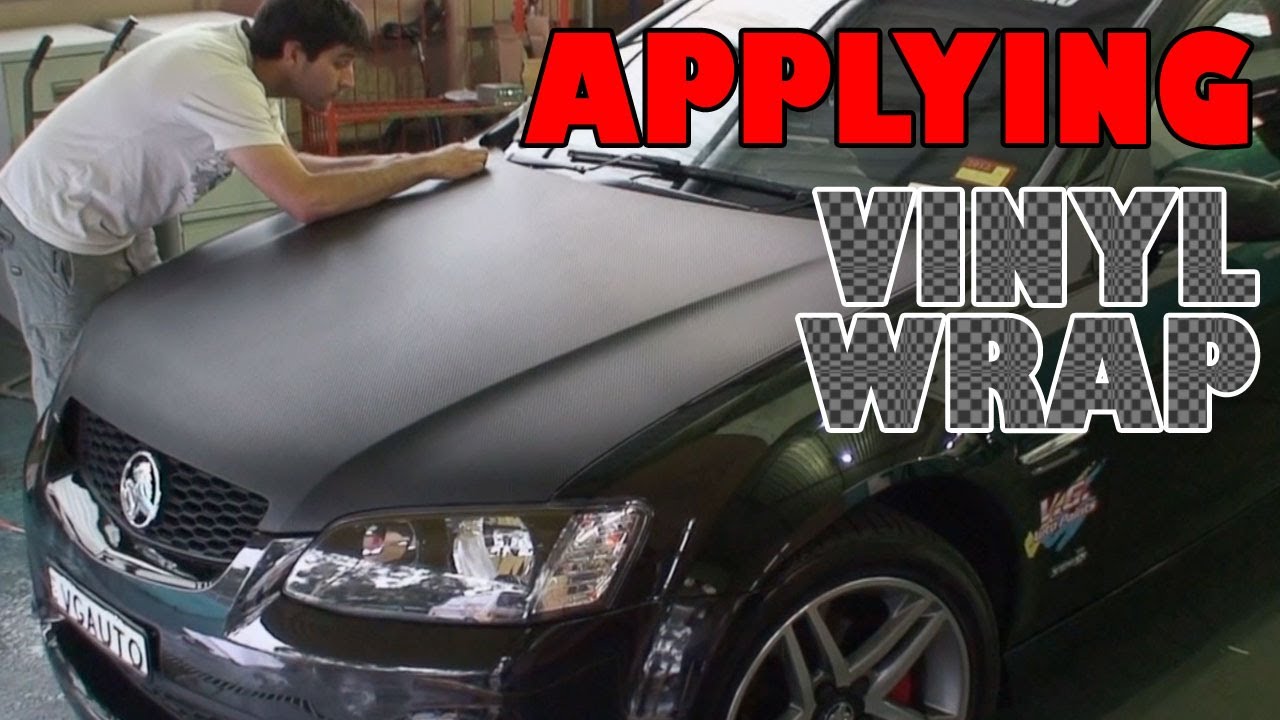
Applying The Vinyl Wrap
Applying the vinyl wrap is the most important step in the wrapping process. It requires patience and careful attention to detail. A smooth and clean surface helps the vinyl stick better. Take your time to position the wrap correctly before sticking it down. Small mistakes can cause wrinkles or bubbles.
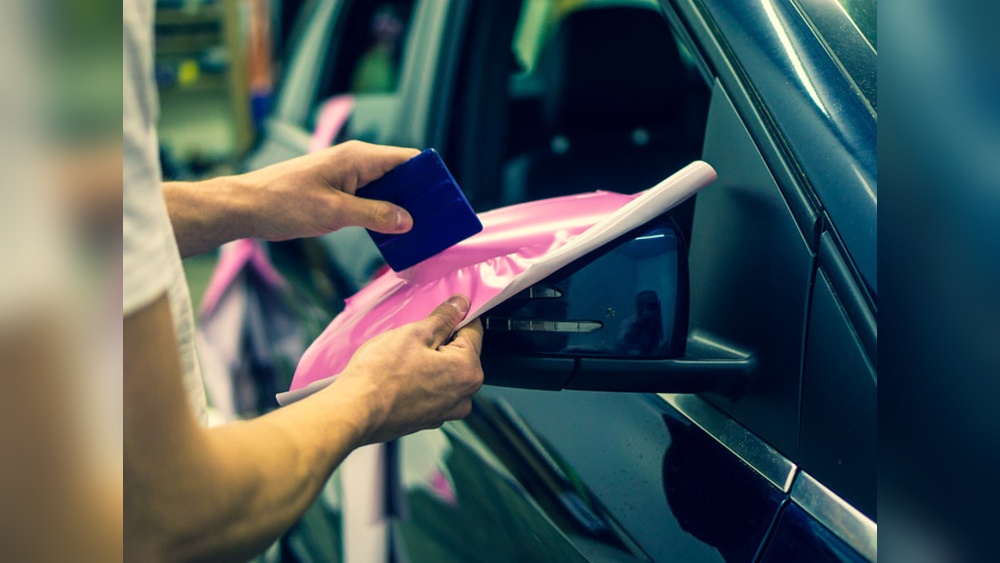
Positioning And Aligning
Start by peeling off a small part of the vinyl backing. Place the vinyl on the surface lightly. Check the alignment with edges and curves. Use magnets or tape to hold the vinyl in place. Adjust it as needed to avoid mistakes. Make sure the vinyl covers the entire area without stretching.
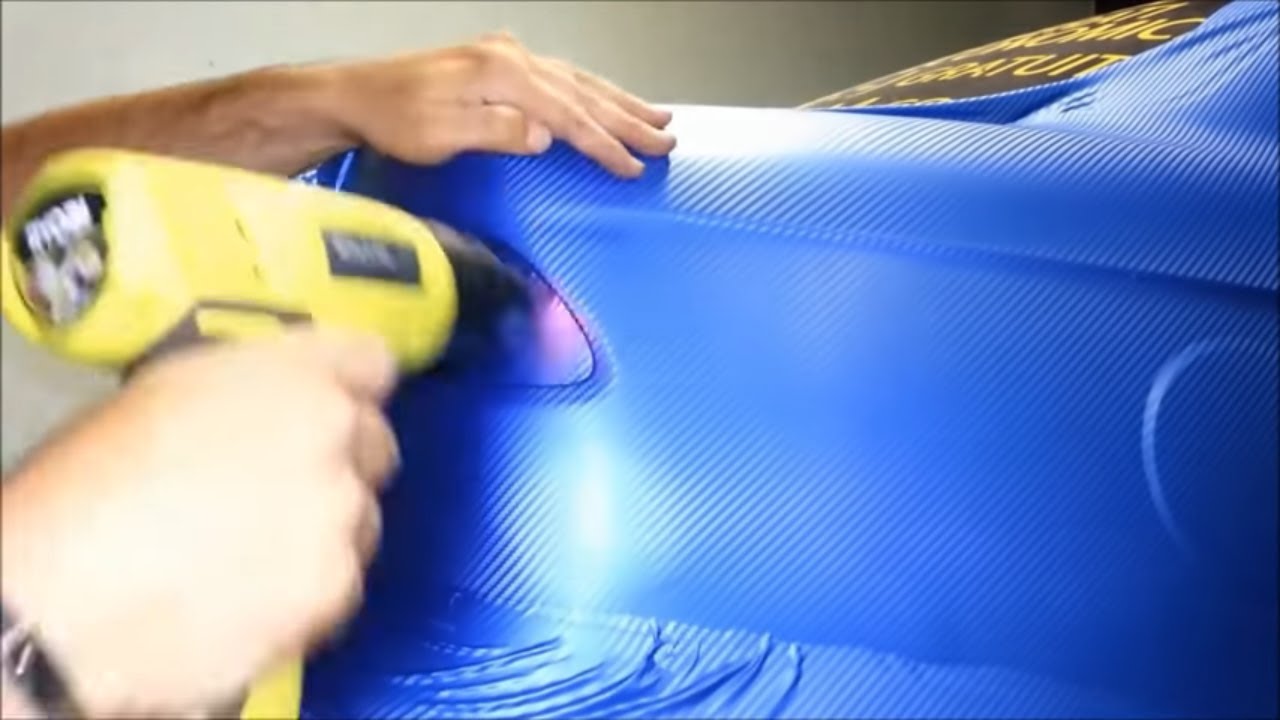
Using Heat And Squeegee
Use a heat gun or hair dryer to warm the vinyl slightly. Warm vinyl becomes flexible and easier to work with. Slowly press the vinyl down using a squeegee. Push air bubbles and wrinkles outwards. Work from the center to the edges. Apply even pressure to avoid damage.
Managing Wrinkles And Bubbles
Wrinkles and bubbles can spoil the finish. Use the squeegee gently to smooth them out. For stubborn bubbles, lift the vinyl carefully and reapply. Small bubbles can be pierced with a pin. Press the air out with the squeegee afterward. Take your time to get a flat, smooth surface.
Finishing Touches
Finishing touches make your vinyl wrap look neat and last longer. These steps help protect the wrap and give it a clean, professional look. Taking time on these details improves the overall result.
Trimming Excess Material
Trim the extra vinyl carefully with a sharp blade. Cut close to the edges without damaging the surface. Use a steady hand to avoid jagged lines or tears. Removing excess material stops peeling and keeps the wrap tight.
Sealing Edges
Seal edges with heat or edge sealer for extra hold. Heat softens the vinyl, allowing it to stick well around curves and corners. Press edges firmly to avoid lifting or bubbles. Proper sealing stops dirt and water from getting under the wrap.
Curing And Setting Time
Let the vinyl cure before washing or heavy use. This time allows the adhesive to bond fully to the surface. Avoid direct sun or rain during curing. Wait at least 24 to 48 hours for best results.

Credit: www.wikihow.com
Maintenance And Care
Taking care of your vinyl wrap helps it last longer and look better. Proper maintenance keeps the colors bright and the surface smooth. Small efforts can prevent big problems later. Here are some easy tips to keep your vinyl wrap in top shape.
Cleaning Tips
Use a soft cloth or sponge to clean the wrap. Avoid rough materials that can scratch the surface. Wash the wrap with mild soap and water. Do not use strong chemicals or abrasive cleaners. Rinse well to remove soap residue. Dry with a soft towel to prevent water spots.
Avoiding Damage
Park your vehicle away from direct sunlight when possible. Heat can weaken the adhesive and fade the colors. Avoid sharp objects near the wrap to prevent cuts or tears. Do not use high-pressure washers too close. Keep the wrap away from harsh chemicals like gasoline or solvents.
Repairing Minor Flaws
Small scratches or bubbles can be fixed quickly. Use a heat gun to gently warm the area, then smooth it with a soft cloth. For tiny cuts, clear vinyl repair tape works well. Act fast to stop damage from spreading. Regular checks help catch flaws early.
Credit: www.youtube.com
Frequently Asked Questions
What Tools Do I Need To Apply A Vinyl Wrap?
You need a squeegee, heat gun, utility knife, and cleaning supplies. These tools ensure smooth application and precise cuts. A microfiber cloth helps remove dirt before wrapping. Proper tools make the process easier and improve the final finish.
How Do I Prepare A Surface For Vinyl Wrapping?
Clean the surface thoroughly with soap and water, then use isopropyl alcohol. Remove all grease, dirt, and wax for better adhesion. Dry the surface completely before applying the vinyl wrap to avoid bubbles and peeling.
Can I Apply Vinyl Wrap On Curved Surfaces?
Yes, vinyl wrap is designed to stretch and conform to curves. Use a heat gun to soften the vinyl, making it easier to mold around edges. Take your time to avoid wrinkles and ensure a smooth finish on curved areas.
How Long Does Vinyl Wrap Last On A Vehicle?
Vinyl wraps typically last 5 to 7 years with proper care. Avoid harsh chemicals and prolonged sun exposure to extend lifespan. Regular cleaning and gentle handling maintain the wrap’s appearance and durability.
Conclusion
Applying a vinyl wrap can change your vehicle’s look quickly and affordably. Take your time to prepare the surface well and work carefully. Small bubbles or wrinkles can be fixed with patience and the right tools. Practice on a small area if you feel unsure.
The more you try, the better your results will be. Enjoy the process and the fresh new style your wrap brings. Keep your wrap clean to make it last longer. Vinyl wrapping is a fun way to personalize your ride without damage.