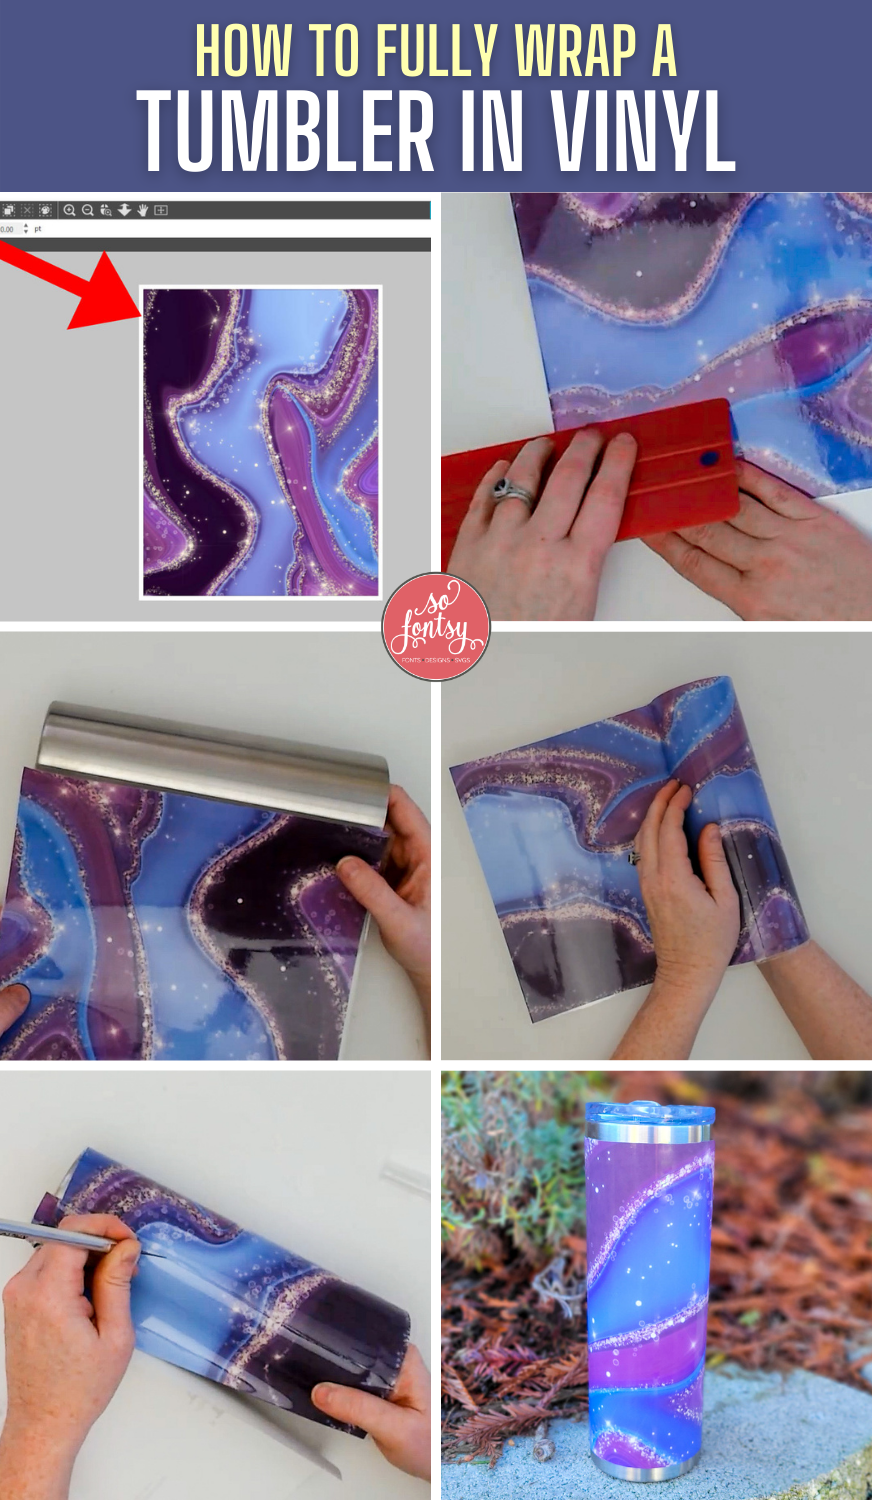
Are you looking to give your tumbler a fresh, personalized look without spending a fortune? Applying a vinyl wrap is one of the easiest and most effective ways to transform your tumbler into something unique that reflects your style.
But if you’ve never tried it before, the process might seem tricky or intimidating. Don’t worry—you’re about to discover simple, step-by-step tips that will help you wrap your tumbler like a pro. Keep reading, and by the end, you’ll have the confidence and know-how to make your tumbler stand out wherever you go.
Materials Needed
Gathering the right materials is key to applying vinyl wrap to a tumbler smoothly. Using proper supplies makes the process easier and helps the wrap stick well. Prepare all items before starting. This saves time and avoids mistakes.
Choosing The Right Vinyl
Pick vinyl designed for curved surfaces. Permanent adhesive vinyl works best for tumblers. It sticks firmly and lasts long. Choose vinyl with a smooth finish for easy cleaning. Matte or glossy options depend on your style. Avoid cheap vinyl; it may peel quickly.
Essential Tools
Use a squeegee to press the vinyl firmly on the tumbler. A heat gun or hairdryer helps bend the vinyl around curves. Sharp scissors or a craft knife are needed for trimming. Clean cloth and rubbing alcohol prepare the tumbler surface. A ruler or measuring tape ensures accurate vinyl size.
Credit: sofontsy.com
Preparing The Tumbler
Preparing the tumbler is the first step before applying vinyl wrap. This step ensures the vinyl sticks well and lasts longer. A clean, smooth surface helps avoid bubbles and wrinkles. Spend enough time on preparation for the best results.
Cleaning Surface
Start by washing the tumbler with warm, soapy water. Use a soft cloth or sponge to remove dirt and dust. Rinse well and dry with a clean towel. Avoid using oily or greasy cleaners that can leave residue. A clean surface helps the vinyl stick better.
Removing Labels And Residue
Check for any labels or stickers on the tumbler. Peel them off slowly to avoid damage. Use rubbing alcohol or adhesive remover to clean leftover glue. Wipe the area with a cloth until it feels smooth. Removing residue prevents bumps under the vinyl wrap.
Measuring And Cutting Vinyl
Measuring and cutting vinyl is a key step in wrapping a tumbler. It helps ensure the vinyl fits perfectly and looks neat. Taking the right measurements and cutting carefully makes the process easier and the final design smooth.
Taking Accurate Measurements
Start by measuring your tumbler’s height and circumference. Use a flexible measuring tape for the best results. Write down the numbers clearly. Add about half an inch to the height and width. This extra space helps with wrapping and trimming. Double-check your measurements before cutting the vinyl. Accuracy here saves time and prevents mistakes.
Cutting For A Perfect Fit
Place the vinyl sheet on a flat surface. Use sharp scissors or a craft knife for clean cuts. Cut along the measured lines slowly and carefully. Keep your hand steady to avoid jagged edges. Trim small pieces as needed after wrapping to perfect the fit. Clean cuts make the vinyl wrap look professional and smooth on your tumbler.

Credit: www.youtube.com
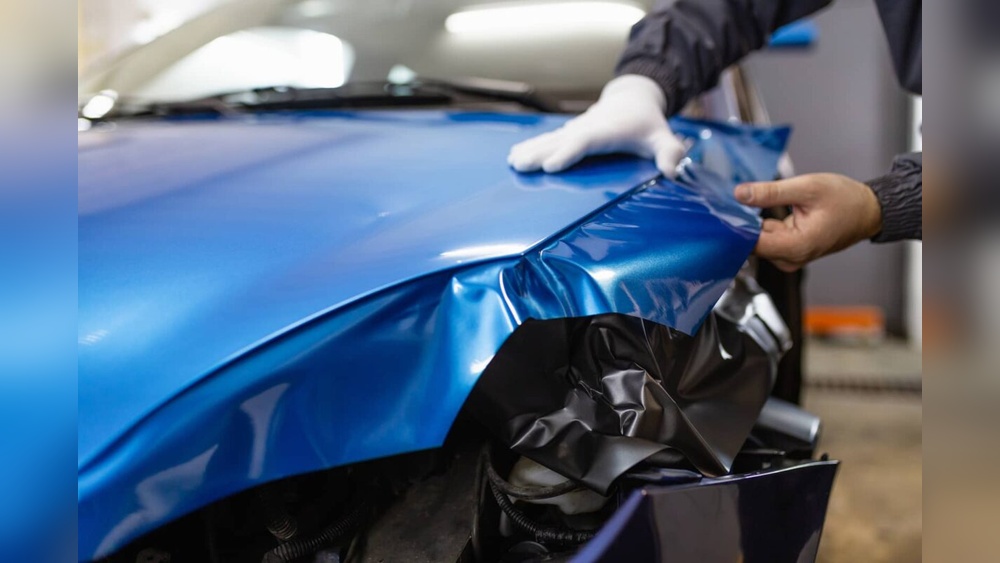
Applying The Vinyl
Applying vinyl wrap to a tumbler needs care and patience. The vinyl must stick well and look smooth. This section explains how to put vinyl on your tumbler step by step. Follow these tips for the best finish.
Positioning The Vinyl
Start by peeling a small part of the vinyl backing. Place this edge on the tumbler carefully. Make sure the design is straight and centered. Hold the vinyl lightly, so you can adjust it. Slowly press the vinyl down as you remove the backing.
Smoothing Out Bubbles
Use a squeegee or a credit card to smooth the vinyl. Push from the center outwards to remove air bubbles. Work gently to avoid stretching the vinyl. If bubbles remain, lift the vinyl slightly and press again. Small bubbles often disappear after a day or two.
Handling Curves And Edges
Heat the vinyl with a hairdryer to make it flexible. Stretch the vinyl gently around curves and edges. Use your fingers to press the vinyl into tight spots. Trim any extra vinyl with sharp scissors or a craft knife. Take time to ensure all edges stick well.
Finishing Touches
Finishing touches make your vinyl wrap look neat and last longer. This stage is important for a clean, professional result. Proper finishing prevents peeling and gives your tumbler a smooth feel.
Trimming Excess Vinyl
Start by carefully cutting off extra vinyl around the edges. Use a sharp craft knife for clean cuts. Cut slowly to avoid tearing the vinyl or scratching the tumbler. Leave a tiny margin near curves to avoid gaps. Trim small pieces at a time for better control. Smooth the edges with your fingers after trimming.
Sealing The Edges
Seal edges to stop water from getting under the vinyl. Use a heat gun or hair dryer to warm the edges gently. Press down the vinyl edges firmly with a squeegee or your fingers. This helps the adhesive stick well and prevents lifting. Check all around the tumbler for loose spots. Take time to press every edge securely for a lasting wrap.
Common Mistakes To Avoid
Applying vinyl wrap to a tumbler can be tricky. Many beginners make common mistakes that ruin the look or cause the wrap to peel early. Avoiding these errors helps your project last longer and look better.
Pay close attention to details. Careful preparation and technique lead to smooth, bubble-free results. Below are the most frequent mistakes to watch out for.
Not Cleaning The Tumbler Surface Properly
Dirt, oil, and dust stop vinyl from sticking well. Always clean the tumbler with rubbing alcohol before applying the wrap. Skipping this step causes bubbles and peeling.
Applying The Vinyl In A Dusty Or Humid Area
Dust particles get trapped under the vinyl, causing bumps. Humidity makes the adhesive less sticky. Work in a clean, dry room for best results.
Rushing The Application Process
Placing the vinyl too quickly leads to wrinkles and air pockets. Take your time to smooth the wrap slowly with a squeegee or card.
Not Using A Heat Gun Or Hair Dryer
Vinyl needs heat to stretch and conform to curves. Without heat, it can peel or crack easily. Warm the vinyl gently while wrapping.
Cutting The Vinyl Too Early
Cutting before fully applying can cause edges to lift. Finish wrapping and smoothing first, then trim excess carefully.
Tips For Long-lasting Wraps
Applying a vinyl wrap to a tumbler can give it a fresh, new look. To keep that look for a long time, follow some simple tips. These tips help the wrap stick well and stay smooth without peeling or fading. Proper care also protects your tumbler and makes cleaning easier.
Clean The Tumbler Surface Thoroughly
Start by cleaning the tumbler with soap and water. Remove all dirt, grease, and dust. Use rubbing alcohol for extra cleaning. Dry the surface fully before applying the vinyl. A clean surface helps the vinyl stick better.
Use A Quality Vinyl And Tools
Choose vinyl made for curved surfaces like tumblers. Use a good squeegee to press the vinyl down. Avoid cheap vinyl that fades or peels quickly. Quality materials make the wrap last longer.
Apply Heat For Better Adhesion
Use a heat gun or hairdryer on low heat. Warm the vinyl while applying it to the tumbler. Heat makes the vinyl more flexible and sticky. Avoid overheating, as it can damage the vinyl.
Smooth Out Air Bubbles Carefully
Press out air bubbles with a squeegee or your fingers. Start from the center and move outward. Small bubbles can cause peeling later. Take time to smooth the wrap well.
Let The Wrap Cure
Allow the vinyl to settle for 24 to 48 hours. Keep the tumbler in a dry, warm place. Avoid washing or using the tumbler during this time. This helps the vinyl stick firmly.
Handle With Care After Wrapping
Wash the tumbler by hand with mild soap. Avoid scrubbing or using rough cloths. Do not put the tumbler in a dishwasher. Gentle care keeps the wrap intact and bright.

Credit: sofontsy.com
Frequently Asked Questions
How Do I Prepare A Tumbler For Vinyl Wrapping?
Clean the tumbler thoroughly with soap and water. Remove all dirt, oils, and residues. Dry it completely before applying vinyl. This ensures better vinyl adhesion and a smoother finish.
What Tools Are Needed To Apply Vinyl Wrap On A Tumbler?
You need vinyl sheets, a squeegee, a heat gun or hairdryer, scissors, and a utility knife. These tools help in precise cutting, smooth application, and removing air bubbles.
Can I Reuse Vinyl Wrap On A Tumbler?
No, vinyl wrap is designed for one-time use. Removing it usually damages the adhesive. For the best look, use a new vinyl sheet when reapplying.
How To Avoid Air Bubbles When Applying Vinyl Wrap?
Apply vinyl slowly and use a squeegee to smooth it out. Heat the vinyl gently with a heat gun to increase flexibility. Work from the center outward to push bubbles out.
Conclusion
Applying vinyl wrap to your tumbler takes patience and care. Clean the surface well to help the vinyl stick. Use a heat gun or hairdryer to smooth out bubbles. Take your time pressing the vinyl around curves. Small wrinkles can be fixed by warming and stretching the wrap.
Practice makes the process easier and more fun. Your tumbler will look unique and stylish after wrapping. Enjoy your personalized tumbler every day! Keep these tips in mind for a smooth wrapping experience.