If you own a Mercury outboard motor, keeping it running smoothly is probably a top priority for you. One of the simplest yet most important maintenance tasks you can do is changing the fuel filter.
A clean fuel filter protects your engine from dirt and debris, helping it perform better and last longer. In this guide, you’ll learn exactly how to change a fuel filter on your Mercury outboard—step by step, with clear instructions. By the end, you’ll feel confident handling this task yourself, saving time and money while avoiding costly repairs.
Let’s get your boat ready for the water!
Signs Of A Clogged Fuel Filter
A clogged fuel filter can cause serious problems for your Mercury outboard engine. Recognizing the signs early helps prevent costly repairs and keeps your boat running smoothly. Watch for changes in how the engine runs and sounds. These signs often indicate that the fuel filter needs attention.
Engine Performance Issues
The engine may run rough or stall unexpectedly. It can lose power, especially under load or at high speeds. Starting the engine might become difficult or take longer than usual. These symptoms suggest fuel flow is restricted.
Fuel Efficiency Drop
You may notice that your boat uses more fuel than normal. The engine works harder to get the same power. A clogged fuel filter reduces fuel flow, causing poor combustion. This leads to higher fuel consumption and wasted money.
Unusual Noises
The engine might make sputtering or coughing sounds. You could hear popping or knocking noises during acceleration. These sounds happen because the engine is starved of clean fuel. Such noises warn that the fuel filter needs replacing soon.
Tools And Materials Needed
Changing the fuel filter on a Mercury outboard needs the right tools and materials. Having everything ready saves time and avoids frustration. This list covers what you need before starting.
Essential Tools
You will need a few basic tools. A screwdriver helps to remove clamps and covers. Wrenches or pliers loosen fuel lines carefully. A clean container catches any spilled fuel. A rag or paper towels help clean spills quickly.
Replacement Fuel Filter
Use a fuel filter designed for Mercury outboards. Check the model number on the old filter. Buy a new one that matches exactly. The right filter ensures your engine runs smoothly and stays protected.
Safety Equipment
Safety is important when handling fuel. Wear gloves to protect your hands from fuel and dirt. Use safety glasses to keep fuel from splashing into your eyes. Work in a well-ventilated area to avoid inhaling fumes. Keep a fire extinguisher nearby just in case.
Preparing The Outboard Motor
Preparing the outboard motor is the first step in changing the fuel filter. It ensures safety and easy access to the parts you need. Take your time and follow these simple steps carefully. This will prevent accidents and make the job easier.
Turning Off The Engine
Start by turning off the engine completely. Make sure the key is removed from the ignition. This stops the motor from starting while you work. Wait a few minutes to let the engine cool down. Hot parts can cause burns or other injuries.
Disconnecting The Battery
Next, disconnect the battery to cut off power. Remove the negative cable first. This helps avoid any electrical sparks or shorts. Keep the cables away from the battery terminals. This step is important for your safety during the process.
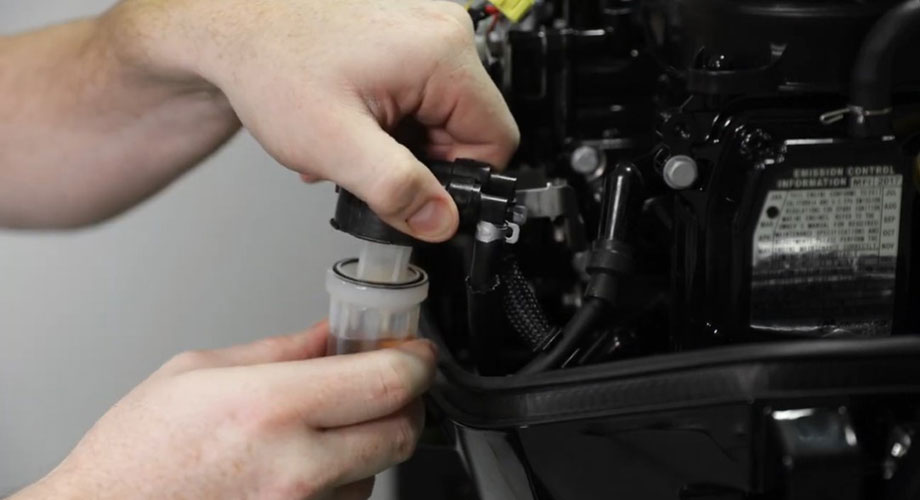
Accessing The Fuel Filter
Locate the fuel filter on your Mercury outboard motor. It is usually near the fuel line or engine block. Clear away any covers or panels that block your view. Make sure you have enough light to see the filter clearly. Having tools ready will speed up the process.
Credit: www.quicksilver-products.com
Removing The Old Fuel Filter
Removing the old fuel filter on a Mercury outboard is a necessary step for maintaining engine health. This process helps avoid fuel flow problems and keeps the engine running smoothly. Follow each step carefully to remove the filter safely and correctly.
Relieving Fuel Pressure
Start by turning off the engine and closing the fuel valve. This stops fuel flow and reduces pressure in the fuel lines. Next, loosen the fuel line connection slightly to release any remaining pressure. Wear safety glasses to protect your eyes from fuel sprays.
Detaching Fuel Lines
Use pliers to loosen the clamps on the fuel lines attached to the filter. Gently pull the fuel lines off the filter fittings. Place a small container or cloth underneath to catch any spilled fuel. Be careful not to damage the fuel lines during removal.
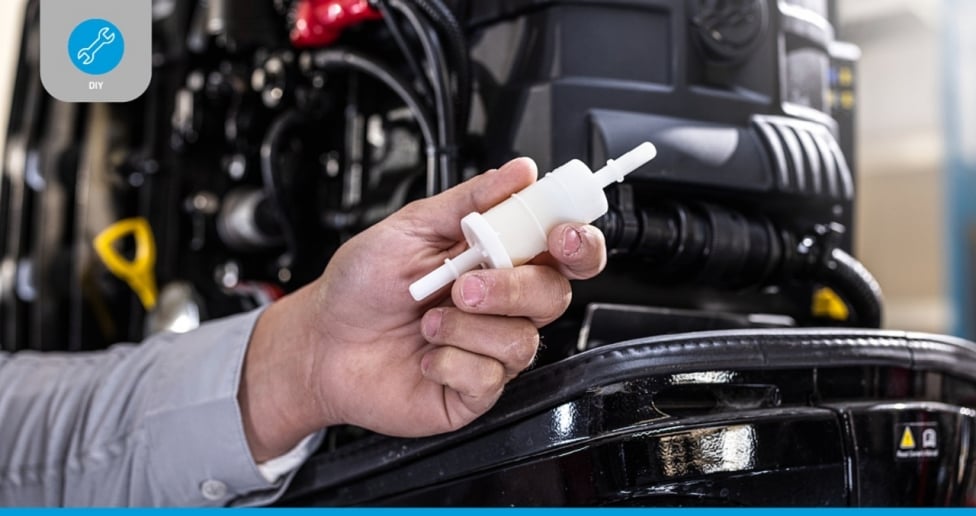
Removing The Filter
Check the filter for any locking clips or screws and remove them. Twist or pull the filter off its mount, depending on the model. Dispose of the old filter properly. Clean the filter mount area before installing a new filter.
Installing The New Fuel Filter
Installing the new fuel filter on your Mercury outboard is a simple but important step. Proper installation ensures your engine runs smoothly and stays protected from dirt and debris. Follow each step carefully to avoid leaks or damage.
Checking The Filter Orientation
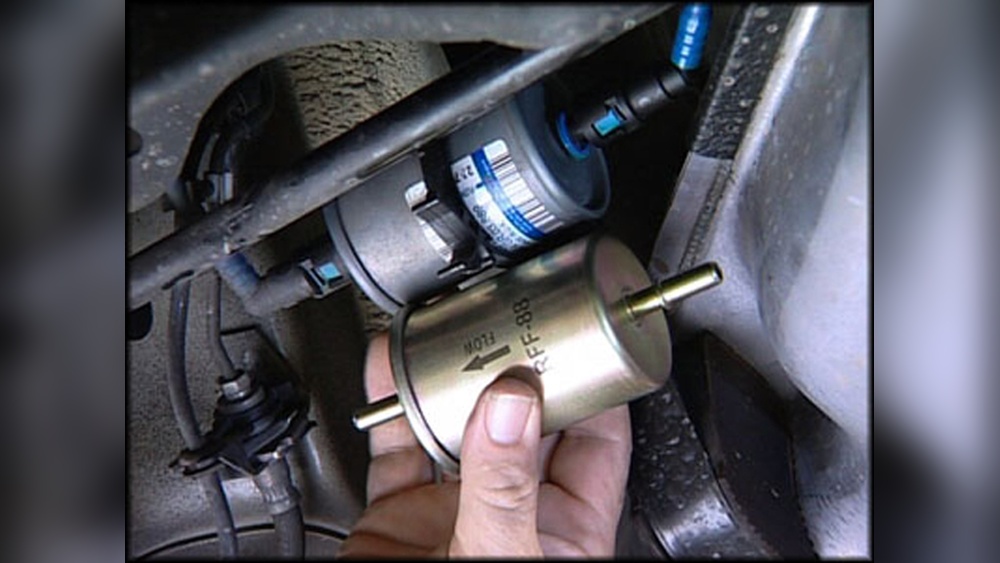
Look at the new fuel filter closely. It usually has an arrow showing fuel flow direction. The arrow must point toward the engine. Wrong direction blocks fuel flow. Take your time to confirm this before moving on.
Connecting Fuel Lines
Attach the fuel lines to the new filter. Make sure each line fits snugly on the correct side. The inlet line goes to the filter’s fuel entry point. The outlet line connects where fuel leaves the filter. Push the lines firmly for a tight seal.
Securing The Filter
Use the filter bracket or clamp to hold the filter in place. Tighten screws or clips without overdoing it. The filter should not move or wiggle. A secure filter stops leaks and keeps your engine safe.
Testing The Installation
Testing the installation of the fuel filter on your Mercury outboard is a crucial step. It ensures the filter works correctly and the engine runs smoothly. Skipping this step can cause engine problems or fuel leaks. Follow these simple checks to confirm your work is safe and effective.
Priming The Fuel System
Start by priming the fuel system. This means removing air from the fuel lines. Use the primer bulb on the fuel hose. Squeeze it until it feels firm. This action pushes fuel through the filter and lines. A firm bulb means fuel is flowing well and the system is ready.
Starting The Engine
Next, start the engine. Turn the key or pull the starter cord. Listen carefully for smooth running. The engine should start quickly without sputtering. If it hesitates, the fuel may not be reaching the engine properly. Try priming again or check the filter installation.
Checking For Leaks
Finally, inspect the fuel filter and connections for leaks. Look for wet spots or fuel drips. Tighten any loose clamps or fittings. Leaks can cause fuel loss and safety hazards. Make sure the area around the filter stays dry while the engine runs.
Maintenance Tips For Fuel Filters
Keeping your Mercury outboard’s fuel filter in good shape is key to smooth engine performance. Proper maintenance stops dirt and water from reaching the engine. This helps avoid engine problems and extends its life.
Here are some useful tips to care for your fuel filter properly.
Regular Inspection Schedule
Check the fuel filter every 25 hours of use or once a month. Look for dirt, rust, or water inside the filter bowl. Inspect fuel lines for cracks or leaks too. Regular checks catch problems early and keep fuel flowing clean.
Signs To Replace Filter
Replace the fuel filter if the engine sputters or loses power. Dark, cloudy fuel or water in the filter means it is dirty. A clogged filter reduces fuel flow and harms engine performance. Change the filter at least once a year or more if needed.
Storage And Handling
Store new fuel filters in a dry, cool place away from sunlight. Keep filters sealed until ready to use. Avoid dropping or damaging the filter before installation. Clean hands and tools prevent dirt from entering the fuel system.

Credit: www.youtube.com
Credit: boatengine.com
Frequently Asked Questions
How Often Should I Change A Mercury Outboard Fuel Filter?
You should change the fuel filter every 100 hours of operation or annually. Regular changes prevent clogs and maintain engine performance.
What Tools Do I Need To Replace The Fuel Filter?
Common tools include a screwdriver, pliers, and a container to catch fuel. Always use gloves to protect your hands from fuel.
Can I Change The Fuel Filter Myself Safely?
Yes, you can. Ensure the engine is off and cool. Follow the manual’s steps carefully to avoid fuel leaks or damage.
How Do I Know If My Fuel Filter Needs Replacing?
Signs include engine sputtering, rough idling, or difficulty starting. Inspect the filter regularly for dirt or discoloration.
Conclusion
Changing the fuel filter on your Mercury outboard keeps the engine running smooth. Clean fuel means better performance and longer engine life. Follow the steps carefully to avoid mistakes. A simple task that saves time and money later. Regular checks help catch problems early and prevent breakdowns.
Take your time and work safely. Your boat will thank you with reliable starts and steady power. Keep this guide handy for future maintenance. Simple care makes boating more enjoyable and stress-free.