
Are you ready to give your vehicle or project a flawless finish with vinyl wrap? Knowing how to overlap vinyl wrap correctly is the secret to achieving a smooth, professional look without bubbles or wrinkles.
In this guide, you’ll discover simple steps and insider tips that make overlapping easy and stress-free. Whether you’re a beginner or want to improve your skills, mastering this technique will save you time and frustration. Keep reading to unlock the key to a perfect vinyl wrap every time!
Choosing The Right Vinyl Wrap
Choosing the right vinyl wrap is key to a smooth and lasting finish. The material and color affect how well the wrap sticks and how it looks. Picking the right type helps avoid problems like peeling or bubbling. This section guides you on selecting the best vinyl wrap for your project.
Types Of Vinyl Wrap Materials
There are several types of vinyl wraps to choose from. Cast vinyl is thin and flexible. It bends well around curves and lasts longer. Calendered vinyl is thicker and less flexible. It suits flat surfaces better. Glossy vinyl shines brightly, while matte vinyl offers a dull, smooth look. Each type fits different needs and surfaces.
Matching Colors And Finishes
Color matching is important for a seamless look. Try to pick vinyl that matches your vehicle or object color closely. Finishes also matter. Glossy finishes reflect light and look bright. Matte finishes reduce reflections and give a sleek style. Satin finishes offer a mix of both. Choose a finish that fits your style and the environment where you work.
Preparing The Surface
Preparing the surface is the first step in overlapping vinyl wrap. A clean, smooth surface helps the vinyl stick better. It also prevents bubbles and wrinkles. Take time to prepare well. This makes the wrap look neat and last longer.
Cleaning And Degreasing
Start by washing the surface with soap and water. Remove all dirt and dust. Use a soft cloth to avoid scratches. After washing, dry the area completely.
Next, apply a degreaser. This removes oils and grease that water can miss. Use a clean cloth to wipe the degreaser off. The surface must feel clean and dry before wrapping.
Smoothing Out Imperfections
Check the surface for bumps, dents, or rough spots. These can make the vinyl wrap uneven. Use fine sandpaper to smooth small rough areas gently.
For dents or holes, apply a filler or putty. Let it dry fully, then sand it smooth. Make sure the surface is flat and even. This helps the vinyl wrap lay perfectly flat.
Tools Needed For Overlapping
Overlapping vinyl wrap needs the right tools. These tools help you get clean edges and smooth finishes. Using the proper equipment makes the process easier and the result better. Knowing what tools to use is the first step to success.
Essential Tools List
Start with a sharp utility knife to cut the vinyl accurately. A measuring tape helps keep your lines straight. Use a masking tape to hold the vinyl in place temporarily. A microfiber cloth cleans the surface before applying the wrap. Gloves protect your hands and keep the vinyl clean. Lastly, a ruler or straight edge guides your cuts perfectly.
Using Heat Guns And Squeegees
A heat gun softens the vinyl for better stretching and fitting. Warm vinyl sticks better and avoids bubbles. Move the heat gun slowly and evenly over the wrap. Use a squeegee to press the vinyl down firmly. The squeegee pushes out air and smooths wrinkles. Choose a squeegee with a soft edge to avoid damage. Work in small sections for best results.

Credit: www.reddit.com
Planning The Overlap Layout
Planning the overlap layout is a key step in vinyl wrapping. It helps ensure a smooth finish and long-lasting results. Good planning reduces bubbles, wrinkles, and gaps between panels. The right layout also makes installation faster and easier. Let’s explore how to plan the overlap layout well.
Determining Overlap Width
Choose the right overlap width for your vinyl panels. Too narrow can cause gaps or peeling edges. Too wide may add extra bulk and visible seams. A common overlap width is 1 to 2 inches. Measure your vinyl rolls and vehicle curves to decide the best width. Keep consistent overlap across all panels for a clean look.
Aligning Panels Accurately
Align panels carefully before applying the vinyl. Use markers or tape to mark overlap edges on the surface. Check the alignment from different angles to avoid mismatched seams. Start with the center or most visible area. Smooth out each panel and press firmly in the overlap zone. Proper alignment prevents wrinkles and uneven edges.
Techniques For Seamless Overlaps
Overlapping vinyl wrap panels correctly ensures a smooth, professional look. Poor overlaps cause bubbles, wrinkles, or visible seams. Techniques for seamless overlaps help blend panels into one surface.
These steps focus on proper alignment, pressure, and heat. Following them makes your wrap last longer and look better.
Applying The First Panel
Start by cleaning the surface completely. Dust and dirt stop vinyl from sticking. Peel off the backing slowly. Place the panel on the surface carefully. Use a squeegee to press the vinyl down. Move from the center outward to remove air bubbles. Stretch only gently to avoid distortion.
Overlapping And Aligning The Second Panel
Position the second panel slightly over the first. Keep an overlap of about half an inch. Align edges carefully to avoid gaps or uneven lines. Hold the panel loosely at first. Adjust the overlap as needed before pressing down. Avoid stretching the vinyl too much here.
Smoothing And Heating The Seam
Use a squeegee to smooth the overlapped area firmly. Push out any trapped air or wrinkles. Heat the seam with a heat gun on low setting. Move the heat evenly along the overlap. Warm vinyl becomes more flexible and sticks better. Press the seam again after heating. Let the vinyl cool to set the bond.

Credit: www.youtube.com
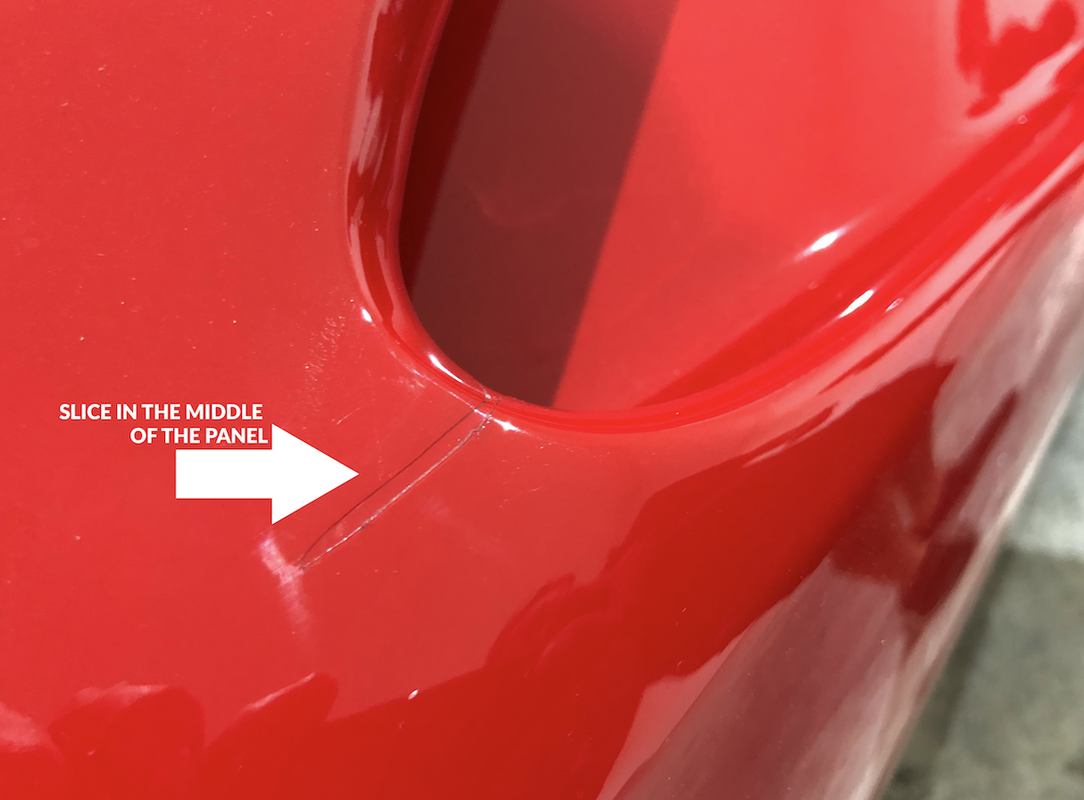
Dealing With Common Issues
Working with vinyl wrap can bring up some common problems. These issues can affect the look and durability of your wrap. Fixing them early keeps your wrap smooth and neat. Here are simple ways to handle the most usual problems.
Removing Air Bubbles
Air bubbles trap air under the vinyl. They make the surface bumpy and uneven. Use a pin to gently prick the bubble. Press the air out toward the hole. A squeegee helps to smooth the area after.
Fixing Wrinkles And Creases
Wrinkles happen when the vinyl folds incorrectly. Warm the area slightly with a heat gun or hair dryer. This softens the vinyl for easy stretching. Pull the vinyl gently while smoothing with a squeegee. Avoid sharp pulls to stop tearing.
Handling Misaligned Overlaps
Misaligned overlaps look messy and can peel off sooner. Lift the edge carefully to realign the vinyl. Use a squeegee to press the vinyl back down. Make sure the edges overlap just enough to seal tightly.
Finishing Touches
Finishing touches make your vinyl wrap look neat and last longer. These steps help your wrap fit perfectly and stay in place. Take your time with these final actions. They ensure a smooth, professional look.
Trimming Excess Vinyl
Start by cutting away extra vinyl along the edges. Use a sharp blade for clean cuts. Trim slowly to avoid cutting too much or damaging the surface below. Leave a tiny margin near corners for better coverage. Remove scraps carefully to keep the area tidy.
Sealing The Edges
Seal edges with a heat gun or hairdryer on low heat. Warm the vinyl gently to make it stick firmly. Press edges down using a squeegee or soft cloth. This stops peeling and water from getting underneath. Make sure all edges are tight and smooth for a lasting finish.
Maintenance Tips For Longevity
Maintaining a vinyl wrap properly helps it last longer and look better. Small daily efforts keep the wrap strong and fresh. Knowing how to clean and handle the wrap prevents damage and peeling. Follow simple steps to protect your investment and keep the wrap shining.
Cleaning Wrapped Surfaces
Use a soft cloth or sponge for cleaning. Avoid rough materials that can scratch the surface. Wash the wrap with mild soap and water. Harsh chemicals can weaken the vinyl. Rinse well to remove all soap residue. Dry the surface gently with a clean towel. Regular cleaning stops dirt buildup and keeps colors bright.
Avoiding Damage And Peeling
Do not use abrasive tools or strong chemicals. Avoid high-pressure washers close to the edges. Keep sharp objects away from the wrap. Park in shaded areas to reduce sun damage. Heat can cause the vinyl to peel or bubble. Check edges often for lifting or cracks. Fix small problems early to prevent bigger issues.
Credit: www.articlecity.com
Frequently Asked Questions
How Do You Properly Overlap Vinyl Wrap Edges?
To overlap vinyl wrap edges, align the second panel slightly over the first. Use a squeegee to press down firmly, removing air bubbles. Heat the overlap area gently for better adhesion and smoothness. This method ensures a seamless, durable finish without visible gaps.
Why Is Overlapping Vinyl Wrap Important?
Overlapping vinyl wrap prevents gaps and ensures full surface coverage. It creates a waterproof seal and strengthens the wrap’s durability. Proper overlap helps maintain the wrap’s appearance and protects the underlying surface from damage and exposure to elements.
What Tools Are Needed For Vinyl Wrap Overlapping?
Essential tools include a squeegee, heat gun, utility knife, and microfiber cloth. The squeegee smooths the vinyl, while the heat gun activates the adhesive. The utility knife trims excess material, and the cloth cleans surfaces for optimal adhesion.
Can Vinyl Wraps Be Overlapped Without Visible Seams?
Yes, vinyl wraps can be overlapped without visible seams. Precise alignment, gentle heating, and careful smoothing reduce seam visibility. Using high-quality vinyl and proper technique ensures a professional, seamless look on the wrapped surface.
Conclusion
Overlapping vinyl wrap needs care and patience for best results. Use clean surfaces and good tools to avoid wrinkles or bubbles. Align edges carefully and press firmly to keep the wrap smooth. Take your time with each step to get a neat finish.
Practice makes the process easier and improves your skills. Follow these tips, and your vinyl wrap will look professional and last longer. Keep trying, and enjoy the creative process.


