
If your vehicle’s engine is struggling or your fuel efficiency is dropping, the problem might be a clogged fuel filter inside your gas tank. Changing this filter can feel tricky, but it’s something you can do yourself with the right steps.
In this guide, you’ll learn exactly how to replace the fuel filter inside your gas tank safely and easily. By following along, you’ll save money, avoid unnecessary trips to the mechanic, and keep your engine running smoothly. Ready to get started?
Let’s dive in.

Credit: www.youtube.com
Signs Of A Clogged Fuel Filter
A clogged fuel filter can cause your engine to stall or run rough. You might notice poor acceleration and trouble starting the car. These signs show it’s time to replace the fuel filter inside the gas tank.
A fuel filter keeps dirt and debris from entering the engine. Over time, it can get clogged. A clogged fuel filter stops fuel from flowing properly. This can cause many problems for your car.
Recognizing the signs early helps avoid bigger engine issues. Pay attention to how your car runs. Notice any changes in performance or sounds. These clues tell you the fuel filter might need cleaning or replacement.
Engine Stalls Or Hesitates
The engine may stall or hesitate during acceleration. This happens because the fuel supply is restricted. Your car may feel weak or slow when you press the gas pedal.
Difficulty Starting The Car
Hard starting is a common sign of a clogged fuel filter. The engine may crank but not start easily. It may take several tries before the engine fires up.
Loss Of Power On Hills
Your car may lose power while driving uphill. The engine needs more fuel to climb. A clogged filter cannot supply enough fuel, causing poor performance.
Engine Misfires Or Runs Rough
The engine might misfire or run rough at idle or low speeds. This happens when fuel flow is uneven. The engine struggles to maintain smooth running.
Check Engine Light Comes On
The check engine light may turn on due to fuel system issues. A clogged fuel filter can trigger this warning. Have the fuel system checked to avoid damage.
Tools And Materials Needed
Changing the fuel filter inside the gas tank needs the right tools and materials. Using the correct tools makes the job easier and safer. It also helps avoid damage to the fuel tank or other parts.
This section lists all the tools and materials needed for this task. Prepare them before starting to save time and prevent mistakes.
Basic Hand Tools
You need a set of hand tools like screwdrivers, pliers, and wrenches. A flathead and a Phillips screwdriver help remove screws and clamps. Needle-nose pliers are useful to disconnect fuel lines carefully.
Fuel Line Disconnect Tool
This special tool helps release the fuel line connectors. It fits into the connectors and unlocks them without breaking. It is important for quick and safe disconnection.
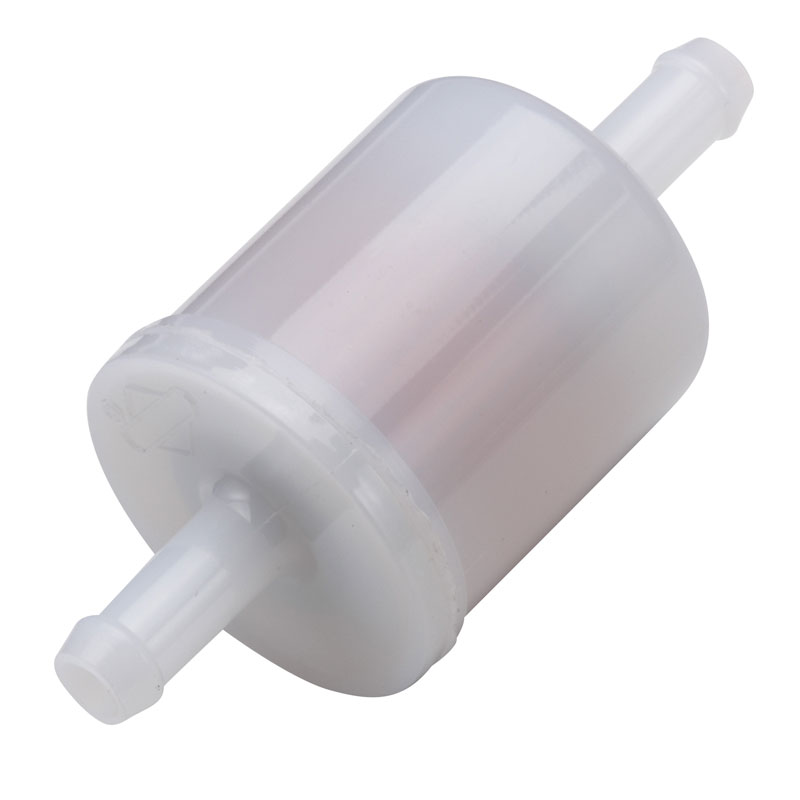
Replacement Fuel Filter
Choose the right fuel filter for your vehicle model. The filter must fit inside the gas tank properly. Check the part number and size before buying.
Safety Equipment
Wear safety glasses and gloves to protect your eyes and hands. Fuel can irritate skin and eyes. Work in a well-ventilated area to avoid inhaling fumes.
Fuel Container And Rags
Use a fuel container to catch any spilled gasoline. Have clean rags ready to wipe spills and clean parts. This keeps the workspace safe and clean.
Jack And Jack Stands
You may need to lift the vehicle to access the fuel tank. Use a jack and jack stands to raise and secure the car safely. Never work under a car supported only by a jack.
Preparing Your Vehicle
Preparing your vehicle is the first step before changing the fuel filter inside the gas tank. This process needs care and attention. Proper preparation helps prevent accidents and makes the job easier. Follow these steps closely to keep yourself safe and protect your vehicle.
Safety Precautions
Work in a well-ventilated area to avoid inhaling fuel fumes. Keep fire and sparks away from the work zone. Wear safety glasses and gloves to protect your eyes and hands. Use a fire extinguisher nearby, just in case. Avoid smoking or using electronic devices near the fuel system.
Relieving Fuel System Pressure
Before opening the fuel system, release the pressure inside it. Find the fuel pump fuse in your vehicle’s fuse box. Remove the fuse to stop the fuel pump. Start the engine and let it run until it stops. This step releases fuel pressure and prevents fuel spray.
Disconnecting The Battery
Turn off the ignition and remove the key. Disconnect the negative battery cable first. This step cuts power and lowers the risk of sparks. Use a wrench to loosen the battery terminal. Secure the cable away from the battery to avoid contact.

Credit: www.youtube.com
Accessing The Fuel Tank
Accessing the fuel tank is the first step in changing the fuel filter inside it. This task requires care and the right tools. Safety is important, so prepare your workspace well. You will need to lift the vehicle and remove any protective covers. These steps allow clear access to the tank and filter. Follow the instructions carefully to avoid damage or injury.
Lifting The Vehicle
Use a sturdy jack to lift the vehicle. Find a flat, stable surface to work on. Place the jack under the car’s frame or recommended lifting points. Slowly raise the vehicle until you have enough room to work underneath. Always use jack stands to support the vehicle securely. Never rely only on the jack. Safety first, always.
Removing Protective Covers
Look for any plastic or metal shields covering the fuel tank. These covers protect the tank and filter from dirt and damage. Use a wrench or screwdriver to remove bolts or screws holding the covers. Keep all fasteners in a safe place for reassembly. Removing these covers gives you direct access to the fuel tank. Handle parts carefully to avoid breaking them.
Removing The Old Fuel Filter
Removing the old fuel filter inside the gas tank is a key step before installing a new one. This process requires care to avoid damage or spills. Following the correct order makes the job easier and safer. Below are the steps to remove the old fuel filter properly.
Locating The Fuel Filter Inside The Tank
Start by opening the fuel tank access panel. This panel is often under the rear seat or trunk floor. Use a flashlight to spot the fuel filter assembly. It is usually attached to the fuel pump module inside the tank. Take your time to identify it clearly before proceeding.
Detaching Fuel Lines And Electrical Connectors
Next, carefully disconnect the fuel lines connected to the filter. Use pliers or a special tool to release the clamps. Be ready for some fuel to spill out, so have a rag handy. Then, unplug any electrical connectors attached to the filter. Do this gently to avoid breaking the wires.
Extracting The Filter Assembly
After disconnecting, loosen any retaining bolts or clips holding the filter. Slowly lift the filter assembly out of the tank. Move it carefully to avoid damaging the fuel pump or tank sides. Place the old filter on a clean surface for proper disposal. Your tank is now ready for the new fuel filter installation.
Installing The New Fuel Filter
Installing the new fuel filter inside the gas tank requires care and attention. This step ensures the fuel system works smoothly. Proper installation helps prevent leaks and engine problems.
Follow each step carefully for a safe and secure fit.
Preparing The New Filter
Start by checking the new fuel filter for any damage. Remove any protective caps or covers. Clean the area where you will place the filter. Make sure the filter matches the old one exactly. Handle the filter gently to avoid dirt or dust inside.
Securing The Filter In Place
Place the new filter in the same position as the old one. Align it with the mounting bracket or clip. Press it firmly but gently to secure the filter. Ensure it fits tightly to avoid movement. Double-check that it is stable before moving on.
Reconnecting Fuel Lines And Electrical Connectors
Reconnect the fuel lines to the new filter carefully. Push the lines until you hear a click or feel them lock. Attach any electrical connectors that were unplugged. Make sure all connections are tight and secure. Check for leaks by gently shaking the filter area.
Reassembling And Testing
After replacing the fuel filter inside the gas tank, the next step is reassembling and testing. This step ensures everything works correctly and safely. Proper reassembly prevents leaks and keeps your vehicle running smoothly. Follow these steps carefully to finish the job right.
Reinstalling Covers And Lowering The Vehicle
Start by putting all covers and shields back in place. Secure them with screws or clips removed earlier. Check that no parts are loose or missing. Next, carefully lower the vehicle if you had it raised. Use a jack or lift with caution to avoid accidents.
Reconnecting The Battery
Reconnect the negative battery cable first. Tighten the connection to avoid sparks or poor contact. Then connect the positive cable. Confirm both cables are secure. This step restores power to your vehicle’s systems.
Starting The Engine And Checking For Leaks
Start the engine and let it run for a few minutes. Listen for strange sounds or rough running. Look under the vehicle for any signs of fuel leaks. Check around the fuel tank and filter area carefully. If you see no leaks, the job is done well. If leaks appear, turn off the engine and inspect the connections again.
Credit: www.briggsandstratton.com
Maintenance Tips For Fuel Filters
Keeping the fuel filter clean and well-maintained helps your engine run smoothly. A clogged filter can cause poor fuel flow and reduce engine power. Regular maintenance extends the life of your fuel system and saves money on repairs.
Here are some simple tips to care for the fuel filter inside the gas tank.
Check The Fuel Filter Regularly
Inspect the fuel filter every 12,000 to 15,000 miles. Look for signs of dirt or damage. A dirty filter needs to be replaced to keep fuel flowing freely.
Use Clean Fuel
Always fill your tank with clean, high-quality fuel. Dirty fuel clogs the filter faster. Avoid filling up at unreliable gas stations.
Replace The Filter On Time
Follow the vehicle’s manual for replacement intervals. Changing the filter on time prevents engine problems. Use the correct filter model for your car.
Keep The Fuel Tank Clean
Check the tank for dirt and rust. Contaminants in the tank can damage the filter. Clean the tank if needed during filter replacement.
Monitor Engine Performance
Watch for engine hesitation or rough idling. These signs may indicate a clogged fuel filter. Address the issue quickly to avoid breakdowns.
Frequently Asked Questions
How Often Should I Change The Fuel Filter Inside Gas Tank?
Typically, change the fuel filter every 30,000 to 50,000 miles. Check your vehicle manual for specific intervals. Regular replacement ensures optimal engine performance and prevents clogging inside the fuel system.
What Tools Are Needed To Change Fuel Filter Inside Gas Tank?
You’ll need a socket set, screwdrivers, fuel line disconnect tool, and safety gloves. A jack and stands help access the fuel tank safely. Proper tools make the replacement process easier and safer.
Is It Safe To Change Fuel Filter Inside Gas Tank Myself?
Yes, if you follow safety precautions and vehicle instructions. Work in a well-ventilated area, disconnect the battery, and avoid open flames. Proper preparation reduces risks when replacing the fuel filter inside the gas tank.
How Long Does It Take To Change Fuel Filter Inside Gas Tank?
The process usually takes 1 to 2 hours for most vehicles. Time varies depending on model complexity and your experience level. Taking time ensures a careful and correct fuel filter replacement.
Conclusion
Changing the fuel filter inside the gas tank helps keep your engine running smoothly. Clean fuel means better performance and fewer problems. This task may seem hard, but careful steps make it easier. Take your time and follow safety tips closely.
Regular filter changes save money and protect your car. Now, you have the basic guide to do it yourself. Keep your vehicle healthy and enjoy safer drives ahead.


