Your brakes and rotors are the most important parts of your vehicle when it comes to safety. Knowing how to check them yourself can save you time, money, and even prevent accidents.
But how do you tell if they need attention before it’s too late? You’ll learn simple, step-by-step ways to inspect your brakes and rotors quickly and effectively. By the end, you’ll feel confident keeping your car safe and on the road.
Keep reading to discover what signs to watch for and how to spot problems early.
Credit: www.powerstop.com
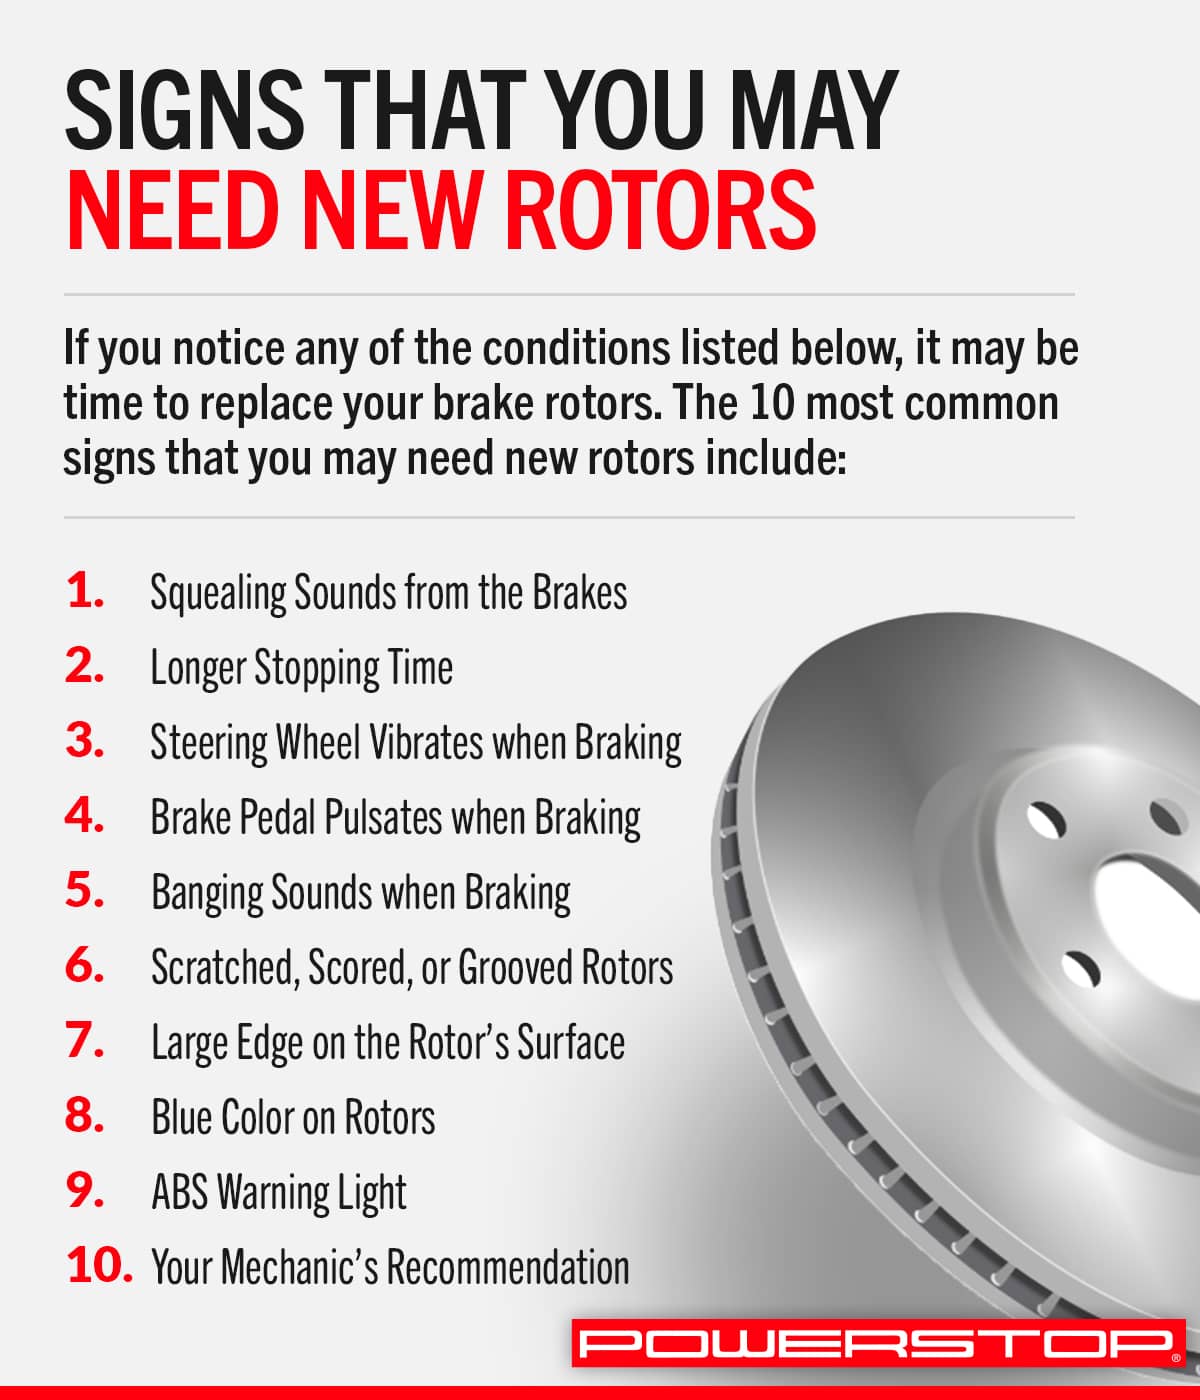
Signs Of Brake Wear
Brakes and rotors wear out over time. Knowing the signs helps keep you safe. Early detection can prevent costly repairs and accidents. Watch for common signals that show brake wear.
Noises To Listen For
Squeaking or squealing sounds often mean worn brake pads. Grinding noises suggest the pads are gone. Metal rubbing on metal can damage rotors. Listen carefully during braking for unusual sounds.
Feel Of The Brake Pedal
The brake pedal should feel firm and steady. A soft or spongy pedal may mean air in the brake lines. If the pedal sinks toward the floor, it signals a problem. Pulsing or vibration in the pedal can mean warped rotors.
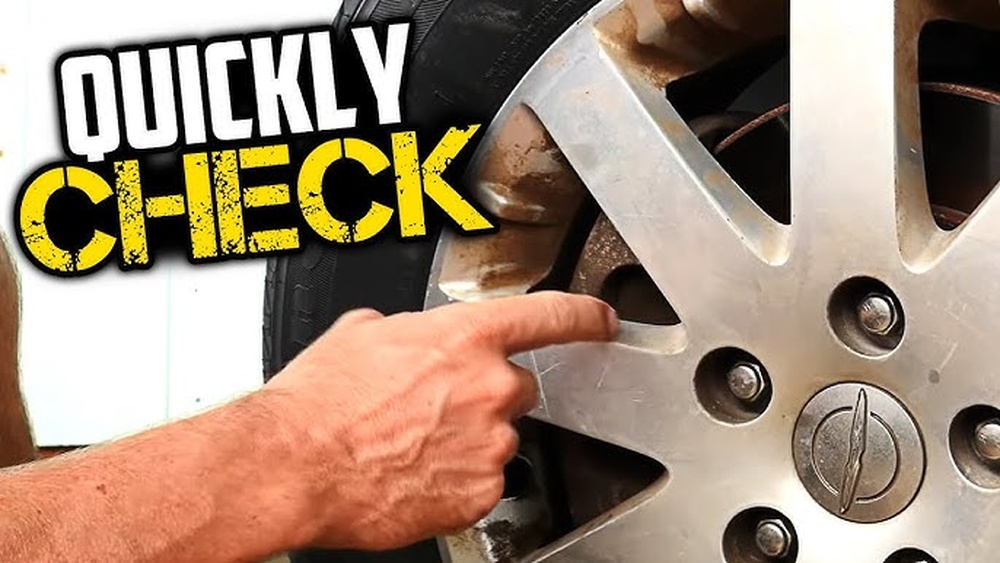
Visual Inspection Tips
Look at the brake pads through the wheel spokes. Pads thinner than 3 mm need replacement. Check rotors for grooves, cracks, or rust spots. Uneven wear or deep grooves show rotor damage. Clean brakes look smooth and shiny, not rough or dull.
Credit: pca.org
Checking Brake Pads
Checking brake pads is a vital step in maintaining vehicle safety. Brake pads press against the rotors to stop the car. Worn-out pads reduce braking power and increase risk. Regular inspection helps spot problems early. This section explains how to check brake pads properly.
Measuring Pad Thickness
Brake pad thickness shows how much life remains. Most new pads start at about 10 to 12 millimeters thick. Use a ruler or caliper to measure the pad material. Measure only the friction material, not the metal backing. If the pad thickness is below 3 millimeters, replacement is needed soon.
Identifying Uneven Wear
Uneven wear means one side of the pad wears faster. Check both inner and outer pads for differences. Uneven wear can cause pulling to one side while braking. It may indicate caliper problems or stuck pistons. Replace pads and fix issues to ensure even braking.
When To Replace Pads
Replace brake pads if thickness is very low. Also, change pads if you hear squealing or grinding noises. Vibration or reduced braking power are signs too. Always follow the vehicle manual for specific limits. Timely replacement keeps brakes working safely and smoothly.
Inspecting Rotors
Inspecting rotors is a key step in maintaining your vehicle’s braking system. Rotors work with brake pads to stop your car safely. Checking them helps avoid costly repairs and ensures smooth driving. A close look at the rotor’s surface and thickness reveals its condition. You can also detect warping, which affects brake performance.
Use simple tools like a flashlight and a micrometer for this task. Take your time and focus on details. Knowing what to check helps you spot problems early.
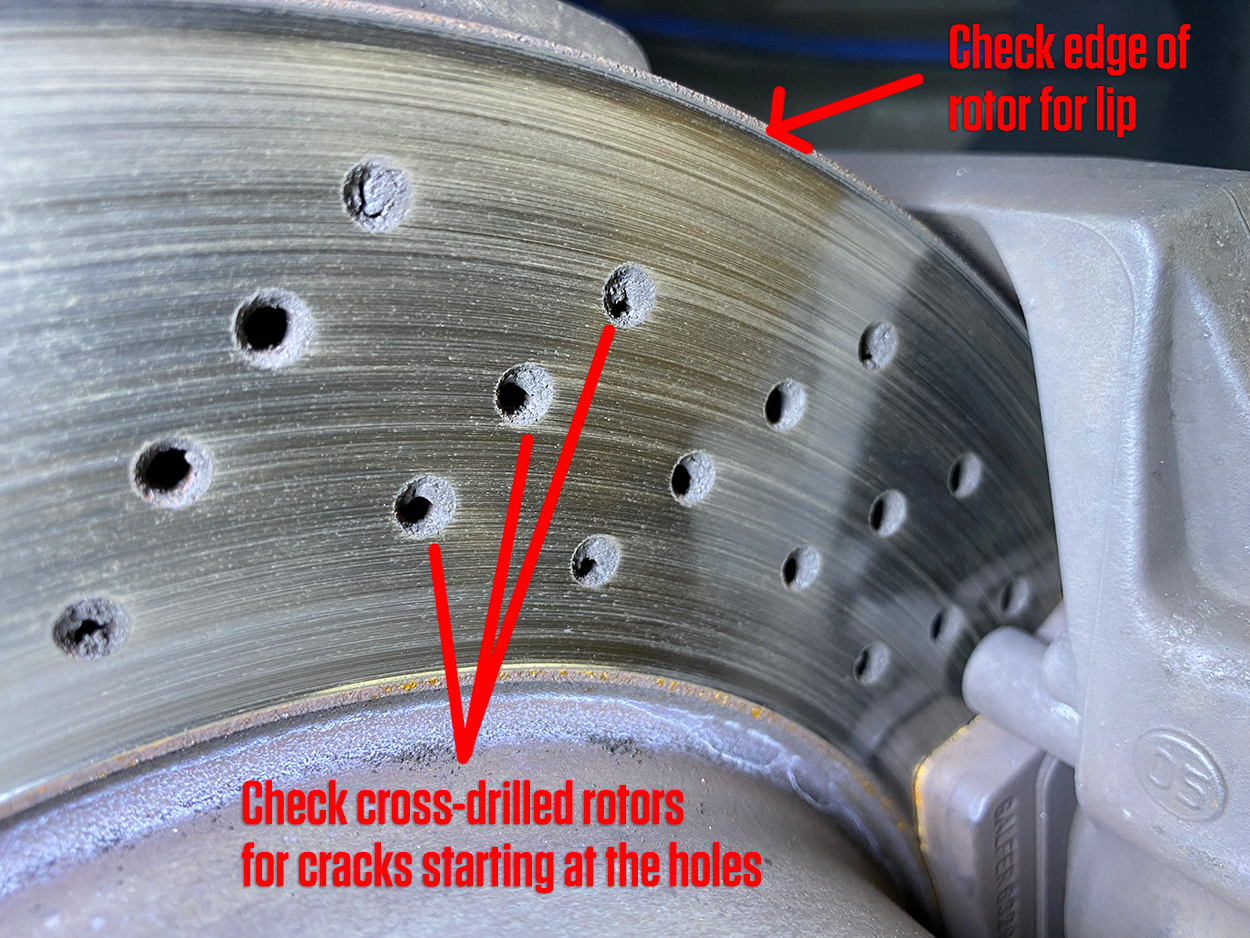
Spotting Surface Damage
Look closely at the rotor surface for grooves or cracks. Deep grooves mean the rotor has worn unevenly. Cracks can cause brake failure and need urgent attention. Minor rust is normal but heavy rust weakens the rotor. Smooth surfaces ensure better brake contact and safety.
Measuring Rotor Thickness
Use a micrometer to measure the rotor thickness. Each car model has a minimum thickness limit. Thinner rotors can overheat and crack. Compare your measurement with the limit in your car manual. Replace rotors below the minimum to keep brakes effective.
Detecting Rotor Warping
Warped rotors cause vibrations during braking. Feel the brake pedal or steering wheel shake when stopping. You can check warping by spinning the wheel and watching the rotor. If it wobbles, the rotor is bent. Warped rotors reduce brake power and should be fixed.
Tools Needed For Inspection
Checking brakes and rotors requires the right tools. Proper tools make inspection easier and safer. Without the correct tools, you might miss signs of wear or damage. This section covers essential tools for beginners and advanced tools for more precise checks.
Basic Tools For Beginners
Start with simple tools that everyone can use. A jack helps lift the car safely. Jack stands hold the car steady during inspection. A lug wrench removes wheel nuts quickly. A flashlight shows hard-to-see parts clearly. A tire pressure gauge helps check wheel condition. These tools are affordable and easy to find.
Advanced Tools For Accuracy
Advanced tools give more detailed brake and rotor information. A micrometer measures rotor thickness accurately. A dial indicator checks rotor run-out or warping. A brake pad gauge shows pad thickness precisely. These tools help catch small problems early. They are useful for regular or professional inspections. Using advanced tools can save money by preventing big repairs.
Step-by-step Inspection Process
Checking your brakes and rotors is important for safe driving. A step-by-step inspection helps find problems early. Follow these clear steps to inspect your brake system at home. Take your time and be careful. Safety first.
Preparing The Vehicle
Park your car on a flat surface. Turn off the engine and set the parking brake. Place wheel chocks behind the wheels that will stay on the ground. Wear gloves and safety glasses to protect yourself. Gather the tools you need: a jack, jack stands, and a lug wrench.
Removing Wheels Safely
Loosen the lug nuts slightly before lifting the car. Use the jack to raise the vehicle carefully. Place jack stands under the frame for support. Never work under a car supported only by a jack. Remove the lug nuts completely and take off the wheel. Keep the lug nuts in a safe place.
Examining Brakes And Rotors
Look at the brake pads through the wheel opening. Check the thickness of the pads; thin pads need replacement. Inspect the rotor surface for grooves, cracks, or rust. Spin the rotor by hand to feel for rough spots. Press the brake pedal to check for smooth movement. Listen for unusual noises when braking.
Maintenance Tips For Longevity
Keeping brakes and rotors in good shape extends their life and keeps driving safe. Simple maintenance steps prevent costly repairs. Small efforts now save big problems later. Focus on cleaning, avoiding heat damage, and regular inspections.
Regular Cleaning Practices
Clean brakes and rotors often to remove dirt and dust. Use a soft brush and brake cleaner spray. Avoid water pressure directly on brakes to stop rust. Clean parts help brakes work smoothly and last longer.
Avoiding Brake Overheating
Brake overheating causes damage and reduces part life. Avoid riding the brakes on long downhill drives. Use engine braking by shifting to lower gears. Give brakes time to cool after heavy use.
Scheduling Professional Checks
Have a mechanic check brakes and rotors regularly. Professionals spot wear and hidden problems early. Follow the service schedule in your vehicle manual. Timely checks keep brakes safe and working well.
When To Seek Professional Help
Knowing when to seek professional help is important for your vehicle’s safety. Some brake and rotor problems need expert care. Trying to fix complex issues yourself can be risky and cause more damage. Professionals have the right tools and skills to diagnose and repair problems correctly. Recognizing the signs that require expert attention keeps you safe on the road.
Complex Brake Issues
Brake systems are complex and need precise handling. If you hear grinding noises or feel vibrations when braking, it could mean a serious problem. Problems like worn brake pads, damaged calipers, or leaking brake fluid require professional inspection. These issues affect how your brakes work and your safety. Avoid fixing these problems alone to prevent further damage or accidents.
Signs Of Rotor Replacement
Rotors wear out over time and need replacement at times. Deep grooves, cracks, or warping on the rotor surface are clear signs. If you feel pulsing or shaking when braking, the rotors may be uneven. Professionals can measure rotor thickness and check for damage accurately. Replacing rotors needs precise work to ensure smooth braking and safety.
Safety Considerations
Brakes are critical for your safety and others on the road. Faulty brakes increase the risk of accidents. Professionals follow safety standards during repairs and use quality parts. Improper brake repairs can cause brake failure or uneven braking. Trusting experts protects your life and the lives of others. Always choose professional help for brake and rotor issues beyond basic checks.

Credit: www.wagnerbrake.com
Frequently Asked Questions
How Do I Visually Inspect Brake Rotors?
Look for deep grooves, cracks, or rust on rotors. Uneven wear or discoloration signals rotor issues. Use a flashlight and clean cloth for better visibility.
What Noise Indicates Brake Rotor Problems?
Squealing or grinding sounds often mean rotor or pad wear. Pulsing noise during braking can suggest warped rotors. Address noises early to avoid costly damage.
How Can I Test Brake Rotor Thickness?
Use a micrometer to measure rotor thickness precisely. Compare measurements with the manufacturer’s minimum thickness specs. Replace rotors if below recommended thickness for safety.
When Should Brake Rotors Be Replaced?
Replace rotors if warped, cracked, or below minimum thickness. Also, consider replacement if brake vibration or noise persists after pad change. Regular checks extend rotor lifespan and improve braking.
Conclusion
Checking brakes and rotors keeps your car safe on the road. Regular inspections help spot wear or damage early. Clean parts work better and last longer. Pay attention to sounds, vibrations, or changes when braking. Simple steps today prevent costly repairs later.
Stay safe by making brake checks a routine habit. Your car will thank you with smooth, reliable stops. Small efforts mean big safety for you and others. Keep your brakes in good shape for peace of mind.


