
If you want to give your car a sleek, customized look or simply replace damaged side molding, knowing how to cut body side molding correctly is key. You might think it’s tricky, but with the right steps, you can do it yourself and save time and money.
In this guide, you’ll learn simple techniques that make the process smooth and precise. Keep reading, and by the end, you’ll feel confident handling your car’s side molding like a pro.
Tools Needed
Cutting body side molding requires the right tools. Using proper tools makes the job easier and safer. Prepare all necessary items before starting. This section covers essential cutting tools and safety gear.
Essential Cutting Tools
A utility knife is a must-have for precise cuts. Choose one with a sharp, replaceable blade. A hacksaw works well for tougher moldings. It cuts through metal or plastic cleanly. Tin snips are handy for small adjustments. They offer better control on curved edges. Sandpaper or a file smooths rough cut areas. This prevents scratches on your car’s paint.
Safety Equipment
Wear safety glasses to protect your eyes from debris. Gloves protect your hands from sharp edges and blades. A dust mask keeps particles from entering your lungs. Long sleeves guard your arms against scrapes. Proper safety gear reduces injury risk while working.
Preparing The Molding
Preparing the body side molding is a key step before cutting. It ensures clean cuts and better fit. Taking time to prepare helps avoid mistakes and damage. Proper preparation makes the job easier and the result cleaner.
Cleaning The Surface
Start by cleaning the molding surface thoroughly. Remove dirt, grease, and old adhesive with a cloth. Use mild soap and water for stubborn grime. Dry the surface completely before moving forward. A clean surface helps the tape and tools stick better.
Measuring And Marking
Measure the length of molding needed precisely. Use a tape measure for accuracy. Mark the cutting points clearly with a pencil. Double-check measurements before cutting. Clear marks guide your saw and prevent errors.
Cutting Techniques
Cutting body side molding requires careful attention to detail. Using the right cutting techniques helps achieve clean edges and a perfect fit. Proper cuts reduce damage and make installation easier.
Two common cutting styles are straight cuts and angle cuts. Each style suits different parts of the molding and vehicle shape.
Straight Cuts
Straight cuts create clean, even edges. They work well for molding ends and simple shapes. Use a sharp utility knife or fine-tooth saw for straight cuts. Mark the cut line clearly before starting. Cut slowly to avoid jagged edges. Sand lightly after cutting to smooth rough spots.
Angle Cuts
Angle cuts fit molding around curves and corners. These cuts require more precision than straight cuts. Use a miter box or adjustable angle tool for accuracy. Measure the angle carefully and mark it on the molding. Cut slowly to follow the marked line. Sand edges gently to ensure a tight fit and clean finish.
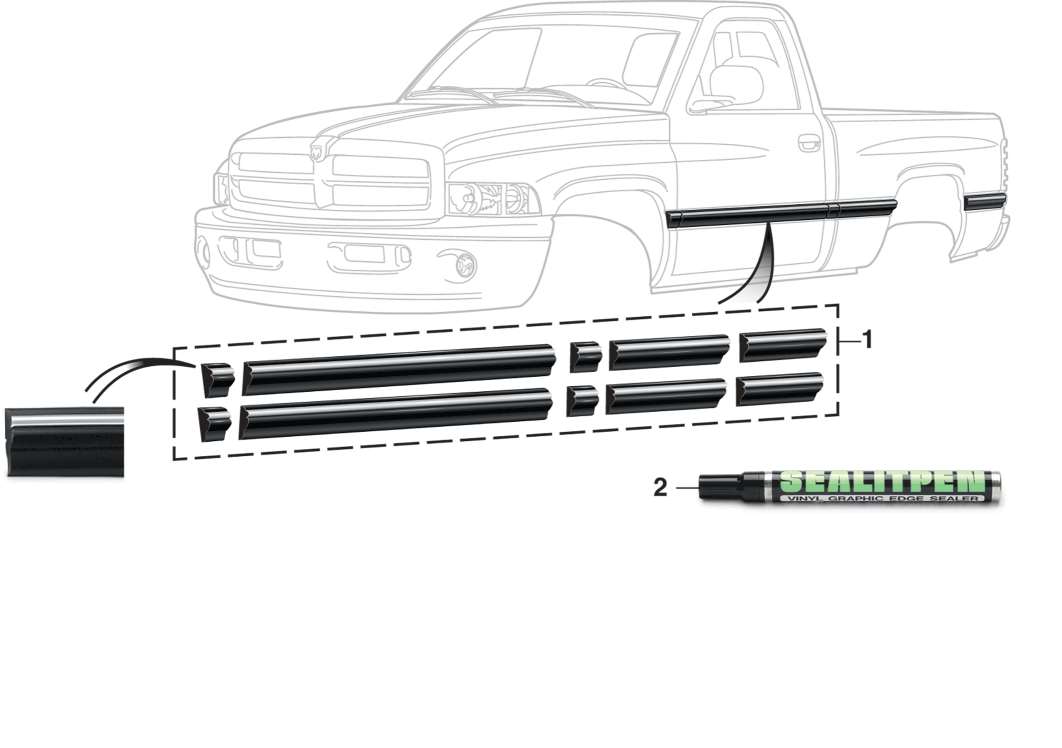
Credit: episas.at
Smoothing Edges
Smoothing edges is a key step after cutting body side molding. Sharp or rough edges can cause injury or damage paint. Taking time to smooth edges ensures a clean, safe finish. This step also helps the molding fit better on your vehicle. Use simple tools to make edges smooth and even. Focus on gentle, steady movements to avoid removing too much material.
Sanding Tips
Start with medium-grit sandpaper, around 120 grit. Wrap it around a small block for better control. Sand the edges in one direction. This avoids rough spots. Check edges often. Stop sanding once edges feel smooth to touch. Switch to fine-grit sandpaper, like 220 grit, for a polished finish. Lightly sand again to remove any scratches. Keep your sanding slow and steady to avoid uneven edges.
Using A File
Choose a fine-toothed file for best results. Hold the molding firmly on a flat surface. File the edges gently with smooth strokes. Move the file in one direction only. Avoid rough or fast filing, which can cause damage. Check your progress regularly by feeling the edge. Use the file to reach tight corners and small areas. Finish by cleaning off dust with a soft cloth.
Installing The Molding
Installing the body side molding is a key step in car customization. It protects your car and improves its look. Proper installation ensures the molding fits well and stays in place for a long time.
Take your time during this process. Careful work leads to better results and a clean finish.
Aligning The Pieces
Start by placing the molding pieces along the car’s side. Check the fit without attaching them. Make sure the edges line up evenly. Adjust any parts that look uneven or out of place. Proper alignment avoids gaps and keeps the molding straight.
Use masking tape to hold the pieces temporarily. This helps you see the final look before securing them. Double-check the alignment from different angles. A smooth line gives a professional finish.
Securing The Molding
Once aligned, secure the molding to the car body. Use clips, screws, or adhesive depending on your molding type. Press firmly to ensure a strong bond. Clean the surface before attaching to improve adhesion.
Work slowly along the molding, securing one section at a time. Avoid rushing to prevent mistakes. Check for any loose spots and press again if needed. Proper securing keeps the molding tight and durable.
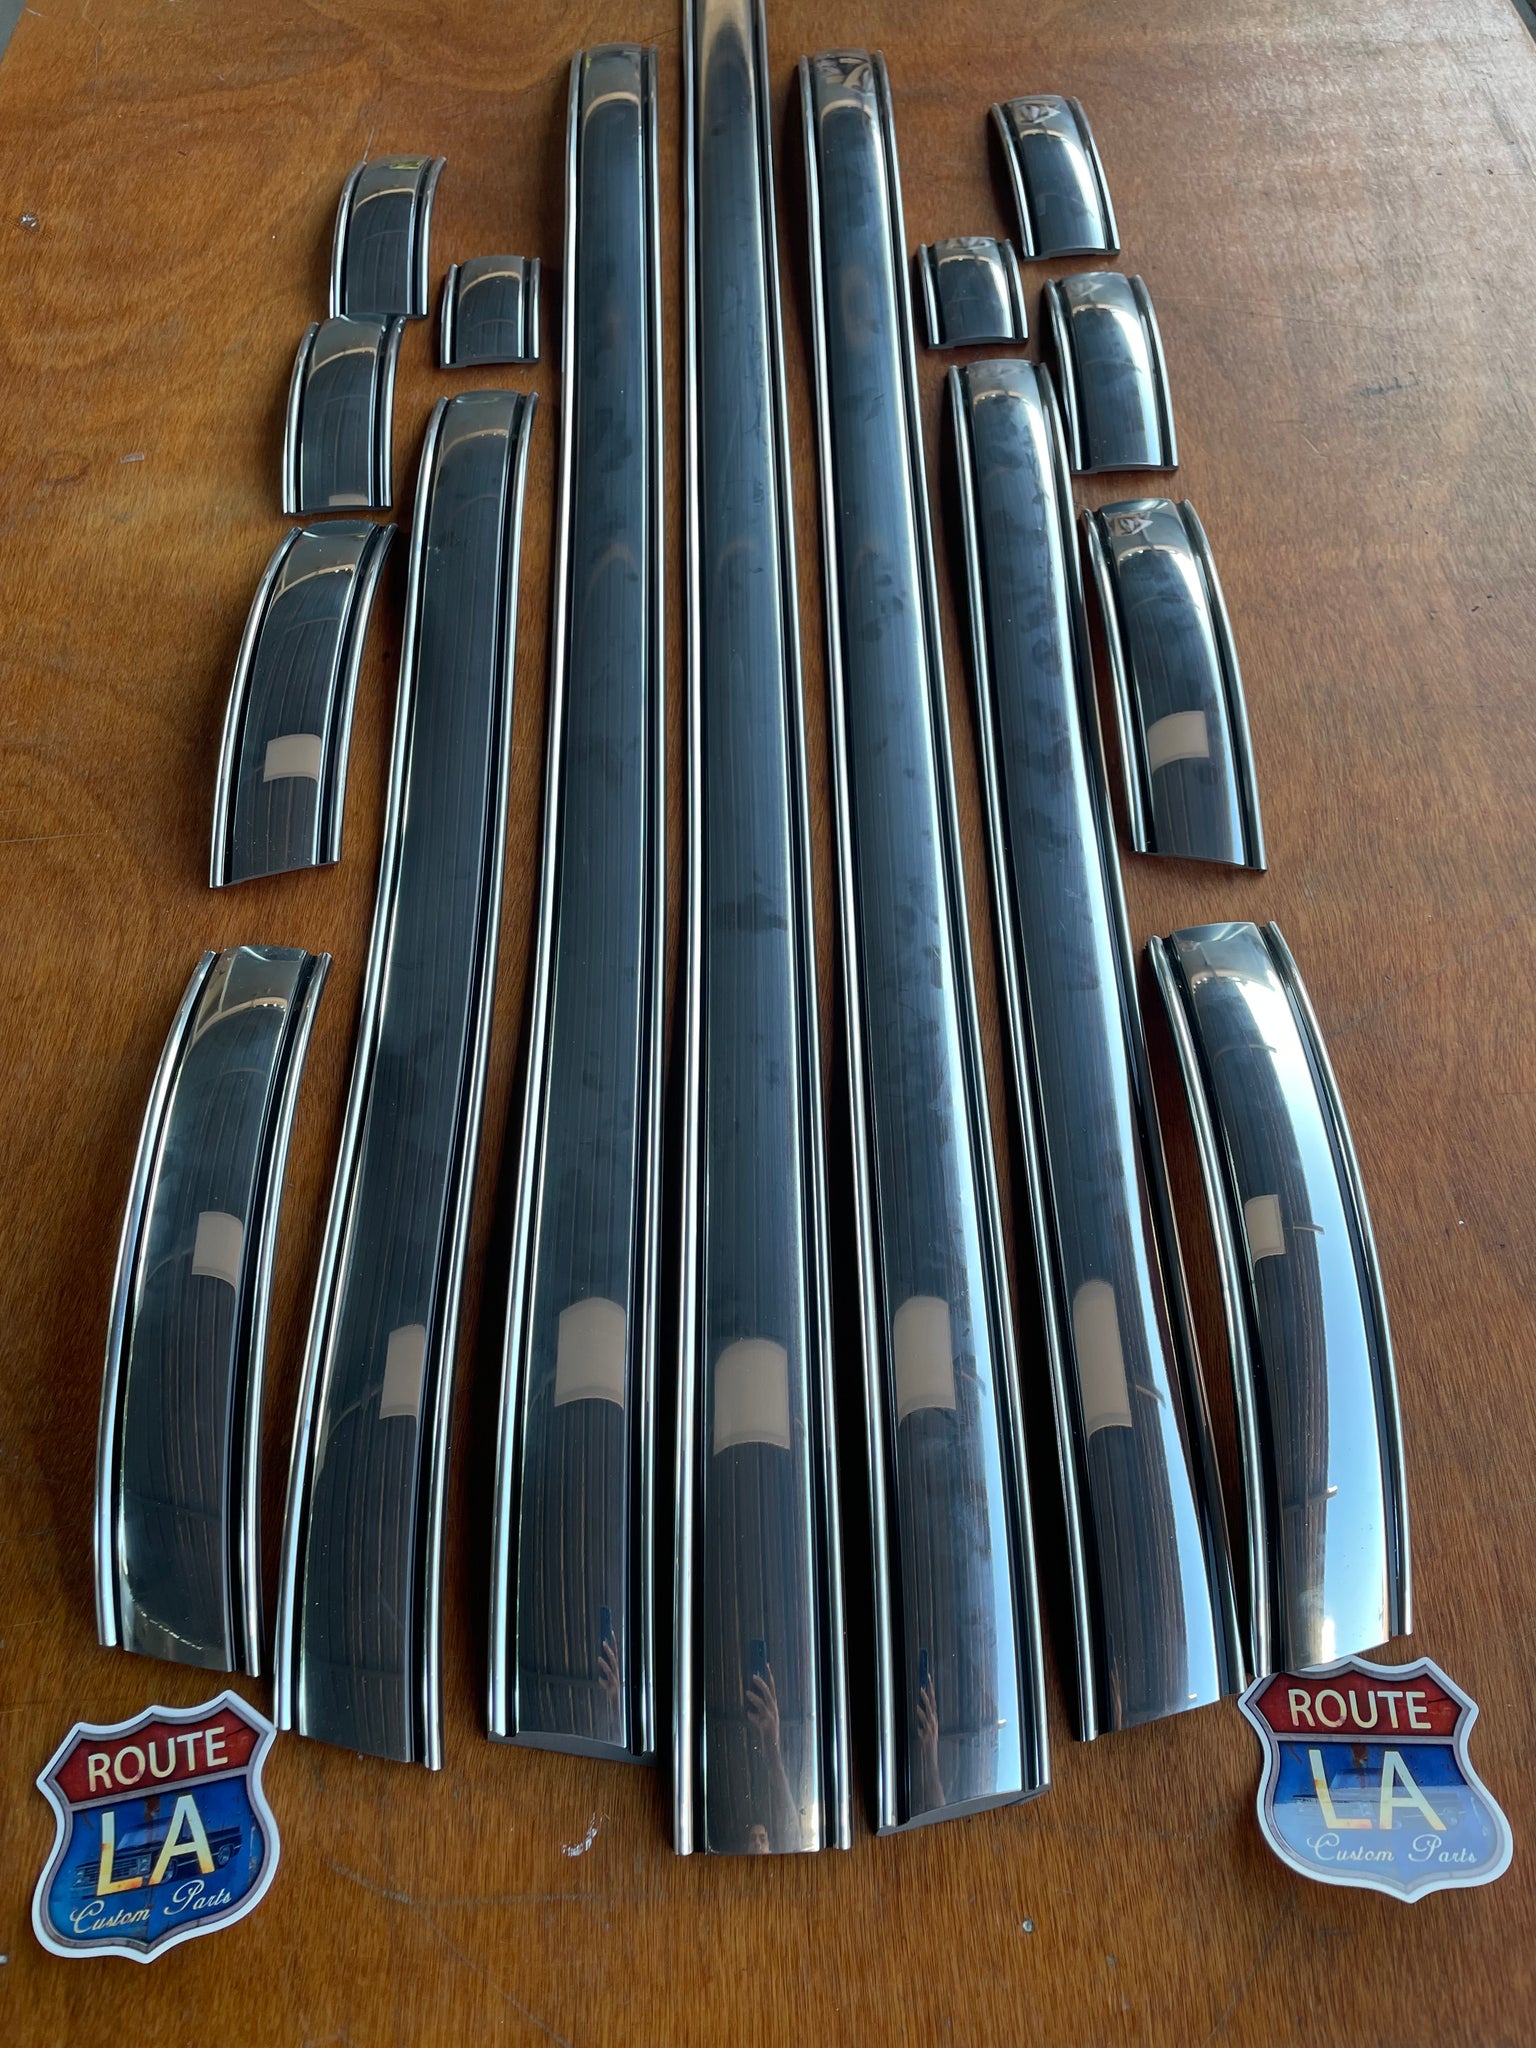
Credit: routelacustomparts.com
Finishing Touches
Finishing touches make your body side molding look neat and complete. This step ensures durability and a smooth appearance. Small details here protect your work and improve the overall look.
Painting And Sealing
Choose paint that matches your car’s color exactly. Use thin layers to avoid drips and uneven spots. Allow each coat to dry before applying the next one.
Seal the edges of the molding with a clear sealant. This prevents water and dirt from getting underneath. Use a small brush for precise application.
Final Inspection
Check the molding edges closely for any gaps or rough spots. Feel the surface to find uneven areas. Fix small issues by sanding or adding more paint.
Make sure the molding is firmly attached and does not move. Press lightly along the sides to confirm it is secure. Clean the area to remove dust and fingerprints.
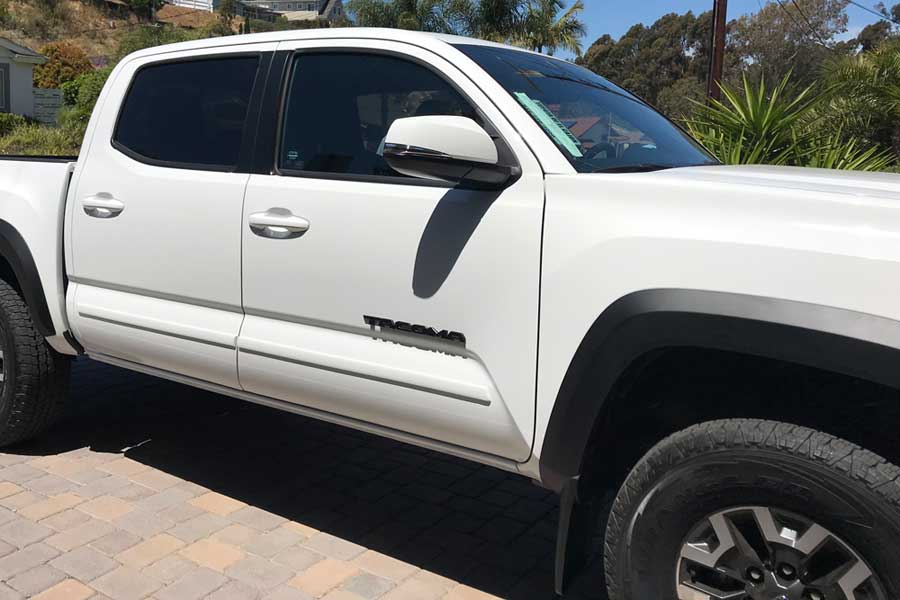
Credit: www.pirouette-editions.fr
Frequently Asked Questions
How Do You Safely Cut Body Side Molding?
Use a sharp utility knife and a straight edge. Score the molding gently several times. Avoid applying too much pressure to prevent damage to the car’s paint. Wear gloves to protect your hands during the process.
What Tools Are Needed To Cut Body Side Molding?
You need a utility knife, straight edge, measuring tape, and gloves. A heat gun may help soften the molding for easier cutting. Using the right tools ensures a clean, precise cut without damaging your vehicle.
Can I Cut Body Side Molding Without Removing It?
Yes, you can cut the molding while it’s still attached. Use a utility knife carefully to avoid scratching the paint. However, removing the molding first often yields a cleaner and safer cut.
How Do I Measure Molding Before Cutting It?
Measure the desired length with a tape measure. Mark the cutting point with a pencil or masking tape. Double-check the measurement before cutting to ensure accuracy and avoid mistakes that could waste molding material.
Conclusion
Cutting body side molding takes patience and the right tools. Measure carefully before you start the cut. Use a sharp blade for a clean edge. Take your time to avoid mistakes or damage. Keep safety in mind and wear gloves.
A well-cut molding improves your car’s look. Practice makes the process easier and faster. Small steps lead to a great finish. Stay calm and follow each step closely. Your effort will show in the final result.


