Are you ready to give your car, laptop, or any smooth surface a fresh new look? Designing a vinyl wrap lets you express your style in a bold and creative way.
But where do you start? How do you make sure your design stands out and fits perfectly? This guide will walk you through simple steps to create a vinyl wrap that grabs attention and lasts long. Keep reading, and you’ll discover insider tips that make the whole process easier and more fun than you ever imagined.
Your perfect wrap is just a few clicks away!
Choosing The Right Vinyl
Choosing the right vinyl is key to a successful vinyl wrap project. The material affects the look, feel, and lifespan of the wrap. Picking the correct type ensures your design stays vibrant and lasts long. Consider the purpose of the wrap and the surface it will cover. This helps to select vinyl that meets your needs.
Types Of Vinyl Materials
There are several types of vinyl materials for wraps. Cast vinyl is thin and flexible. It molds well to curves and lasts longer. Calendered vinyl is thicker and less flexible. It is good for flat surfaces and short-term use. There is also adhesive vinyl, which comes with different adhesive strengths. Choosing the right type depends on the application and surface shape.
Considering Durability And Finish
Durability is important for outdoor wraps. Cast vinyl offers high durability and resists fading. It holds up well under weather and washing. Calendered vinyl is less durable but cheaper. Finish options like matte, gloss, or satin affect the look. Matte hides imperfections. Glossy finishes create shine. Satin offers a balance between the two.
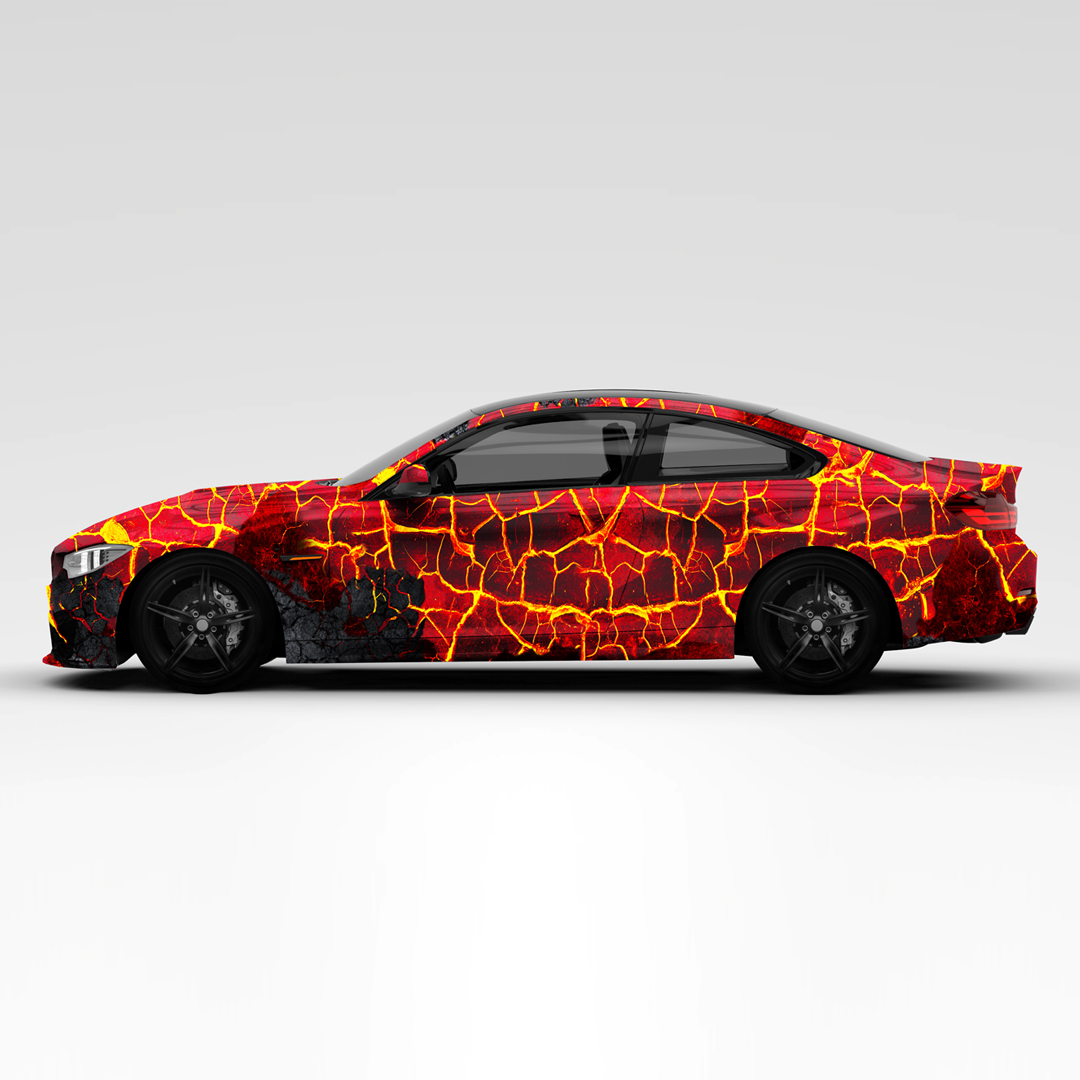
Color And Texture Options
Vinyl comes in many colors and textures. Bright colors catch attention easily. Metallic and chrome finishes add a luxury feel. Textured vinyl like brushed metal or carbon fiber adds depth. Consider the brand and message when picking colors. Textures can enhance the design and make it unique.
Credit: www.vehiclewrapping.com
Planning Your Design
Planning your vinyl wrap design sets the stage for a smooth project. Careful preparation saves time and avoids mistakes. This step helps you see the final look before starting. It also ensures the wrap fits perfectly on every surface.
Measuring Surfaces Accurately
Measure every area you want to cover with the vinyl wrap. Use a tape measure for length and width. Write down the dimensions clearly. Check curves and edges carefully. Double-check your measurements to avoid errors. Accurate measuring helps prevent wasted material.
Sketching Your Ideas
Draw rough sketches of your design on paper. Mark where each color or pattern will go. Sketching helps you visualize your concept. It also reveals any design problems early. Keep your sketches simple and clear. Use these as a guide during the digital design stage.
Using Design Software
Transfer your sketches into a design program. Software like Adobe Illustrator or CorelDRAW works well. Use templates matching your vehicle or object size. Design software allows precise placement of shapes and text. It also shows colors and effects realistically. Save your work often to avoid losing progress.
Preparing The Surface
Preparing the surface is a key step in designing a vinyl wrap. A clean and smooth base helps the wrap stick well and last longer. Proper preparation also prevents bubbles and wrinkles during application.
Cleaning And Degreasing
Start by washing the surface with soap and water. Remove dirt and dust completely. Use a degreaser to clear off oils and grease. This step ensures the wrap will stick tightly. Avoid skipping this step for best results.
Removing Old Wraps Or Paint
Old wraps must come off before applying a new one. Use a heat gun or wrap remover to peel off old vinyl. For paint, remove loose or chipped parts. Sanding helps create a clean surface. This step prevents bumps under the new wrap.
Ensuring A Smooth Base
Check the surface for dents or scratches. Fill dents with body filler and sand smooth. Use fine-grit sandpaper to even out rough spots. Clean the surface again after sanding. A smooth base makes the wrap look professional.
Cutting And Printing
Cutting and printing are key steps in designing vinyl wraps. These steps shape the final look and fit of the wrap. Careful cutting and high-quality printing ensure the wrap looks smooth and professional.
Good cutting keeps the wrap edges clean and sharp. Clear printing brings colors and details to life. Both must work together for the best result.
Choosing The Right Printer
Select a printer designed for vinyl material. It must handle large formats and produce vibrant colors. Ink quality matters to avoid fading or peeling. Choose printers that use eco-friendly inks for safety and durability. Check printer resolution to ensure sharp images and text. A good printer saves time and cuts costs.
Cutting Techniques For Precision
Use a sharp blade or a vinyl cutter for clean edges. Cut slowly and steadily to avoid mistakes. Follow the design lines exactly for a perfect fit. Use masking tape to hold vinyl in place while cutting. Test cuts on scrap vinyl to adjust pressure and speed. Precision cutting reduces waste and improves appearance.
Working With Templates
Templates guide cutting and printing to match the surface. Use digital templates for exact measurements and shapes. Align the design to avoid gaps or overlaps. Update templates for new car models or surfaces. Templates save time and reduce errors. Always check the template before printing or cutting.
Applying The Vinyl Wrap
Applying a vinyl wrap is a careful process. It needs patience and the right tools. The wrap must stick smoothly without bubbles or wrinkles. This part of the project is important for a clean, professional look.
Tools You’ll Need
Gather these tools before you start. A squeegee helps press the vinyl down flat. A heat gun softens the vinyl for better fitting. A utility knife cuts the wrap to size. Cleaning supplies remove dirt from the surface. A measuring tape ensures accurate placement. Gloves keep fingerprints off the vinyl.
Step-by-step Application Process
First, clean the surface thoroughly. Dirt or oil will stop the vinyl from sticking. Peel the backing from the vinyl carefully. Align the wrap on the surface. Press the center first, then work outward. Use the squeegee to push out air bubbles. Heat the vinyl gently to make it more flexible. Trim the edges with a sharp knife. Take your time to avoid mistakes.
Handling Curves And Edges
Curves and edges need special attention. Heat softens the vinyl, making it easier to stretch. Stretch the vinyl gently over curves. Avoid pulling too hard to prevent tears. Use the squeegee to smooth out wrinkles. Cut small slits near tight corners if needed. Press edges firmly for a secure fit. This ensures the wrap looks smooth and neat.
Credit: vinyllabs.co
Troubleshooting Common Issues
Designing vinyl wrap can be tricky. Small problems often happen during installation. Knowing how to fix these issues saves time and effort. This section helps solve common troubles with vinyl wrap. Clear steps make the process easier and smoother.
Avoiding Air Bubbles
Air bubbles appear when air gets trapped under the vinyl. Use a squeegee to press the vinyl firmly. Start from the center and push air toward the edges. Work slowly to prevent new bubbles. Warm the vinyl slightly with a heat gun for better flexibility. This helps the vinyl stick well to curves and corners.
Fixing Wrinkles And Creases
Wrinkles show when the vinyl folds during application. Gently lift the vinyl near the wrinkle. Warm the area with a heat gun to soften it. Smooth the vinyl back down with a squeegee. Avoid stretching too much to prevent damage. Repeat if necessary until the surface is flat and smooth.
Dealing With Stretching And Tearing
Stretching happens when pulling the vinyl too hard. This can cause tears or thin spots. Use slow, even pressure during stretching. Heat the vinyl to improve its stretchability. If a tear occurs, patch it from behind with extra vinyl. Avoid sharp tools near the vinyl to prevent cuts. Careful handling helps keep the wrap intact.
Maintaining Your Vinyl Wrap
Maintaining your vinyl wrap is key to keeping its fresh look. Proper care helps the wrap last longer and stay vibrant. Neglecting maintenance can cause damage and fading over time.
Regular attention keeps your wrap looking clean and new. Small efforts make a big difference in preserving the design and color. Follow simple steps to protect your investment.
Cleaning Tips
Use a soft cloth or sponge with mild soap and water. Avoid harsh chemicals or abrasive tools that can scratch the surface. Rinse thoroughly and dry with a microfiber towel to prevent water spots.
Wash your wrap regularly, about once every two weeks. Spot clean any dirt or stains quickly. This prevents buildup and maintains the vinyl’s shine.
Protecting Against Weather
Park your vehicle in shaded areas to reduce sun damage. UV rays can fade colors and weaken the vinyl. Cover your wrap during harsh weather like snow or heavy rain.
Use a vinyl-safe protectant spray to add an extra layer of defense. This helps repel dirt and water, keeping the wrap looking fresh longer.
When To Replace Your Wrap
Check for peeling edges, cracks, or fading colors regularly. These signs show your wrap needs replacing. A damaged wrap can harm your vehicle’s paint underneath.
Replace your wrap every 5 to 7 years, depending on care and exposure. Proper maintenance can extend this time frame significantly.
Credit: www.wrapuk.com
Frequently Asked Questions
What Materials Are Best For Vinyl Wrap Design?
High-quality vinyl films like cast or calendared vinyl are ideal. Cast vinyl is durable and conforms well to curves. Calendared vinyl is cheaper but less flexible. Choose based on your project’s complexity and budget for best results.
How Do I Prepare A Surface For Vinyl Wrapping?
Clean the surface thoroughly to remove dirt and oils. Use isopropyl alcohol for best results. Ensure the surface is dry and smooth. Avoid textured or damaged surfaces for optimal vinyl adhesion and longevity.
What Tools Are Essential For Vinyl Wrap Application?
You’ll need a squeegee, heat gun, utility knife, and microfiber cloth. The squeegee helps remove air bubbles. A heat gun softens the vinyl for curves. A sharp utility knife trims excess vinyl precisely.
How Long Does A Vinyl Wrap Typically Last?
Vinyl wraps last between 5 to 7 years with proper care. Exposure to sunlight and weather affects longevity. Regular cleaning and avoiding harsh chemicals extend the wrap’s life significantly.
Conclusion
Designing a vinyl wrap takes planning and creativity. Choose colors and patterns that suit your style. Keep the surface clean and smooth for best results. Measure carefully to avoid mistakes and waste. Use quality materials to ensure the wrap lasts long.
Take your time during application for a neat finish. Enjoy the fresh look your design brings. Practice helps you improve with each project. Try new ideas and have fun with vinyl wraps!