
Have you ever spent hours carefully applying a vinyl wrap, only to find annoying bubbles trapped underneath? Those bubbles don’t just look bad—they can ruin the smooth, professional finish you worked so hard to achieve.
But don’t worry, getting rid of them is easier than you think. You’ll discover simple, effective ways to remove bubbles from your vinyl wrap and make your project look flawless. Keep reading, and you’ll be amazed at how quickly you can fix those pesky imperfections.
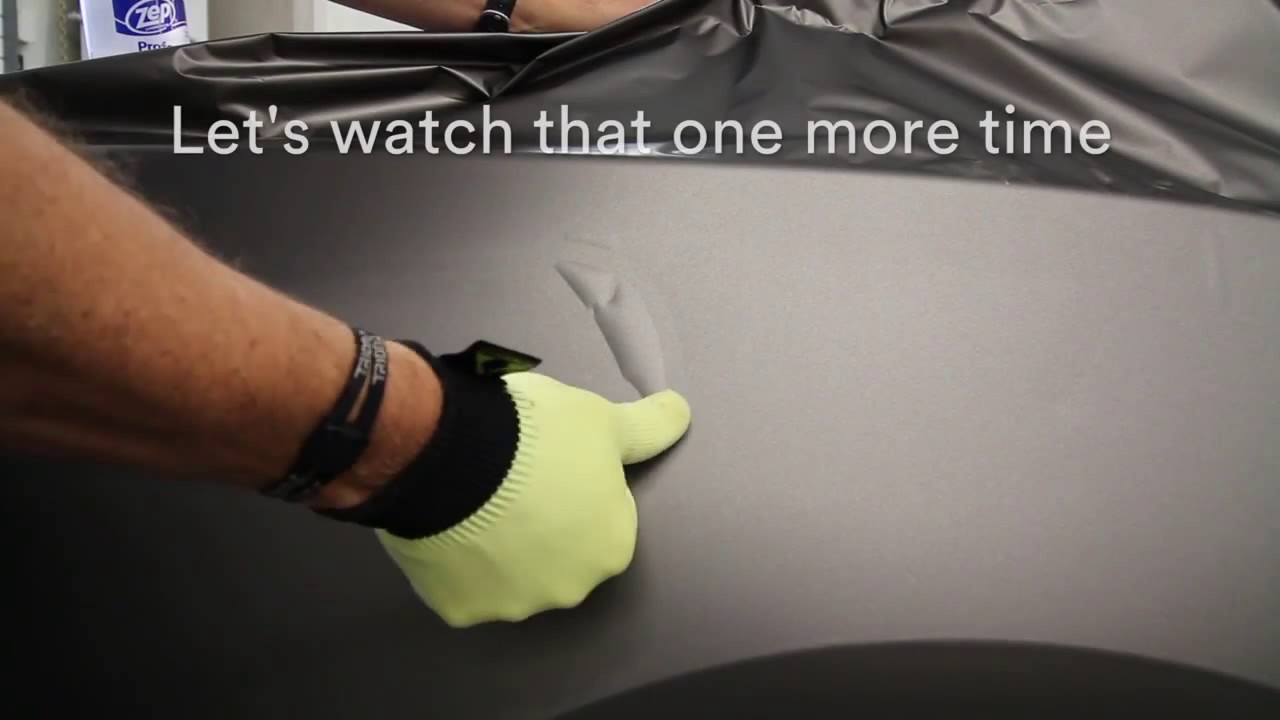
Credit: www.youtube.com
Causes Of Bubbles In Vinyl Wrap
Bubbles in vinyl wrap appear for several reasons. Understanding these causes helps prevent and fix the problem quickly. Bubbles reduce the wrap’s look and can cause damage over time. Identifying the root cause is the first step to smooth, clean results.
Trapped Air During Application
Air can get trapped under the vinyl wrap during installation. This happens if the wrap is applied too fast or without smoothing. Small pockets of air create visible bubbles. Using a squeegee slowly helps push air out as you apply.
Surface Contaminants
Dirt, dust, or grease on the surface stops the wrap from sticking well. These contaminants create gaps where air collects. Cleaning the surface thoroughly before wrapping is essential. A clean surface ensures the vinyl sticks flat and strong.
Incorrect Temperature
Temperature affects how vinyl behaves during installation. Cold vinyl becomes stiff and hard to stretch. Heat makes it soft but can cause it to stretch too much. Applying wrap at the right temperature helps avoid bubbles and wrinkles.
Poor Installation Techniques
Rushing or using wrong tools causes bubbles. Not using enough pressure or skipping steps leaves air pockets. Proper technique includes cleaning, heating, and smoothing carefully. Practice and patience improve the finish and reduce bubble problems.

Credit: www.youtube.com
Tools Needed For Bubble Removal
Removing bubbles from vinyl wrap is easier with the right tools. These tools help smooth out air pockets quickly. They also prevent damage to the vinyl during the process. Knowing what tools to use makes bubble removal faster and cleaner.
Squeegee Or Plastic Card
A squeegee or a plastic card pushes bubbles out from under the vinyl. Use firm but gentle pressure. Move from the center toward the edges. This helps air escape without tearing the wrap. A credit card or gift card works well if you don’t have a squeegee.
Heat Gun Or Hair Dryer
Heat softens the vinyl and makes it easier to stretch. Use a heat gun or a hair dryer on low heat. Warm the area with bubbles gently. This makes the vinyl more flexible and helps bubbles flatten out. Be careful not to overheat or burn the vinyl.
Pin Or Needle
A pin or needle lets trapped air escape. Poke a tiny hole in the bubble’s center. Press the bubble flat with a squeegee after poking. This releases air without ruining the wrap. Use this tool only for stubborn bubbles that don’t move.
Cleaning Supplies
Clean surfaces help vinyl stick better. Use a soft cloth and mild cleaner to remove dirt and dust. Avoid harsh chemicals that may damage the vinyl. Clean the area before applying the vinyl or fixing bubbles. This improves adhesion and reduces future bubbles.
Step-by-step Bubble Removal Methods
Bubbles in vinyl wrap can ruin the smooth look of your surface. Removing them takes care and the right method. This guide offers clear steps to fix bubbles effectively. Each technique fits different bubble sizes and situations.
Using A Squeegee To Push Bubbles Out
A squeegee helps move air trapped under vinyl. Start from the center of the bubble. Push the air gently towards the edges. Use firm, even pressure for best results. This method works well for small bubbles.
Applying Heat To Soften Vinyl
Heat makes vinyl soft and flexible. Use a heat gun or hairdryer on low setting. Warm the bubble area evenly. Soft vinyl allows trapped air to escape easily. Be careful not to overheat and damage the wrap.
Puncturing Small Bubbles
Small bubbles can be released by tiny holes. Use a pin or needle to make a small puncture. Press the bubble gently to push out air. Seal the puncture by smoothing vinyl with a squeegee. This method avoids peeling or tearing.
Reapplying Vinyl For Large Bubbles
Large bubbles need more work to fix. Carefully lift the vinyl from the bubble edge. Peel it back slowly without stretching. Remove trapped air or debris underneath. Reapply the vinyl smoothly, pushing air out with a squeegee. This ensures a flat, clean surface.
Preventing Bubbles In Future Wraps
Preventing bubbles in vinyl wraps saves time and improves the final look. Careful steps during application make a big difference. Avoiding mistakes keeps the wrap smooth and lasting longer. Focus on preparation, environment, technique, and materials for the best results.
Preparing The Surface Properly
Clean the surface thoroughly before wrapping. Remove dirt, grease, and dust with a mild cleaner. Dry the surface completely to avoid moisture traps. Smooth any rough spots or dents. A clean, smooth base helps the vinyl stick better and reduces bubbles.
Maintaining Optimal Temperature
Work in a warm environment between 60°F and 80°F. Cold temperatures make vinyl stiff and hard to stretch. Heat helps the vinyl conform to curves and stick evenly. Avoid extreme heat that can cause the adhesive to dry too fast. Keep the temperature steady during the entire process.
Applying Vinyl Slowly And Evenly
Start applying vinyl from one edge. Use a squeegee to press the vinyl down gently. Move slowly to push out air pockets as you go. Stretch the vinyl a little to fit curves well. Check for bubbles often and smooth them out right away.
Using Quality Materials
Choose high-quality vinyl and tools for better results. Cheap vinyl often has poor adhesive and wrinkles easily. Use a soft squeegee to avoid scratching the wrap. Good materials last longer and reduce common problems like bubbles and peeling.
When To Seek Professional Help
Sometimes, removing bubbles from vinyl wrap is not easy. Some bubbles stay under the surface even after trying many times. This can cause damage or poor results if you continue without the right skills.
Knowing when to seek professional help can save time and money. Experts have the tools and experience to fix tough bubbles. They can also check for any damage to the wrap or surface.
Signs That You Need Expert Help
Large bubbles that won’t shrink after heating are a warning. Multiple bubbles spread over a wide area need careful handling. Wrapping over curved or complex surfaces can cause hidden bubbles.
Risks Of Trying To Fix It Yourself
Using sharp tools without skill may tear the wrap. Applying too much heat can melt or warp the vinyl. Poor repairs can make the wrap look worse and shorten its life.
Benefits Of Hiring A Professional
Professionals use special heat guns and squeegees for smooth results. They know how to remove bubbles without harming the vinyl. A clean, smooth wrap improves the look and protects the surface longer.

Credit: www.elitewrappers.com
Frequently Asked Questions
How Do I Remove Bubbles From Vinyl Wrap?
Use a pin to puncture small bubbles gently. Then, press the air out with a squeegee. Heat the area slightly to soften the vinyl for easier smoothing.
What Causes Bubbles In Vinyl Wrap Application?
Bubbles form due to trapped air or moisture under the wrap. Improper surface cleaning or rushing the installation process also leads to bubbles.
Can Heat Help Eliminate Vinyl Wrap Bubbles?
Yes, heat softens the vinyl, making bubbles easier to smooth out. Use a heat gun or hair dryer on low heat cautiously.
Is It Possible To Fix Large Bubbles In Vinyl Wrap?
For large bubbles, puncture carefully and press out air slowly. Reapply heat and use a squeegee to smooth the vinyl evenly.
Conclusion
Bubbles on vinyl wrap can be fixed with simple steps. Use a squeegee to smooth the surface carefully. Heat the wrap gently to make it easier to work with. Small bubbles can be popped and pressed out easily. Take your time to avoid damaging the wrap.
Clean tools and a clean surface help a lot. Clear bubbles make your wrap look neat and fresh. Practice these tips to keep your vinyl wrap bubble-free. Your vehicle or item will look smooth and professional again.

