
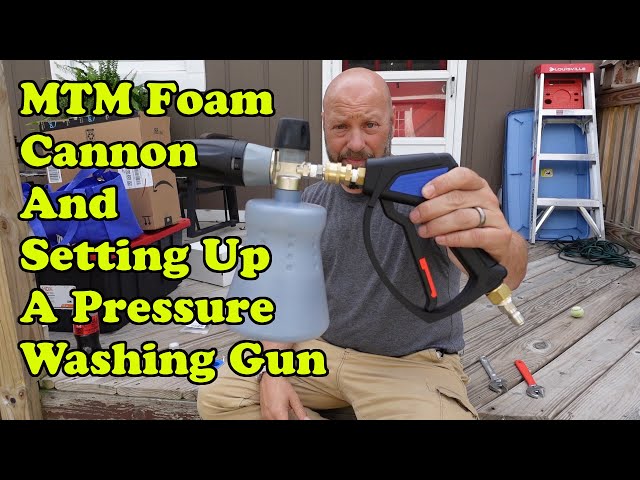
If you want to give your car wash a professional touch, learning how to hook up a foam cannon is a game changer. Imagine covering your vehicle in thick, rich foam that loosens dirt and grime effortlessly.
It’s not just about looking cool—this method protects your paint and saves you time. In this guide, you’ll discover simple, step-by-step instructions to connect your foam cannon quickly and safely. By the end, you’ll be ready to transform every wash into a satisfying, efficient experience.
Keep reading, and make your car shine like never before!
Choosing The Right Foam Cannon
Choosing the right foam cannon is key to getting the best cleaning results. A good foam cannon produces thick foam that sticks to surfaces. This foam helps break down dirt and grime easily. Picking the right type, matching it with your pressure washer, and choosing the correct soap all matter.
Types Of Foam Cannons
Foam cannons come in different styles. Some have adjustable nozzles to control foam thickness. Others offer quick-connect fittings for easy setup. There are basic models and heavy-duty versions. Heavy-duty ones work well for large jobs. Basic models suit smaller tasks and light cleaning.
Compatible Pressure Washers
Not all foam cannons fit every pressure washer. Check your washer’s PSI and GPM ratings. PSI means pounds per square inch. GPM means gallons per minute. Match these with the foam cannon’s requirements. High PSI washers work best with heavy-duty foam cannons. Low PSI washers need lighter, compatible models.
Selecting The Best Soap
Soap choice affects foam quality and cleaning power. Use soap made for foam cannons or pressure washers. Regular dish soap can clog the nozzle or damage your washer. Choose soaps that create thick, long-lasting foam. Look for biodegradable and gentle formulas for safe use on cars and plants.
Credit: www.youtube.com
Preparing Your Equipment
Preparing your equipment is the first step to use a foam cannon correctly. Proper setup ensures the best foam and a smooth cleaning process. Taking time to prepare avoids problems later.
Assembling The Foam Cannon
Start by connecting the foam cannon to your pressure washer. Screw the cannon’s connector tightly onto the washer’s lance. Make sure it fits well to prevent leaks. Check all parts for damage before assembly.
Attach the foam cannon bottle securely. It should not wobble or come loose during use. Tighten the bottle gently by hand, avoiding over-tightening that could cause cracks.
Filling The Soap Reservoir
Fill the foam cannon’s bottle with soap or car wash detergent. Use a soap designed for foam cannons to get rich foam. Do not fill the bottle to the top; leave space for air and mixing.
Mix soap with water if needed, following the soap manufacturer’s instructions. Use cold or warm water, but avoid hot water, which can damage the foam cannon.
Adjusting Nozzle Settings
Adjust the nozzle to control foam thickness and spray pattern. Turn the knob to increase or decrease foam output. Test the spray on a small area to check settings.
Set the nozzle for a wide spray for large surfaces or a narrow spray for tight spots. Fine-tune the settings to get the best cleaning power and foam coverage.
Connecting To The Pressure Washer
Connecting the foam cannon to your pressure washer is the first step to getting thick, soapy foam for your cleaning tasks. This connection must be tight and secure to avoid leaks and ensure proper foam output. Follow these steps to set up your foam cannon correctly.
Attaching The Foam Cannon
Start by turning off your pressure washer. Take the foam cannon and align its connector with the pressure washer’s spray gun. Push the foam cannon into place until it clicks or fits snugly. Use the quick-connect coupler if your washer has one. This method makes attaching fast and easy.
Checking For Secure Fit
After attaching, gently pull the foam cannon to check if it is secure. It should not come off easily or wiggle. A loose fit causes leaks and weak foam. Tighten connections by pressing firmly or twisting the coupler. A solid fit ensures good water flow and foam pressure.
Testing Water Pressure
Turn on the pressure washer carefully. Hold the spray gun and spray water through the foam cannon. Watch for steady water flow and foam output. Low pressure means a loose connection or clogged nozzle. Adjust or clean parts as needed. Proper pressure creates thick foam for better cleaning.
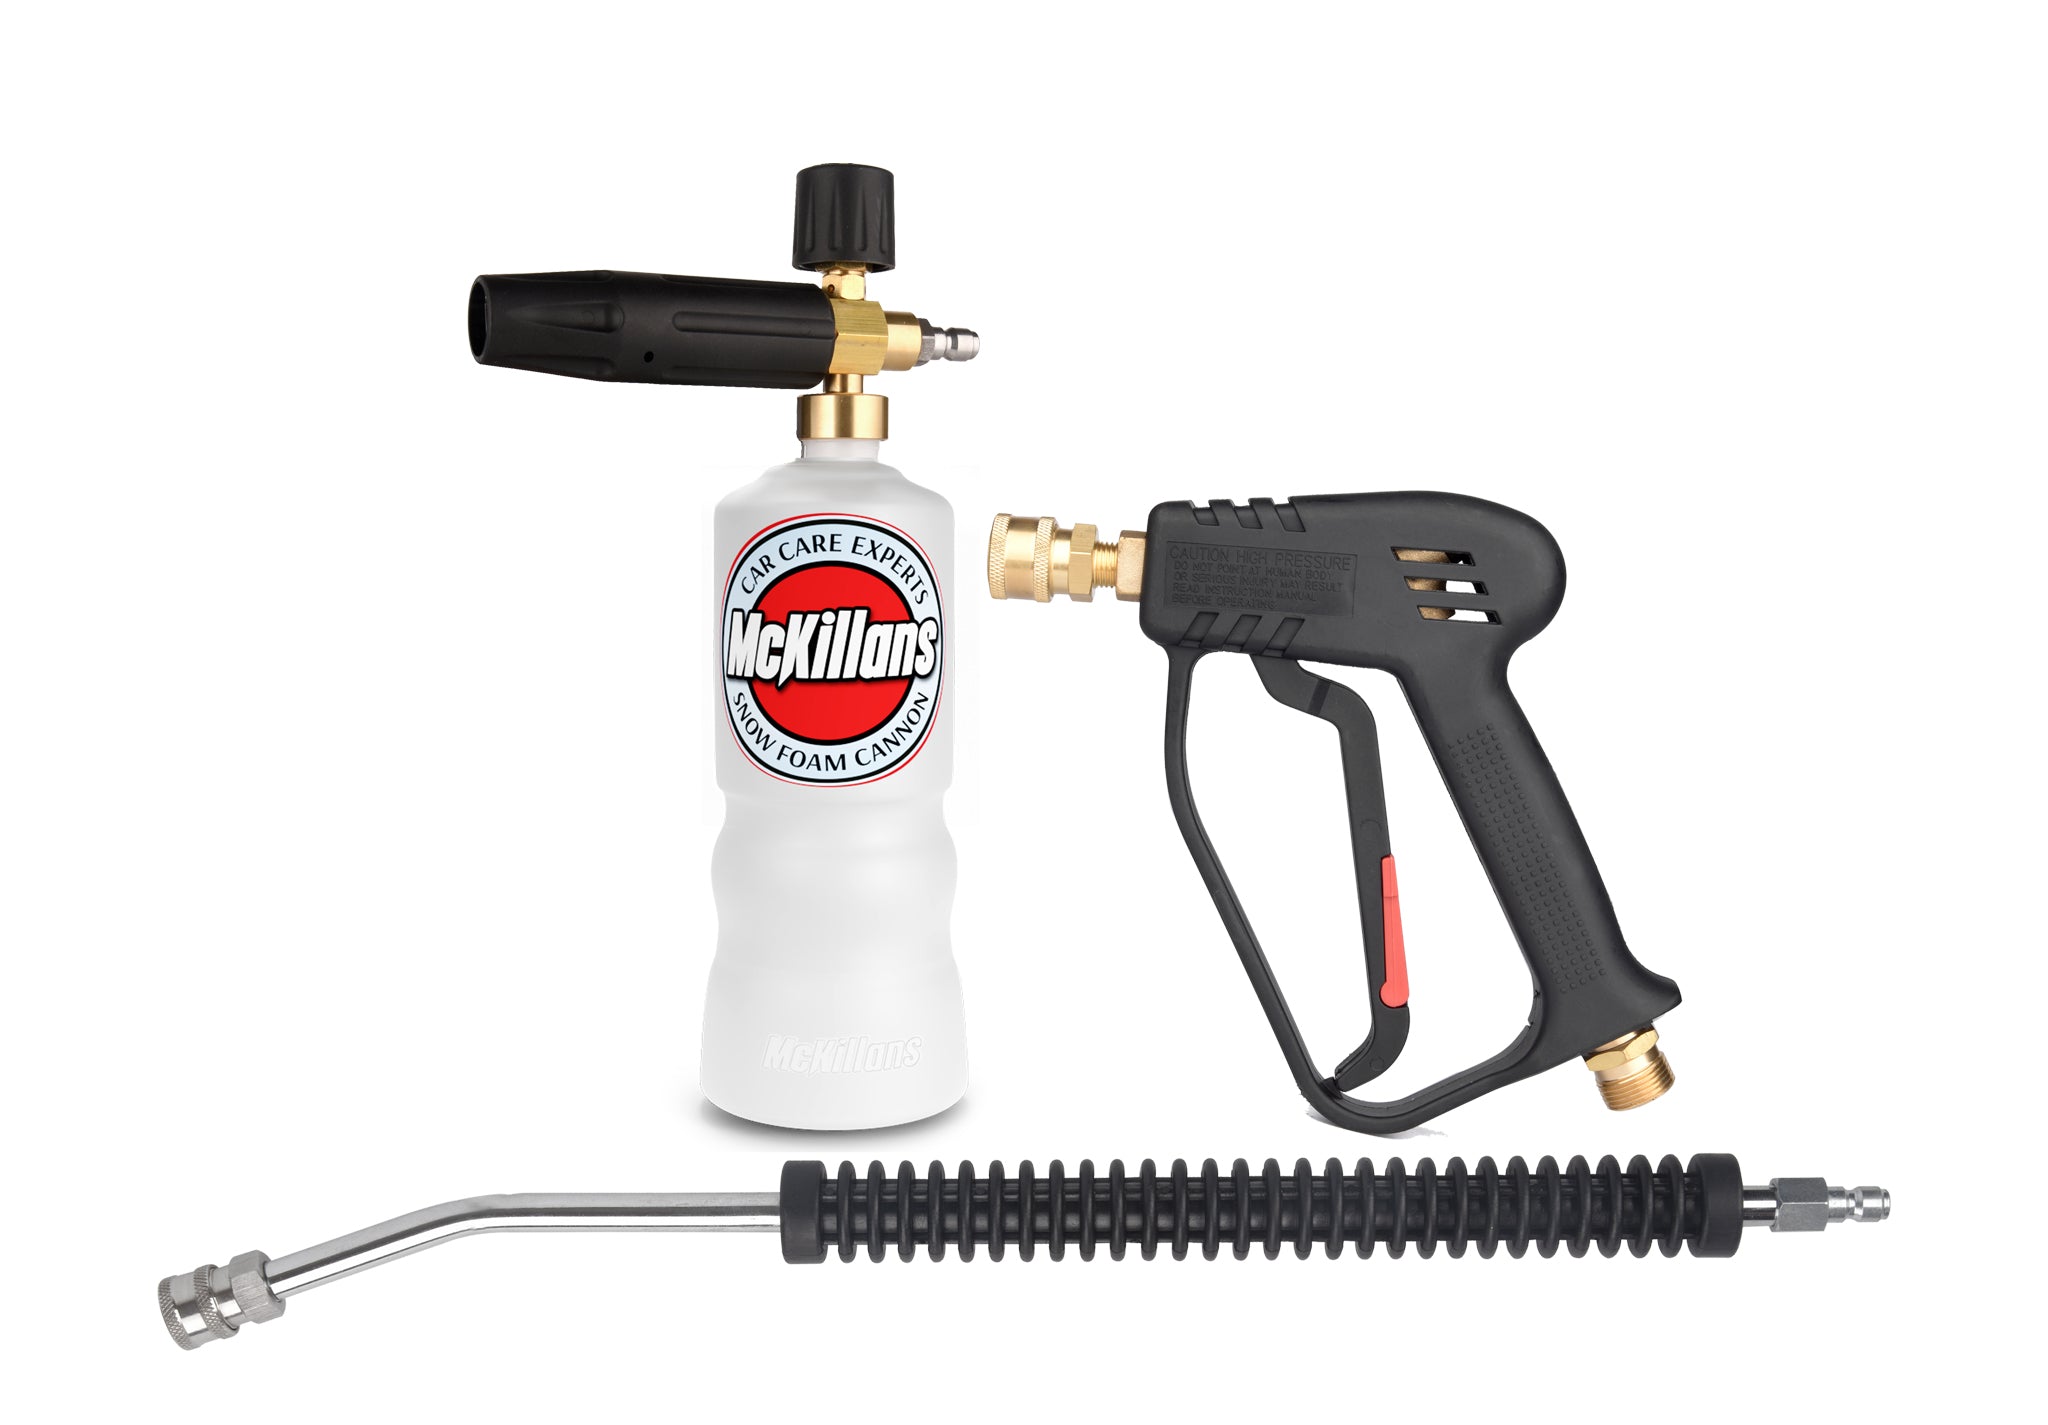
Credit: www.mckillans.com
Applying Foam For Cleaning
Applying foam with a foam cannon makes cleaning easier and more effective. The foam clings to surfaces, loosening dirt and grime. This helps remove stubborn stains without scrubbing hard. Using the right technique improves cleaning results and saves time.
Optimal Spray Techniques
Hold the foam cannon about 2 to 3 feet from the surface. Spray in slow, steady movements to cover all areas. Avoid spraying too close to prevent foam from running off. Aim for an even layer of foam on the surface.
Coverage Tips
Cover all dirty spots thoroughly. Overlap spray lines slightly to avoid gaps. Spray edges carefully as dirt tends to hide there. Use vertical and horizontal strokes to reach every angle.
Allowing Foam Dwell Time
Let the foam sit on the surface for 5 to 10 minutes. This time lets the foam break down dirt effectively. Avoid letting foam dry completely, as it can leave marks. Rinse off foam with water after the dwell time ends.
Rinsing And Post-cleaning Care
Rinsing and post-cleaning care keep your foam cannon working well. Cleaning after use stops soap and dirt from building up inside. This step helps your equipment last longer and work better next time. Take time to rinse and clean properly to avoid damage.
Switching To Rinse Mode
Turn off the soap supply first. Switch your foam cannon to rinse mode by using plain water. Run water through the cannon for a few minutes. This clears leftover soap from the system. Rinse mode stops clogs and keeps foam strong for next use.
Cleaning The Foam Cannon
Remove the foam cannon from the pressure washer. Take apart the nozzle and soap tank carefully. Wash each part with warm water to remove residue. Use a soft brush to clean tight spaces. Let all parts dry completely before reassembling. Clean parts prevent buildup and ensure smooth operation.
Storing Your Equipment
Store your foam cannon in a dry place. Keep it away from direct sunlight and extreme temperatures. Make sure all parts are dry before storage. Store the soap separately to avoid leaks. Proper storage protects your foam cannon and keeps it ready for use.
Troubleshooting Common Issues
Troubleshooting common issues with a foam cannon helps you get the best results. Problems like low foam output or uneven spray can stop your cleaning job. Fixing these issues is easy with simple checks and adjustments. Follow these tips to keep your foam cannon working well.
Low Foam Output
Low foam output often means the soap mix is too weak. Use the right soap designed for foam cannons. Check the soap level and refill if needed. Clean the foam cannon nozzle to remove clogs. Inspect the air intake valve for blockages. Adjust the soap-to-water ratio for thicker foam. Make sure the water pressure from the washer is strong enough.
Uneven Spray Patterns
Uneven spray patterns show nozzle problems or blockages. Remove the nozzle and rinse it with water. Check for dirt or debris inside the nozzle. Tighten all connections to avoid leaks. Adjust the spray angle for better coverage. Replace the nozzle if it is damaged or worn out. Test the spray on a small area before starting.
Pressure Washer Compatibility
Not all foam cannons fit every pressure washer. Check the connector size matches your washer’s output. Use an adapter if needed for a tight fit. Confirm your pressure washer has enough pressure. Foam cannons usually need 1000 to 3000 PSI. Low pressure washers may not produce good foam. Read the foam cannon manual for compatibility details.

Credit: www.youtube.com
Frequently Asked Questions
What Equipment Do I Need To Hook Up A Foam Cannon?
You need a pressure washer, foam cannon, and foam soap solution. Connect the foam cannon to the pressure washer’s spray gun. Make sure all fittings are tight to avoid leaks. Use the recommended soap for best foam results.
How Do I Connect A Foam Cannon To A Pressure Washer?
Attach the foam cannon to the spray gun’s quick-connect fitting. Ensure it snaps in securely. Check for any leaks before use. Adjust the foam cannon’s nozzle for desired spray pattern and foam thickness.
What Type Of Soap Works Best In A Foam Cannon?
Use a pH-balanced, low-foaming car wash soap. Avoid harsh detergents or bleach-based cleaners. These can damage your vehicle’s paint and the foam cannon. Choose a soap specifically designed for foam cannons for optimal foam quality.
How Do I Adjust The Foam Cannon For Thicker Foam?
Turn the foam adjustment knob on the cannon to increase soap concentration. Adjust the water flow via the pressure washer if needed. Test spray on a small area to get the perfect foam thickness before full application.
Conclusion
Hooking up a foam cannon is simple and quick. Connect the cannon to your pressure washer securely. Use the right soap for the best foam results. Adjust the spray nozzle to control foam thickness. Always test the setup on a small area first.
Clean the cannon after use to keep it working well. Enjoy a cleaner car with less effort. Practice a few times to feel confident. Foam cannons make washing easier and more fun. Give it a try today!


