
Are you looking to give your car a sleek, polished look with chrome body side molding? Installing and cutting chrome molding might seem tricky at first, but with the right steps, you can do it yourself and save time and money.
In this guide, you’ll learn exactly how to measure, cut, and install chrome body side molding so it fits perfectly and looks professional. Keep reading, and by the end, you’ll have the confidence to upgrade your car’s style like a pro.
Tools And Materials Needed
Installing and cutting chrome body side molding requires specific tools and materials. Having the right items helps achieve a clean, professional look. It also makes the process faster and safer.
Essential Tools
Start with a tape measure to get exact lengths. A utility knife is needed to trim the molding precisely. Use a fine-tooth hacksaw or a metal cutting blade for clean cuts. A heat gun helps soften the molding for better fitting. Adhesive remover cleans the car surface before installation. Lastly, a microfiber cloth wipes away dust and residue.
Choosing The Right Molding
Pick molding that fits your car’s style and size. Check if it is flexible enough to match body curves. Chrome molding should be rust-resistant and durable. Buy molding that comes with adhesive backing for easy installation. Measure your car’s side panel before purchasing molding strips.
Safety Gear
Wear safety glasses to protect your eyes from metal shards. Use gloves to avoid cuts from sharp edges. A dust mask keeps you safe from particles while cutting. Dress in long sleeves to protect your arms during installation. Safety gear reduces risks and keeps you comfortable during work.
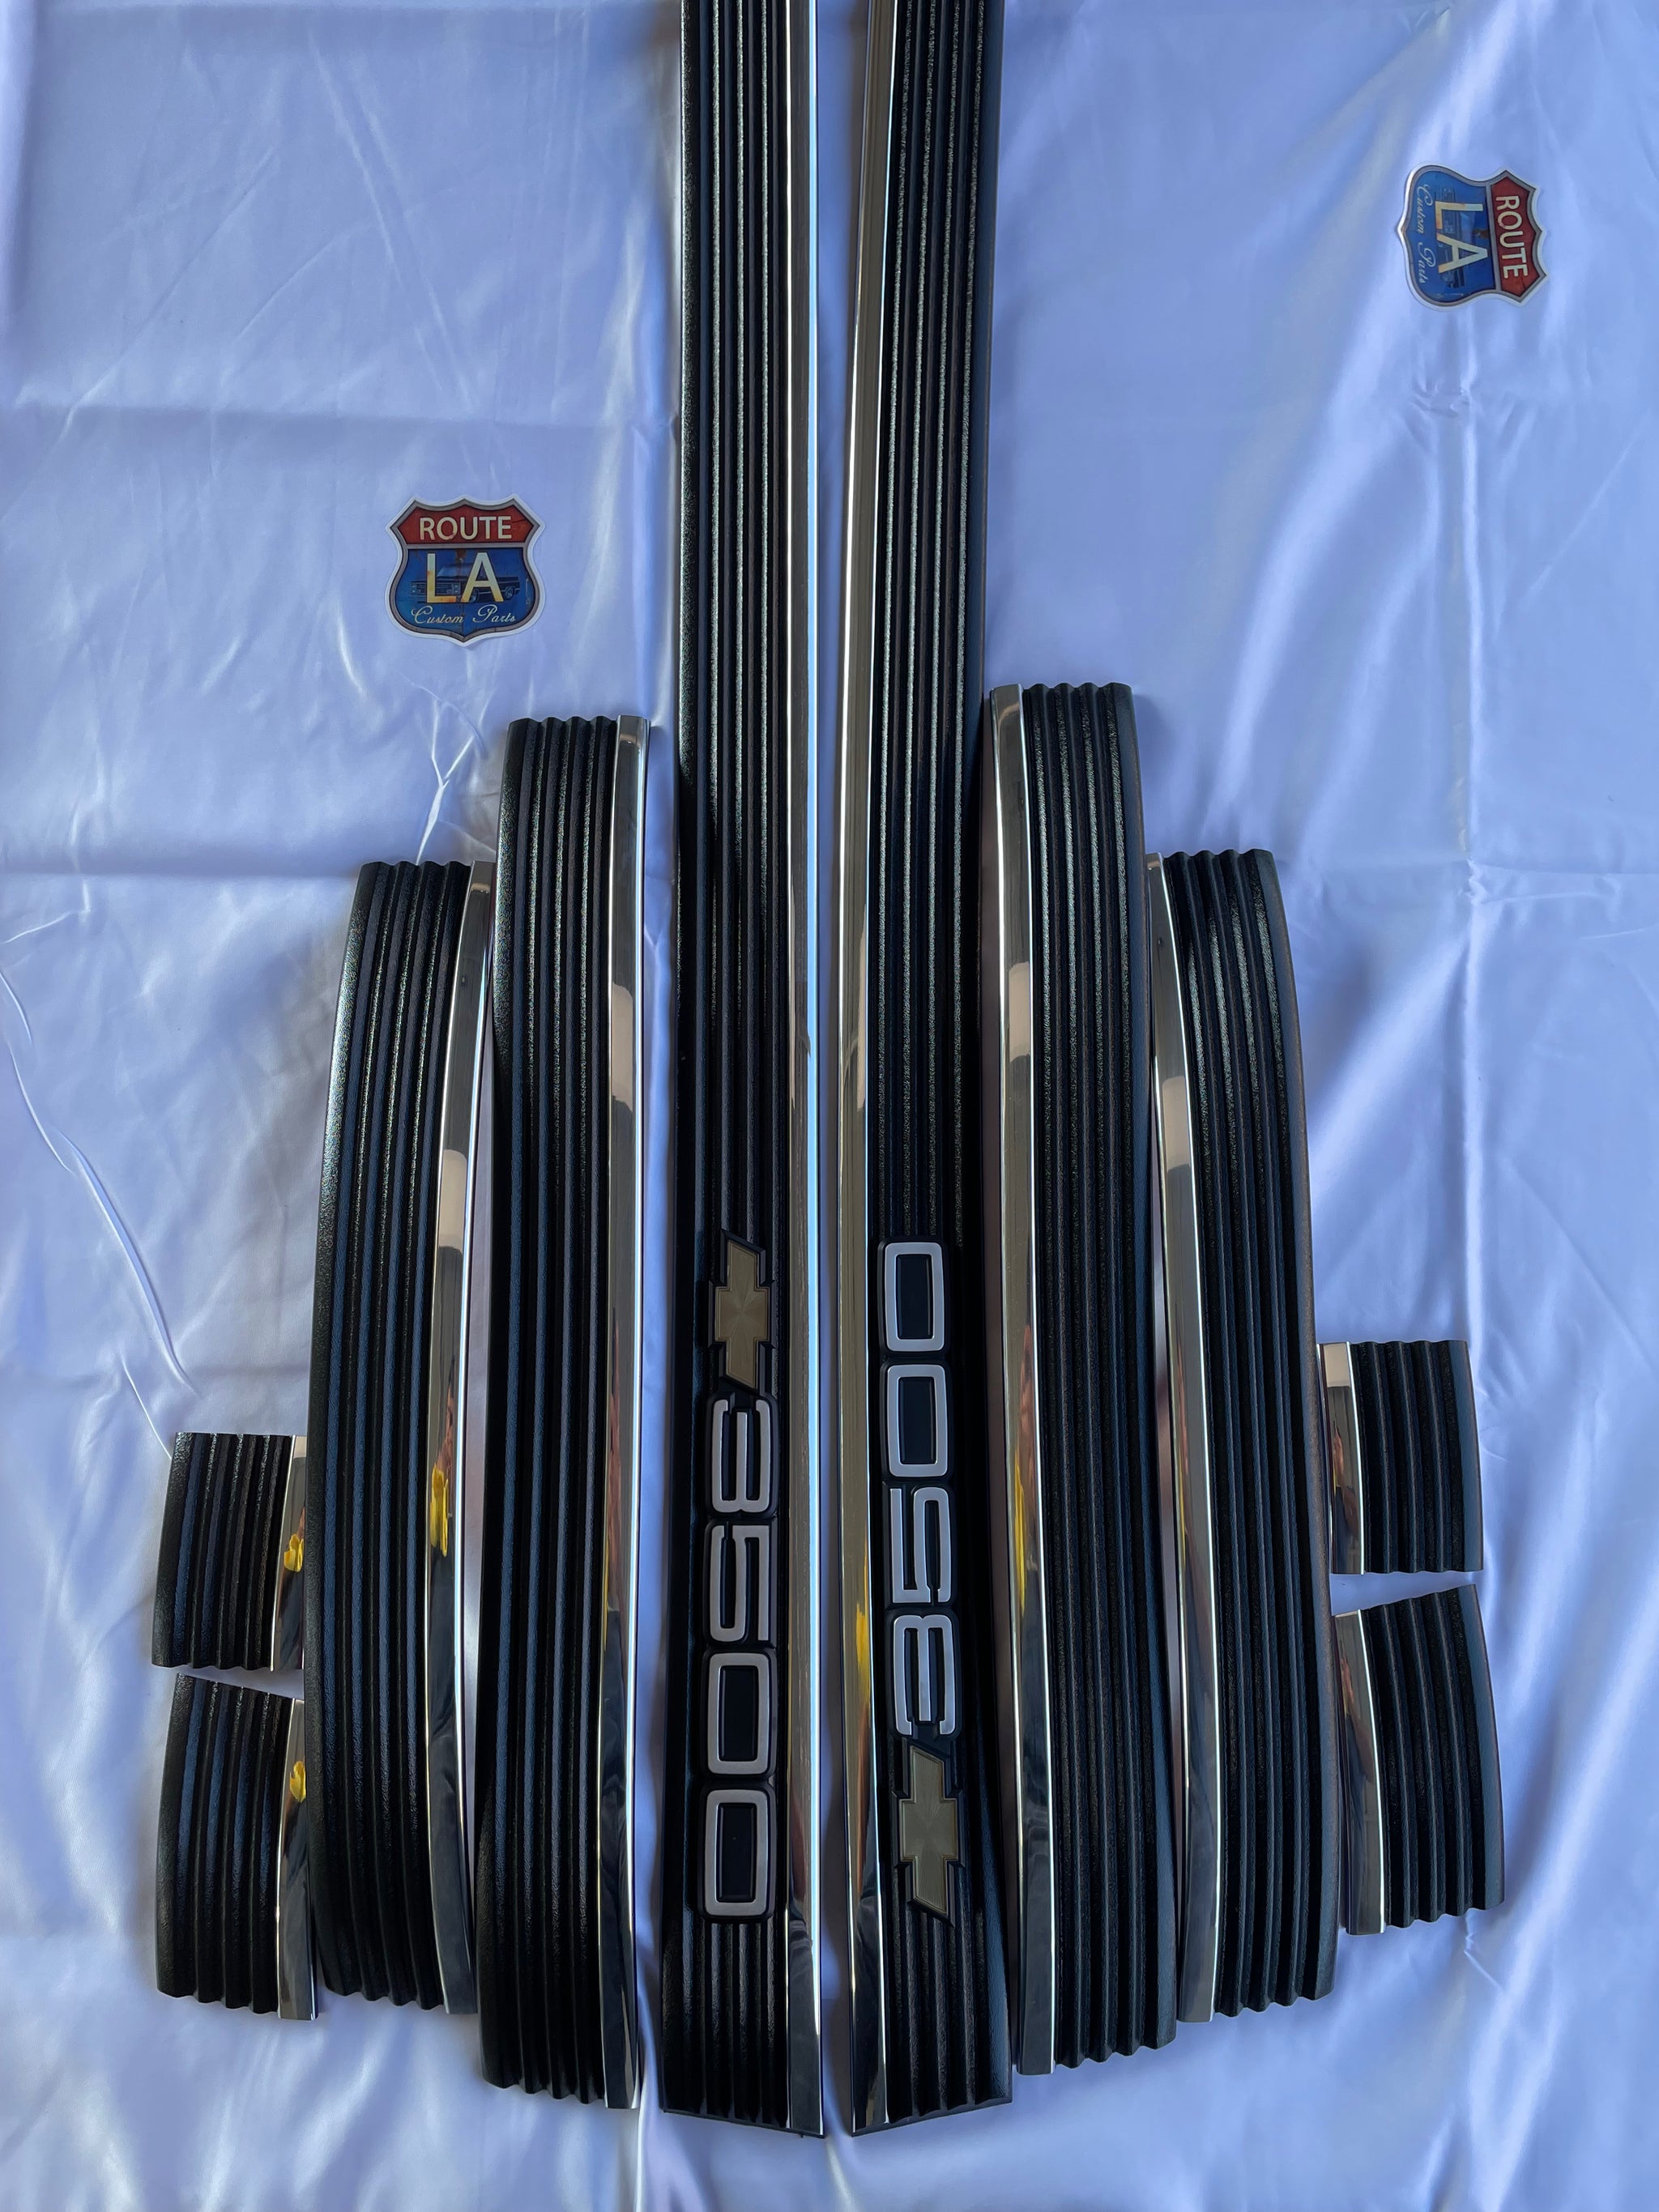
Credit: www.gilgharda.com
Preparing The Vehicle
Preparing the vehicle is the first step before installing and cutting chrome body side molding. This step ensures the molding fits perfectly and sticks well. Proper preparation helps avoid mistakes and saves time.
Cleaning The Surface
Start by washing the side panels. Use soap and water to remove dirt and grease. Dry the surface completely with a clean cloth. Any dust or oil can stop the molding from sticking properly.
Measuring The Side Panels
Measure the length of the side panels carefully. Use a tape measure for accuracy. Note down the measurements to guide your cuts. Double-check to avoid errors.
Marking The Cut Lines
Use a pencil or masking tape to mark cut lines. Mark clearly on the molding strip. Align the marks with the panel measurements. These lines help you cut the molding straight and fit it well.
Cutting The Chrome Molding
Cutting chrome body side molding is a key step in its installation. Accurate cuts ensure a perfect fit and a neat appearance. Chrome molding has a shiny finish that can scratch or bend easily. Careful handling and precise cutting keep it looking great.
Measuring And Marking The Molding
Start by measuring the length needed on your car’s side. Use a tape measure for accuracy. Mark the cutting points clearly with a fine-tip marker. Double-check measurements before marking to avoid mistakes. Mark only one side of the molding to keep the other side smooth.
Using The Right Cutting Tools
Select tools made for metal or chrome materials. A hacksaw with a fine-tooth blade works well. A rotary tool with a metal cutting disc is another option. Avoid using scissors or regular knives as they can damage the molding. Wear safety glasses and gloves to protect yourself during cutting.
Tips For Clean Cuts
Cut slowly and steadily to prevent jagged edges. Use clamps to hold the molding in place while cutting. Smooth rough edges with a metal file or sandpaper after cutting. Make small test cuts on scrap pieces to practice. Clean the molding surface with a soft cloth after cutting to remove any metal dust.
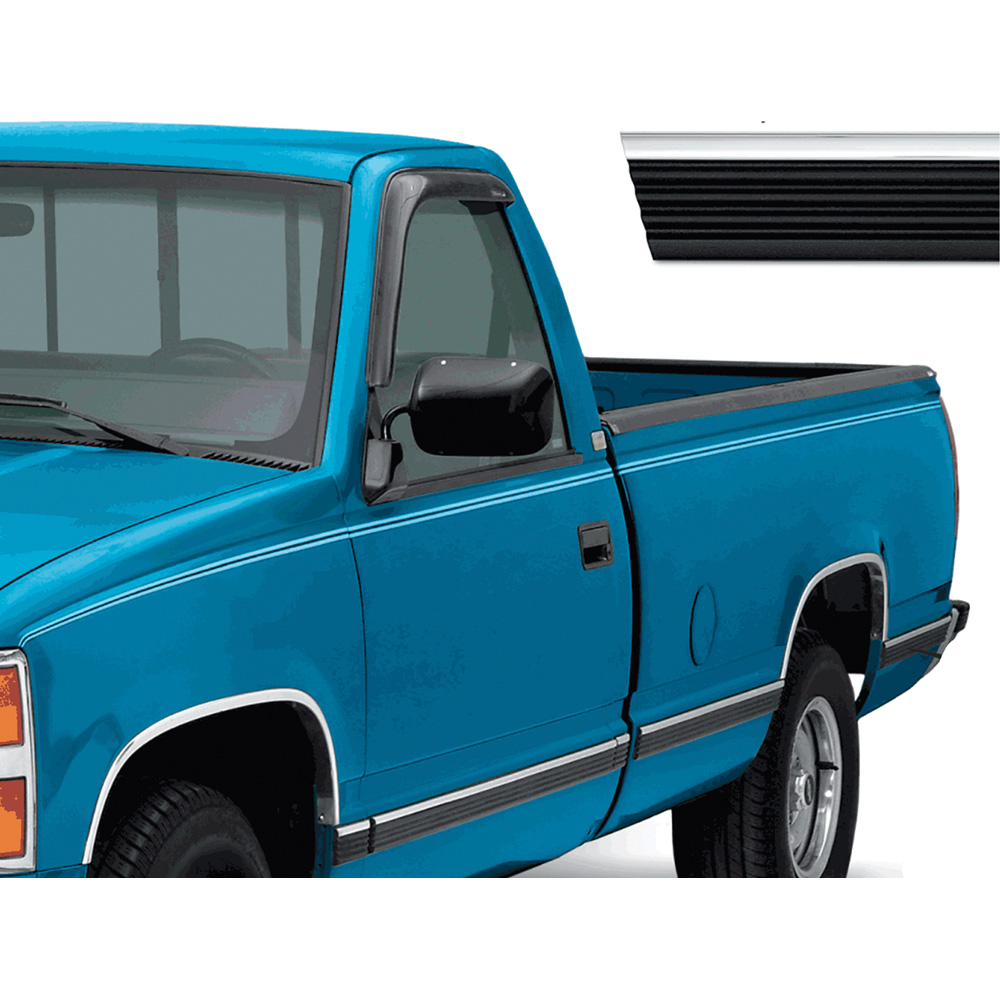
Credit: www.oerparts.com
Installing The Molding
Installing the chrome body side molding is a key step to improve your car’s look. It needs careful handling to fit well and stay secure. Follow these simple steps to place the molding perfectly on your car’s body.
Aligning The Molding
Start by holding the molding against the car’s side. Check the fit along the door and panel lines. Make sure it lines up straight with no gaps. Mark the ends lightly with a pencil for guidance. This helps avoid mistakes during installation.
Applying Adhesive Or Clips
Clean the area where the molding will stick. Use rubbing alcohol to remove dirt and grease. Choose the right adhesive or clips for your molding type. Apply a thin, even layer of adhesive on the back of the molding. If clips are used, place them at marked points. This ensures a strong bond or hold.
Securing The Molding In Place
Press the molding firmly against the car’s surface. Hold it steady for a few minutes to set the adhesive. Use masking tape to keep the molding in place while it dries. For clips, snap them securely into the car’s holes. Check the edges to confirm the molding is tight and smooth.
Finishing Touches
After installing and cutting your chrome body side molding, the finishing touches make all the difference. This final step ensures the molding fits well, looks clean, and shines brightly. Taking time with these small details results in a professional and polished appearance.
Checking For Proper Fit
Start by carefully inspecting the molding along the vehicle’s side. Make sure it sits flush and follows the car’s lines smoothly. Look for any gaps or loose ends that might need adjustment. Press gently along the molding to confirm it sticks firmly. A proper fit prevents the molding from peeling off later.
Cleaning Excess Adhesive
Check the edges for any leftover glue or adhesive. Use a soft cloth dampened with rubbing alcohol to wipe away residue. Avoid harsh chemicals that might damage the chrome finish. Cleaning adhesive improves the overall look and prevents dirt buildup. Take your time to get every spot clean.
Polishing The Chrome
Finish by polishing the chrome molding to enhance its shine. Use a chrome-safe polish and a microfiber cloth. Apply polish in small circles, covering the entire surface. Buff until the molding gleams and reflects light well. Polishing protects the chrome and makes your car look new.
Common Mistakes To Avoid
Installing and cutting chrome body side molding can improve your vehicle’s look. Avoiding common mistakes ensures a smooth, clean job. Small errors can cause big problems. Save time and money by knowing what to watch out for.
Incorrect Measurements
Measure twice, cut once. Wrong measurements lead to wasted material and poor fit. Use a tape measure and mark clearly. Check your marks before cutting. Make sure the molding matches your car’s side perfectly.
Improper Adhesive Use
Use the right adhesive for your molding. Some adhesives do not stick well to car paint. Clean the surface before applying adhesive. Avoid using too much glue, which causes mess and weak bonds. Let adhesive dry as instructed.
Damaging The Vehicle Surface
Be gentle when handling the molding and tools. Scratches or dents lower your car’s value. Use soft cloths to clean and protect paint. Avoid sharp tools directly on the surface. Take your time to prevent any damage.
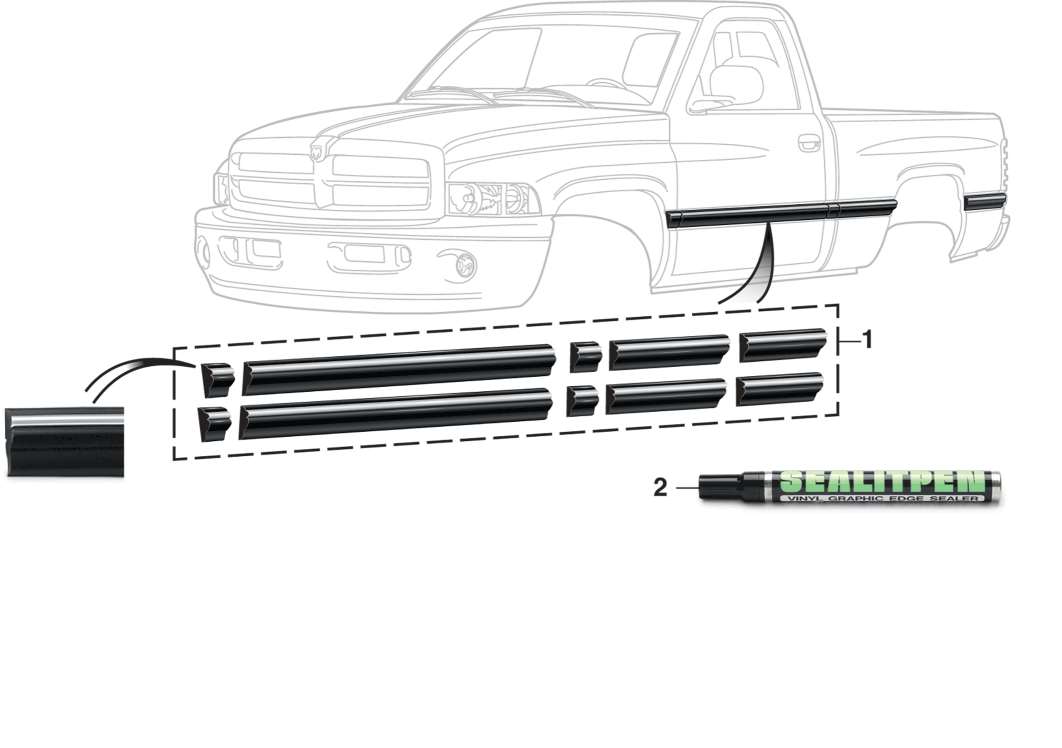
Credit: www.lmctruck.com
Frequently Asked Questions
How Do I Measure Chrome Side Molding Accurately?
Measure your vehicle’s body length carefully before cutting. Use a tape measure along the door edges. Mark the exact spot where molding will fit. This ensures a perfect, clean cut and proper alignment during installation.
What Tools Are Needed To Cut Chrome Body Molding?
You need a sharp utility knife or metal shears for cutting. A measuring tape and a marker are essential. Additionally, use adhesive promoter and cleaning wipes for better molding adhesion.
How To Prepare The Car Surface For Molding Installation?
Clean the car surface thoroughly with soap and water. Dry it completely to remove moisture. Use an adhesive promoter to enhance the molding’s grip. This ensures a long-lasting and secure installation.
Can I Install Chrome Molding Without Professional Help?
Yes, installing chrome molding is a simple DIY task. Follow measurement, cutting, and cleaning steps carefully. Use proper tools and take your time for precise results.
Conclusion
Installing and cutting chrome body side molding can enhance your car’s look. Follow each step carefully for the best fit and finish. Take your time measuring and cutting to avoid mistakes. Use the right tools to make the process easier.
Clean the surface well before applying the molding. This helps it stick better and last longer. With patience and care, you can do this yourself. Enjoy the new style and protection your car gains. Simple steps lead to great results every time.


