If you want to give your Toyota Camry a fresh, polished look while protecting it from dings and scratches, installing body side molding is a smart choice. You might think it’s a tricky job, but with the right steps, you can do it yourself and save time and money.
In this guide, you’ll learn exactly how to install body side molding on your Camry, even if you’ve never done it before. Keep reading, and by the end, you’ll have the confidence to upgrade your car’s style and protection with ease.

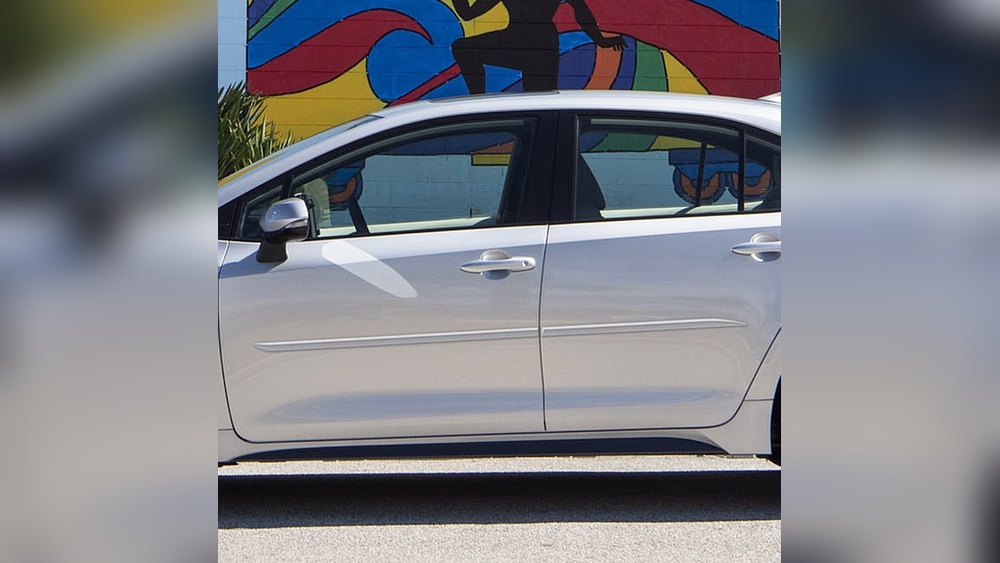
Credit: toyota.oempartsonline.com
Tools And Materials Needed
Installing body side molding on your Toyota Camry requires the right tools and materials. Gathering everything before starting saves time and ensures a smooth process. This section lists what you need to prepare for a successful installation.
Essential Tools
First, you need basic hand tools. A flathead screwdriver helps to remove old molding or clips. A socket wrench set fits bolts or screws that hold the molding in place. Use a tape measure to check the exact length and position of the new molding. A heat gun or hairdryer softens adhesive for easier removal or installation. Lastly, a clean cloth is useful for wiping surfaces.
Choosing The Right Molding
Select molding designed for the Toyota Camry model year. OEM (original equipment manufacturer) parts fit perfectly and match the vehicle’s style. Aftermarket options can be cheaper but check quality and fit carefully. Choose a color that matches your car’s paint for a seamless look. Confirm the molding includes clips or adhesive tape for installation.
Surface Preparation Supplies
Prepare the car surface before applying new molding. Use rubbing alcohol or an automotive cleaner to remove dirt and grease. A mild soap and water mix also works. Have masking tape ready to mark the molding’s position. Use fine sandpaper to smooth rough spots if needed. Clean surfaces help the adhesive stick better and last longer.

Credit: www.youtube.com
Preparing The Vehicle
Preparing your Toyota Camry for body side molding installation is an important step. It ensures the molding fits well and stays in place. Proper preparation saves time and prevents mistakes. Follow these steps carefully for the best results.
Cleaning The Side Panels
Start by washing the side panels with soap and water. Dirt and grease can stop the molding from sticking. Use a clean cloth to dry the panels completely. For better adhesion, wipe the area with rubbing alcohol. This removes any leftover oils or residue.
Removing Old Molding
Carefully peel off the old molding if it is still attached. Use a plastic scraper to avoid scratching the paint. Pull slowly to prevent damage. Clean any sticky residue left behind with adhesive remover. Make sure the surface is smooth before moving to the next step.
Dry Fitting The New Molding
Hold the new molding against the side panel without removing the tape backing. Check the fit and alignment along the car’s body. Adjust the molding until it sits perfectly. This helps avoid mistakes during the final installation. Mark key points if needed for easier placement.
Installation Process
The installation process for body side molding on your Toyota Camry is straightforward. It requires some care and attention to detail. Following the right steps ensures a clean, secure fit. This guide breaks down the process into easy parts.
Aligning The Molding
Start by cleaning the side of your car thoroughly. Dirt and grease can stop the molding from sticking well. Hold the molding along the car’s side. Check for proper fit and shape. Make small marks with a pencil or tape to guide placement. Take your time to get the alignment perfect.
Applying Adhesive Or Clips
Most Toyota Camry moldings use adhesive tape or clips for attachment. If using adhesive, peel the backing carefully without touching the sticky side. For clips, prepare the holes or slots on the car body. Apply firm pressure to attach the adhesive tape. Make sure the tape covers the entire length of the molding for strong hold.
Securing The Molding In Place
Press the molding firmly against the car side. Use even pressure along the entire length. Hold it for a few minutes to help the adhesive bond. If clips are used, snap them into place tightly. Avoid moving the molding for at least 24 hours to let the adhesive set fully. Check the edges for any loose spots and press again if needed.
Finishing Touches
After attaching the body side molding to your Toyota Camry, the final steps are crucial. These finishing touches ensure the molding looks neat and stays secure. Taking time now saves effort later. A clean, well-checked installation gives your car a polished look.
Cleaning Excess Adhesive
Remove any glue left around the molding carefully. Use a soft cloth slightly dampened with rubbing alcohol. Gently wipe the edges without pressing too hard. Avoid harsh chemicals that might damage the paint. Cleaning excess adhesive keeps the surface smooth and tidy.
Final Inspection
Check all sides of the molding for gaps or loose spots. Press gently along the edges to confirm a firm hold. Ensure the molding aligns perfectly with the car’s body lines. Correct any misalignment before the adhesive sets. This step helps avoid future problems.
Curing Time And Care Tips
Let the adhesive cure for at least 24 hours without disturbance. Avoid washing your car or exposing it to rain during this time. Keep the car in a shaded area to prevent heat from weakening the bond. After curing, clean the molding gently with mild soap and water. Proper care extends the life of your new molding.
Common Issues And Fixes
Installing body side molding on a Toyota Camry can be straightforward. Still, some common problems might appear during the process. Knowing how to handle these issues can save time and effort. Below are some frequent problems and their quick fixes.
Dealing With Misalignment
Misalignment happens when the molding does not line up with the car’s body. This can make the molding look uneven or crooked. To fix this, start by loosening the adhesive slightly. Gently move the molding until it fits well with the car’s shape. Press firmly to reattach. Take your time to ensure it sits straight.
Handling Loose Molding
Loose molding can fall off or make noise while driving. This usually occurs if the surface was not clean or dry before installation. Remove the molding carefully. Clean the area with rubbing alcohol to remove dirt and oil. Let it dry completely. Apply new adhesive tape or glue. Press the molding firmly for a few minutes to secure it.
Removing Air Bubbles
Air bubbles appear under the molding adhesive. These bubbles can cause the molding to lift and look messy. Use a plastic card or a squeegee to push out the bubbles. Start from the center and move toward the edges. Work slowly to avoid tearing the adhesive. If bubbles persist, peeling back and reapplying the molding helps.

Credit: www.reddit.com
Frequently Asked Questions
How Do I Prepare My Toyota Camry For Body Side Molding Installation?
Clean the car surface thoroughly to remove dirt and grease. Dry it completely to ensure strong adhesion. Use rubbing alcohol to wipe the area before applying the molding.
What Tools Are Needed To Install Body Side Molding?
You need body side molding, adhesive promoter, masking tape, a clean cloth, and a plastic trim tool for smooth installation.
Can I Install Body Side Molding Without Professional Help?
Yes, you can install it yourself by following step-by-step instructions carefully. Ensure proper surface cleaning and precise alignment for the best results.
How Long Does Body Side Molding Installation Take?
The installation usually takes 30 to 60 minutes, depending on your experience. Allow adhesive to cure for at least 24 hours before driving.
Conclusion
Installing body side molding on your Toyota Camry adds both style and protection. Follow the steps carefully to avoid mistakes. Take your time and check each part before fixing it. Clean the surface well for strong adhesion. A neat job improves your car’s look and helps prevent dents.
Now, your Camry looks sharper and stays safer from scratches. Try this simple upgrade for a fresh, clean finish. Enjoy your improved ride every day!

