Are you ready to transform your car’s look without spending a fortune? Installing a vinyl car wrap is a smart way to give your vehicle a fresh, stylish appearance that stands out on the road.
But how do you get started? This guide will walk you through the simple steps to apply a vinyl wrap yourself, saving you time and money. By the end, you’ll have the confidence to take your car from ordinary to extraordinary.
Keep reading to discover the easy tricks and expert tips that make the process smooth and stress-free!

Credit: www.wikihow.com
Preparing Your Car
Preparing your car is a key step before installing a vinyl wrap. A clean and smooth surface helps the wrap stick better. Dirt, dust, and wax can cause bubbles and peeling. Take your time to get the car ready. This makes the wrap last longer and look perfect.
Follow these simple steps to prepare your car well.
Cleaning The Surface
Start by washing your car with soap and water. Use a soft cloth or sponge to avoid scratches. Clean every part you want to wrap. This removes loose dirt and grime. A clean surface helps the vinyl stick tightly.
Removing Dirt And Wax
After washing, use a wax remover or rubbing alcohol. Apply it with a clean cloth. This step removes any wax or oil left on the paint. Wax can stop the vinyl from sticking properly. Make sure the surface feels clean and smooth to touch.
Drying The Car
Dry your car completely with a microfiber towel. Avoid using rough cloths that can scratch. Check for any water spots or moisture. Moisture under the vinyl can cause bubbles. A dry surface ensures better adhesion and a neat finish.
Gathering Materials
Starting a vinyl car wrap project needs careful planning. Gathering all materials before you begin saves time and avoids mistakes. Knowing what to choose and use helps the process go smoothly. Here’s what you need to prepare.
Choosing The Right Vinyl Wrap
Select vinyl wrap that fits your car and style. Look for high-quality vinyl with good durability and flexibility. Glossy, matte, or satin finishes each give a different look. Choose a color or pattern that matches your preference. Check the size to cover your entire car without gaps.
Choose vinyl designed for cars. It sticks well and lasts longer. Avoid cheap vinyl that may peel or fade quickly. Quality vinyl makes installation easier and results better.
Essential Tools Needed
Gather tools to help install the vinyl wrap perfectly. You will need a squeegee to smooth out bubbles and wrinkles. A heat gun softens the vinyl, making it easier to stretch and stick. Use a sharp utility knife to trim excess vinyl cleanly. A microfiber cloth helps clean the car surface before wrapping.
Other helpful tools include gloves to avoid fingerprints and a tape measure for accuracy. Having everything ready before starting avoids interruptions during the job.
Measuring And Cutting
Measuring and cutting are key steps in installing a vinyl car wrap. These steps ensure the vinyl fits perfectly on the car surface. Mistakes here can cause wrinkles or bubbles. Careful work saves time and materials.
Taking Accurate Measurements
Start by cleaning the car surface. Dirt can affect measurements. Use a tape measure to check the length and width of the area. Measure twice to avoid errors. Write down each measurement clearly. Add a few extra inches to each side. This helps during the wrapping process.
Cutting The Vinyl
Lay the vinyl flat on a clean surface. Use a sharp utility knife or scissors for cutting. Cut slowly along the measured lines. Keep the edges straight and smooth. Avoid cutting too close to the measurements. Leave extra vinyl to trim after applying. Proper cutting prevents waste and ensures a neat finish.
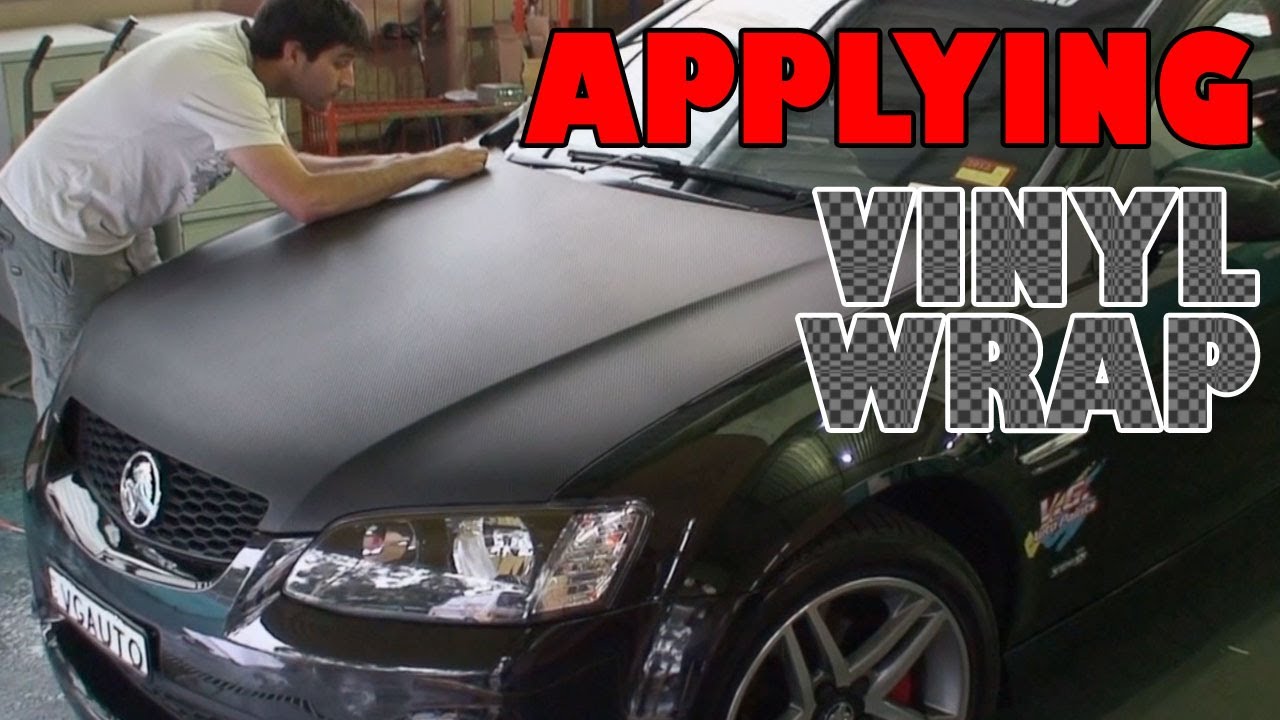
Applying The Vinyl Wrap
Applying the vinyl wrap is a key step in changing your car’s look. It needs care and patience. This part decides how smooth and neat your wrap will appear. Follow the steps carefully to avoid mistakes. Take your time to get the best results.
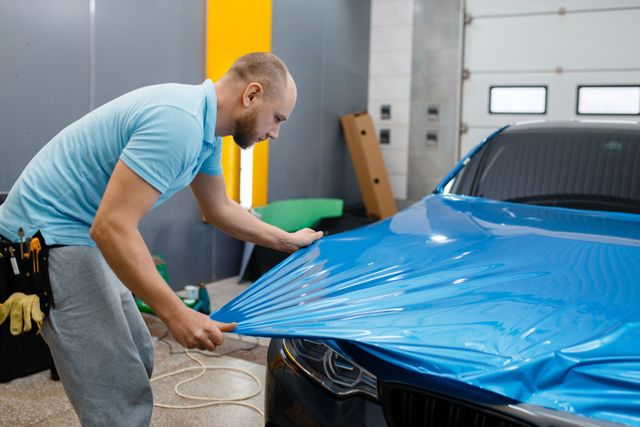
Positioning The Vinyl
Start by cleaning the car surface well. Remove dirt and dust. Peel off the vinyl backing slowly. Place the vinyl on the car gently. Align it with the edges and curves. Use magnets or tape to hold it in place. Make sure the wrap covers all needed areas.
Using The Squeegee
Use a soft squeegee to press the vinyl. Push from the center outwards. This helps to stick the vinyl firmly. Work slowly to avoid wrinkles. Keep the squeegee flat to the surface. Use firm, even pressure. Take your time to smooth the vinyl well.
Dealing With Air Bubbles
Air bubbles can appear under the vinyl. Use the squeegee to push small bubbles out. For bigger bubbles, lift the vinyl gently. Pierce the bubble with a pin. Press the air out through the hole. Smooth the area again with the squeegee. Check the whole surface for hidden bubbles.
Handling Edges And Curves
Handling edges and curves is a key step in installing a vinyl car wrap. These parts of the car need careful attention to avoid wrinkles and bubbles. Good technique helps the vinyl wrap fit smoothly and look professional. Stretching and trimming are important skills to manage these tricky areas.
Stretching Techniques
Stretching vinyl helps it fit around curves and edges without tearing. Use a heat gun to warm the vinyl slightly. Warm vinyl becomes flexible and easier to stretch. Pull the vinyl gently over the curve, not too hard. Work slowly and keep the vinyl taut. Avoid overstretching to prevent damage or distortion.
Use a squeegee to smooth the vinyl as you stretch. Press the vinyl down from the center outwards. This pushes out air bubbles and keeps the wrap flat. Let the vinyl cool on the surface to hold its shape. Proper stretching ensures a tight, smooth finish on curves.
Trimming Excess Vinyl
Trimming excess vinyl is necessary to get a clean edge. Use a sharp utility knife or wrap blade for precise cuts. Cut close to the edge of the panel, but not too tight. Leave a tiny margin to tuck the vinyl under trim or edges.
Work slowly and carefully to avoid cutting the paint. Use a straight edge to guide your cuts on straight sections. For curves, follow the contour of the car smoothly. After trimming, press the edges down firmly with a squeegee. This helps the vinyl stick well and prevents peeling.
Credit: www.youtube.com
Finishing Touches
Finishing touches are key to a great vinyl car wrap. This step ensures the wrap stays smooth and lasts long. Proper care now saves time and effort later.
Heating And Setting The Vinyl
Use a heat gun or hair dryer to warm the vinyl. Heat makes the material soft and flexible. Gently press the vinyl onto curves and edges. This helps the wrap stick firmly. Avoid overheating to prevent damage. Let the vinyl cool naturally after heating. This sets the adhesive and improves durability.
Final Inspection
Check every inch of the wrap carefully. Look for bubbles, wrinkles, or loose edges. Use a soft cloth to smooth any imperfections. Trim excess vinyl around seams and edges. Make sure the wrap fits perfectly on the car. Fix small issues immediately to avoid bigger problems later.
Maintaining Your Vinyl Wrap
Maintaining your vinyl wrap keeps it looking fresh and new for a long time. Proper care protects the wrap from damage and fading. Simple steps help you enjoy the wrap’s beauty every day.
Cleaning Tips
Use a soft cloth or sponge to clean the wrap. Mild soap and water work best for washing. Avoid harsh chemicals or abrasive cleaners that can harm the wrap. Rinse the surface well to remove soap residue. Dry with a soft towel to avoid water spots. Clean your wrap regularly to keep dirt from building up.
Avoiding Damage
Park your car in shaded areas to prevent sun damage. Avoid high-pressure washers that can peel the edges. Be careful around sharp objects or rough surfaces. Do not use wax or polish designed for paint. Check the wrap edges often for lifting or peeling. Fix small problems quickly to stop bigger damage.
Credit: www.toplinetints.com
Frequently Asked Questions
What Tools Are Needed To Install A Vinyl Car Wrap?
You need a squeegee, heat gun, utility knife, microfiber cloth, and gloves. These tools help smooth the vinyl and prevent bubbles during installation.
How Long Does It Take To Install A Vinyl Car Wrap?
Installation typically takes 1 to 3 days, depending on car size and complexity. Proper preparation and patience ensure a flawless finish.
Can I Install A Vinyl Wrap On My Own?
Yes, with careful preparation and the right tools, DIY installation is possible. However, professional help is recommended for best results.
How Do I Prepare My Car For Vinyl Wrapping?
Clean the car thoroughly, removing dirt and wax. Dry it completely to ensure vinyl sticks properly without bubbles or peeling.
Conclusion
Installing a vinyl car wrap can refresh your vehicle’s look quickly. Take your time and follow each step carefully. Clean the surface well before starting. Work slowly to avoid bubbles and wrinkles. Use the right tools for the best results.
Practice on small areas if you feel unsure. A neat wrap protects your paint and adds style. Enjoy your new car look, made by your own hands! Keep these tips in mind for a smooth installation next time.