

Want to give your wheel covers a fresh, bold look without spending a fortune? Using Plastidip is one of the easiest and most affordable ways to do just that.
But if you’re unsure how to get a smooth, professional finish, you’re in the right place. In this guide, you’ll learn simple steps to transform your wheel covers with Plastidip, protect them from damage, and even change their color whenever you want.
Keep reading, and by the end, you’ll feel confident to tackle this fun DIY project yourself.
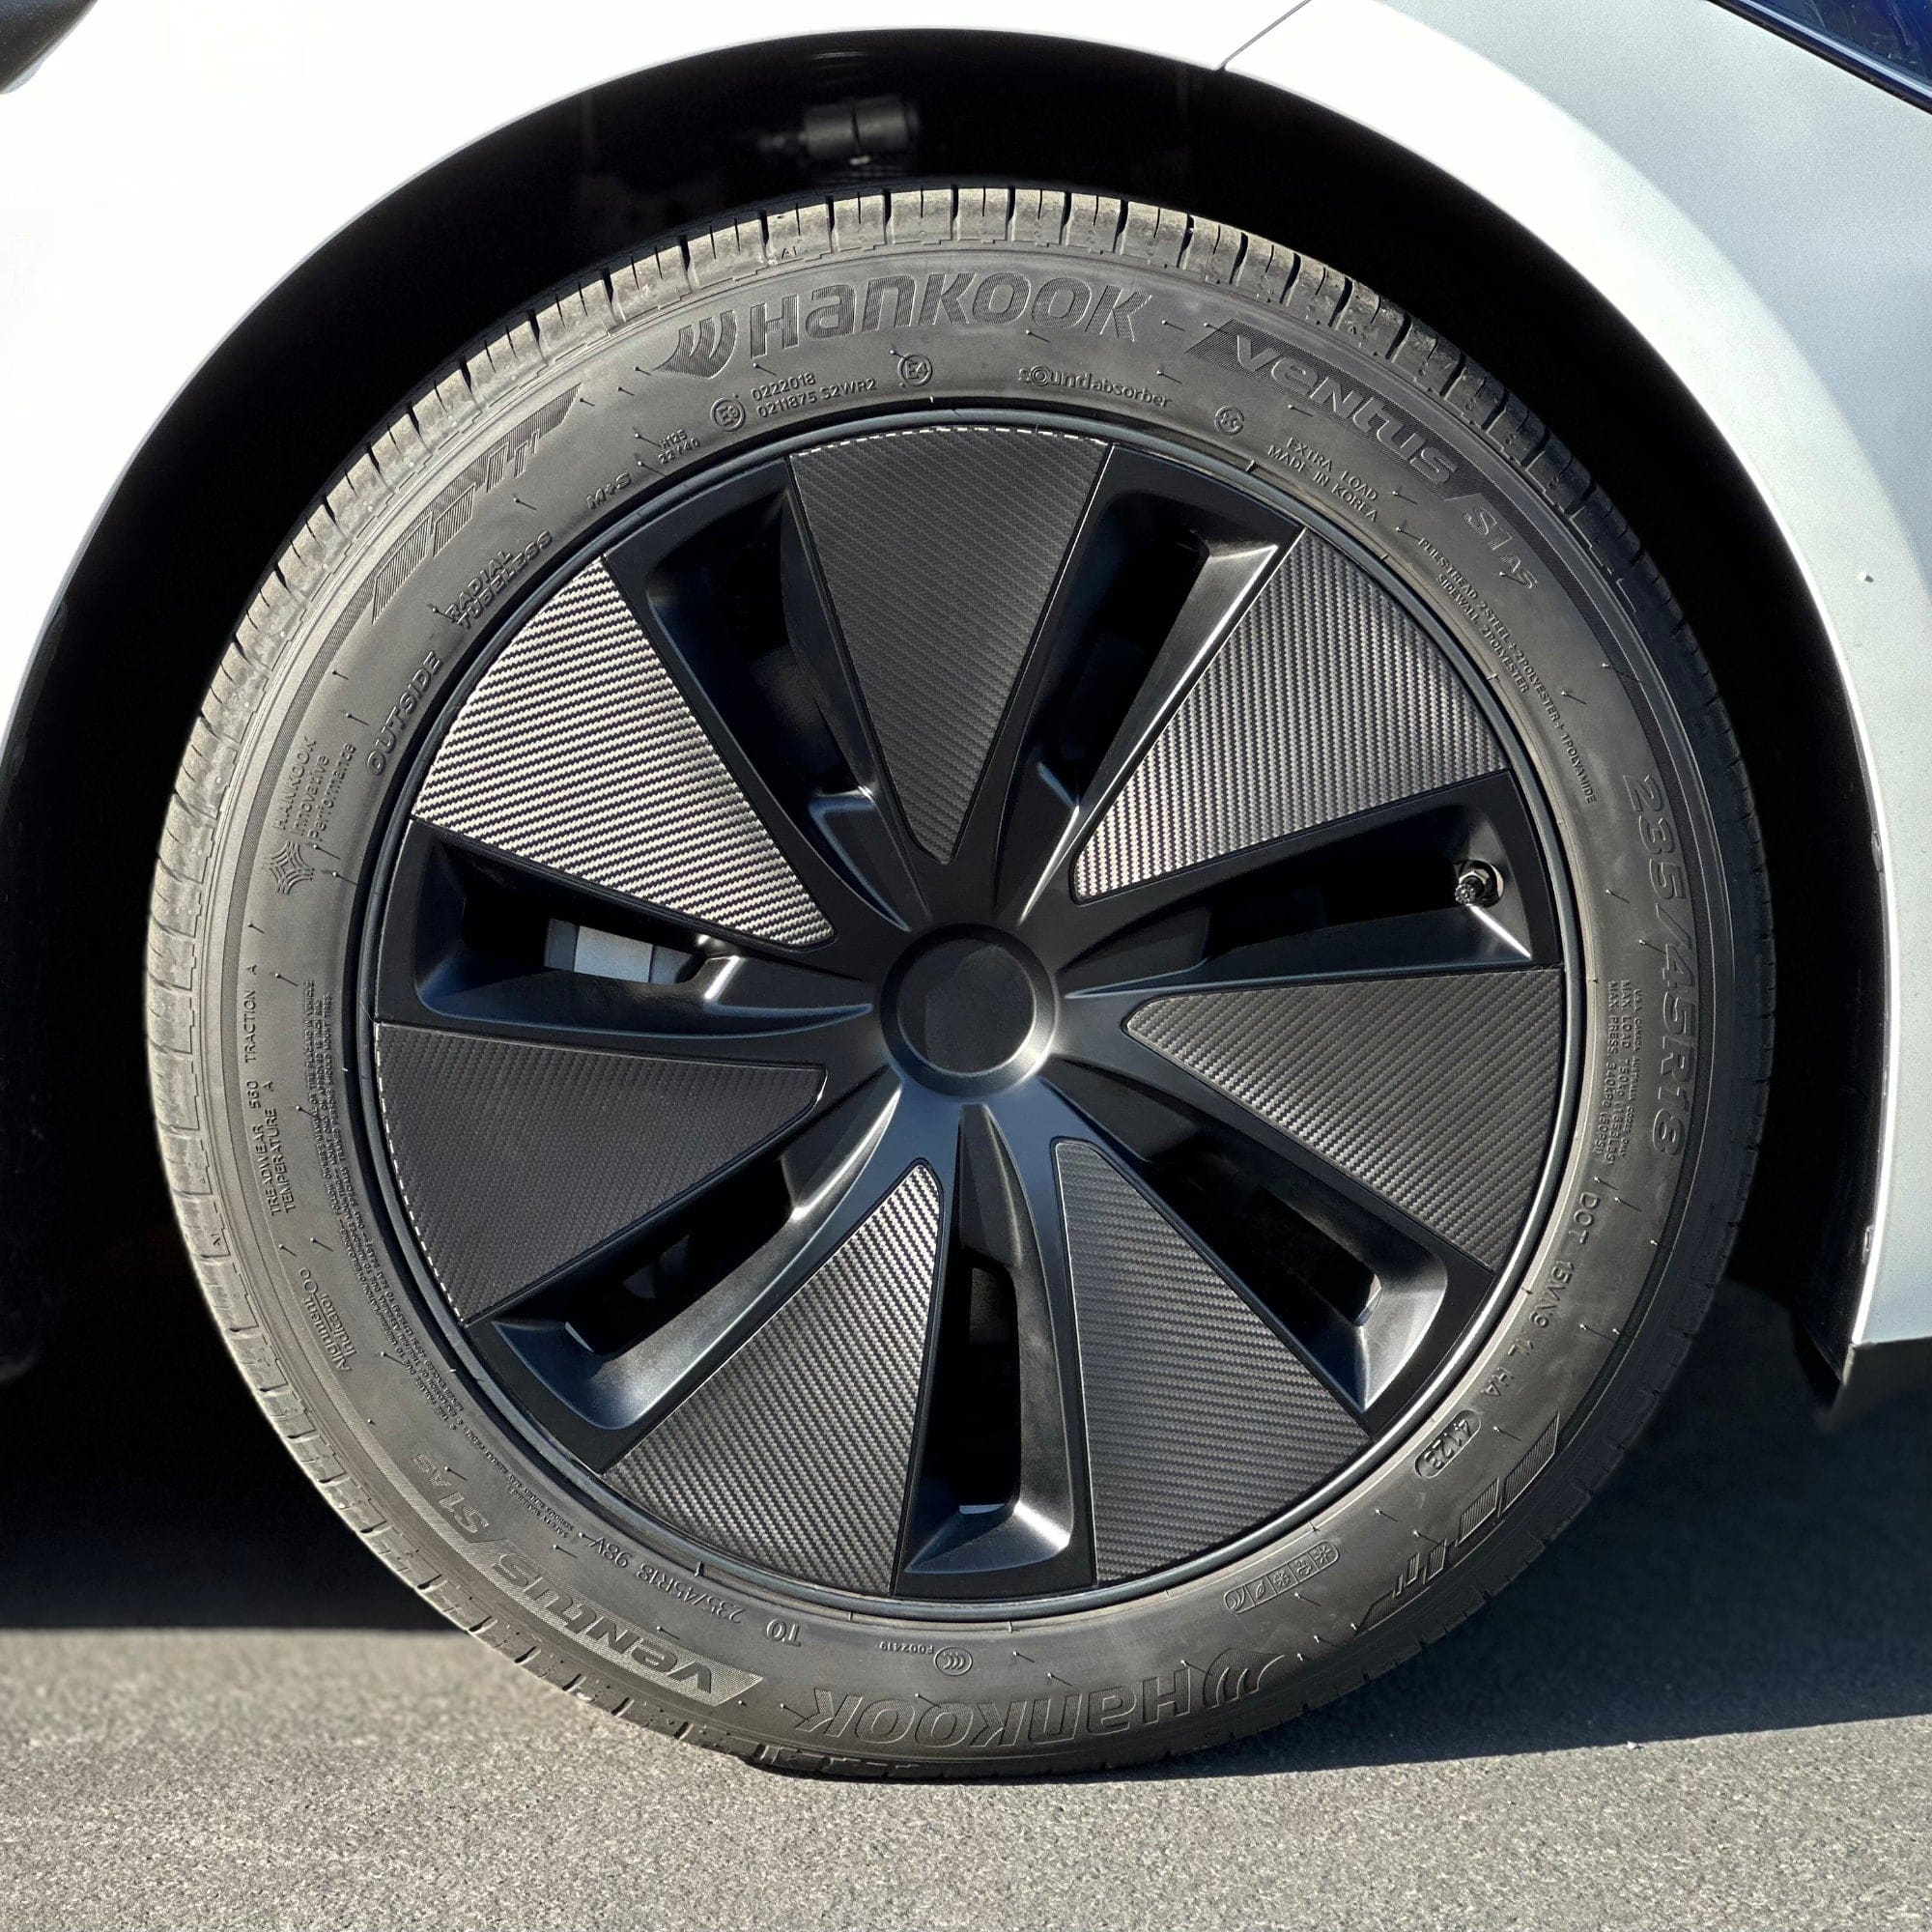
Credit: twraps.com
Choosing The Right Plastidip
Choosing the right Plastidip is essential for a smooth and lasting finish on your wheel covers. The right type and color of Plastidip can protect your wheels from damage and give them a fresh look. You need to know about the types of Plastidip available, how to pick the best color, and what tools you need for the job.
Types Of Plastidip
Plastidip comes in several forms. The most common is the standard spray can, easy to use and perfect for beginners. There are also brush-on versions for more control. Some Plastidip products offer extra features like UV protection or added durability. Choose a type that fits your skill level and the look you want.
Color Selection Tips
Choose a color that matches your style and car. Matte black is popular for a sleek, modern look. Bright colors like red or blue add personality. Keep in mind that lighter colors may need more coats. Test a small area first to see how the color looks on your wheel covers.
Tools And Materials Needed
Besides Plastidip, gather these tools: painter’s tape, sandpaper, and cleaning cloths. Use the tape to protect areas you don’t want to spray. Sandpaper helps the Plastidip stick better. Clean the wheel covers well before starting. Having the right tools makes the process easier and the results better.
Preparing Wheel Covers
Proper preparation of wheel covers is key to a smooth Plastidip application. It helps the coating stick better and last longer. Careful prep also gives a clean, even finish. Take your time with each step for best results.
Cleaning Techniques
Start by washing the wheel covers with soap and water. Remove dirt, grease, and brake dust. Use a soft brush to reach tight spots. Rinse well and dry completely with a clean cloth. Avoid oily or waxy cleaners. A clean surface lets Plastidip grip firmly.
Sanding For Better Adhesion
Lightly sand the wheel covers with fine-grit sandpaper. This roughens the surface and improves paint bonding. Sand evenly, focusing on glossy or smooth areas. Wipe off dust with a damp cloth. Let the covers dry fully before the next step. Skipping sanding may cause peeling later.
Masking Surrounding Areas
Use painter’s tape to cover nearby parts. Protect tires, lug nuts, and valve stems from overspray. Masking keeps the work neat and saves cleanup time. Press tape edges firmly to prevent paint bleed. Cover larger areas with plastic sheets or paper. Proper masking ensures a clean, professional look.
Applying Plastidip
Applying Plastidip on wheel covers is a simple process that anyone can do with the right steps. The key is to apply the product evenly and patiently. This will help create a smooth, durable finish that protects your wheel covers and looks great.
Spray Techniques
Hold the spray can about 6 to 8 inches from the wheel cover. Use steady, even strokes from side to side. Move your hand smoothly to avoid drips and runs. Start spraying off the edge, then pass over the surface. This helps to build an even coat without heavy spots.
Layering For Durability
Apply several thin layers instead of one thick coat. Thin layers dry faster and stick better. Wait until each layer feels dry to touch before adding the next. Usually, 4 to 6 layers give strong coverage and good protection. This method makes the Plastidip last longer on your wheels.
Drying Time Between Coats
Let each coat dry for about 15 to 30 minutes. This time depends on the temperature and humidity. Drying too fast or slow can affect the finish. Check if the surface feels dry and not sticky before the next layer. Proper drying time ensures a smooth, lasting result.
Finishing Touches
Finishing touches are key to a clean, professional look on your wheel covers. They ensure the Plastidip sticks well and looks smooth. Taking your time here makes a big difference in the final result.
Removing Masking Tape
Remove the masking tape slowly. Pull it back at a sharp angle to avoid peeling the dip. Do this after the paint feels dry but not fully cured. This helps keep sharp, clean edges around the covers.
Inspecting For Imperfections
Look closely at the wheel covers for any spots you missed. Check for drips, bubbles, or thin areas. Small mistakes can be fixed now before the dip hardens completely. Use good light to see all details clearly.
Additional Coats Or Touch-ups
Apply extra coats if the color looks uneven. Light, even layers work best. Let each coat dry before adding more. For small touch-ups, use a brush or spray carefully. This will give your wheel covers a smooth, even finish.
Maintenance And Removal
Maintaining and removing Plastidip from wheel covers is simple. Proper care keeps the covers looking fresh. Easy cleaning and smart tips extend the life of your dipped covers. Removing Plastidip is quick and leaves no damage if done right.
Cleaning Plastidipped Covers
Use mild soap and water to clean the covers. Avoid harsh chemicals or strong detergents. Soft cloths or sponges work best to prevent scratches. Rinse thoroughly with water to remove all soap. Dry with a clean towel to avoid water spots.
Tips For Longevity
Park in shaded areas to protect from sun damage. Avoid pressure washers; use gentle water spray instead. Reapply a thin layer of Plastidip every year for best results. Check the covers regularly for chips or peeling. Touch up small spots to keep covers uniform.
Removing Plastidip When Needed
Start by peeling the edge of the dip carefully. Pull slowly to avoid tearing. Use a plastic scraper if needed to lift edges. Clean the wheel cover afterward with soap and water. No special solvents are necessary for removal.
Credit: www.reddit.com
Common Mistakes To Avoid
Applying Plastidip on wheel covers is simple, but mistakes can spoil the finish. Avoiding common errors helps achieve a smooth, lasting coat. Pay close attention to each step for the best results.
Over-spraying
Spraying too much Plastidip causes drips and uneven layers. Thin coats work better and dry faster. Hold the spray can about 6-8 inches away. Apply several light layers instead of one heavy one.
Insufficient Drying Time
Not waiting long enough between coats leads to peeling or cracking. Each layer needs enough time to dry fully. Follow the recommended drying time on the can. Patience ensures a strong, durable finish.
Skipping Surface Preparation
Dirty or oily wheel covers prevent Plastidip from sticking well. Clean the surface thoroughly with soap and water. Remove any grease or brake dust with rubbing alcohol. A clean base is key for good adhesion.

Credit: www.youtube.com
Frequently Asked Questions
What Is Plastidip And Why Use It On Wheel Covers?
Plastidip is a flexible, removable coating used to protect and customize wheel covers. It provides a durable, peelable finish that resists weather and road debris. Using Plastidip enhances your wheels’ appearance without permanent changes or costly paint jobs.
How Do I Prepare Wheel Covers Before Applying Plastidip?
Clean wheel covers thoroughly with soap and water. Remove dirt, grease, and brake dust. Dry completely, then lightly sand for better Plastidip adhesion. Proper preparation ensures a smooth, long-lasting finish on your wheel covers.
How Many Coats Of Plastidip Are Recommended?
Apply 4 to 6 thin coats of Plastidip. Allow each coat to dry for 15-30 minutes before the next. Multiple thin layers create an even, durable coating that peels off easily when needed.
Can I Use Plastidip On Any Type Of Wheel Covers?
Yes, Plastidip works on plastic, metal, and alloy wheel covers. It adheres well to most surfaces, providing a versatile option for customizing various wheel cover materials safely and effectively.
Conclusion
Applying Plastidip on wheel covers is simple and effective. It protects your wheels and gives a fresh look. Take your time to clean and prepare the surface well. Spray evenly in thin layers for the best result. Let each layer dry before adding the next.
Removing Plastidip is easy if you want a change later. This process saves money compared to new wheel covers. Try it yourself and enjoy a new style on your car. Small effort, big difference.


