Are you looking to give your trailer a fresh, new look without spending a fortune? Installing a vinyl wrap on your trailer is a smart and cost-effective way to transform its appearance.
But if you’ve never done it before, the process might seem tricky or overwhelming. Don’t worry—this guide will walk you through each step, making it easy for you to achieve professional-looking results. By the end, you’ll know exactly how to install a vinyl wrap that sticks perfectly and lasts for years.
Ready to turn your trailer into a head-turner? Let’s get started!
Preparing The Trailer Surface
Preparing the trailer surface is the first and most important step for a smooth vinyl wrap application. A clean and smooth surface helps the vinyl stick better. It also prevents bubbles and wrinkles. Taking time for this step saves effort later and ensures a neat finish.
Cleaning And Degreasing
Start by washing the trailer with soap and water. Remove all dirt, dust, and grime. Use a clean cloth or sponge for scrubbing. After washing, apply a degreaser to remove oils and grease. Wipe the surface with a lint-free cloth. Make sure the trailer is completely dry before moving on.
Removing Old Wraps And Decals
Old vinyl wraps or decals can ruin the new wrap’s look. Peel off any loose vinyl carefully. Use a heat gun to soften stubborn sections. Avoid damaging the paint underneath. Remove leftover adhesive with a commercial adhesive remover. Clean the surface again to get rid of residue.
Sanding And Smoothing Imperfections
Inspect the trailer for scratches, rust, or rough spots. Lightly sand these areas with fine-grit sandpaper. Sanding creates a smooth surface for better vinyl grip. Wipe away dust with a damp cloth. Repair any dents or holes before wrapping. A smooth surface helps the vinyl lay flat and last longer.

Credit: www.youtube.com
Gathering Necessary Tools And Materials
Gathering the right tools and materials is the first step to wrap a trailer successfully. Proper preparation saves time and helps achieve a smooth finish. It also prevents damage to the vinyl or trailer surface. This section covers the basics you need before starting your vinyl wrap project.
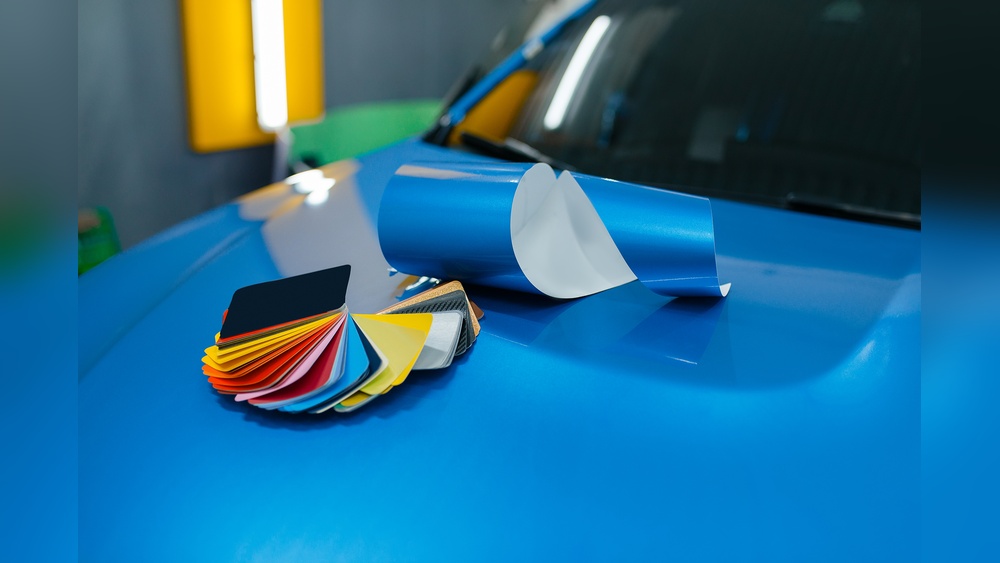
Choosing The Right Vinyl Wrap
Select vinyl designed for outdoor use and vehicle wrapping. Look for high-quality cast vinyl for flexibility and durability. Pick a vinyl with a suitable finish, like matte, gloss, or satin. Consider the trailer’s size and shape to calculate how much vinyl is needed. Choose colors and patterns that match your style or brand.
Essential Tools Checklist
Gather tools that help apply vinyl cleanly and safely. You need a squeegee to smooth out bubbles and wrinkles. A sharp utility knife or vinyl cutter is essential for trimming edges. Use a heat gun to make vinyl flexible for curves and corners. Have cleaning supplies like alcohol wipes to prepare the trailer surface. Gloves protect your hands and keep vinyl free of fingerprints.
Workspace Setup Tips
Find a clean, dust-free area with good lighting. A large, flat space helps spread out vinyl sheets easily. Maintain a moderate temperature to avoid vinyl sticking or cracking. Keep tools and materials within arm’s reach to work efficiently. Avoid windy or dusty places to prevent debris under the wrap.
Measuring And Cutting The Vinyl
Measuring and cutting vinyl wrap for a trailer is a vital step. It ensures the vinyl fits perfectly and looks smooth. Accurate measurements prevent waste and reduce mistakes. Careful cutting helps avoid tears or wrinkles during installation. This part takes patience and focus.
Taking Accurate Measurements
Start by measuring each side of the trailer carefully. Use a tape measure and record the width and height. Measure in several places to check for curves or bumps. Write down every number clearly. Double-check your measurements before moving on.
Marking And Pre-cutting Panels
Lay the vinyl flat on a clean surface. Use a marker to mark the sizes based on your measurements. Draw straight lines to guide your cuts. Cut slowly with a sharp blade or scissors. Pre-cutting panels makes installation easier and faster.
Allowing For Overlaps And Trims
Leave extra vinyl around each panel edge. This overlap helps during alignment and fixing. Add about 2 to 3 inches on every side. After applying, trim the excess carefully with a blade. This step keeps edges neat and secure.
Credit: wrapguys.com
Applying The Vinyl Wrap
Applying vinyl wrap on a trailer takes patience and care. The right steps help the vinyl stick well and look smooth. This part of the process shapes the final look of your trailer. Follow these tips to make the vinyl fit perfectly.
Positioning The Vinyl On The Trailer
Start by placing the vinyl sheet on the trailer surface. Align the edges carefully. Make sure the vinyl covers the area evenly. Hold the vinyl loosely at first. Avoid stretching it too much now. Check the fit and adjust as needed.
Using Heat To Stretch And Conform
Use a heat gun to warm the vinyl gently. Heat makes the vinyl soft and flexible. Stretch the vinyl slowly over curves and corners. Keep the heat moving to avoid damage. The warmth helps the vinyl stick and shape to the trailer’s surface.
Smoothing Out Bubbles And Wrinkles
Use a squeegee to press the vinyl down firmly. Start from the center and move outward. Push out air bubbles and wrinkles carefully. Small bubbles can be pierced with a pin. Work slowly to get a smooth, clean finish.
Trimming And Finishing Edges
Trimming and finishing edges is a key step in installing vinyl wrap on a trailer. Clean, smooth edges give the wrap a neat look. Proper finishing also helps the wrap last longer and resist peeling. Taking time on this step improves the final result and protects your investment.
Using A Sharp Blade Safely
Use a fresh, sharp blade to trim vinyl edges. A dull blade can tear or stretch the wrap. Cut slowly and steadily to avoid mistakes. Always cut away from your body to stay safe. Change blades often for clean cuts and better control.
Sealing Edges For Durability
Seal edges with vinyl edge sealer or heat. This stops water and dirt from getting under the wrap. Heat helps the vinyl stick better around curves and corners. Press edges firmly with a squeegee after sealing. Strong edges prevent lifting and peeling over time.
Inspecting For Flaws And Corrections
Check the wrap for bubbles, wrinkles, or loose edges. Use a pin to pop small bubbles and smooth them out. Lift edges gently if needed and reapply heat for better adhesion. Fixing flaws early keeps the wrap looking fresh and smooth for years.
Caring For Your Vinyl Wrap
Caring for your vinyl wrap keeps it looking fresh and new. Proper care extends its life and maintains its shine. Dirt, weather, and wear can damage the wrap without good care. Regular attention helps prevent peeling and fading. Follow easy steps to protect your investment.
Cleaning And Maintenance Tips
Wash your vinyl wrap often with mild soap and water. Use a soft cloth or sponge to avoid scratches. Avoid harsh chemicals or abrasive cleaners that harm the wrap. Rinse well and dry with a clean towel. Clean dirt and grime quickly to stop buildup. Regular cleaning keeps the wrap bright and smooth.
Avoiding Damage And Peeling
Do not use pressure washers too close or too strong. Avoid sharp objects near the wrap surface. Keep the trailer away from rough branches or debris. Park in shaded areas to reduce sun damage. Watch for small lifts or bubbles and fix them fast. Careful handling stops peeling and cracking.
Long-term Preservation Strategies
Apply a vinyl-safe protectant every few months for extra shine. Store the trailer covered or indoors when not in use. Check the wrap edges regularly for signs of lifting. Avoid long exposure to extreme heat or cold. Proper storage and gentle care keep the wrap lasting longer.

Credit: www.youtube.com
Frequently Asked Questions
How Do I Prepare A Trailer For Vinyl Wrap Installation?
Clean the trailer thoroughly to remove dirt, grease, and debris. Sand rough spots and repair damages. A smooth, dry surface ensures better vinyl adhesion and lasting results.
What Tools Do I Need To Install Vinyl Wrap On A Trailer?
You need a heat gun, squeegee, utility knife, measuring tape, and cleaning supplies. These tools help apply the vinyl smoothly and trim edges accurately for a professional finish.
How Long Does It Take To Wrap A Trailer With Vinyl?
Wrapping a trailer typically takes 4 to 8 hours, depending on size and complexity. Proper preparation and careful application affect the total time required for the job.
Can I Remove Vinyl Wrap From My Trailer Without Damage?
Yes, vinyl wraps can be removed safely using heat and slow peeling. Proper removal prevents paint damage and allows you to change designs or revert to the original look.
Conclusion
Applying vinyl wrap on a trailer takes patience and care. Follow each step slowly to avoid mistakes. Use the right tools for a smooth finish. Clean the surface well before starting the wrap. Take your time to press out bubbles and wrinkles.
A well-done vinyl wrap protects and improves your trailer’s look. Practice makes the process easier with each try. Enjoy the new style and protection your trailer gains. Keep your wrap clean to make it last longer. This project can save money and give great results.