
Changing your car’s oil yourself can save you time and money. But first, you need to know how to jack up your car safely and correctly.
If you get this step wrong, you risk damaging your vehicle or even injuring yourself. Don’t worry—this guide will walk you through the simple, essential steps to lift your car with confidence. By the end, you’ll feel ready to handle your oil change like a pro.
Keep reading to learn exactly what you need to do to jack up your car safely and easily.
Credit: www.nissanofmissionhills.com
Tools Needed
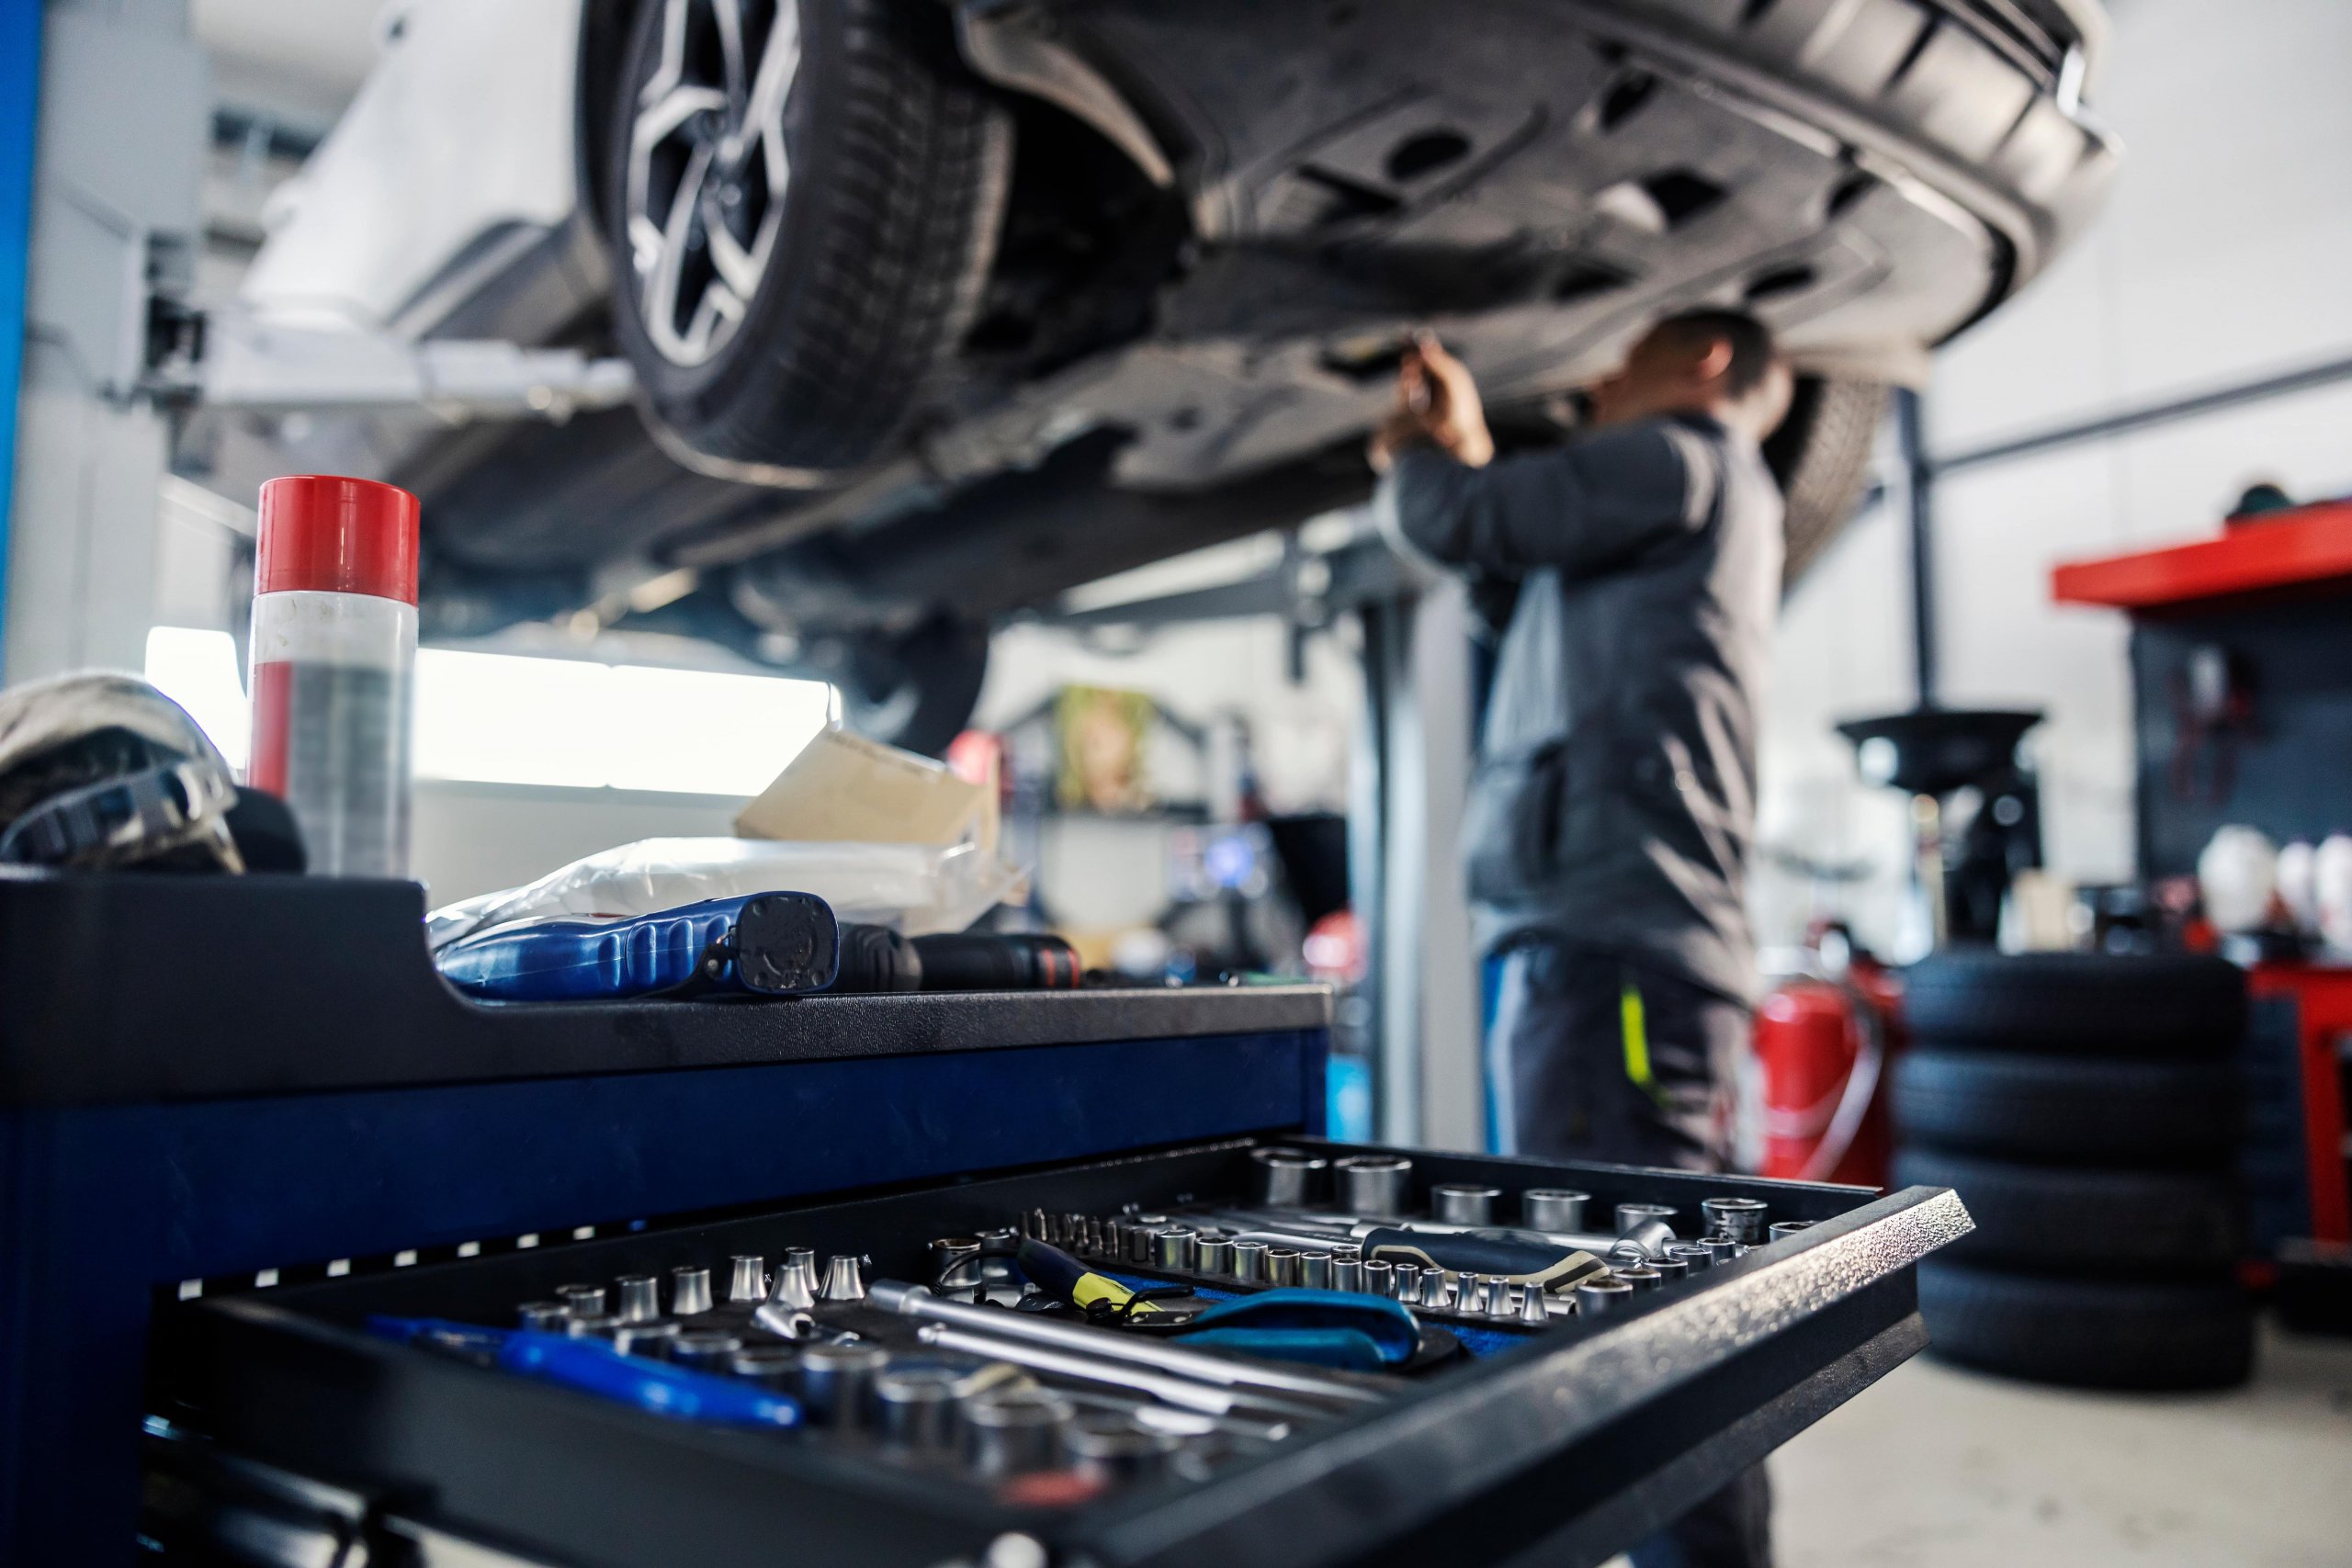
Before you start jacking up your car for an oil change, gather the right tools. This step makes the process safer and smoother. Having the correct equipment helps you lift your car easily and work without stress.
Types Of Jacks
A hydraulic floor jack is common and easy to use. It lifts the car steadily and holds it well. A scissor jack is smaller and fits in most cars. It works by turning a crank to raise the car. Bottle jacks are strong and compact but need more space under the car. Choose the jack that fits your car and workspace best.
Additional Safety Equipment
Jack stands are a must after lifting your car. They keep the car stable and prevent accidents. Wheel chocks stop your car from rolling. Use them on the wheels that stay on the ground. Wear gloves to protect your hands from oil and dirt. Safety goggles shield your eyes from splashes and debris.
Preparing Your Workspace
Pick a flat and solid surface to park your car. Avoid soft ground or slopes to keep the car stable. Clear the area of any objects that might cause tripping. Good lighting helps you see under the car better. Keep your tools close to save time and effort.

Credit: www.amazon.com
Preparing The Car
Preparing your car before jacking it up is important. It keeps you safe and makes the oil change easier. Follow these steps to get your car ready.
Taking time to prepare helps avoid accidents and damage. Safety is the first priority.
Choosing A Level Surface
Pick a flat, hard surface to park your car. Avoid slopes or soft ground like grass or dirt. A level surface stops the car from rolling or slipping.
Concrete or asphalt driveways are best. Make sure the area is clean and clear of obstacles.
Engaging Parking Brake
Set the parking brake firmly. This keeps the car from moving while you work. Double-check the brake before lifting the car.
For extra safety, place wheel chocks behind the wheels that stay on the ground.
Loosening Lug Nuts
Before jacking up the car, loosen the lug nuts on the wheel you will remove. Use a lug wrench and turn nuts counterclockwise. Do not remove them fully yet.
Loosening lug nuts early prevents the wheel from spinning while the car is raised.
Positioning The Jack
Positioning the jack correctly is the first step to safely lifting your car. It ensures stability and avoids damage. You must be careful and precise. Follow simple steps to place the jack right.
Finding Jack Points
Look under the car for the jack points. These are strong spots made for lifting. Usually near the wheels or frame. Check the owner’s manual for exact locations. Avoid placing the jack on the car body or plastic parts.
Placing Jack Safely
Set the jack on a flat, solid surface. Avoid soft ground or slopes. Align the jack head with the jack point exactly. Make sure it sits steady and won’t slip. Using a jack pad can protect the car and add grip.
Raising The Car
Turn the jack handle slowly to lift the car. Watch the jack and car closely while raising. Stop if you see any movement or instability. Lift the car just enough to fit the oil drain pan. Never crawl under a car held only by a jack.
Credit: www.accurateautoadvice.com
Securing The Vehicle
Securing the vehicle is the most important step before starting an oil change. It keeps the car stable and safe while you work underneath. Without proper support, the car can slip or fall, causing injury or damage. Always take time to secure the vehicle correctly to protect yourself and your car.
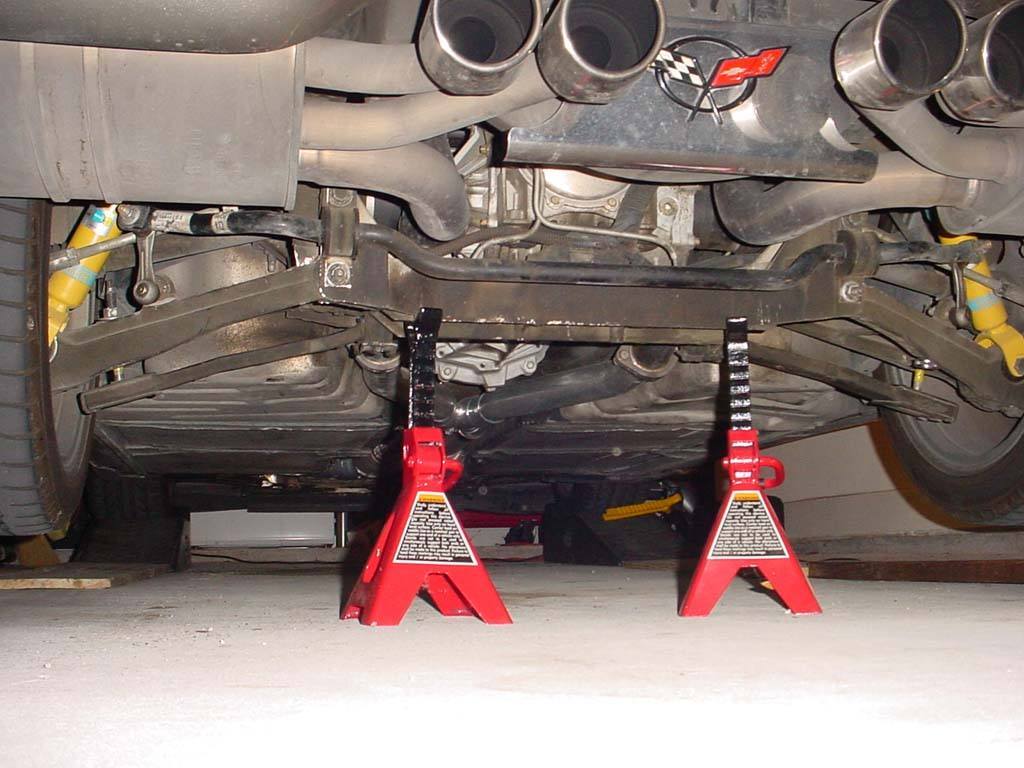
Using Jack Stands
After lifting the car with a jack, place jack stands under solid parts of the frame. These stands hold the vehicle steady and take the weight off the jack. Never rely on the jack alone for support. Position the stands evenly on both sides for balance. Lower the car slowly onto the stands for a secure fit.
Testing Stability
Once the car rests on the jack stands, test its stability. Gently shake the car from side to side. It should not wobble or move. If the car shifts, adjust the stands or the jack points. Double-check the ground is flat and firm. Stability ensures safety while changing the oil.
Avoiding Common Mistakes
Do not place jack stands on soft or uneven surfaces. Avoid using parts of the car not meant for support. Do not rush the process or skip any step. Avoid parking brakes alone; use wheel chocks to block the tires. These mistakes can cause accidents or damage to your vehicle.
Lowering The Car
Lowering the car after an oil change is a crucial step. It must be done carefully to avoid accidents. Take your time and follow the steps below to lower the car safely.
Removing Jack Stands
First, check the car’s stability on the jack stands. Make sure the car is secure and will not move. Then, slowly remove the jack stands one at a time. Keep your hands and feet clear of the car. Place the stands aside safely.
Lowering Slowly
Next, lower the car slowly using the jack. Turn the jack handle gently to lower the car step by step. Watch the car as it comes down. Stop if the car shifts or moves unexpectedly. Lower it until the tires touch the ground fully.
Final Safety Checks
After lowering, remove the jack completely. Check that the car is stable and resting on the ground. Look under the car for any tools or objects left behind. Make sure the area is clear before driving the car.
Speed Tips
Speed matters when jacking up your car for an oil change. You want to work fast but also safe. Small steps can save time and make the job easier. Here are some tips to help you move quickly while staying safe.
Organizing Tools
Keep all tools close and ready before you start. Lay out the jack, wrenches, oil pan, and gloves in one spot. This avoids searching for items during the process. Group tools by use. It saves time and keeps you focused.
Efficient Workflow
Follow a clear order: jack the car, drain oil, replace filter, and refill oil. Stick to the steps without skipping. Prepare the new oil and filter nearby. Use quick movements but stay calm. This flow reduces pauses and speeds up the task.
Maintaining Safety
Check the jack’s position on a solid, flat surface. Use jack stands after lifting the car. Never rely on the jack alone. Wear gloves to protect your hands. Safety slows you down a little but prevents accidents. Work smart and steady for fast and safe results.
Frequently Asked Questions
How High Should I Jack Up My Car For Oil Change?
Jack your car high enough to fit under it safely. Usually, 6 to 12 inches is sufficient. Ensure stability and avoid over-jacking to prevent accidents.
Where Should I Place The Jack For An Oil Change?
Place the jack under the car’s recommended jacking points, usually near the frame or pinch welds. Check the owner’s manual for exact locations to avoid damage.
What Safety Precautions Are Needed When Jacking A Car?
Always use jack stands after lifting the car. Never rely solely on the jack. Work on a flat surface and engage the parking brake to prevent rolling.
Can I Jack My Car On A Slope For Oil Change?
No, avoid jacking a car on a slope. It is unsafe and increases the risk of slipping or rolling. Always choose a flat, stable surface.
Conclusion
Jacking up your car safely makes oil changes easier and faster. Always place the jack under the right spot to avoid damage. Use jack stands to keep the car steady and secure. Double-check everything before starting the oil change. Taking these steps helps you work with confidence.
Your car will stay safe, and you save money by doing it yourself. Practice these tips, and the process will feel simple soon. Stay careful, and enjoy the satisfaction of maintaining your car.


