Are you tired of gripping a cold, slippery steering wheel every time you drive? Imagine turning your daily drive into a cozy, stylish experience with a simple handmade touch.
Making your own crochet steering wheel cover is easier than you think, and it lets you add a personal flair while improving your grip and comfort on the road. In this guide, you’ll discover clear, step-by-step instructions to create a cover that fits perfectly and feels just right.
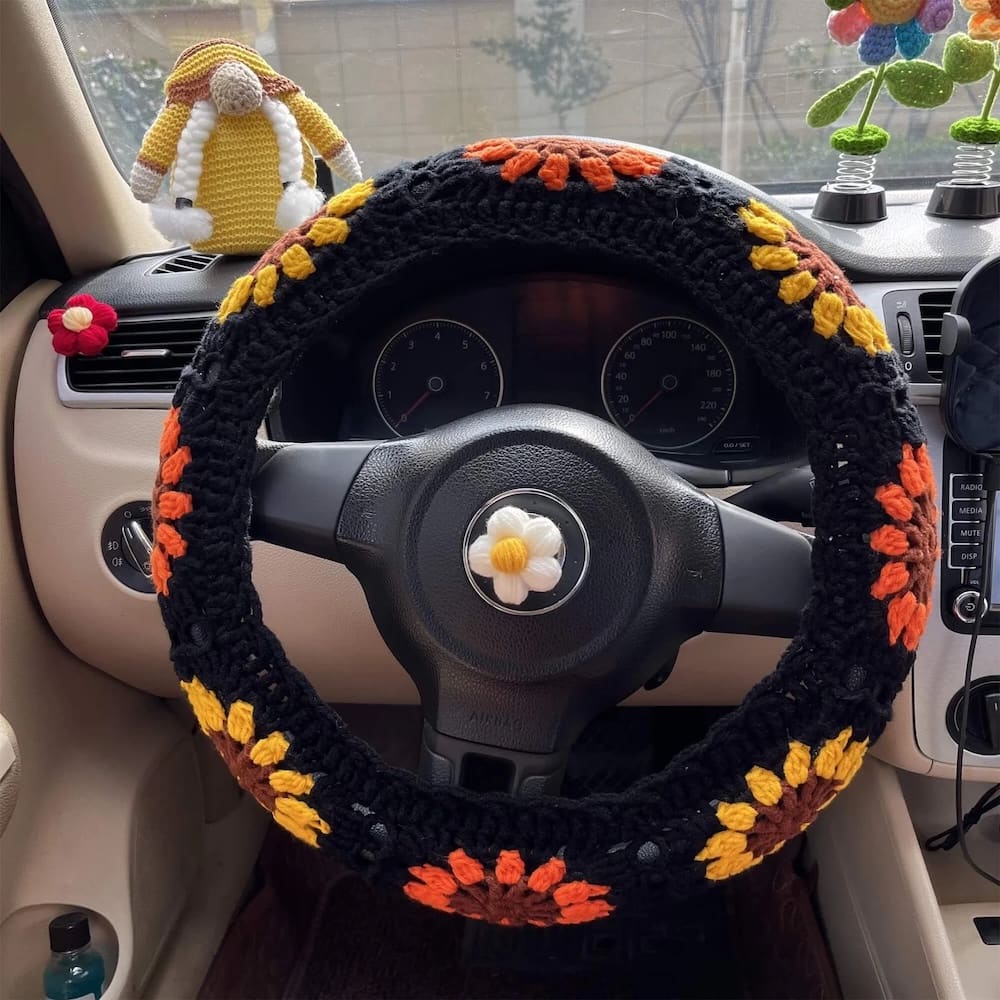
Ready to transform your steering wheel and enjoy every drive a little more? Let’s get started!
Credit: jototheworld.com
Materials Needed
Gathering the right materials is the first step to create a crochet steering wheel cover. Using quality supplies makes the project easier and the final product better. Below are the essential materials needed to start your crochet cover.
Yarn Selection
Choose yarn that is soft yet durable. Cotton yarn works well because it is strong and breathable. Avoid yarn that feels too slippery or rough. Pick a color that matches your car’s interior or your personal style. Medium weight yarn is ideal for this project.
Hook Size
Select a crochet hook that fits the yarn weight. Usually, a 5 mm (H) hook works great with medium weight yarn. The right hook size helps create tight stitches that hold the cover firmly. Using a hook that is too big or small can affect the cover’s fit.
Additional Tools
You will also need scissors to cut the yarn cleanly. A yarn needle helps weave in loose ends neatly. Stitch markers can be useful to mark your rounds as you crochet. Having a tape measure ensures the cover fits your steering wheel perfectly.
Measuring Your Steering Wheel
Measuring your steering wheel is the first step in making a perfect crochet cover. Accurate measurements ensure the cover fits snugly and looks great. Taking the time to measure carefully saves frustration later. Use a flexible tape measure or a string for best results.
Finding The Diameter
The diameter is the distance across the steering wheel. Measure straight from one side to the other through the center. This tells you how wide the wheel is. Write down this number. It helps in making the cover the right size.
Determining Circumference
The circumference is the total length around the steering wheel. Wrap a tape measure or string around the outside edge. Mark the point where it meets the start. Measure the string with a ruler if you used one. This number guides how much yarn you need to cover the wheel fully.
Basic Crochet Stitches
Before starting your crochet steering wheel cover, learn the basic stitches. These stitches form the foundation of your project. They are simple but important. Understanding these stitches helps you follow patterns easily. Practice each stitch slowly. This builds your confidence and skill.
Chain Stitch
The chain stitch creates the base of your crochet work. It looks like a row of small loops. To make a chain stitch, wrap the yarn over the hook and pull it through the loop on the hook. Repeat to form a chain of the desired length. This stitch sets the size of your cover.
Single Crochet
Single crochet is a tight, dense stitch. It creates a firm fabric perfect for a steering wheel cover. Insert the hook into the stitch, yarn over, and pull up a loop. Yarn over again and pull through both loops on the hook. Repeat across the row. This stitch adds strength and durability.
Slip Stitch
The slip stitch joins pieces or rounds together neatly. Insert the hook into the stitch, yarn over, and pull through both loops on the hook. It does not add height but creates a smooth join. Use slip stitches to finish your cover or connect edges cleanly.
Creating The Base Circle
Creating the base circle is the first step in making a crochet steering wheel cover. It forms the foundation of your cover. This part must fit the size of your steering wheel perfectly. A good base circle ensures a snug and smooth cover. Follow the steps carefully to get the right shape and size.
Starting The Magic Ring
The magic ring is the best way to start a round crochet project. It creates a tight, adjustable center. Begin by making a loop with your yarn. Hold the loop with your fingers and crochet stitches into it. Pull the yarn tail to close the ring. This method avoids a hole in the center of your circle.
Chain one after the ring to secure it. Then, work the first round of stitches inside the ring. Use single crochet or half double crochet stitches. Count your stitches to match your pattern. This step forms the perfect base for your steering wheel cover.
Increasing Rounds
To make the base circle larger, you must increase stitches evenly. Add more stitches in each round to keep the circle flat. Increase by placing two stitches in one stitch from the previous round. Space these increases evenly around the circle.
Check the size after every round. Stop increasing when the circle fits the steering wheel diameter. Keep your tension consistent for a smooth edge. This process shapes the base circle to the correct size and fit.
Crocheting The Cover Body
Crocheting the cover body is the main step in making your steering wheel cover. This part creates the soft, textured layer that fits around the wheel. It needs to be flexible and strong. Using the right stitches and technique helps achieve a smooth, even cover. Follow these simple steps to crochet the body perfectly.
Working In Rounds
Start by making a small circle with a chain and slip stitch. This forms the center of your cover. Work single crochet stitches around the circle. Keep adding stitches evenly to expand the circle. Each round should be smooth and flat. Use a stitch marker to track the start of each round. This keeps your work neat and consistent.
Adjusting For Fit
Try the cover on your steering wheel as you crochet. Measure the wheel’s diameter and match the cover size. Add or reduce stitches to fit snugly but not too tight. Stretch the cover gently to check elasticity. Adjust rounds if the cover feels loose or too tight. Proper fit ensures comfort and safety while driving.

Credit: www.youtube.com
Adding Texture And Style
Adding texture and style to your crochet steering wheel cover makes it unique and pleasant to touch. Texture gives the cover a better grip. Style lets you express your personality. Simple techniques create eye-catching effects.
Try different stitches and patterns. These small changes can turn a plain cover into a stylish accessory. Focus on comfort and design together.
Ribbing Techniques
Ribbing adds stretch and texture to your cover. It creates raised lines that feel soft and bumpy. Use front post and back post stitches for this effect. These stitches pull the yarn to the front or back, making ridges.
Try a simple rib by alternating front post double crochet and back post double crochet. This makes vertical ribs. It fits snugly around the wheel and looks neat. Ribbing helps the cover stay in place while driving.
Decorative Patterns
Decorative patterns add charm and style. Use shells, bobbles, or popcorn stitches to create small bumps and shapes. These patterns make the cover lively and fun.
Mix colors with these patterns for a bold look. Stripes or blocks of color work well. Patterns can be simple or complex, depending on your skill. Choose ones that feel good to the hands and look attractive.
Assembling And Finishing
Assembling and finishing your crochet steering wheel cover is the final step. This process gives your cover a neat and polished look. Proper assembly ensures the cover fits tightly and lasts longer.
Seaming Edges
Start by lining up the edges of your crochet pieces. Use a yarn needle and matching yarn to sew the edges together. Stitch with small, even loops for a strong seam. Keep the seam flat to avoid bulk. This helps the cover sit smoothly on the wheel.
Weaving In Ends
After seaming, tuck the yarn tails into the stitches. Use a yarn needle to weave ends back and forth inside the fabric. This secures loose ends and stops unraveling. Trim any extra yarn close to the fabric. Clean ends make your cover look tidy and professional.

Credit: www.instructables.com
Care And Maintenance Tips
Taking good care of your crochet steering wheel cover keeps it looking fresh and lasting longer. Proper care helps maintain its color, shape, and texture. Follow simple steps to keep your cover clean and safe.
Cleaning Instructions
Hand wash your crochet cover in cold water. Use mild soap or gentle detergent only. Avoid bleach or harsh chemicals that can damage yarn fibers. Rinse thoroughly to remove all soap. Gently squeeze out water without wringing. Lay flat on a towel to dry. Avoid direct sunlight to prevent fading. Do not use a dryer as heat can shrink the yarn.
Storage Advice
Store your crochet cover in a cool, dry place. Keep it away from direct sunlight and moisture. Fold it neatly to avoid stretching or misshaping. Use a breathable fabric bag for storage if possible. Avoid plastic bags that trap moisture and cause mildew. Check your cover regularly for dust or dirt. Clean it before storing for a long time.
Frequently Asked Questions
What Materials Are Needed For A Crochet Steering Wheel Cover?
You need yarn, a crochet hook, scissors, and a yarn needle. Choose soft, durable yarn for comfort and grip. Opt for cotton or acrylic yarns as they are easy to work with and long-lasting.
How Long Does It Take To Crochet A Steering Wheel Cover?
Crocheting a steering wheel cover takes about 2 to 4 hours. The time depends on your crochet skill and the complexity of the pattern. Beginners may take longer, while experienced crafters finish faster.
Can I Customize The Size Of My Crochet Cover?
Yes, you can customize the size by measuring your steering wheel’s diameter. Adjust your crochet stitches and rounds accordingly. This ensures a snug fit and enhances comfort and safety while driving.
How Do I Secure The Crochet Cover On The Steering Wheel?
Use a yarn needle and matching yarn to sew the ends together tightly. You can also use elastic bands or buttons for additional security. This prevents slipping and keeps the cover in place during driving.
Conclusion
Making a crochet steering wheel cover adds comfort and style to your car. It protects your wheel from wear and gives a personal touch. The process is simple and fun to try at home. Use basic stitches and take your time.
Soon, your car will feel cozier and look unique. Keep practicing to improve your skills. Enjoy the satisfaction of a handmade accessory every time you drive.


