
Want to give your car a shiny, smooth finish without spending a fortune? Making your own liquid wax at home is easier than you think.
Not only will you save money, but you’ll also know exactly what’s going onto your car’s surface. In this guide, you’ll learn simple steps to create a liquid wax that protects and shines your vehicle like a pro. Keep reading, and you’ll discover how to make your car look brand new with just a few easy ingredients.
Ingredients For Liquid Wax
Creating liquid wax for your car requires a few key ingredients. Each plays a special role in making the wax smooth and effective. Understanding these ingredients helps you make the best wax at home. Below are the main ingredients you need.
Essential Oils And Waxes
Essential oils add shine and a pleasant scent to the wax. Common oils include lemon and orange oil. These oils help clean dirt and leave a fresh smell.
Waxes are the main ingredient that protects your car’s paint. Carnauba wax is popular for its strong shine and durability. Beeswax can also be used for a natural finish. These waxes create a smooth, protective layer on the car surface.
Solvents And Additives
Solvents help dissolve wax and oils so they mix well. Mineral spirits or turpentine are common solvents. They make the wax liquid and easy to spread.
Additives improve the wax’s performance. Some additives help the wax dry faster. Others boost water resistance or add extra shine. These small ingredients make the wax work better and last longer.
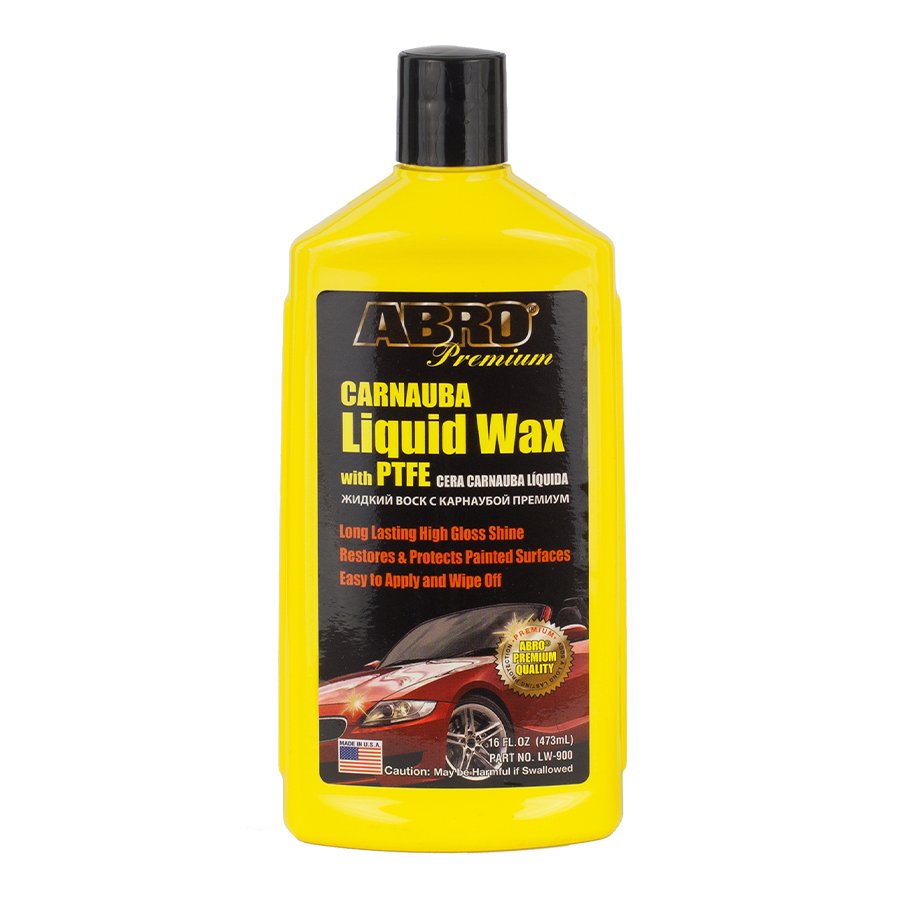
Credit: abro.com
Tools Needed
To make liquid wax for your car, having the right tools is key. The tools help you mix ingredients safely and accurately. Using proper equipment makes the process smooth and efficient.
Mixing Containers
Choose containers made of heat-resistant material. Glass or stainless steel works best. Avoid plastic containers that can melt or react with wax. Pick containers with wide openings for easy stirring. Clean containers prevent contamination of the wax. Having multiple containers helps when mixing several ingredients.
Measuring Equipment
Accurate measuring tools ensure the right wax formula. Use measuring cups for liquids and spoons for powders. Digital scales give precise weight measurements. Avoid guessing amounts to keep consistency. Clear markings on tools help read measurements quickly. Keep tools clean to avoid mixing errors.
Step-by-step Preparation
Making liquid wax for your car at home is simple and rewarding. Follow these clear steps to prepare the wax easily. Each step ensures a smooth texture and strong protection for your car’s paint. This guide breaks down the process into easy parts. Let’s start with melting the wax.
Melting The Wax
Begin by placing solid wax in a heat-safe container. Use a double boiler to melt the wax slowly. Avoid direct heat to prevent burning. Stir gently as the wax melts. Wait until the wax is fully liquid and clear.
Combining Ingredients
Next, add oils and other ingredients to the melted wax. Mix them well to create a smooth blend. Use a whisk or spoon for even mixing. Ensure all parts are fully combined without lumps. This step helps improve the wax’s shine and protection.
Cooling And Storing
Pour the liquid wax into clean containers. Let it cool at room temperature. The wax will thicken as it cools. Seal the containers tightly to keep the wax fresh. Store in a cool, dry place for best results.

Credit: www.youtube.com
Application Techniques
Applying liquid wax correctly is key to getting a smooth, shiny car surface. Proper steps ensure the wax spreads evenly and protects well. Follow these simple techniques for best results.
Surface Preparation
Clean the car surface thoroughly before waxing. Use soap and water to remove dirt. Dry the surface with a soft cloth to avoid streaks. Check for any rough spots or old wax. Remove old wax with a clay bar or wax remover. A clean surface helps wax stick and shine better.
Applying The Wax
Pour a small amount of liquid wax on a foam applicator pad. Work on one panel at a time to avoid drying out. Apply thin, even layers in circular motions. Cover the entire panel without missing spots. Avoid using too much wax; thin layers dry faster and buff easier.
Buffing For Shine
Wait a few minutes for the wax to dry to a haze. Use a clean microfiber cloth to buff the surface. Rub gently with light pressure in small circles. Buff until the surface shines and feels smooth. Change cloth sides often to avoid smearing. Proper buffing brings out the wax’s full shine.
Tips For Best Results
Getting the best results from your liquid wax depends on a few simple tips. These tips help protect your car’s paint and keep it shiny for longer. Follow them to make your wax work well and last.
Frequency Of Application
Apply liquid wax every three to four months. This keeps the protective layer strong. In harsh weather, apply more often. Too much waxing can build up residue. Too little leaves your car unprotected.
Storage Recommendations
Store liquid wax in a cool, dry place. Avoid direct sunlight or heat. Keep the container tightly closed. This stops the wax from drying out. Proper storage keeps the wax fresh and easy to use.
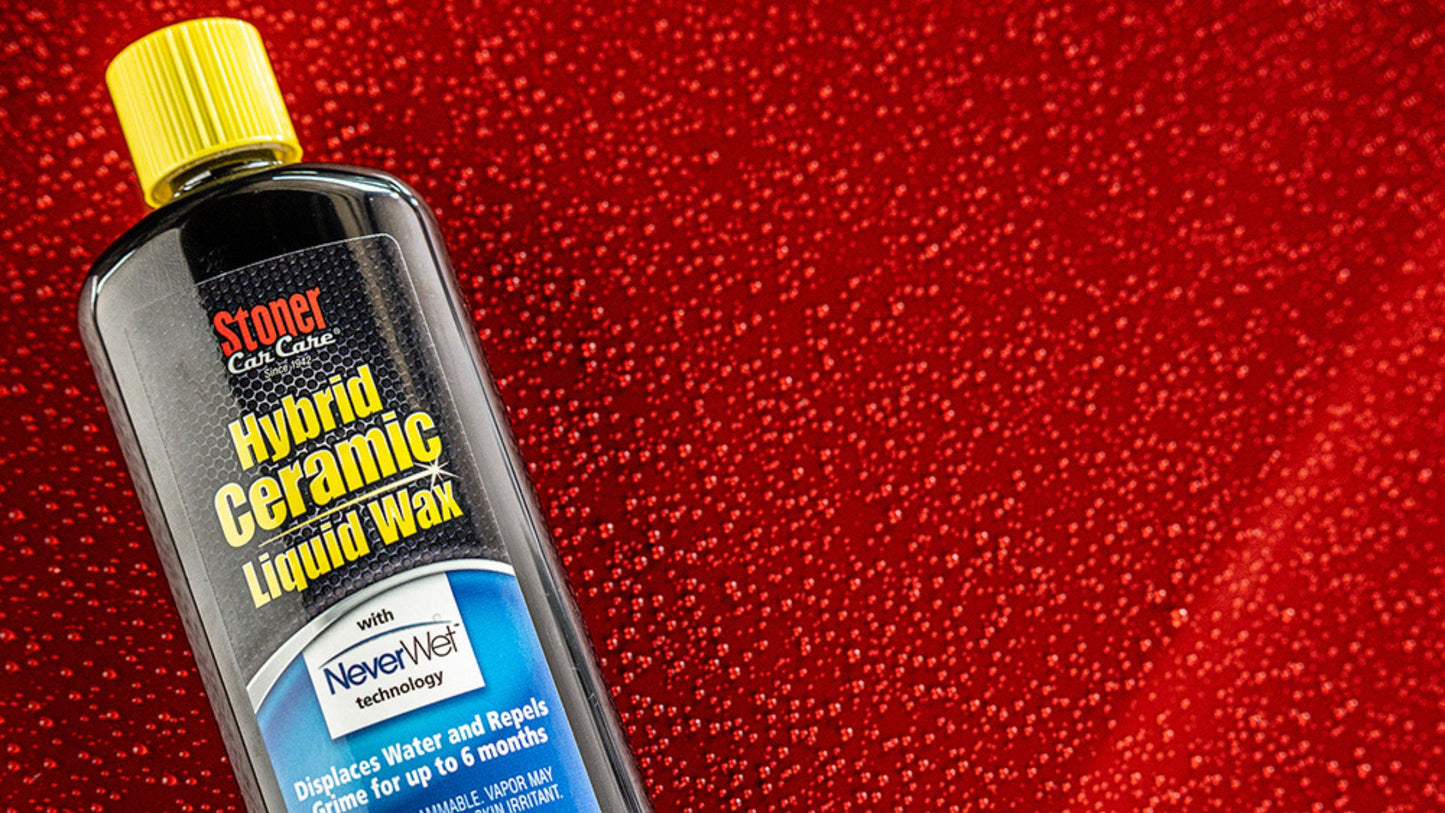
Credit: stonercarcare.com
Common Mistakes To Avoid
Making liquid wax for your car can be simple. Yet, many make common mistakes that spoil the result. Avoiding these errors saves time and effort. It also ensures the wax works well and lasts longer.
Using The Wrong Ingredients
Choosing low-quality or incorrect ingredients lowers the wax’s effectiveness. Always use pure wax and clean solvents. Avoid cheap alternatives that can damage your car’s paint.
Incorrect Melting Temperature
Heating wax at too high or low temperatures changes its texture. Melt wax slowly over low heat. This keeps the wax smooth and easy to apply.
Skipping The Mixing Step
Not mixing ingredients well causes uneven wax. Stir the mixture continuously while it cools. This creates a consistent liquid wax without lumps.
Applying Wax On A Dirty Surface
Wax on dirt or dust traps grime under the coating. Always clean and dry the car before applying wax. This helps the wax bond to the paint better.
Using Too Much Wax
Applying thick layers makes the wax hard to remove. Spread a thin, even layer for the best shine. Thin coats dry faster and last longer.
Frequently Asked Questions
What Ingredients Are Needed To Make Liquid Wax For Cars?
To make liquid wax, you need carnauba wax, mineral spirits, and a small amount of turpentine. These ingredients blend to create a smooth, protective wax that enhances car shine and durability.
How Long Does Homemade Liquid Wax Last On A Car?
Homemade liquid wax typically lasts about 4 to 6 weeks on a car’s surface. Proper application and storage of the wax can extend its effectiveness and maintain your car’s glossy finish longer.
Can I Use Liquid Wax On All Car Paint Types?
Yes, liquid wax is safe for most car paint types, including clear coats. Always test a small area first to ensure compatibility and avoid any potential damage to the paint surface.
How Often Should I Apply Liquid Wax To My Car?
Apply liquid wax every 4 to 6 weeks for optimal protection and shine. Regular waxing helps protect the paint from environmental damage and keeps your car looking new.
Conclusion
Making liquid wax for your car is simple and cost-effective. You only need a few basic ingredients and some patience. This homemade wax protects your car’s paint and adds a nice shine. Regular use keeps your car looking clean and new.
Try this easy method and enjoy a polished car without spending much. Keep your car shining bright with your own liquid wax.


