
Are you ready to take your nail game to the next level? Making your own vinyl nail wraps with a Cricut machine is easier than you think—and it lets you create custom designs that truly show off your style.
Imagine having salon-quality nails right at home, saving time and money while enjoying endless creativity. In this guide, you’ll discover simple steps to craft perfect nail wraps that fit your nails like a glove. Keep reading, and soon you’ll be turning heads with your unique, flawless nails!
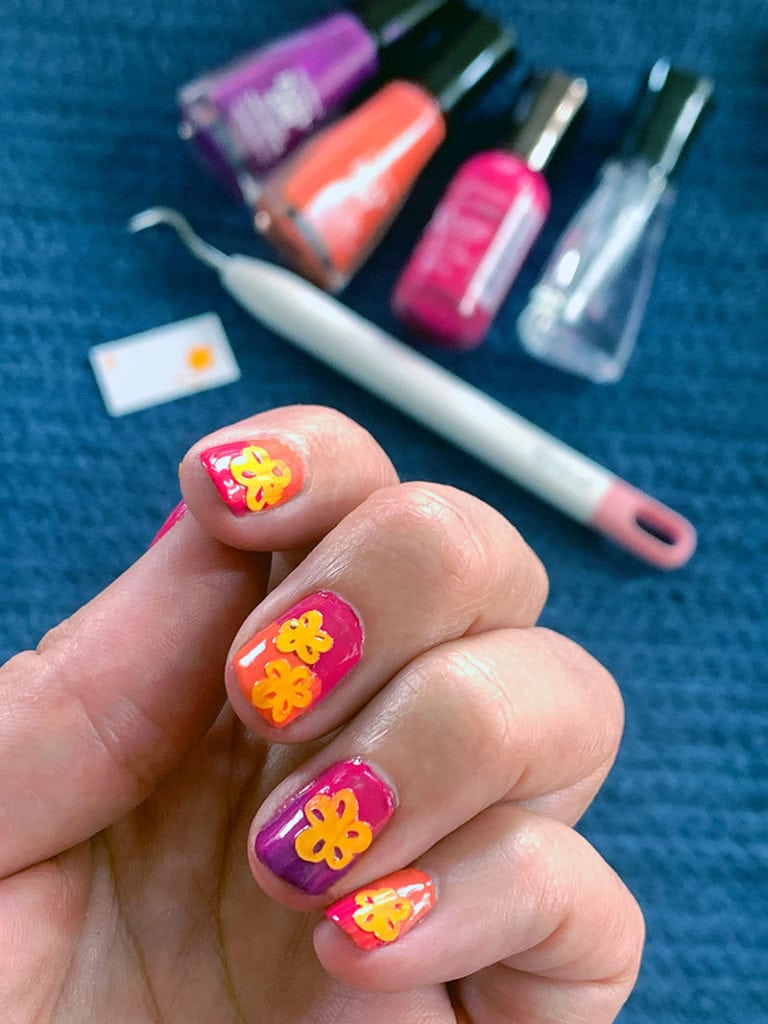
Credit: www.100directions.com
Materials Needed
Making vinyl nail wraps with a Cricut machine needs specific materials. Having the right supplies helps you create neat and long-lasting designs. Prepare everything before starting for a smooth crafting experience.
This section explains the main materials needed. You will learn about the best vinyl, tools to use, and how to set up your workspace.
Choosing The Right Vinyl
Select vinyl made for nails or small crafts. Thin, flexible vinyl works best for nail wraps. Look for adhesive vinyl that sticks well but removes easily. Matte or glossy finishes offer different styles. Pick colors and patterns that fit your design idea. Avoid thick or rigid vinyl that may peel off quickly.
Essential Tools
You need a Cricut cutting machine to cut your designs. A cutting mat holds the vinyl steady while cutting. Use a weeding tool to remove extra vinyl parts. Tweezers help place small vinyl pieces precisely. Nail files and cuticle sticks smooth edges after application. A clear topcoat polish seals and protects the wrap.
Preparing Your Workspace
Work on a clean, flat surface with good light. Keep all tools and materials within easy reach. Clean your hands and nails before starting. Use a small container to hold tiny vinyl scraps. Organize your vinyl sheets by color or pattern. This setup saves time and keeps your process neat.
Credit: www.craftwithsarah.com
Designing Nail Wraps
Designing nail wraps is the first step to create unique and stylish vinyl nail wraps. You control every detail. Choose colors, patterns, and shapes that fit your style. The design process is simple with the right tools and guidance. It lets you make nail wraps that look professional and personal.
Using a Cricut machine adds precision and creativity to your designs. It helps you cut detailed patterns easily. You can create sets that match perfectly for all your nails. Designing is fun and rewarding. You get to see your ideas come to life on your nails.
Using Cricut Design Space
Cricut Design Space is the software for creating your nail wrap designs. It is easy to use and full of features. Start by opening a new project. You can choose from many templates or start fresh. Upload your images or use built-in shapes. The software helps you arrange and prepare your design for cutting.
Design Space also allows you to preview your design. Make sure everything looks good before cutting. This saves material and time. Use the tools to adjust colors and layers. Your design will be ready to cut with precision.
Customizing Patterns And Shapes
Choose patterns that fit your mood and style. You can pick stripes, dots, florals, or geometric shapes. Customize colors to match your outfit or mood. Change shapes by stretching or rotating them. Add small details for a unique touch.
Experiment with layering different shapes for a complex look. Keep the design simple if you want a minimalist style. Use the software’s tools to align and space your elements. A well-balanced design looks professional and neat.
Sizing For Different Nails
Nails come in different sizes and shapes. Design each wrap to fit individual nails perfectly. Measure your nails or use size guides. Adjust the width and length of each wrap in the software. Make sure the edges are smooth to avoid peeling.
Creating various sizes in one project saves time. Cut all the wraps in one go. Test the wraps on your nails before final application. A good fit means the wrap lasts longer and looks better.
Cutting Vinyl With Cricut
Cutting vinyl with Cricut is an important step in making nail wraps. It ensures the designs fit perfectly on your nails. The Cricut machine cuts detailed shapes quickly and with precision. Proper setup and settings help avoid mistakes and save material.
Setting Up The Machine
Start by turning on your Cricut machine. Connect it to your computer or mobile device. Open the Cricut Design Space app. Select your project file for nail wraps. Place the vinyl sheet on the cutting mat, sticky side down. Align it with the top left corner of the mat.
Selecting Cut Settings
Choose the correct material type in Design Space. For vinyl nail wraps, select “Vinyl” or “Premium Vinyl.” Adjust the blade pressure if needed. Use the default settings for most vinyl types. Double-check the settings to avoid cutting errors.
Loading And Cutting Vinyl
Load the mat into the Cricut by pressing the load button. Make sure the vinyl is flat and secured on the mat. Press the “Cut” button in the app to start cutting. Watch the machine carefully as it cuts the design. After cutting, unload the mat and remove the vinyl carefully.

Credit: www.youtube.com
Applying Nail Wraps
Applying vinyl nail wraps with your Cricut machine is simple and fun. This step brings your custom designs to life. Careful application makes your nails look neat and last longer. Follow these easy steps for the best results.
Preparing Nails
Start with clean, dry nails. Remove old polish and wash your hands well. Use a nail file to shape nails smoothly. Lightly buff the surface to help the wrap stick better. Avoid oils or lotions before applying the wraps.
Peeling And Placing Wraps
Carefully peel the nail wrap from its backing. Hold the edges to avoid touching the sticky side. Align the wrap with your nail base near the cuticle. Gently press the wrap down from center to edges. Smooth out any air bubbles or wrinkles with a soft tool or finger.
Trimming And Finishing Touches
Trim excess wrap using small scissors or a nail clipper. File the edges gently in a downward motion to remove extra wrap. Press the edges firmly to seal them well. For extra hold, apply a clear top coat over the wrap. Let it dry completely for a lasting finish.
Tips For Long-lasting Wraps
Making vinyl nail wraps with Cricut is fun and creative. To keep your wraps looking fresh and flawless for days, follow a few key tips. These tips help your wraps stick well, avoid damage, and last longer. Simple steps make a big difference in durability and appearance.
Sealing Techniques
Seal your vinyl wraps to protect the design. Use a clear topcoat or nail glue on edges. This stops peeling and chipping. Apply a thin layer over the entire wrap. Let it dry completely before touching water or using hands.
Avoiding Wrinkles And Bubbles
Start with clean, dry nails for smooth application. Use a cuticle pusher to press wraps firmly. Work from the center to edges. Smooth out air bubbles with a soft tool or finger. Take time to avoid wrinkles during placement.
Maintenance And Removal
Keep your nails dry and avoid harsh chemicals. Wear gloves during cleaning or dishwashing. Use gentle nail oil to hydrate cuticles and wraps. For removal, soak wraps in warm, soapy water. Peel off gently without forcing to protect nails.
Creative Ideas
Creative ideas bring life to your vinyl nail wraps made with Cricut. They allow you to personalize your nails with unique designs. Experimenting with colors, patterns, and embellishments makes each wrap special. These ideas also help you match your nails to your mood or occasion. Let’s explore some fun ways to create eye-catching nail wraps.
Mixing Colors And Patterns
Use Cricut to cut different colored vinyl pieces. Combine bright and neutral tones for a bold look. Try mixing stripes, dots, and geometric shapes. Overlapping patterns create depth and interest. Layer small shapes on larger ones for a textured effect. Play with contrast to make your designs pop.
Adding Embellishments
Enhance your wraps with tiny gems or glitter. Place small stickers or decals on top of the vinyl. Use thin metallic strips for a chic touch. You can also add a clear top coat to seal the decorations. Keep embellishments light to avoid discomfort. Small details add a professional finish.
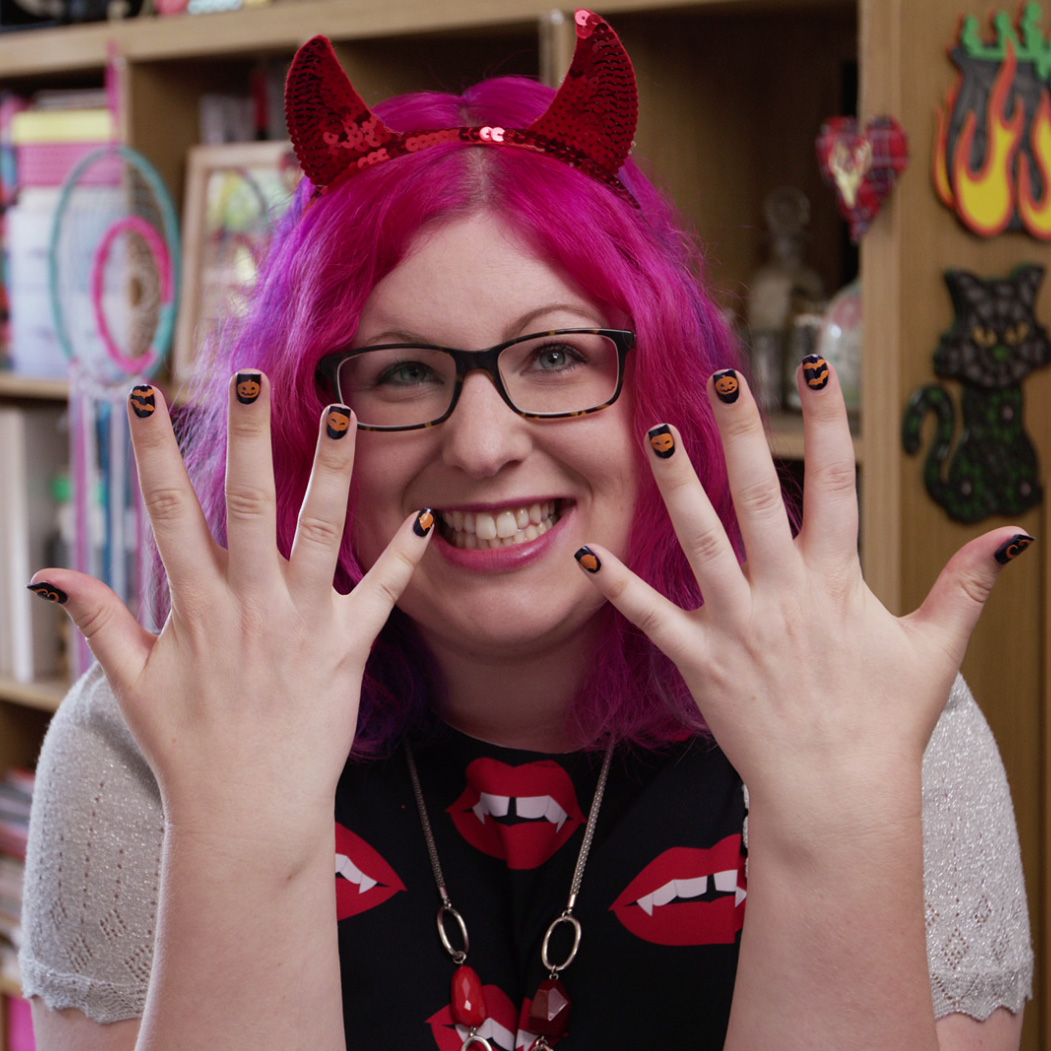
Seasonal And Themed Designs
Create nail wraps for holidays and special events. Use red and green for Christmas or orange and black for Halloween. Spring designs can have flowers or pastel colors. Summer wraps might feature suns or beach themes. Change your nails to match seasons and celebrations. Themes make your nails fun and festive.
Frequently Asked Questions
How Do I Create Vinyl Nail Wraps With Cricut?
To create vinyl nail wraps, design your patterns in Cricut Design Space. Cut the vinyl using the Cricut machine, then trim and apply the wraps to your nails carefully.
What Materials Are Needed For Cricut Nail Wraps?
You need adhesive vinyl, transfer tape, nail wrap base coat, and a Cricut cutting machine. Also, have scissors and a scraper tool for application.
Can Cricut Vinyl Wraps Fit All Nail Sizes?
Yes, you can customize the designs and sizes in Cricut Design Space for any nail shape or size for a perfect fit.
How Do I Apply Vinyl Nail Wraps Properly?
Clean nails, apply a base coat, then place the vinyl wrap. Smooth out bubbles and trim excess vinyl for a neat finish.
Conclusion
Making vinyl nail wraps with a Cricut is simple and fun. You can create many designs to fit your style. The process saves money and lets you customize easily. Just follow the steps, and practice a bit. Soon, your nails will look unique and neat.
Try different colors and shapes for variety. Enjoy the creativity and the compliments you will get. Crafting at home brings joy and a sense of pride. Keep experimenting and have fun with your nail art.


