
Want your car to smell amazing every time you step inside? Making your own wax car air fresheners is easier than you think.
You get to choose scents you love, save money, and add a personal touch to your ride. Plus, these air fresheners last longer than store-bought ones. Keep reading, and you’ll learn simple steps to create your own fresh-smelling wax air fresheners that make your car feel like a breath of fresh air every day.
Materials Needed
Making wax car air fresheners requires a few simple materials. These items are easy to find and affordable. Having the right supplies helps create fresh, long-lasting scents. Below is a list of essential materials needed to get started.
Wax Types
Choose a wax that melts easily and holds scent well. Soy wax is popular because it is natural and burns clean. Beeswax offers a natural aroma and is eco-friendly. Paraffin wax is common and inexpensive but less natural. Pick a wax type based on your preference and availability.
Essential Oils
Essential oils add fragrance to your air fresheners. Popular scents include lavender, peppermint, and lemon. Use pure essential oils for a strong, natural smell. Avoid synthetic perfumes as they may cause irritation. Mix different oils to create unique blends.
Molds And Containers
Molds shape your wax into fun or simple forms. Silicone molds work best because they are flexible and non-stick. You can use small containers as well, like metal tins or glass jars. Choose shapes and sizes that fit your car space.
Additional Supplies
Prepare extra items for easy crafting. A double boiler or microwave-safe bowl helps melt wax safely. Stirring sticks mix wax and oils evenly. Use a thermometer to check wax temperature. Cotton strings or ribbons allow hanging the fresheners in your car.
Credit: gymcraftlaundry.com
Preparing The Workspace
Preparing your workspace is the first step in making wax car air fresheners. A clean and organized area helps you work faster and safer. It also keeps your materials ready and easy to find.
Clear a flat surface with good lighting. This space will hold all your tools and ingredients. Make sure it is well ventilated. This helps with any strong smells from wax or scents.
Safety Precautions
Wear gloves to protect your hands from hot wax. Use a mask if you feel strong odors. Keep a fire extinguisher nearby. Hot wax can cause burns or start fires. Avoid loose clothes that might catch fire. Work away from children and pets. Keep your workspace dry to prevent slips or falls.
Organizing Tools
Gather all tools before starting. You will need molds, a double boiler, stirring sticks, and scent oils. Place each item within arm’s reach. Use small containers for wax pieces and scents. Label containers to avoid mixing scents. Keep paper towels or cloths handy for spills. Organizing tools saves time and reduces mess.
Melting The Wax
Melting the wax is the key step to make wax car air fresheners. The wax must be fully melted before adding scent and pouring into molds. This process requires care and attention to avoid burning or overheating the wax.
Choosing The Right Method
There are a few ways to melt wax safely. A double boiler is the safest method. It uses steam heat to melt wax gently. You can also use a microwave in short bursts. Another option is a wax melting pot made for crafts. Choose the method that fits your tools and space.
Temperature Control Tips
Keep wax temperature between 160°F and 180°F. Too hot wax can catch fire or lose scent. Use a candy thermometer to check the heat. Stir the wax often to melt it evenly. Turn off heat as soon as the wax is melted. Let it cool slightly before adding fragrance oils.
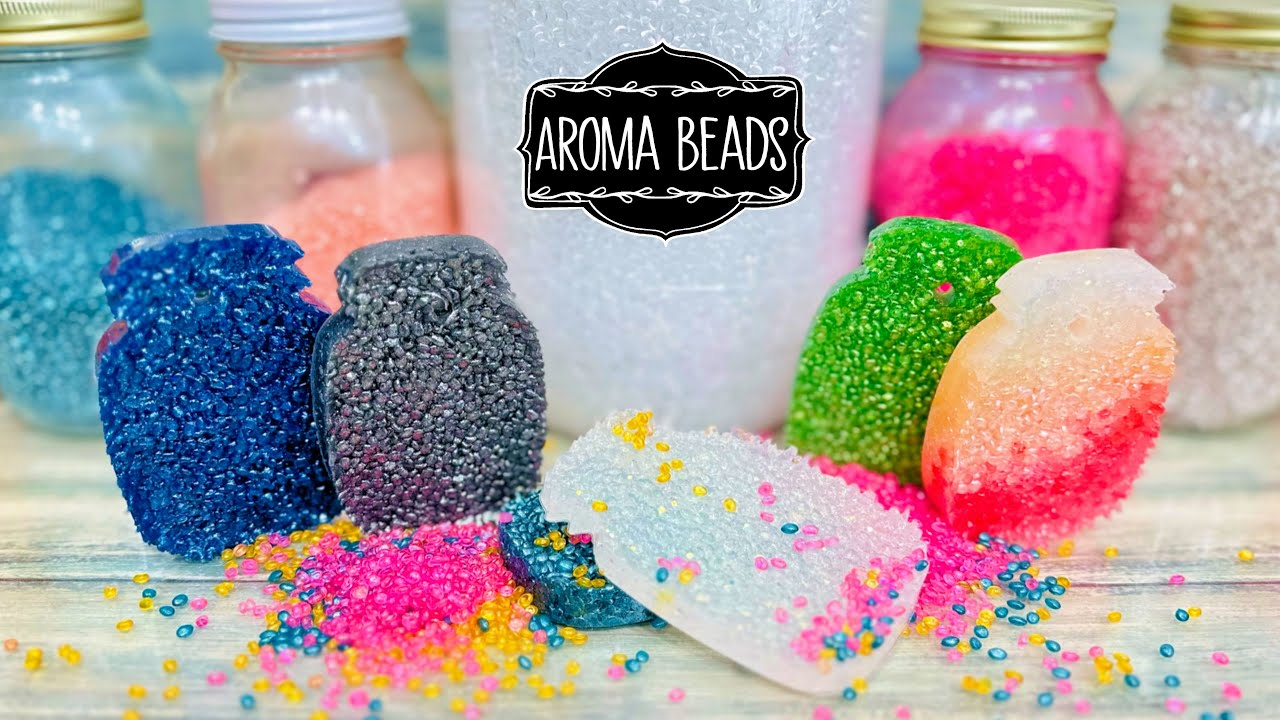
Credit: www.youtube.com
Adding Scents
Adding scents to your wax car air fresheners brings them to life. It creates a pleasant aroma that lasts long inside your vehicle. The right scent can make driving more enjoyable and relaxing. Choosing and mixing oils correctly is key for a good fragrance.
Selecting Essential Oils
Pick essential oils with fresh, clean scents. Popular choices include lavender, lemon, and eucalyptus. These oils are safe and smell great in small spaces. Avoid heavy or overpowering fragrances that may cause headaches. Test a few oils before deciding on your favorite blend.
Mixing Oils With Wax
Warm the wax until it is fully melted. Remove it from heat before adding oils. Add about 10 to 15 drops of essential oil per half cup of wax. Stir gently but thoroughly to mix the scent evenly. Too much oil can make the wax sticky or oily. Pour the scented wax into molds quickly before it hardens.
Pouring Into Molds
Pouring wax into molds is a key step in making car air fresheners. This process shapes the wax and gives it a unique look. Choosing the right mold and using the correct pouring method can affect the final product’s quality. A smooth pour helps avoid bubbles and cracks. Let’s explore how to pick molds and pour wax properly.
Choosing Mold Shapes
Select molds that match your air freshener style. Simple shapes like circles or squares work well for beginners. Fun shapes like cars, leaves, or hearts add charm. Use silicone molds for easy removal. Avoid molds with tiny details; they can trap wax and break easily. The size matters too. Small molds dry faster and fit well in cars. Choose shapes that fit your scent and car decor theme.
Pouring Techniques
Heat the wax until it is fully melted but not too hot. Pour slowly to avoid air bubbles. Hold the mold steady on a flat surface. Fill the mold almost to the top, leaving a little space for expansion. Pour close to the mold surface to reduce splashes. Do not stir once poured; this causes cracks. Let the wax cool at room temperature. Avoid moving the mold during cooling to keep the shape perfect.
Setting And Curing
Setting and curing are key steps in making wax car air fresheners. This process lets the wax cool and harden properly. Proper setting ensures the air freshener keeps its shape and scent. It prevents cracks and uneven surfaces. Patience during this stage leads to a better final product.
Cooling Time
After pouring the wax into the mold, let it cool at room temperature. Cooling usually takes 1 to 2 hours. Avoid moving or touching the mold during this time. Quick cooling can cause cracks or bubbles. Slow cooling helps the wax set evenly and smoothly.
Hardening Tips
To make the wax harder, place the mold in a cool, dry place. Avoid direct sunlight or heat sources. For faster hardening, use a refrigerator, but no more than 30 minutes. Too much cold can make the wax brittle. Check the wax by gently pressing it; it should feel firm but not soft.
Attaching Hanging Elements
Attaching hanging elements to your wax car air fresheners is a simple step that completes the look. It also makes your air freshener easy to hang inside your car. Choose the right method for a neat and secure finish. This step adds charm and functionality.
Using Strings Or Ribbons
Cut a piece of string or ribbon about 6 to 8 inches long. Thread it through the hole in the wax air freshener. Tie a knot to keep it in place. Use colorful ribbons for a fun touch. Make sure the knot is tight to avoid slipping. Strings and ribbons are soft and won’t scratch your car.
Securing Hooks
Small metal or plastic hooks work well for hanging air fresheners. Insert the hook through the hole in the wax shape. Close the hook securely to hold the air freshener. Hooks make hanging quick and easy. Choose hooks that match your car’s interior style. They offer a firm grip and prevent the freshener from falling.
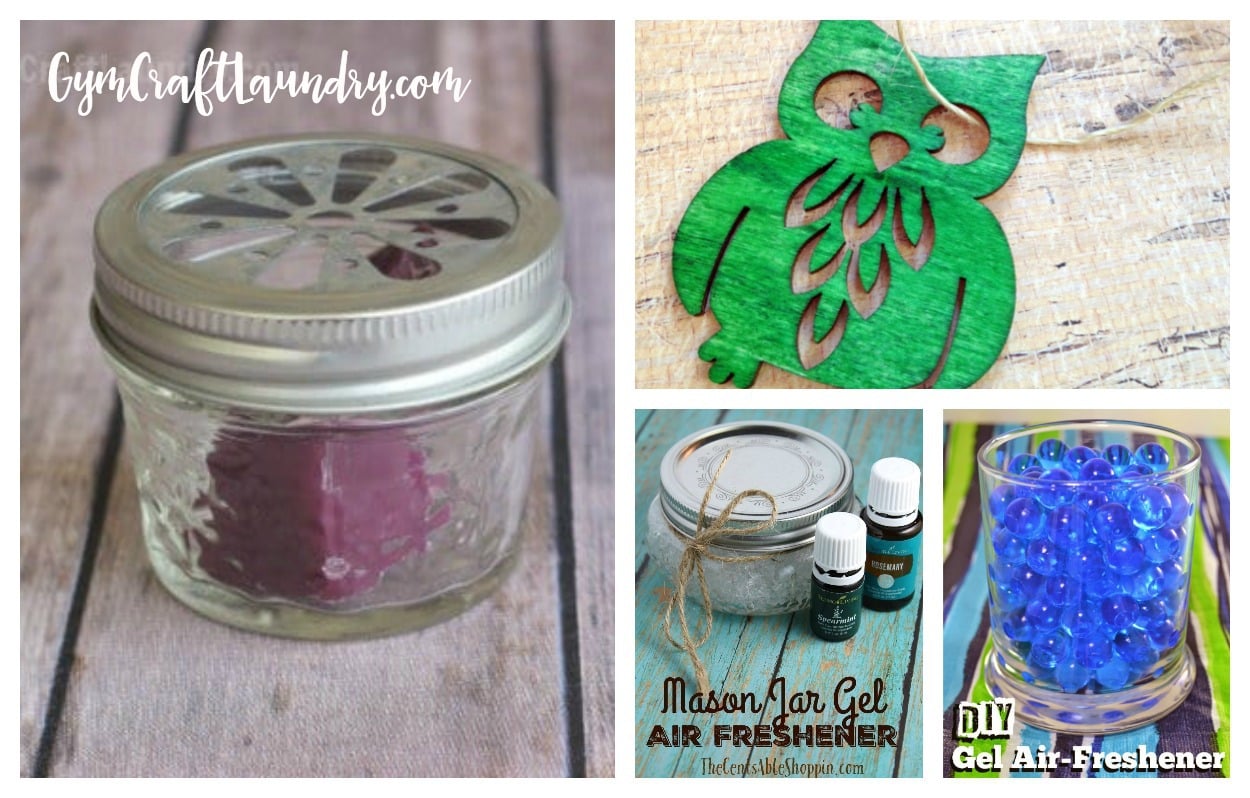
Credit: gymcraftlaundry.com
Customizing Your Air Fresheners
Customizing your wax car air fresheners makes them unique and personal. You can create scents and styles that suit your taste. Simple changes like colors and decorations bring your creativity to life. Making your air fresheners visually appealing adds fun to the process. It also makes your car smell pleasant and look great.
Adding Colors
Colors make your air fresheners vibrant and eye-catching. Use wax dyes or crayons to mix colors into melted wax. Blend different shades to create new hues. Pour the colored wax into molds for a bright finish. Color helps match the freshener to your car’s interior or your mood. Keep the color light if you want a soft look.
Incorporating Decorative Elements
Decorations add charm and style to your air fresheners. Try embedding small dried flowers, glitter, or tiny beads into the wax. Place these elements carefully before the wax hardens. Use themed shapes like stars or hearts for special occasions. Decorations make your air fresheners more than just a scent source. They become little art pieces for your car.
Using And Maintaining
Using and maintaining wax car air fresheners is simple. Proper care helps keep the scent strong and fresh for longer. Small steps make a big difference in enjoying your air freshener.
Placement Tips
Choose a spot where air flows well inside the car. Hanging near the rearview mirror works great. Avoid placing it near vents or direct sunlight. Heat can melt the wax and reduce scent. Keep it away from areas where it may fall or get damaged.
Refreshing Scents
To refresh your wax air freshener, gently warm it with your hands. This releases more fragrance without melting the wax. Avoid using water or sprays on it. If the scent fades, replace the air freshener with a new one. Store extras in a cool, dry place to keep their smell strong.
Frequently Asked Questions
How Do You Make Wax Car Air Fresheners At Home?
To make wax car air fresheners, melt soy wax and add essential oils. Pour the mixture into molds with a wick. Let it cool and harden before use. This DIY method is simple, affordable, and allows customization of scents.
What Essential Oils Work Best For Car Air Fresheners?
Popular essential oils for car air fresheners include lavender, lemon, eucalyptus, and peppermint. These oils provide a fresh, clean scent that neutralizes odors. Choose oils based on your scent preference and the calming or invigorating effects you want in your car.
How Long Do Homemade Wax Air Fresheners Last?
Homemade wax air fresheners typically last 3 to 4 weeks. Their longevity depends on wax type, oil concentration, and temperature. Store them away from direct sunlight to preserve the scent and shape for longer use.
Can I Reuse Molds For Wax Air Freshener Making?
Yes, silicone and metal molds can be reused multiple times. Clean molds thoroughly after each use to avoid residue buildup. Reusing molds saves cost and helps maintain consistent shapes for your air fresheners.
Conclusion
Making wax car air fresheners is simple and fun. You only need a few supplies and a bit of time. Choose your favorite scents and colors to personalize each freshener. These homemade fresheners keep your car smelling nice without strong chemicals.
Plus, they make great gifts for friends and family. Try this easy craft and enjoy a fresh-smelling car every day. Small steps can bring big changes to your car’s atmosphere. Give it a try and feel the difference yourself.

