
Thinking about giving your car a fresh, eye-catching look with a vinyl wrap? Before you dive in, there’s one crucial step you can’t skip: prepping your car properly.
How well you prepare your vehicle will make all the difference in how smooth the wrap goes on and how long it lasts. If you want a flawless finish that turns heads and stands the test of time, you need to get this right.
Keep reading, and you’ll discover simple, effective steps to get your car ready like a pro—no stress, no mistakes. Your ride deserves it!
Credit: theartworks.com
Gather Necessary Tools
Gathering the right tools is the first step to prepping a car for vinyl wrap. Having everything ready helps the process go smoothly. It saves time and avoids frustration. Each tool has a specific role in cleaning and applying the wrap perfectly.
Essential Cleaning Supplies
Start with a good cleaning kit. Use soap designed for cars to remove dirt and grease. A microfiber cloth helps avoid scratches on the paint. Use rubbing alcohol or a degreaser to clean off wax and oils. Clean surfaces ensure the vinyl sticks well and lasts longer.
Vinyl Wrap Materials
Choose high-quality vinyl film made for cars. Pick the right color and finish for your style. Get primer or adhesion promoter if needed for better stickiness. Have extra vinyl sheets for small mistakes or tricky spots. Proper materials make the wrap look smooth and last longer.
Application Tools
Use a squeegee with a soft edge to smooth out bubbles. A heat gun helps stretch and shape the vinyl around curves. Sharp knives or blades cut the vinyl precisely. Gloves protect your hands and keep the vinyl clean. These tools make the application neat and professional.
Choose The Right Location
Choosing the right location is key to a successful car vinyl wrap. It affects the quality of the wrap and how well it sticks. The right place protects your work from dust, wind, and dirt. It also helps you work comfortably and see clearly. Think about space, light, and weather when picking your spot.
Indoor Vs Outdoor Space
Indoor spaces offer more control. No wind or dust to spoil the wrap. The temperature stays steady. This helps the vinyl stick better. You avoid bugs or leaves falling on the car. A garage or workshop is ideal.
Outdoor spaces can work but are risky. Wind blows dust onto the sticky vinyl. Sunlight can heat the car unevenly. This makes wrapping harder. Rain or sudden weather changes can stop your work. Choose outdoor spots only when conditions are perfect and calm.
Lighting And Temperature Considerations
Good lighting is a must. Bright, even light shows every detail. Shadows hide dirt and bubbles. Use daylight or bright white lights. Avoid yellow or dim lights that can trick your eyes.
Temperature affects vinyl’s flexibility. It sticks best between 60°F and 80°F (15°C to 27°C). Too cold makes vinyl stiff and hard to stretch. Too hot makes it too soft and sticky. Check the weather forecast if working outside. If indoors, use heaters or fans to keep steady temperature.
Clean The Vehicle Thoroughly
Cleaning the vehicle is the first and most important step before applying a vinyl wrap. Dirt, dust, and grease can stop the vinyl from sticking properly. The better the surface is cleaned, the longer the wrap will last. This process involves washing, removing contaminants, and degreasing the vehicle’s surface.
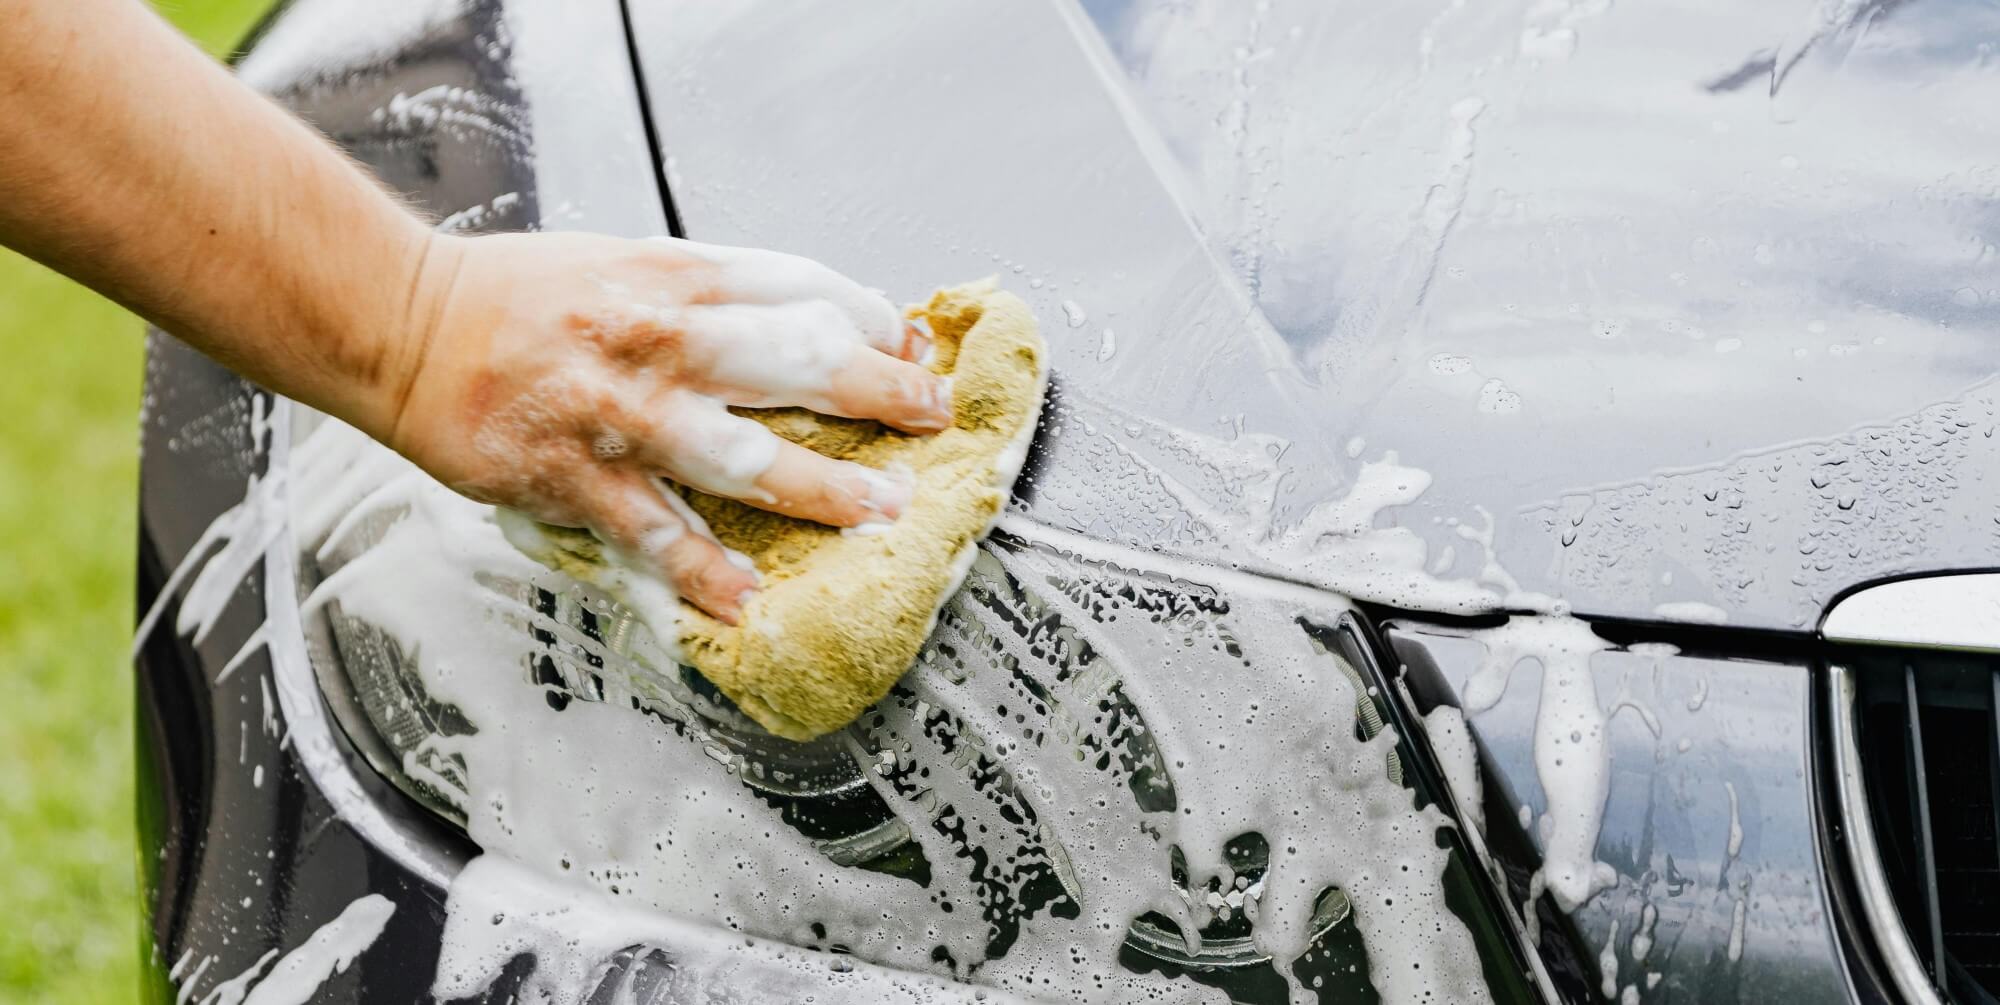
Wash And Dry The Surface
Start by washing the car with soap and water. Use a soft cloth or sponge to avoid scratches. Rinse thoroughly to remove all soap. Dry the surface completely with a clean microfiber towel. Any water left can cause bubbles under the wrap.
Remove Contaminants
After washing, check for stubborn spots like tar, tree sap, or paint overspray. Use a clay bar or a special cleaner to remove these contaminants. This step makes the surface smooth and clean, helping the vinyl to stick better.
Degrease For Better Adhesion
Finally, wipe the surface with a degreaser or isopropyl alcohol. This removes oils and wax that soap can’t clean. Use a lint-free cloth to avoid leaving fibers behind. A grease-free surface ensures the vinyl wrap bonds tightly and lasts longer.

Credit: www.youtube.com
Inspect And Repair The Surface
Preparing your car’s surface is the first step before applying a vinyl wrap. A clean and smooth surface helps the vinyl stick better and last longer. Inspecting and fixing any damage ensures the wrap looks perfect and lasts without peeling or bubbling.
Check For Scratches And Dents
Carefully look over your car’s surface for scratches and dents. Small scratches might seem harmless but can cause the vinyl to lift. Dents create uneven areas that the vinyl cannot cover smoothly. Mark all spots that need repair before moving forward.
Fix Imperfections
Use car body filler to fix dents and deep scratches. Apply the filler evenly and let it dry completely. Sand the area gently to shape it and remove excess filler. This creates a flat and uniform surface ready for wrapping.
Smooth Rough Areas
Sand any rough or uneven spots with fine-grit sandpaper. Smooth surfaces help the vinyl wrap stick better and avoid bubbles. Clean the area after sanding to remove dust and debris. A smooth finish ensures a professional-looking wrap.
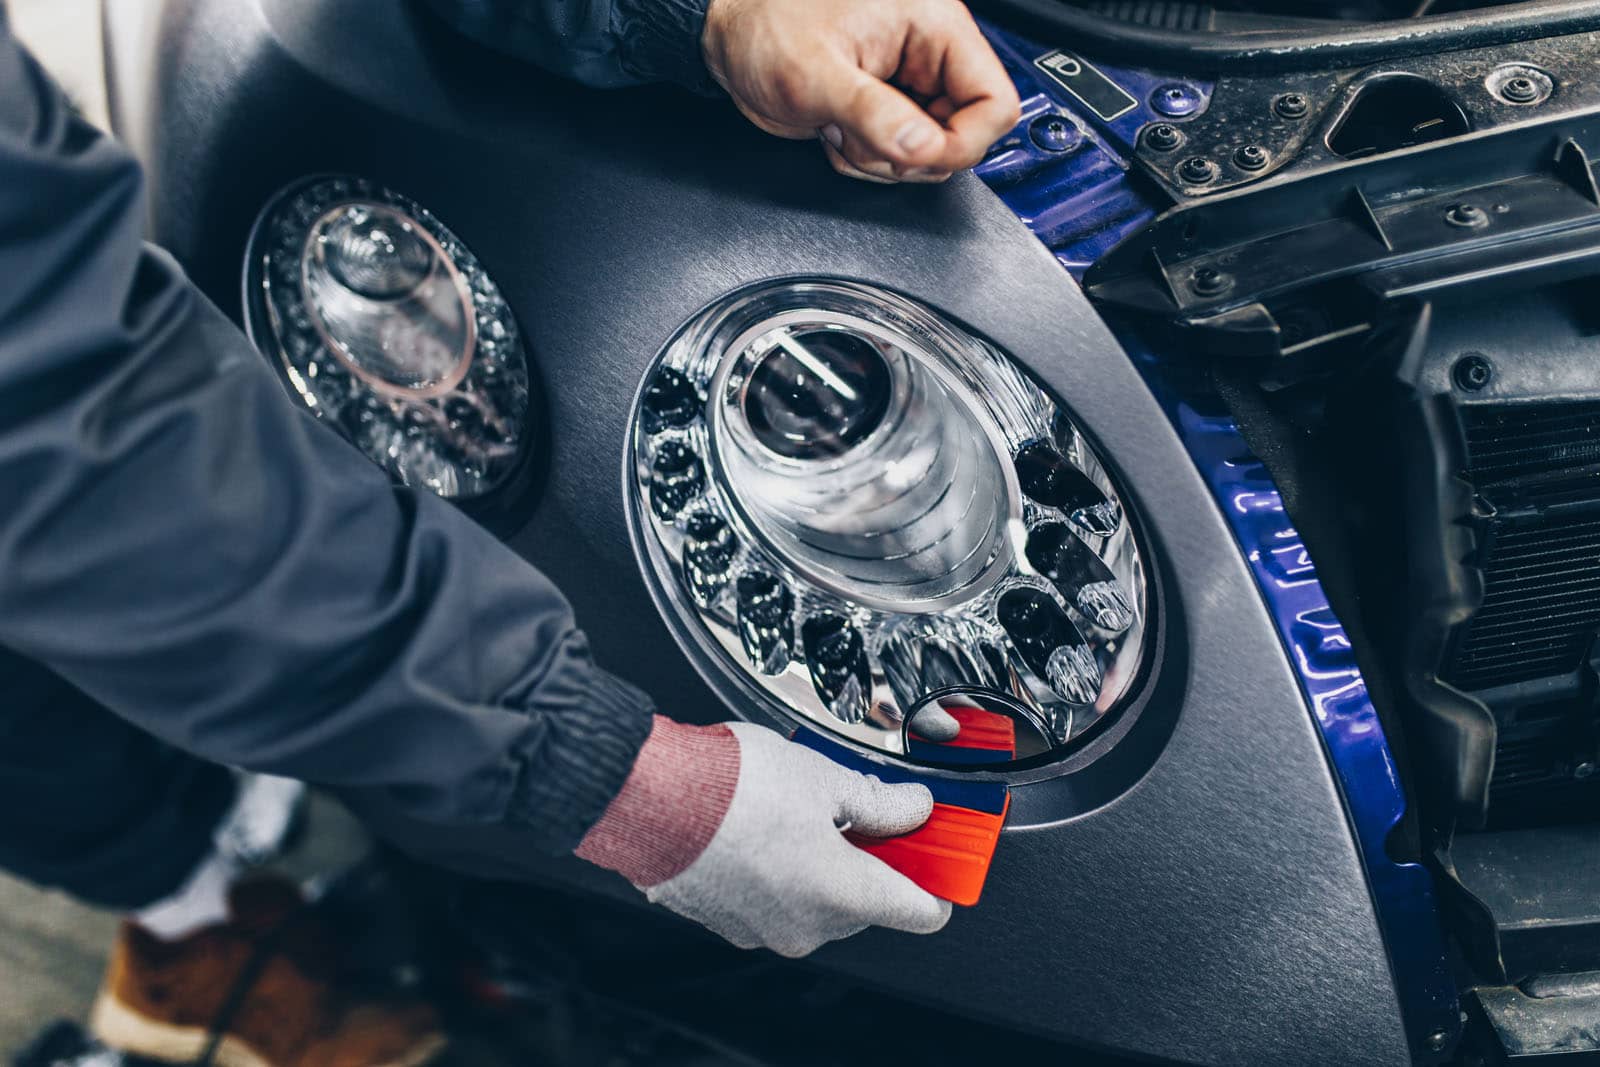
Remove Or Mask Parts
Preparing your car for a vinyl wrap means paying close attention to details. One important step is to remove or mask certain parts. This helps the wrap stick well and prevents damage to other areas. Taking time here makes the wrap look smooth and last longer.
Take Off Trim And Accessories
Remove trim pieces like moldings, badges, and emblems. These parts can block the vinyl from fitting properly. Use the right tools to avoid scratching the paint. Take off mirrors or antenna if possible. This step creates a clean surface for the vinyl wrap. It also helps avoid wrinkles or bubbles near edges.
Cover Sensitive Areas
Mask areas that vinyl should not touch. Cover headlights, taillights, and windows with painter’s tape. Protect door handles and rubber seals as well. This stops the wrap from sticking to these spots. Masking also prevents damage during the wrapping process. Use soft tape that won’t harm the car’s surface.
Prepare The Surface For Wrapping
Preparing the surface of your car is the key step before applying a vinyl wrap. The wrap needs a clean, smooth base to stick well. Dirt, grease, or moisture can cause bubbles and peeling. Taking time to prep the surface ensures the wrap lasts longer and looks better.
Focus on removing all contaminants and making the surface ready for the vinyl. This process includes applying a special primer and making sure the car is completely dry and clean. These steps help the vinyl stick firmly and prevent damage over time.
Apply Surface Primer
Use a surface primer designed for vinyl wrapping. It helps the vinyl stick to tricky areas like plastic trims or rubber parts. Apply a thin, even coat with a clean cloth or applicator. Let the primer dry fully before moving to the next step. This step improves the wrap’s grip and durability.
Ensure Dryness And Cleanliness
Wash the car thoroughly to remove dirt and grease. Use a mild detergent and warm water. Rinse well and dry the surface using a microfiber cloth. Any moisture left can cause bubbles under the vinyl. Check the surface again for dust or oils. Use a surface cleaner or isopropyl alcohol for a final wipe. A clean, dry surface is the best base for vinyl wrapping.
Plan The Vinyl Layout
Planning the vinyl layout is a key step before wrapping your car. This step helps avoid mistakes and saves time. A good layout ensures the vinyl fits perfectly on each panel. It also reduces waste and makes the wrap look smooth and professional.
Measure Panels
Start by measuring each car panel carefully. Use a tape measure for accuracy. Note the length and width of every part you want to wrap. Write down these numbers. Double-check your measurements to avoid errors. Accurate measuring prevents vinyl from being too short or too wide.
Cut Vinyl To Size
After measuring, cut the vinyl sheets to fit each panel. Leave extra material around the edges for trimming. This extra space helps with alignment and handling. Use sharp scissors or a utility knife for clean cuts. Cutting vinyl properly makes installation easier and neater.
Credit: www.raccoon.co.uk
Final Checks Before Application
Before applying a vinyl wrap, final checks are very important. These steps make sure the wrap sticks well and looks perfect. Skipping these checks can cause bubbles, wrinkles, or peeling later. Take time to prepare carefully. This helps avoid problems and saves effort.
Check Temperature And Humidity
Temperature affects vinyl’s stickiness and flexibility. The ideal range is 60 to 80 degrees Fahrenheit. Too hot can make the vinyl stretch too much. Too cold makes it stiff and hard to apply. Humidity also matters. High humidity can cause moisture under the wrap. This leads to bubbles and poor adhesion. Use a thermometer and hygrometer to check conditions. Wait for the right weather before starting.
Organize Tools And Materials
Gather all tools before starting the wrap. This includes squeegees, heat guns, knives, and cleaning cloths. Keep the vinyl roll ready and cut some test pieces. Organize everything close to the car for easy reach. This keeps the process smooth and fast. Clean the car again if dust or dirt appears. A clean, organized workspace helps apply the wrap well.
Frequently Asked Questions
How Do I Clean My Car Before Vinyl Wrapping?
Clean your car thoroughly using soap and water. Remove dirt, grease, and wax with isopropyl alcohol. A spotless surface ensures better vinyl adhesion and a smooth finish.
What Tools Are Needed To Prep A Car For Vinyl Wrap?
Essential tools include a microfiber cloth, isopropyl alcohol, a plastic scraper, and a heat gun. These help clean, smooth, and shape the surface for vinyl application.
Why Is Surface Preparation Important For Vinyl Wraps?
Proper prep removes contaminants and imperfections. It ensures vinyl sticks well and lasts longer. Skipping prep can cause bubbles, peeling, and poor appearance.
Can I Wrap My Car Without Removing Trim Parts?
Removing trim parts is recommended for a seamless wrap. It prevents vinyl damage and allows better access to edges for a cleaner look.
Conclusion
Preparing your car well makes the vinyl wrap last longer. Clean the surface carefully to remove dirt and grease. Fix any dents or scratches before wrapping. Use the right tools to avoid bubbles and wrinkles. Take your time and work slowly for the best results.
A good prep helps the vinyl stick better and look smooth. Your car will have a fresh, new look that lasts. Simple steps lead to great results. Ready to wrap your car with confidence?


